How to Install Your Own Granite Kitchen Countertops
Granite, like most natural stone, can be expensive. Here’s everything you need to know to install countertops yourself, saving 20% to 30% over a professional installation.
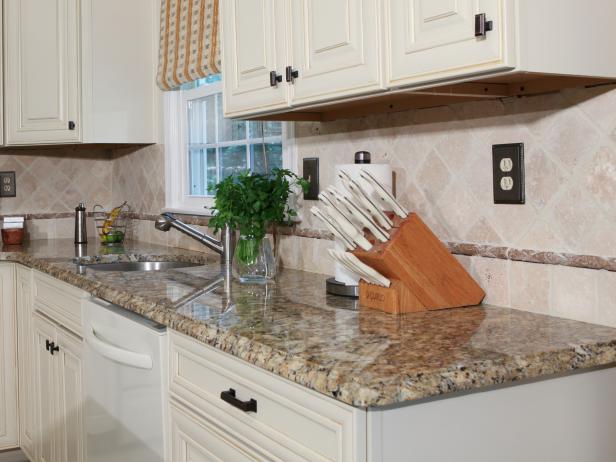

We all know granite can be expensive, but what if we told you that installing your own was not only a possibility, but a great way to save money and achieve the durable, luxurious kitchen of your dreams? When planning for a DIY granite installation, there are a few key things you should plan for.
Materials Needed
- seam setter
- 4' level
- angle grinder with diamond blade
- caulk gun
- acrylic caulk
- shims
- painter's tape
- measuring tape
- two-part epoxy for nonporous applications
- cardboard or similar material for template (optional)
- proper protective equipment
- utility knife
- jab saw
- pencil
- granite sealer
- granite cleaner
- soft cloth
Though you intend to install the countertops on your own, it’s important to work closely with a stone fabrication shop regarding the cutting of the stone and the delivery. It takes specialty tools to cut the granite, and a stone shop will have both the tools and the know-how to make an accurate cut. As far as delivery is concerned, granite’s greatest attribute can actually be its weakness. The hardness of granite makes it perfect for a durable countertop. However, when improperly handled, it can crack easily. There are few fixes for a broken slab of granite, so it's a good idea to leave transport to the professionals.
Pick Out Granite
The first step is to decide what type of granite you want. The shop will have many samples and slabs so you can see all the varied colors and grain patterns up close. You’ll also see the various edges to choose from: square, bevel, bullnose, miter, ogee and many more. In addition to the main countertop surface, you’ll need to decide on the length of the countertop overhang, as well as the type and size of backsplash, should you opt for one.
Measure for Installation
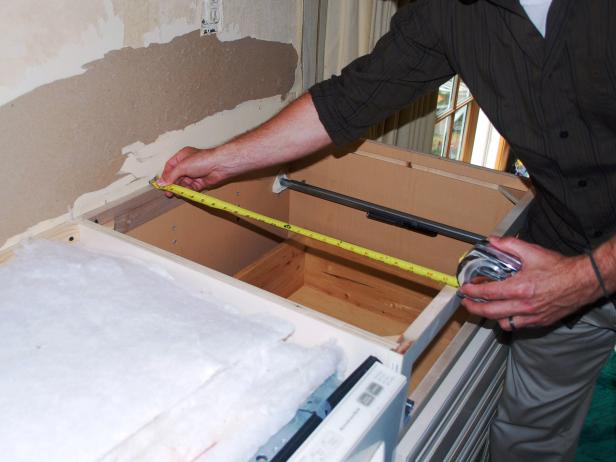
Once you’ve chosen the granite and removed the existing countertops, take accurate measurements of your base cabinets to give to the fabricator. Precisely measure the tops of the base cabinets by measuring the distance from the wall to the fronts along the entire length of the wall.
Note: You may want to have the fabricator visit your kitchen to check if anything there may affect how the countertops are made, such as wall bump-outs or exposed pipes.
Create a Template
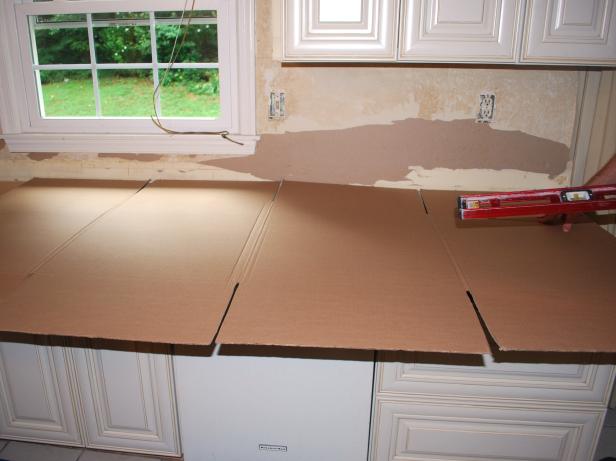
An even more accurate way to give measurements to your fabricator is to make a template from cardboard, lauan plywood or even Mylar plastic. Scribe the template using a scribing tool so that it fits snugly against the wall along the entire run of cabinets, then trace the front edge onto the template. In your template, you must measure the exact locations of cutouts for sinks, cooktops, faucets and soap dispensers. Be careful not to allow a span of more than 2 feet between cabinets, such as a span over a dishwasher, and allow no more than 6 inches of unsupported overhang with 2-centimeter stone and 9 inches with 3-centimeter stone.
If you plan for an undermount sink, make note of that on the template for the fabricator, who will be able to cut a groove along the underside edge of the sink hole, so that the sink clips can be secured. Also, insist that your fabricator “rod” the cutouts with steel or fiberglass reinforcements to strengthen the narrow areas around the cutouts. Once you've clearly specified your requirements and submitted your measurements, set a date for pickup or delivery of your finished countertops.
Pro Tip: Accuracy of measurements is extremely important when it comes to granite countertops. If you don’t feel comfortable getting accurate measurements, you can always negotiate an itemized price for your stone fabricator to come and take the measurements to ensure a perfect fit.
Level Base Cabinets
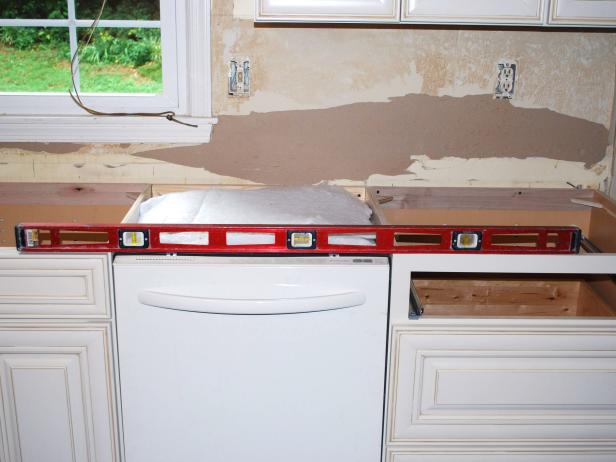
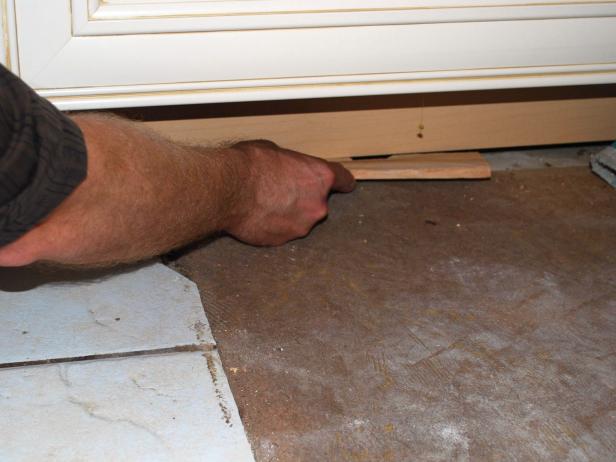
Check to make sure your base cabinets are level across their entire length (Image 1). If not, unfasten the base units and level them using shims (Image 2). It's not a good idea to use shims directly under the granite countertop as this will create small voids that could cause the granite to crack under pressure.
Transport Granite
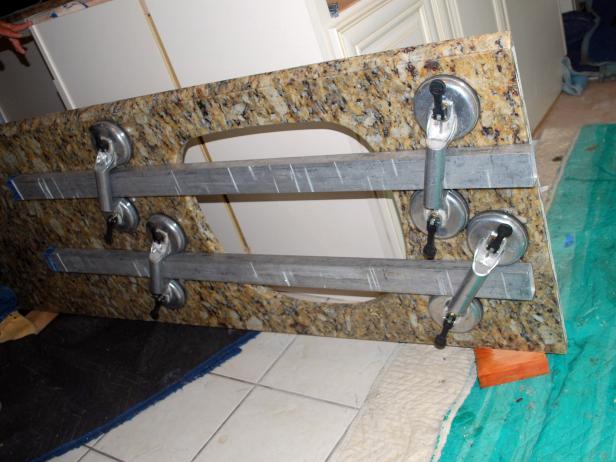
Once your countertops have been cut, it’s time to get them home safely, which can be tricky. Unless they're being delivered, you’ll have to pick up the countertops from the fabricator. Remember that granite is very heavy — a 6-foot countertop can weigh in excess of 400 pounds — so enlist some help to transport and move the countertops safely.
It's important to always carry the countertops in a vertical position rather than flat, to avoid cracking or breaking the stone. To transport granite slabs, carry them on edge in an A-frame rack, the same way glass is carried. If needed, you can make a simple rack from 2x4s. Protect the edges by covering them with wide painter’s tape. Before picking up the countertops or having them delivered, clear out a space in the kitchen area to store them upright on edge until you’re ready for installation.
Install Slabs

Once you have the granite slabs home, it’s finally time to install them. First, dry-fit the countertop to ensure an accurate fit. When lifting the countertop, take extra care to support the granite where it’s weakest, such as along cutouts for sinks or cooktops. Lay the slabs directly on the frames of the lower cabinets. An additional substrate isn’t required for support.
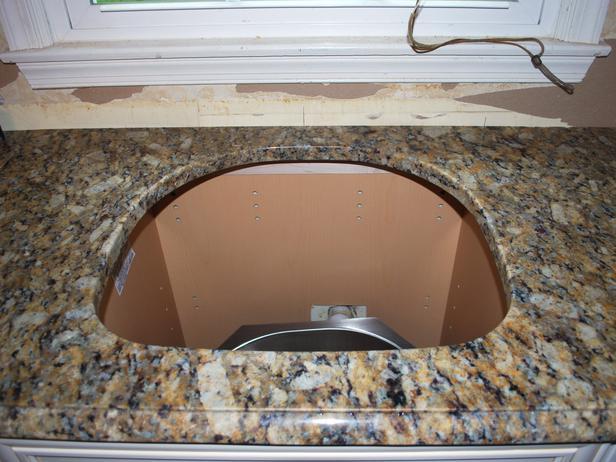
If the countertop doesn’t sit flush against the wall as intended, there are two ways to go about improving the fit. You can either modify the wall or modify the granite. If the wall is drywall, the easiest and least risky way to go about making the countertop fit is to mark the spot of the wall that it hits, then use a utility knife or jab saw to recess the drywall.
If the wall consists of harder material like tile or brick, you will likely have to modify the granite. To do this, first mark the area of the granite that hits and carefully remove the granite from the cabinets. Then, using a dry-cut diamond blade installed on an electric grinder, carefully shave the edge to the desired level, remembering to always wear protective eyewear and a mask to guard against dust and grit.
Once you are satisfied with the modification, fit the slabs back in place to make sure all the edges fit snuggly and securely, including the seams between slabs if you have more than one.
Join Seams
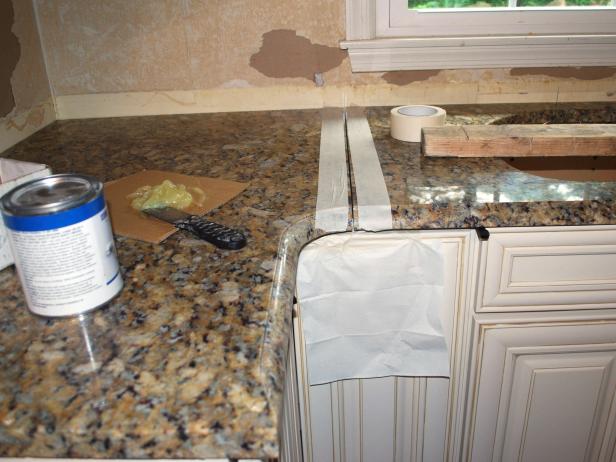
If you have multiple slabs, now is the time to fit them together. With the slabs flush and level on the cabinets, place painter’s tape on each side of the seam to minimize the mess. You’ll join the butt seams using color-matched two-part epoxy, which you can purchase from the fabricator shop. Pulling the slabs together tightly will require a seam setter, which you can rent from most hardware stores.
Before mixing your two-part epoxy, familiarize yourself with the seam setter tool. The epoxy begins its setting process the moment you mix the two parts, so you will want to work efficiently. Once you’re ready, mix the epoxy according to the manufacturer’s instructions and thoroughly apply to the seam using a small putty knife.
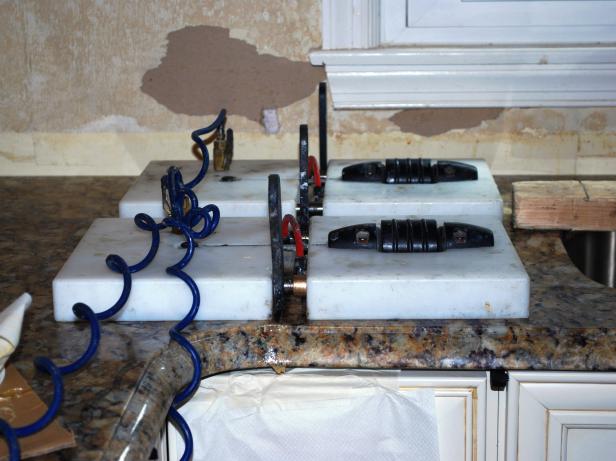
Once applied, pull your tape and mount the seam setter on each side of the seam, about 1-1/2 inches from the seam. Tighten the tightening screws until you feel resistance, then attach and turn on the auto pump — the tension created will ensure that the edges of the seams remain flush as the epoxy sets. A seam setter also ensures that the top edges of the seams remain flush with each other. Once the epoxy is set, remove the setter. Then carefully shave away any excess epoxy using a single-edge razor.
Pro Tip: When cleaning off wood, granite or other surfaces with a razor blade, hold the razor as flat and straight as possible to ensure you don’t gouge the surface.
Attach to Cabinets
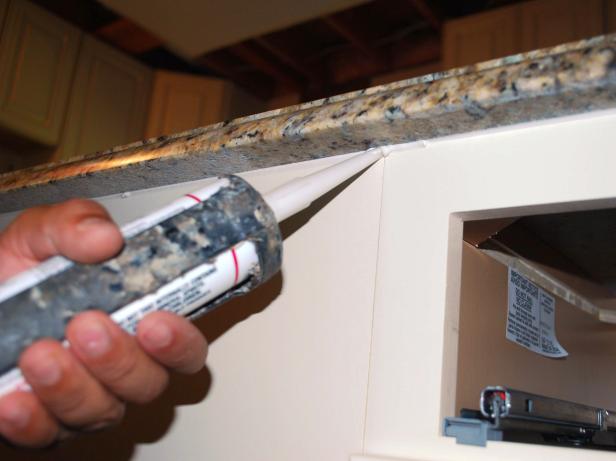
Now that the seams of the slabs are joined, it’s time to secure the stone to the cabinets. The sheer weight of the countertops is nearly enough to hold the stone in place, but you’ll still want to run a bead of caulk along the underside perimeter of the counter, where the stone meets the cabinet top. Don’t use silicone caulk; over time, silicone caulk could wick into the stone and cause staining. Stick with acrylic.
Final Steps
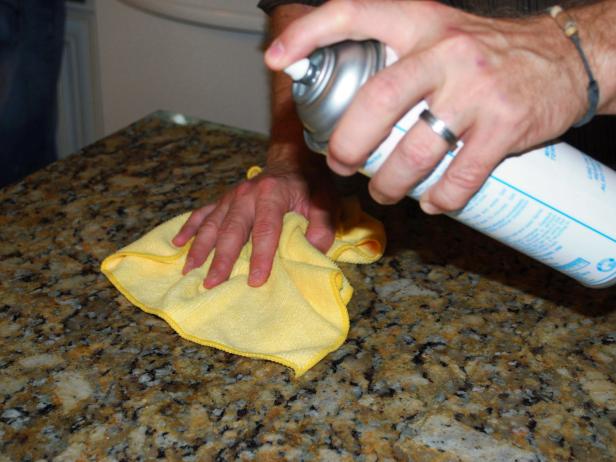
With your installation complete, finish by applying granite sealer to your countertops; this will protect the stone and prevent any deep staining. Simply wipe it on evenly with a clean, soft cloth, making sure to get full coverage, then let dry for 24 hours. Once sealed, move forward with your backsplash, sink and appliance installation.
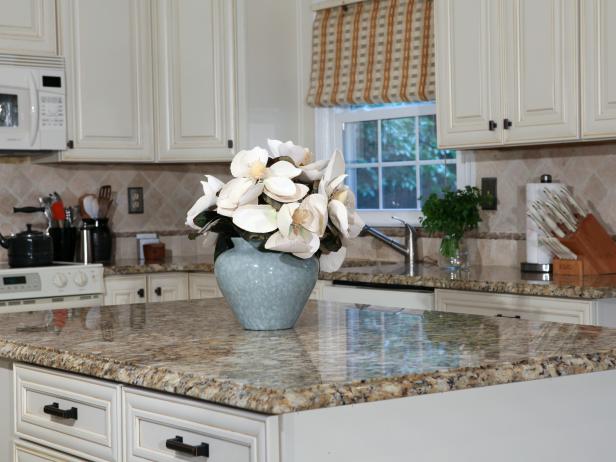
Clean and maintain your new countertops using only granite and quartz cleaner, which you can purchase at most fabrication shops. This special cleaner will leave no residue and keep your granite countertops looking shiny and new for years of enjoyment.
Affordable Kitchen Countertops That Look Like a Million Bucks 30 Photos
Perk up your kitchen without draining the bank with these kitchen countertop ideas.


