


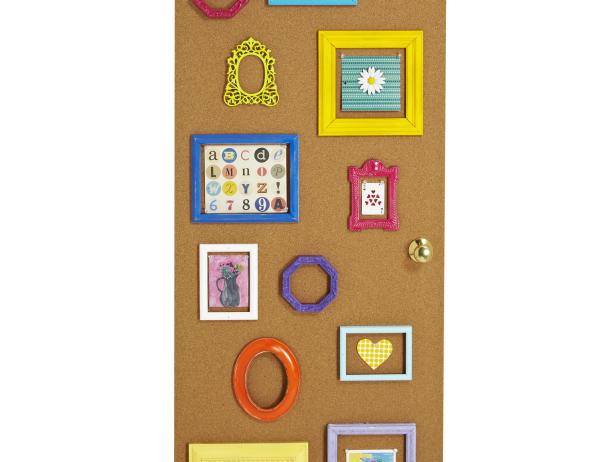
4 Ways to Decorate a Door for a Kid's Room
In the first ever HGTV Magazine for Kids, the DIY experts created door designs that work with kids’ fun personalities. Find what works best for your child and create one together.
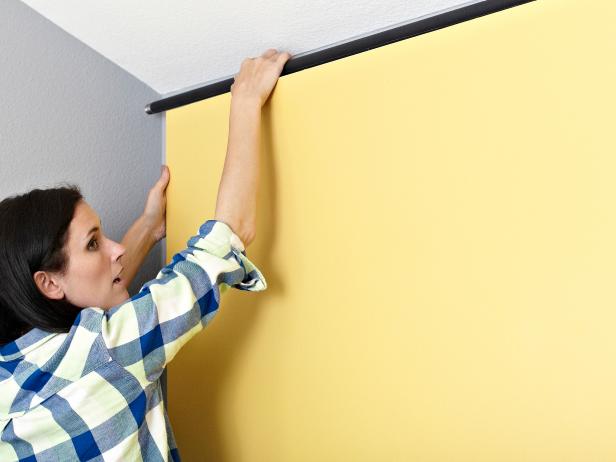
How to Build + Install a Sliding Door
Get step-by-step instructions for building and installing a bright yellow door on tracks.
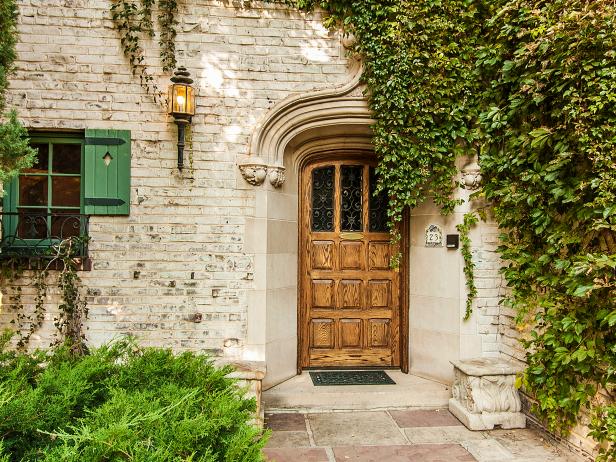
17 Inviting Front Doors
Your front door not only serves as the entrance to your house, but also as a statement of your personal style. Browse photos of welcoming front doors and get inspired to liven up your own entryway.

Home Gym Pictures From HGTV Dream Home 2017 16 Photos
Check out this sliding barn door plus all the other stylish details of HGTV's Dream Home 2017.


