


.jpg.rend.hgtvcom.196.196.suffix/1738870169237.jpeg)


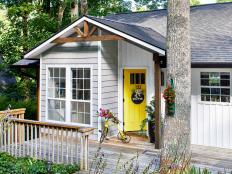
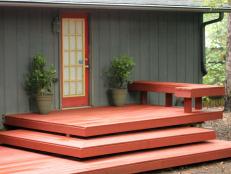
35 Front Porch Ideas That Welcome You Home 46 Photos
Make your front porch a gathering place.
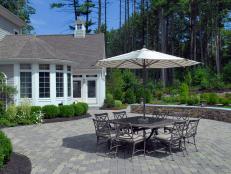
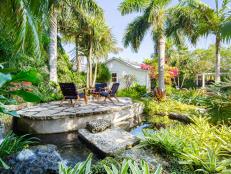
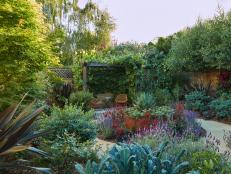
Patio Ideas and Inspiration
More in Patios


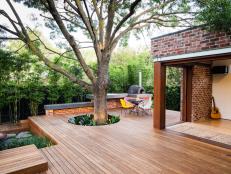
Dreamy Decks
More in Decks


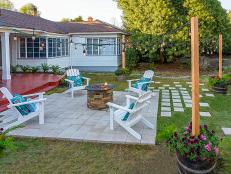


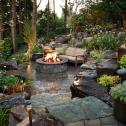
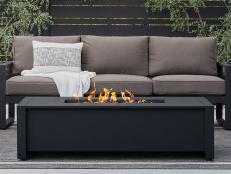
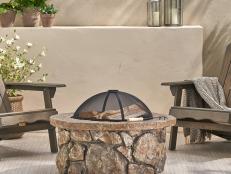
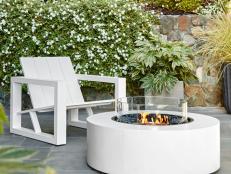
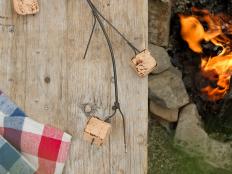
Editors' Picks: Fire Pits

.jpg.rend.hgtvcom.231.174.suffix/1738869872256.jpeg)


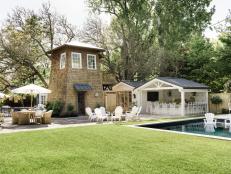
Swimming Pools
More in Pools and Hot Tubs


Porch Decorating Ideas


What's New in Outdoor Spaces
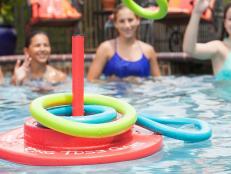
The Best Inflatable Pools for Everyone in 2025 May 15, 2025
Make a splash this summer with the best inflatable pools for babies, kids, adults and even dogs.
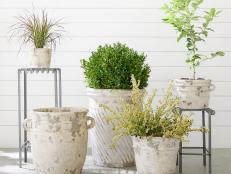
58 Best Pots and Planters for Every Style and Budget May 13, 2025
Perk up your porch, patio or indoor space no matter your budget with these stylish planters and flowerpots.

6 Best Hose Reels of 2025, Tested and Reviewed May 9, 2025
Organize and transport your garden hose with our top picks for hose reel carts, boxes, wall mounts and more.

The Best Outdoor Storage Solutions for Your Backyard May 8, 2025
Curb the clutter around your patio, deck or pool with these clever outdoor organization ideas.

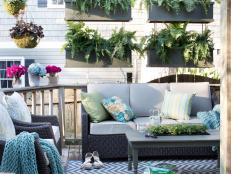
12 Best Small-Space Patio Furniture Ideas May 5, 2025
Stumped on how to style your small patio? Here are the must-have patio furniture pieces to make the most out of your limited space …

28 Front Porch Planters for Every Style and Budget May 5, 2025
Add easy curb appeal and a warm, welcoming vibe with one of these pots, boxes or planters.

105 Best Patio Furniture Buys for Every Style and Budget May 7, 2025
From Adirondack chairs to sectionals, refresh your outdoor space with our top picks for patio furniture so you can kick back with …

The Best Outdoor Cushions, Pillows and Poufs for Every Style and Budget May 5, 2025
Find the best UV- and water-resistant cushions, pillows and poufs, and successfully prep your outdoor space for summer.

10 Best Hammocks of 2025 to Help You Enjoy Some R&R May 5, 2025
Spring is in full swing! Make sure you get a little "me time" with these top-rated hammocks.

The 10 Best Deck Storage Ideas to Try in 2025 May 2, 2025
Keep your all-weather cushions, blankets and bug spray within reach and out of sight with these clever deck storage benches, coffe …

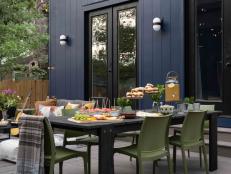
12 Best Outdoor Dining Sets May 2, 2025
Get ready to serve every meal alfresco from now on, because these outdoor dining sets are the missing piece to your home's exterio …

Spruce Up Your Outdoor Space With These Bestselling Patio Buys on Amazon Apr 29, 2025
Discover which outdoor furniture sets, patio accessories and porch essentials Amazon customers are raving about this season.

8 Best Stadium Chairs 2025, Tested and Reviewed Apr 29, 2025
The best stadium chairs provide ample back support and cushioning for watching the home team for hours.

You're 9 Products Away From an Outdoor Refresh May 1, 2025
Find all you need to make your patio a respite all season long at Plow & Hearth, from planters, trellis', bird baths and a beautif …
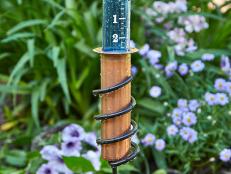
25 Budget-Friendly Buys You Didn't Know You Needed for Your Garden Apr 18, 2025
Add a special touch to your outdoor space with these beautiful and functional finds under $50.

I Tried the Viral Customizable Tile Doormat, and Here's My Honest Opinion Apr 16, 2025
The Letterfolk Tile Mat transformed my front porch by adding fun, personalized messages and designs to my doorstep.

40+ Stylish Outdoor Chaise Lounges for Every Budget Apr 11, 2025
Turn your outdoor space into a resort-style oasis with one iconic chair.
Everything You Need to Know About Natural Swimming Pools Apr 11, 2025
Adding a natural swimming pool is a sustainable way to incorporate luxury and beauty into your yard. Here's everything you need to …

2025 Garden Trends Apr 10, 2025
Discover the top 5 garden trends for 2025, from indulgent mocha hues and fragrant blooms to compact veggies and pollinator-friendl …

The 10 Best Outdoor Dining Sets on Amazon Apr 9, 2025
Enjoy your dinners alfresco with our can't-miss Amazon outdoor dining set finds.

The Best Backyard Swing Sets for Kids Apr 4, 2025
Create a backyard made for entertaining your kids all year round with a ready-for-play swing set.

How to Clean Outdoor Cushions to Look Like New Apr 3, 2025
Have those patio cushions looking so fresh and so clean with our two simple and easy options.

49 Beautiful Outdoor Rugs for Every Style and Need Apr 1, 2025
Make your outdoor space an inviting place to lounge by adding a pretty and practical rug.
QVC Has Everything You Need to Outfit Your Outdoor Space Apr 15, 2025
Give your family a reason to stay outside all summer long with chic patio essentials including wicker lounge sets, tabletop heater …
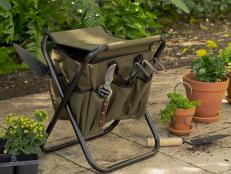
8 Best Gardening Seats and Kneelers of 2025, Tested and Reviewed Mar 27, 2025
Get a little extra support in the garden with these comfortable seats, stools and kneelers, making it easier to plant, weed and do …

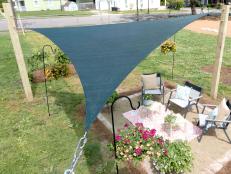
The Best Retractable Canopies and Awnings for Custom Outdoor Shade Mar 28, 2025
Transform your outdoor space with a stylish retractable awning or canopy that offers shade and comfort all season long.

The Best Outdoor Curtains and Shades for Your Porch Mar 28, 2025
Wrap your porch, balcony or deck in privacy and style with these top-rated outdoor curtains and shades.

What to Know about Firefly Petunias Mar 24, 2025
Firefly petunias glow in the dark, thanks to genetic engineering (the genes come from bioluminescent mushrooms). Here's how to gro …
The Best Outdoor Fire Tables Mar 17, 2025
Have the best of both worlds — a cozy fire pit and table to gather around. We break down the best fire tables for your outdoor spa …
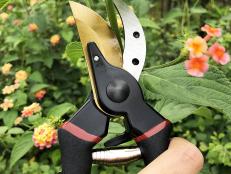
Top-Rated Gardening Buys You Need Now, According to Amazon Shoppers Mar 12, 2025
These tried-and-true lawn and garden products are backed by thousands of positive customer reviews.


.jpg.rend.hgtvcom.231.174.85.suffix/1738870169237.webp)