


Choosing an Irrigation System

On average, 30 percent of your water bill is dedicated to outdoor use, so it makes sense to incorporate water-saving strategies into your landscape plan. Using native and drought-tolerant plants greatly reduces your need for supplemental irrigation, but you still need an efficient way to irrigate when necessary, particularly for vegetable gardens and container plants.
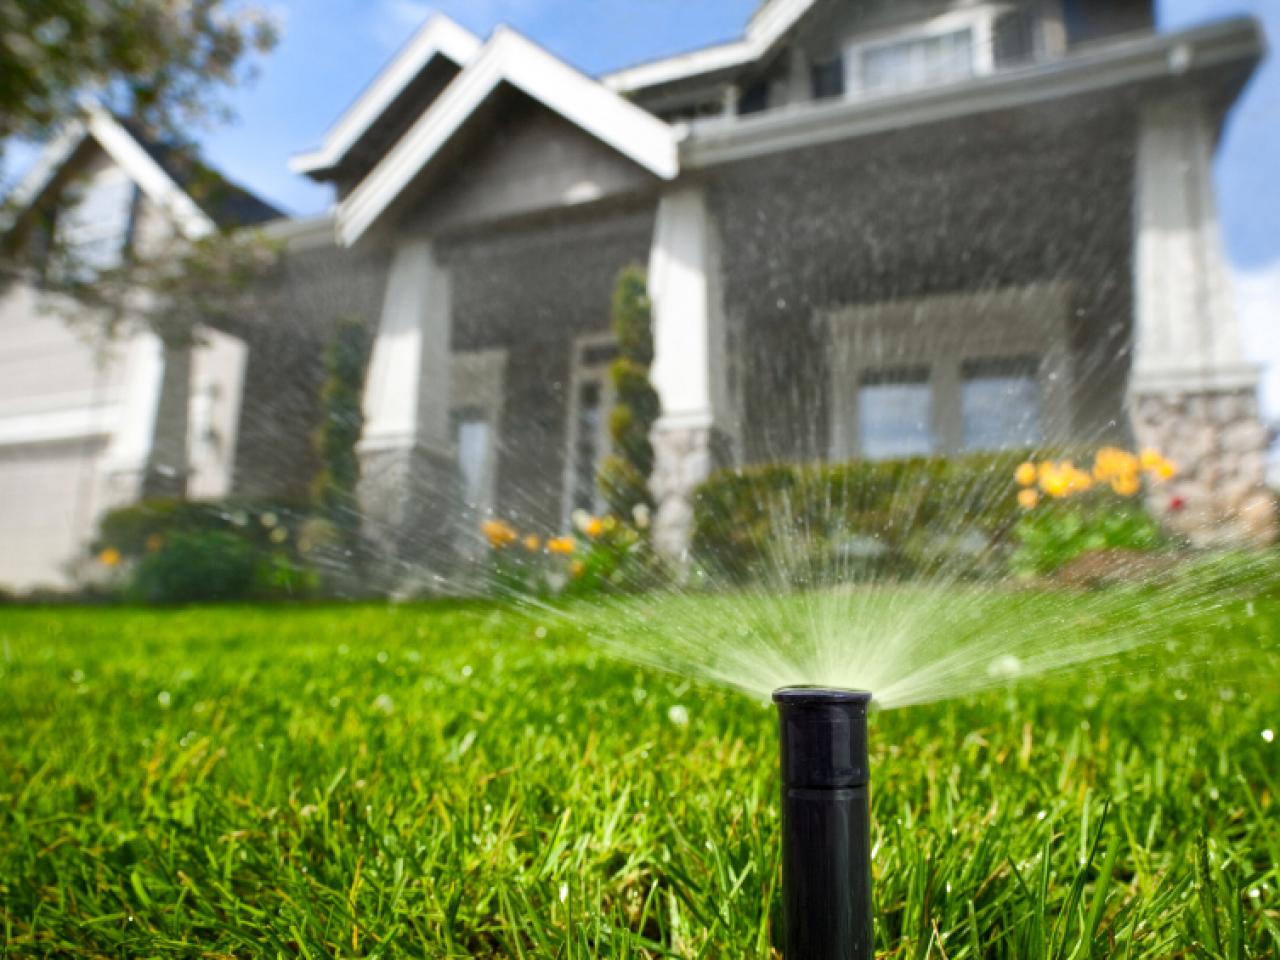
In-Ground Sprinkler Systems
If your landscape project calls for a new in-ground irrigation system, it should go in last, after the plants are in the ground to ensure that the right kind of head delivers the appropriate amount of water. Make sure to organize your plants into hydrozones—grouped according to low, moderate and high water use.
"The plant material should be watered by a specific sprinkler head adjacent to it," says Robert Schucker, president of R&S Landscaping in Midland Park, N.J. Pop-up spray heads are designed to be installed in a zone with plant material of similar watering needs.
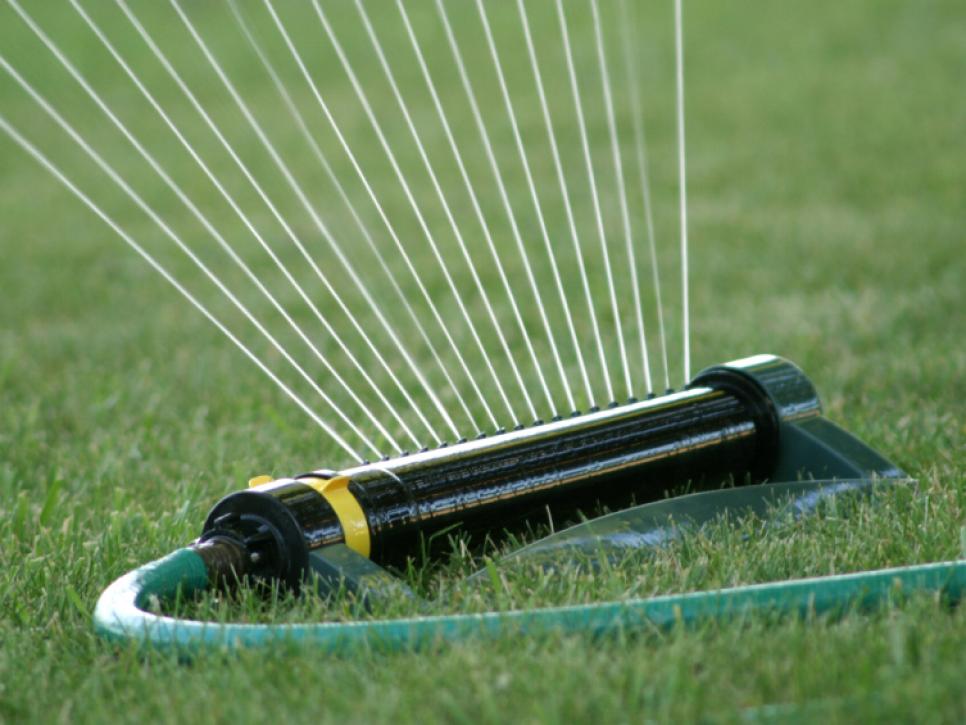
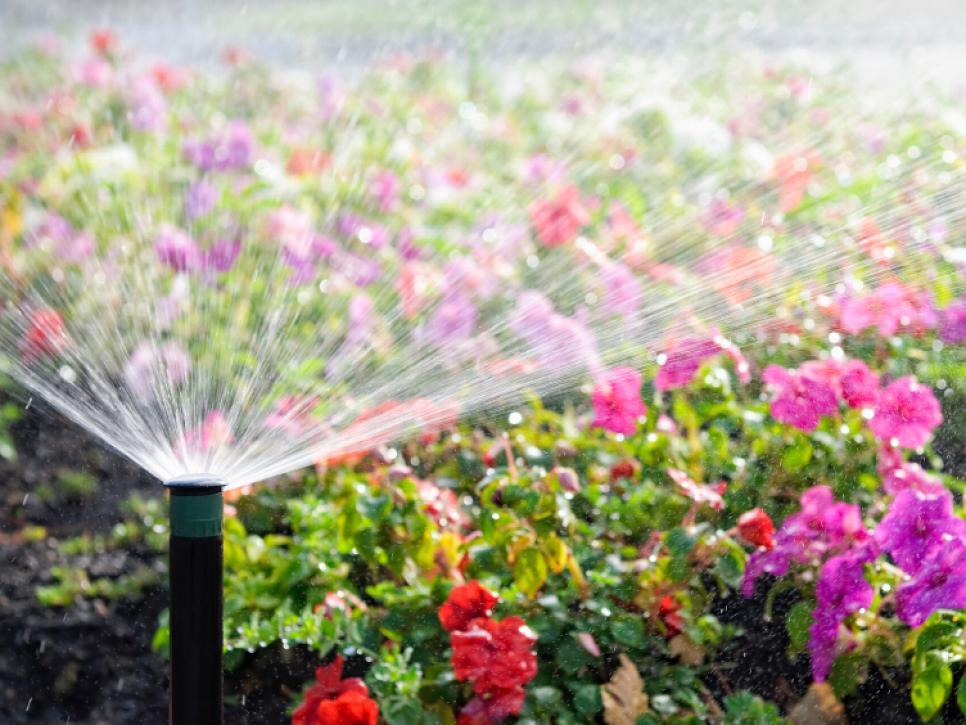
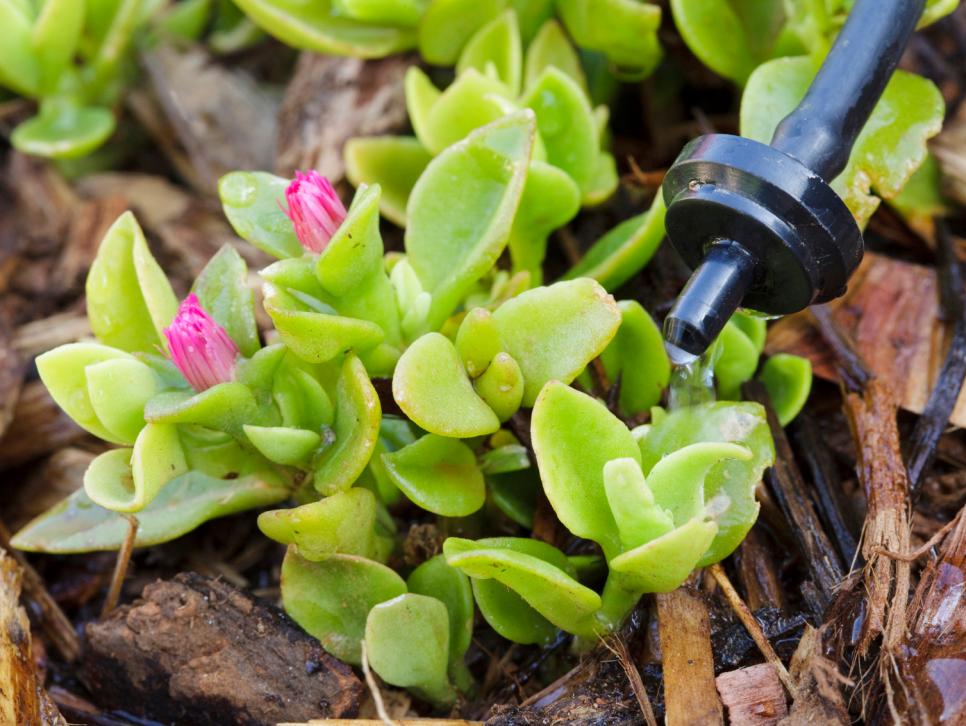
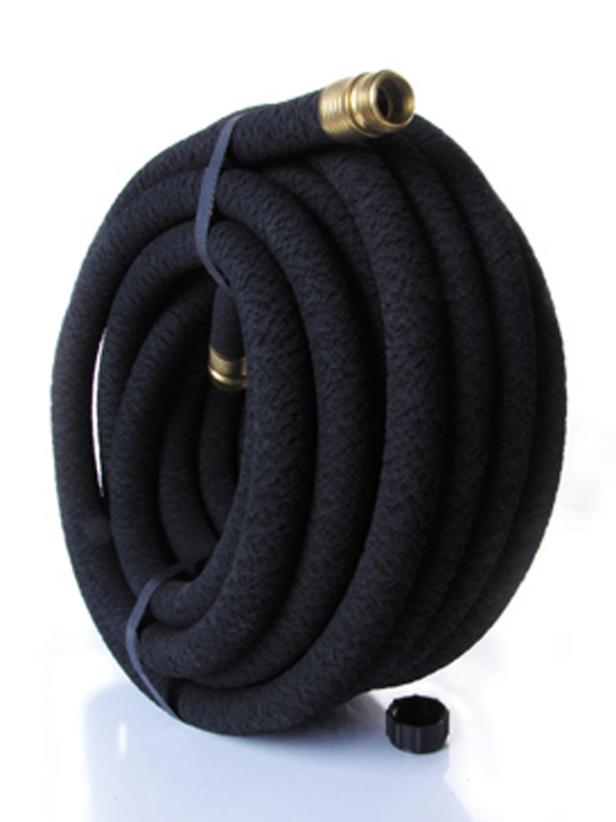
The lawn sprinklers should be on a separate grid from perennials and shrub beds because they don't have the same water needs. For perennials and shrubs, a drip irrigation system is more efficient because it delivers water to the roots, where they need it most. If you already have an irrigation system, you can make it more efficient by changing sprinkler heads in flower beds to drip heads and adding a timer.
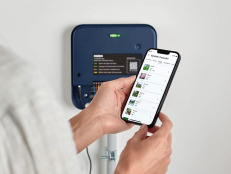
A rain sensor turns off sprinklers when it rains or adjusts the settings to account for the amount of water that falls. An evapotranspiration (ET) controller uses real-time weather and other data, including sun angles, to adjust the watering schedule.
Irrigation Options
See All Photos


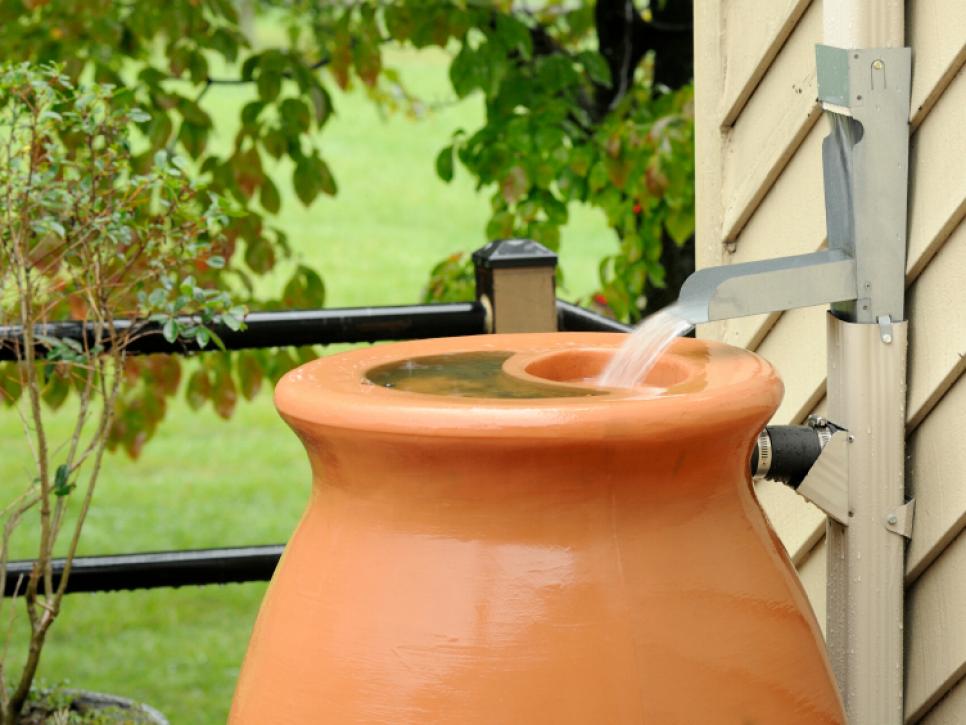
Rain Harvesting
Installing rain barrels or cisterns to collect rain reduces your water bill and helps the environment by reducing the amount of stormwater runoff. Rain barrels are relatively inexpensive and easy to incorporate into a landscape, even as an afterthought. However, cisterns, which often go under patios or decks, require excavation and electrical hook up for the pump, and you need to incorporate it into your design from the beginning.
To figure out what size rain-harvesting system suits your landscape, analyze your weekly irrigation needs between and January and July, and how much rain your property can capture.


