


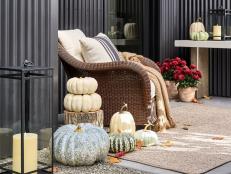
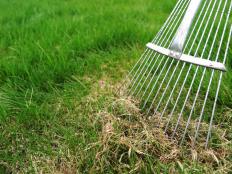
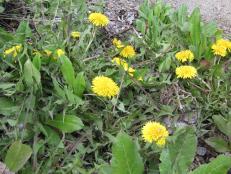
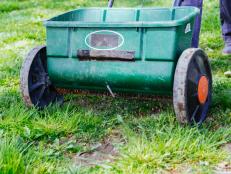
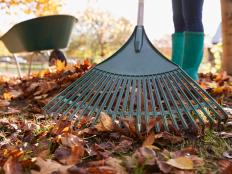
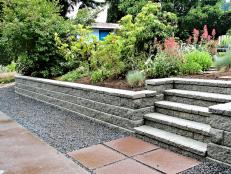
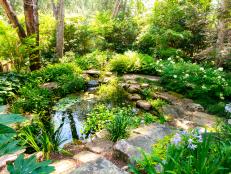
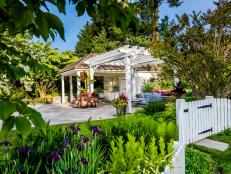
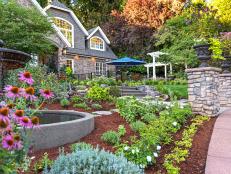
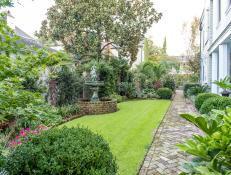
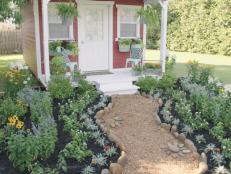
25 Biggest Landscaping Mistakes + Solutions 60 Photos
Avoid common landscaping disasters and learn how to fix them.
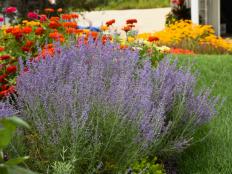
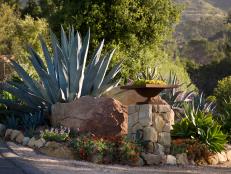
Latest Landscaping Ideas
More in Landscaping


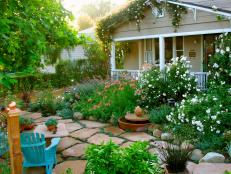


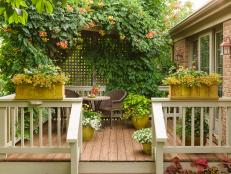
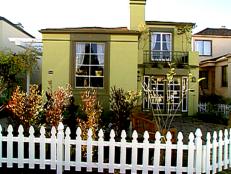
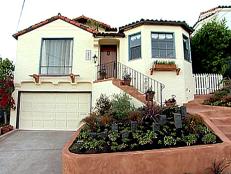
Curb Appeal Pointers
More in Curb Appeal


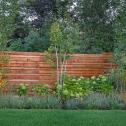
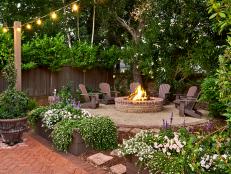
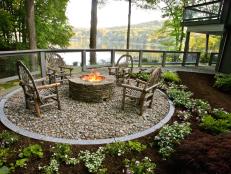
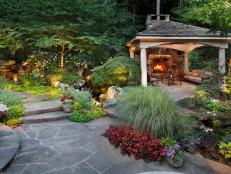
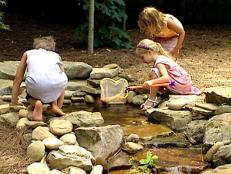
Backyard Inspiration
More in Backyards


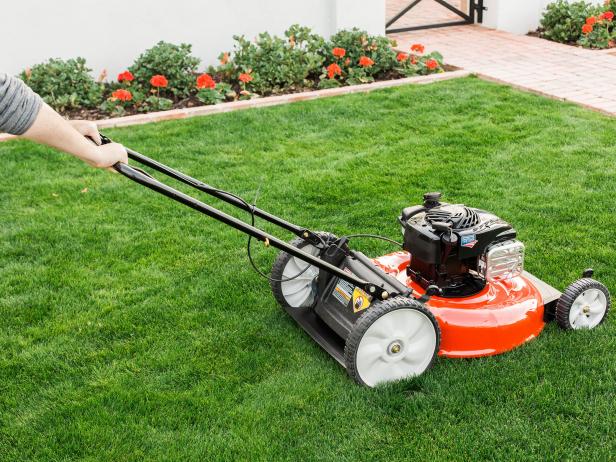
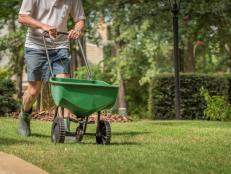
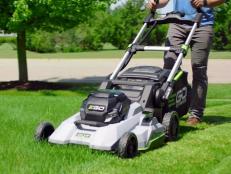
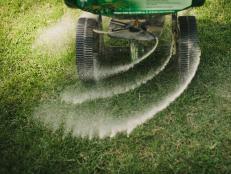
Lawn Care Tips
More in Lawn Care


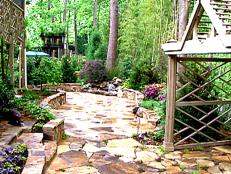
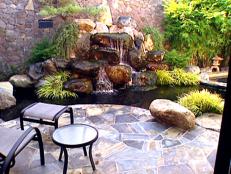
Hardscaping 101
More in Hardscaping


Landscaping Videos


Shop Landscaping Products
42 Cute Doormats You Need for Summer May 8, 2024
Make a statement for the season ahead with these fun and fabulous doormats.

7 Best Smokeless Fire Pits of 2024, Tested and Reviewed May 7, 2024
Enjoy the inviting warmth of a campfire without the accompanying face full of smoke and watery eyes with one of these editor-appro …
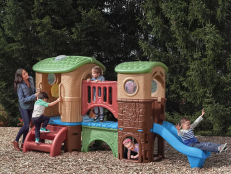
12 Best Outdoor Playsets for Toddlers and Kids Apr 2, 2024
Keep little ones busy and active with these backyard playsets for kids of all ages.
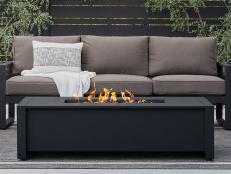
The Best Outdoor Fire Tables Mar 26, 2024
Have the best of both worlds — a cozy fire pit and table to gather around. We break down the best fire tables for your outdoor spa …
The Best Backyard Swing Sets for Kids Mar 26, 2024
Create a backyard made for entertaining your kids all year round with a ready-for-play swing set.
28 Best House Numbers for Every Architectural Style Mar 26, 2024
Crank up your curb appeal with these head-turning house numbers and address signs.

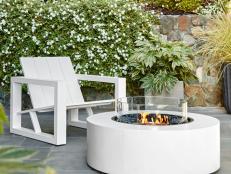
The Best Fire Pits Under $350 Apr 25, 2024
Warm up your outdoor space with one of these budget-friendly fire pits you can buy online.
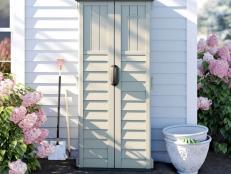
10 Small Storage Sheds You Need Now Under $350 Mar 15, 2024
These little storage sheds won’t break the bank or become an eyesore in the yard.
12 Best Propane Fire Pits Mar 14, 2024
Cool or warm evenings, roasting hot dogs or marshmallows, small or large gatherings — fire pits are the ultimate hangout spot. Dis …
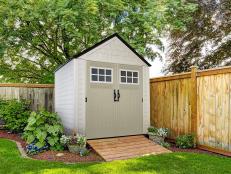
The Best Outdoor Storage Sheds on Amazon Mar 13, 2024
Today’s storage shed options are more attractive than you think.

The Best Products on Amazon to Organize Your Garage, Shed and Basement Jun 29, 2023
We rounded up the best organizers to tackle the worst parts of the home to clean.

The Best Inflatable Hot Tubs for Your Backyard May 5, 2023
Bring on the bubbles and soak away the day with the help of these top-rated inflatable hot tubs.

11 Patio Misters That Will Keep You Cool This Summer Apr 25, 2023
Beat the heat this summer with these top-rated patio misters.

11 Great Garden Trellises for Climbing Vines, Blooms and Vegetables Apr 18, 2023
Add support and style to your landscape design with these beautiful garden trellises.

12 Tabletop Fire Pit Picks for Your Outdoor Space Aug 18, 2023
Cozy up your outdoor living space with these top-rated tabletop fire pits.

10 Backyard Greenhouses You Can Buy Online Feb 22, 2023
Keep your green thumb occupied and protect your plants from the elements with these greenhouse finds.

27 Fire Pits on Sale for Every Budget and Style Nov 10, 2022
Treat yourself to cozy nights by the fire without breaking the bank.

The Best Chimineas to Warm Up Your Outdoor Space Feb 28, 2023
From midcentury modern to Southwestern, these outdoor chimineas are stylish and ready for cool nights.
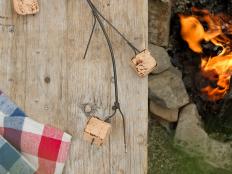
Our Favorite Fire Pit Accessories for Fall Aug 10, 2022
It's time to elevate your s'mores game with these hot product picks.

10 Kids' Tents That Are Perfect for Playtime Aug 4, 2022
Open up a world of creativity and fun with these adorable play tents and playhouses.
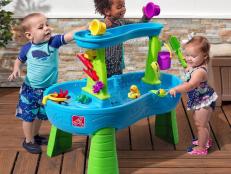
13 Best Outdoor Activity Tables for Kids May 24, 2022
Keep your little ones cool and busy for hours on end with these outdoor water tables, sand tables and mud kitchens.

Solo Stove's Bonfire Is the Perfect Smokeless, Portable Fire Pit for Backyards Nov 20, 2023
If you're in the market for a fire pit, this one checks all the boxes.

The Best Pergolas and Gazebos for Every Backyard Feb 13, 2023
Create a shady outdoor oasis with these stylish pergolas and gazebos.

Make a Splash: 15 Beautiful Birdbaths for Every Style Oct 10, 2023
Feathered friends will flock to these eye-catching birdbath designs.

10 Beautiful Garden Fountains for Every Budget Mar 23, 2023
Create a relaxing getaway in your own backyard with the help of an outdoor fountain.

Our Favorite Smokeless Fire Pit Brand Just Launched New Colors and We Want Them All Apr 26, 2022
They're also on sale for a limited time!

This Portable Fire Pit Magically Prevents Annoying Smoke Aug 24, 2021
No more watery eyes or hair that smells like a campfire, thanks to this smokeless fire pit.

The 10 Best Kids' Playhouses Jun 18, 2021
Ignite your children's imaginations with a creative playhouse, where they will pretend with friends, create their own stories and …

10 Cute Birdhouses Under $75 That Will Attract Nesters to Your Yard Jul 30, 2021
Go on a mini house hunt with birdhouses inspired by different architectural home styles.

Beginner's Guide to Birding: 10 Things That Will Bring Birds Into Your Yard Aug 5, 2020
Make birds of a feather flock together — to your backyard.


