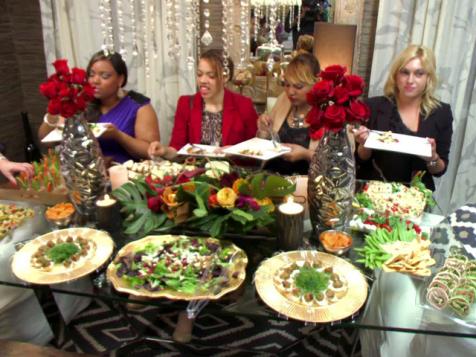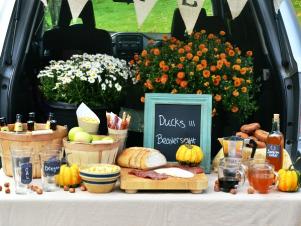


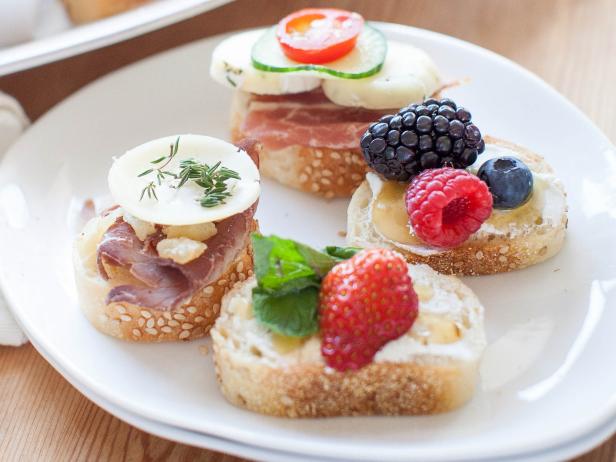
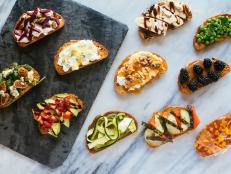
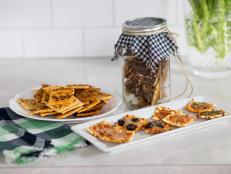
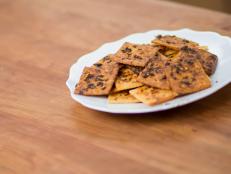
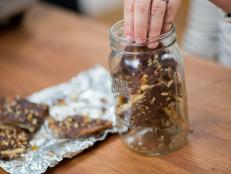
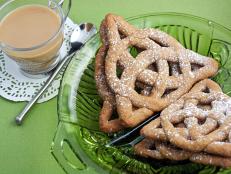
25 Easy Party Food Ideas That Won't Break the Bank
You don't have to tap into your savings to throw a great party. Try our tasty recommendations for easy (and cheap!) party recipes.
Our Latest Entertaining Tips


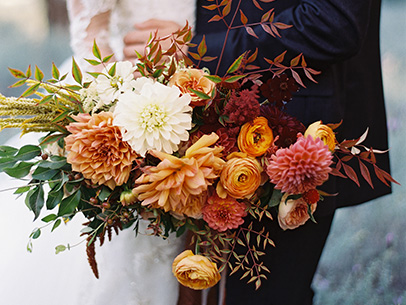
Wedding Ideas
More in Weddings


Bridal Shower Ideas
More in Bridal Showers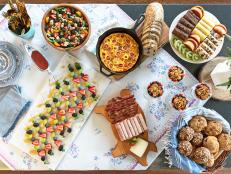


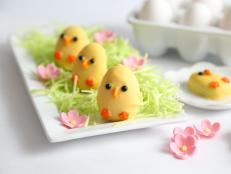
Baby Shower Ideas


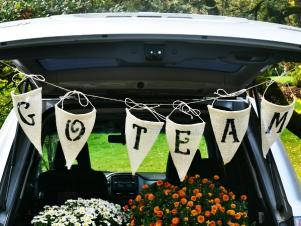
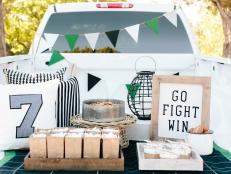
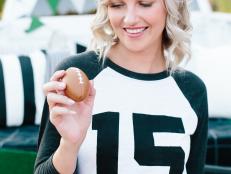
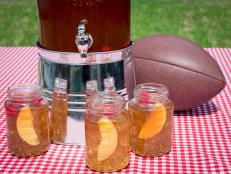
Tailgate Party Ideas


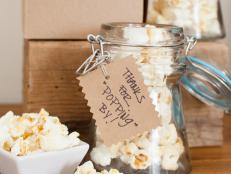
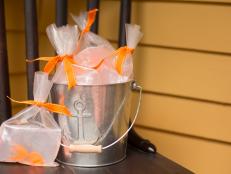
Party Favors They'll Love
More in Party Favors


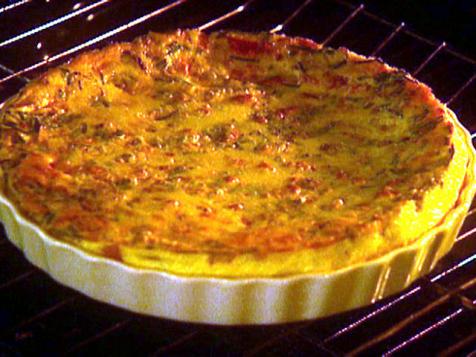
Crowd-Pleasing Appetizers
More in Appetizers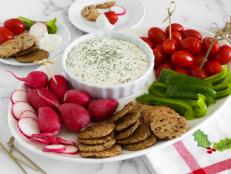


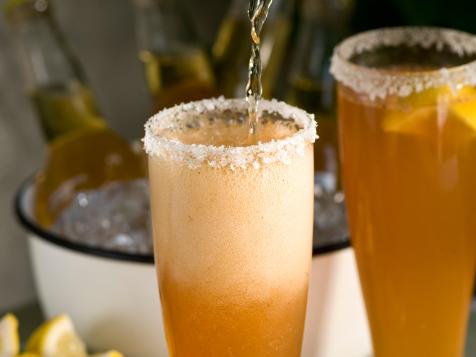
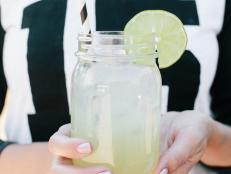
Our Favorite Cocktails
More in Cocktails


Watch: DIY Wedding Decor

More DIY Party Videos


Shop Entertaining Essentials
The Best Seder Plates to Add to Your Table This Passover Mar 28, 2024
Infuse meaningful flair into your Passover table this year with a quality seder plate.
Everything You Need to Throw a Taylor Swift-Themed Party for the Super Bowl Feb 6, 2024
Baby, let the games begin with these themed (Taylor's Version) party supplies.
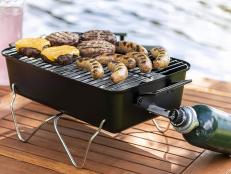
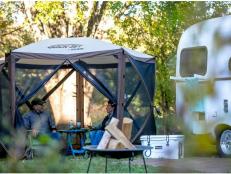
28 Must-Have Products for Outdoor Entertaining This Summer Jun 9, 2023
From coolers for your drinks to fun games, these are all of the products you'll need for the best outdoor parties ever.
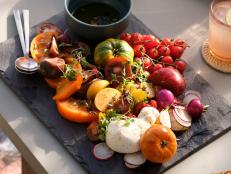
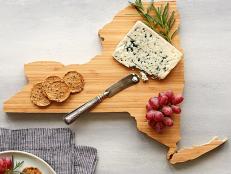
The Best Serveware Essentials You Need for Entertaining Oct 26, 2023
Shop the best charcuterie boards, serving bowls, dinnerware sets and more to gear up for your next big party.
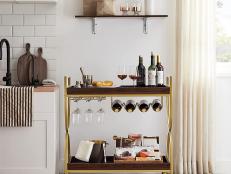
The 10 Best Bar Carts Under $550 Jun 6, 2023
Pop, fizz, clink! Shop these top-rated and cheers-worthy bar carts to gear up for your next big event.
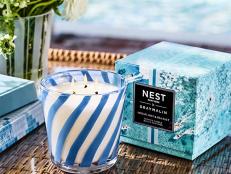
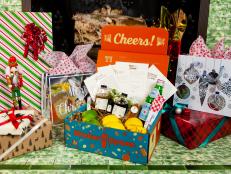
Our Favorite Summer Host Gifts That Aren't Wine, Flowers or Food May 16, 2023
Don't show up to summer gatherings empty-handed. These host gift ideas are equal parts thoughtful, functional and stylish.
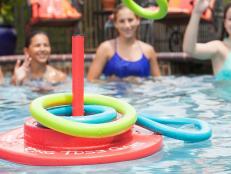
Bring the Fun With These 22 Swimming Pool Games May 9, 2023
Create an abundance of fun in the sun for guests at your next pool party with these inflatable and floating games you can buy onli …

The Best Margarita Makers for Cocktails at Home May 2, 2023
Don't waste away one more weekend without one of these top-rated margarita makers in your kitchen.
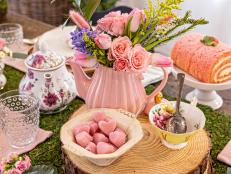
The Ultimate Tea Party Guide: The Best Ideas and Buys for Hosting a Grown-Up Tea Party Apr 25, 2023
Why should dolls and stuffed animals have all the fun? Consider these ways to ring in the spring with a golden afternoon.

These Thoughtful Items Under $75 Can Upgrade Your Guest Room Before Your Next Visitor Mar 10, 2023
Your home may not be a luxury resort, but you can certainly make it feel that way for your overnight guests.

15 Essentials for Surviving Awkward Family Gatherings Nov 9, 2022
Hosting family for the holidays? Invest in aromatherapy and stress balls.
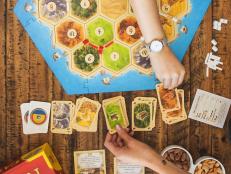
21 Classic Board Games to Play as a Family Oct 24, 2022
Trade-in your screens for a little family-friendly competition around games that have spanned generations.
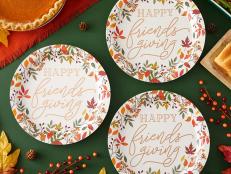
12 Festive Friendsgiving Decorations Oct 27, 2023
Host your besties for a fall feast with our favorite Friendsgiving decorations and ideas.

15 Entertaining Essentials You Need for Fall Nov 14, 2022
From harvest dinners and Halloween parties to Thanksgiving feasts, these tabletop essentials will make fall entertaining a breeze.
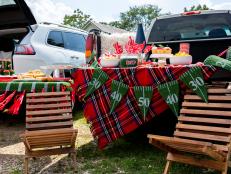
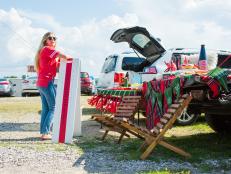
18 Tailgating Essentials to Score for Football Season Aug 15, 2023
These tailgating must-haves are sure to make game day even more fun and stress-free.

Create the Perfect Outdoor Space for Nighttime Entertaining With Our Must-Buys Aug 8, 2022
Whether you're planning a backyard barbecue or an outdoor movie night, we've got you covered. Shop our favorite outdoor entertaini …
The Ultimate Guest Hosting Essentials for Multi-Use Rooms and Shared Spaces Nov 17, 2022
These budget-friendly and luxe upgrades to shared spaces will help you be the best host ever for your next overnight visitors, eve …

12 Summer Table Essentials for Your Next Alfresco Event May 18, 2022
Set your table for sunny days and fancy soirees with our favorite summer serveware and decor essentials.

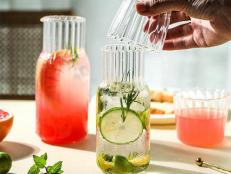
12 Fun Portable Barware Finds for Celebrations On the Go May 11, 2022
Bring the bar wherever you are, from picnics to vacations, with our favorite portable beer, wine and cocktail tools.

13 Things You Need for the Ultimate Pool Day May 3, 2022
If your idea of summer fun is being in or near the water, then you’ll love our list of pool floats, games and accessories for the …
This Handy Gadget Turns Your Favorite Cocktails Into Frozen Slushies Overnight May 2, 2023
Turn your favorite cocktails into a batch of frozen slushies — no blender required.

12 Must-Have Tech Gadgets for Outdoor Entertaining Apr 25, 2022
Take the pressure off your outdoor party planning with these tech-savvy gadgets that work smarter, not harder.

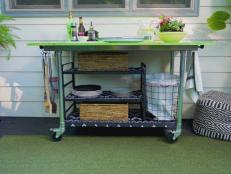
25 Outdoor Bar Carts and Cook Stations We Love for Summer Entertaining Apr 19, 2022
Roll out all the stops at your next alfresco event with these outdoor bar carts, coolers, kitchen cabinets and cook stations.

22 Outdoor Buys to Make Your Backyard More Fun Apr 1, 2022
Turn your yard into nonstop smiles all summer long with these lawn games, inflatables, party essentials and more.

12 Holiday Dinnerware Sets for Every Style and Budget Nov 23, 2021
Celebrate the holidays with dinnerware that rises to the occasion.

12 Best Holiday Table Runners for Your Festive Gatherings Nov 10, 2021
Set the scene for festive feasting with a spirited holiday table runner.

The Best Outdoor Dinnerware for Every Occasion Sep 24, 2021
Skip the shattered glass and dine in style with our favorite outdoor dinnerware picks.

The Best Party Games for Adults Sep 22, 2021
Rev up the friendly competition with games designed specifically for grown-ups. We have your next party planned with an epic game …

18 Beautiful Buys From Frontgate That Will Get You Ready for Fall Entertaining Aug 18, 2021
With a slew of entertaining holidays on the horizon, we're sharing the buys that are getting us excited to play host this fall.

Refresh Your Home for Summer Guests With These Walmart Finds Under $75 Jul 15, 2021
Make guests feel at home with these budget-friendly Walmart finds that celebrate the season.