


How to Make a Plinko-Style Bottle Opener Game
Liven up your next party with this Plinko-inspired game where falling bottle caps decide the outcome.

Gary Payne
Tools + Materials
We hung our Plinko game outside, so we used exterior-friendly paint and hardware. If your game will stay indoors, you can use interior-grade materials.
- (1) 1x3 x 8'
- (1) 1x2 x 8'
- (1) 19-1/2" x 11" Plexiglass
- 1-3/4" roofing nails with neoprene washers
- exterior screws
- drill
- ready-cut craft board or 1" plywood at 18" x 24"
- chalk paint
- white exterior-grade paint-and-primer all in one
- two shades of exterior-grade paint-and-primer all in one (sample sizes should be enough)
- paintbrush
- painter's tape
- speed square or T-square
- graph paper
- hammer
- bottle opener
- mounting brackets
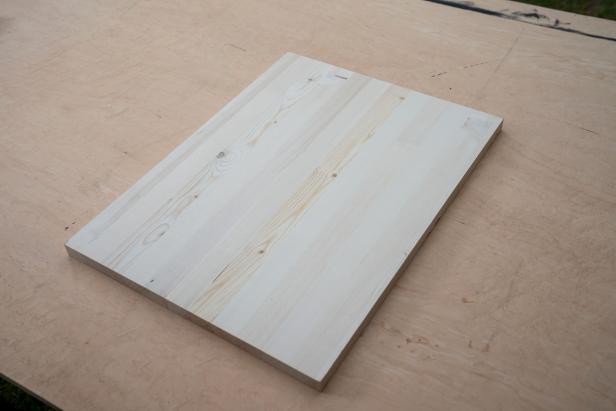
Step 1: Cut Plywood
Cut 1-inch plywood to 18 x 24 inches. To make it easier, we used a ready-made craft board.
Gary Payne
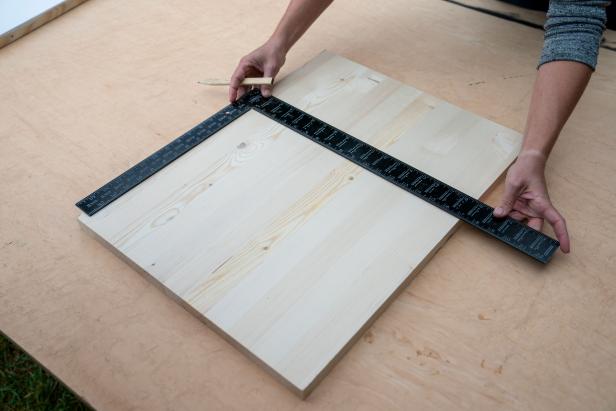
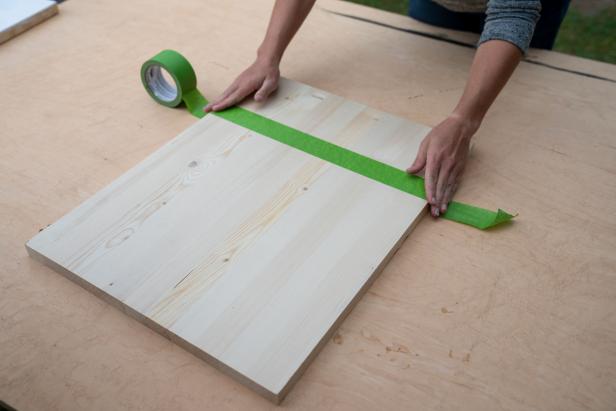
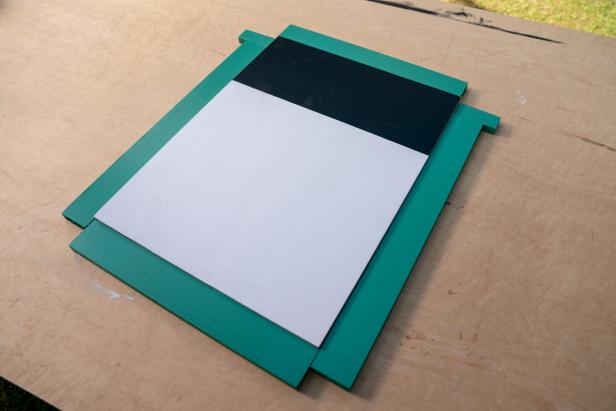
Step 2: Paint Upper Section
Measure roughly 8 inches from the bottom of the craft board and draw a horizontal line using a speed square or T-square. Run painter’s tape along the line and paint the bigger part of the board (the 16-inch section) with white paint.
Gary Payne
Gary Payne

Gary Payne
Step 3: Paint Bottom Section
When the white paint is dry, move the painter’s tape up to the bottom of the white paint and fill in the bottom section using black chalkboard paint. Remove painter’s tape when the paint is dry.

Gary Payne
Step 4: Make Outer Frame
Use 1x3s to make the frame. Cut two boards to 23-1/4 inches (sides) and two boards to 18 inches (top and bottom).

Gary Payne
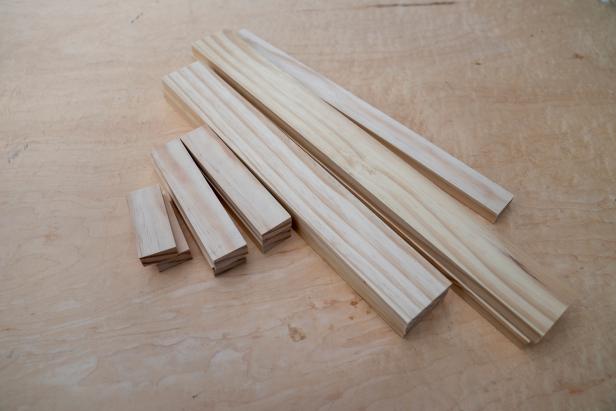
Step 5: Make Bottom Tray
Use 1x2s to make the dividers and the bottom tray where the bottle caps will land. Cut two pieces to 3-1/2 inches for the sides. Cut one board to 19-1/2 inches for the front of the tray. For the dividers, cut four boards to 8-1/2 inches.
Gary Payne
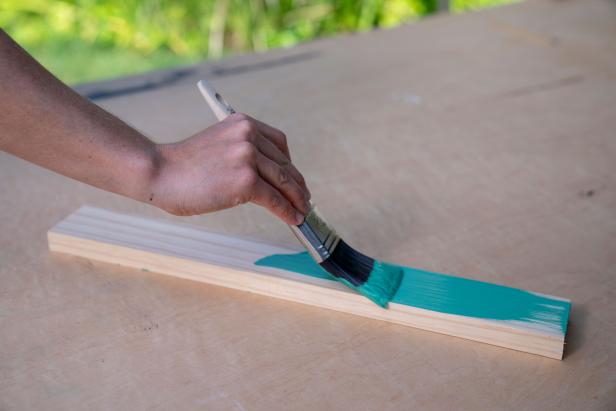
Step 6: Paint
Paint the frame and tray pieces one color and the dividers a different color.
Gary Payne
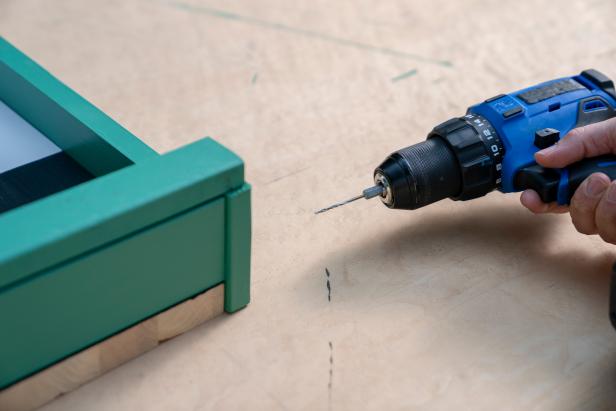
Step 7: Assemble
Attach the 1x3s to the side of the plywood, leaving an excess of 3/4 inch on the bottom; this is where the side extensions for the tray will go. Predrill to prevent the wood from splitting and then fasten with screws (use exterior grade screws if your game will be placed outdoors). Attach the 3-1/2-inch side extensions to the bottom. Attach the bottom 1x3 piece to the face of the plywood and the side extensions. Last, attach the 1x2 lip piece on top of the side extensions.
Gary Payne

Gary Payne

Gary Payne
Gary Payne

Gary Payne
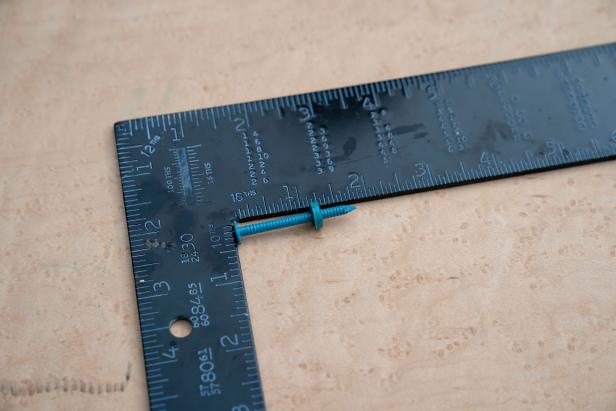
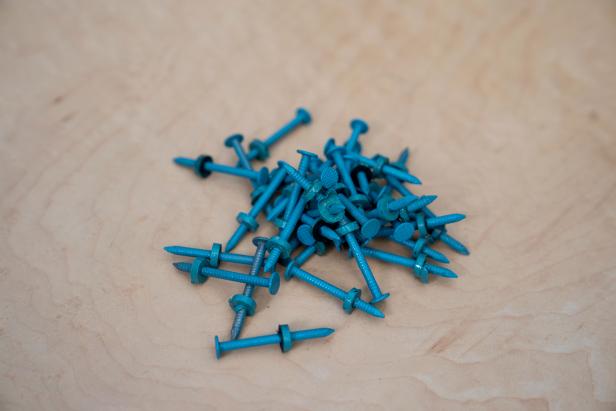
Step 8: Prep Nails
Move the rubber ring on the roofing nails to 1-1/4 inches away from the head of the nail. This will make sure all the nails are level across the board when you hammer them into place. If desired, spray paint the nails and let them dry.
Gary Payne
Gary Payne
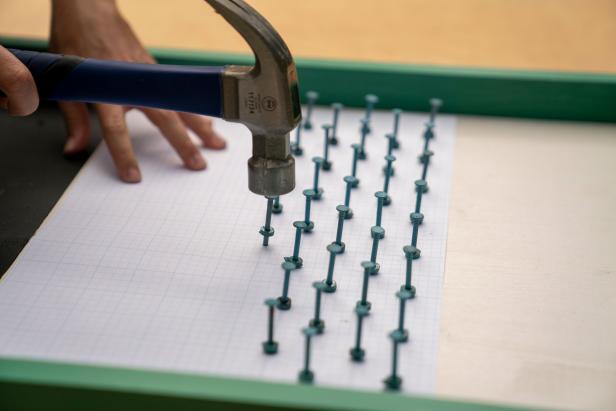
Step 9: Hammer Nails
To make it easy, use a piece of graph paper as a guide to lay out the nails. Place the nails about an inch apart, enough so a bottle cap can slip through. Then stagger the next line of nails 1/2 inch off the previous line. Hammer the nails in place until the rubber ring sits flush against the plywood. When all the nails are inserted, tear out the graph paper and discard.

Gary Payne
Gary Payne
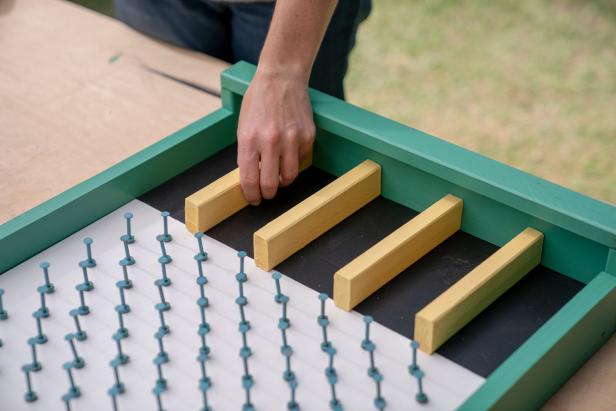
Step 10: Add Dividers
Lay the dividers out equally across the bottom tray. Use wood glue and screws to fasten the dividers onto the board from the bottom or from the back.

Gary Payne

Gary Payne
Gary Payne
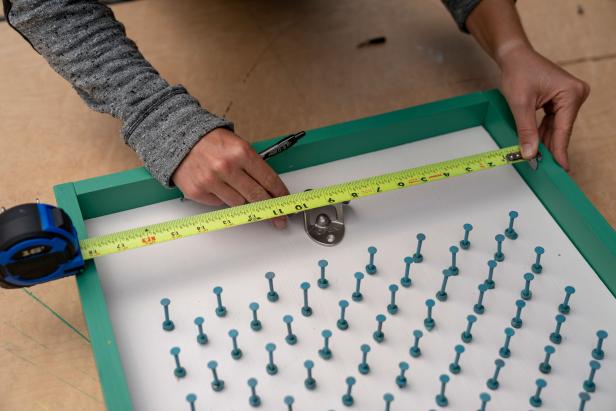
Step 11: Attach Bottle Opener
Center the opener above the nails and screw it into place.
Gary Payne
Step 12: Add Plexiglass Shield
Install a precut piece of Plexiglass over the nails using screws. Be sure to predrill the holes to keep the Plexiglass from cracking.

Gary Payne
Step 13: Set the Stakes
Use a chalk pen to write fun phrases or indicate game points in each slot.

Gary Payne
Step 14: Hang It
Attach mounting hardware to the back of the game and fasten it to the wall using screws.

Gary Payne

50 Ultra-Fun DIY Backyard Games for All Ages 50 Photos
Create endless outdoor fun for kids and kids at heart.


