


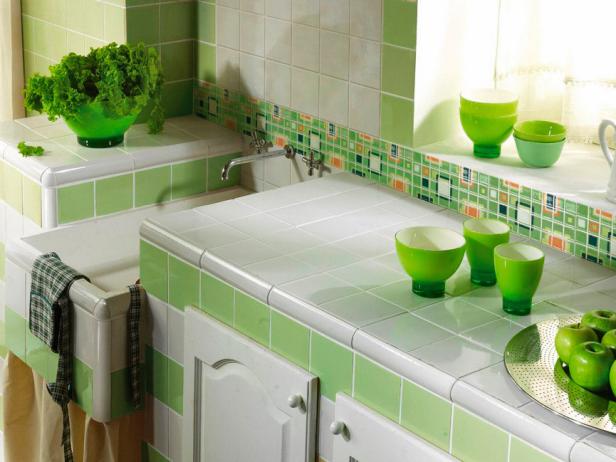
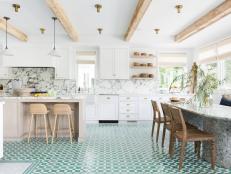
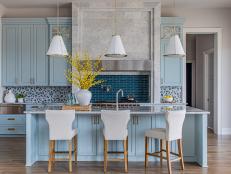
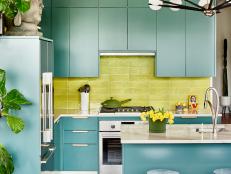
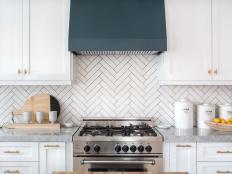
Tile Design Ideas
Create any mood you like with these versatile, durable design elements.
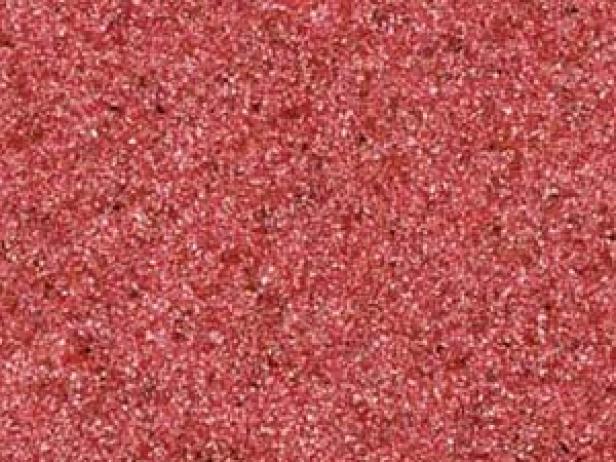
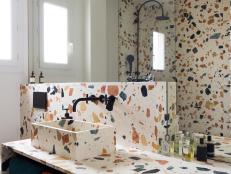
The Pros and Cons of Terrazzo Tile
Terrazzo tile is long-lasting and comes in fun colors—just don't slip.
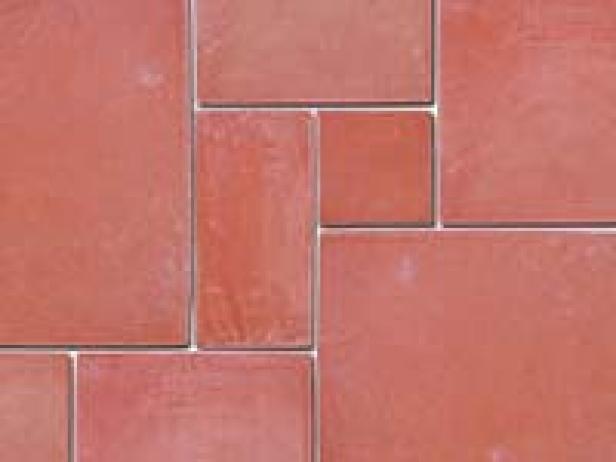
The Pros and Cons of Terra Cotta Tile
Give your space a warm, rustic look with this classic tile.
Galleries


Loading Video...


