


How to Install and Organize a Pegboard
Pegboards are a great way to store and organize everything from garden tools to kitchen utensils, and they're inexpensive and easy to install.


Tools and Materials
- pegboard panel
- measuring tape
- pencil
- level
- table saw or circular saw
- 1x2 x 8' furring strips
- 1x2 x 8' trim
- paint
- painting supplies
- 2" wood screws
- anchors (as necessary)
- 1-1/4" finishing nails
- hammer
- assorted peg hooks
Determine the size of your pegboard installation. Pegboard sheets are commonly sold in 2’x4’, 4’x4’ and 4’x8’ sections. However, if you have a specific size you need to fill a space, most home improvement centers will cut the boards to size for you.
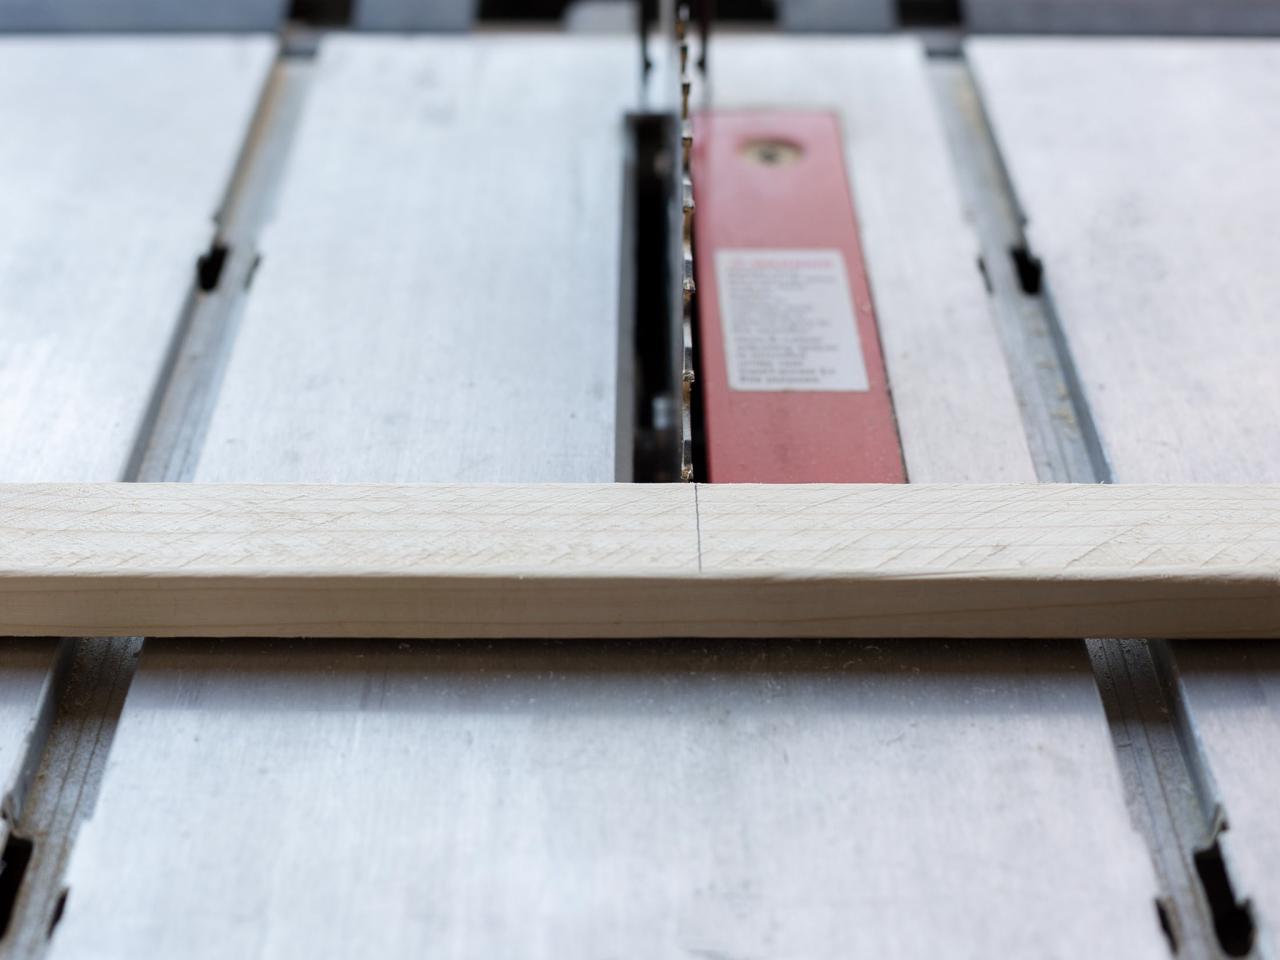
1. Layout the Frame
Determine the number of furring strips you will need based on the size of your board. You will need at least enough to make a frame under the board. For larger boards, add furring strips to the center of the board spaced no more than 2 feet apart. Measure the height of your board. Cut two furring strips to that measurement. Measure the width of your board and cut strips to that measurement minus 3 inches. You will need at least two to complete the frame plus any for center supports.

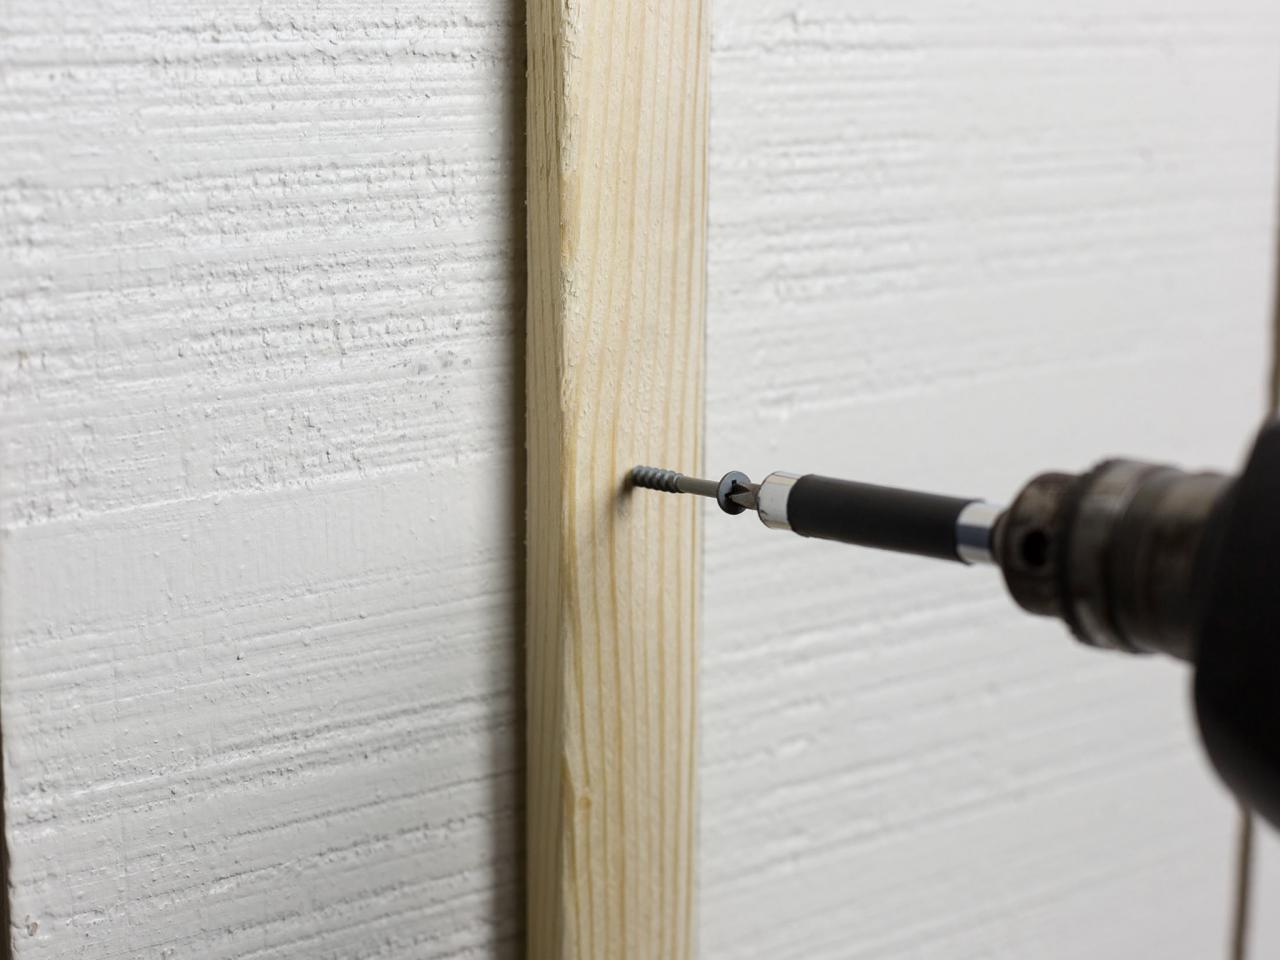
2. Secure Furring Strips to Wall
Using a level, make a line where the top of the pegboard should sit. Measure and mark the spots for the outside edges of the furring strips to correspond with the dimensions of the board. Place the vertical furring strips in place with the top edge against the level line and use the level vertically to ensure that the furring strips are straight. Use 2” wood screws to secure them to the wall. For wall material that is not sturdy enough use anchors if no wall studs are available.

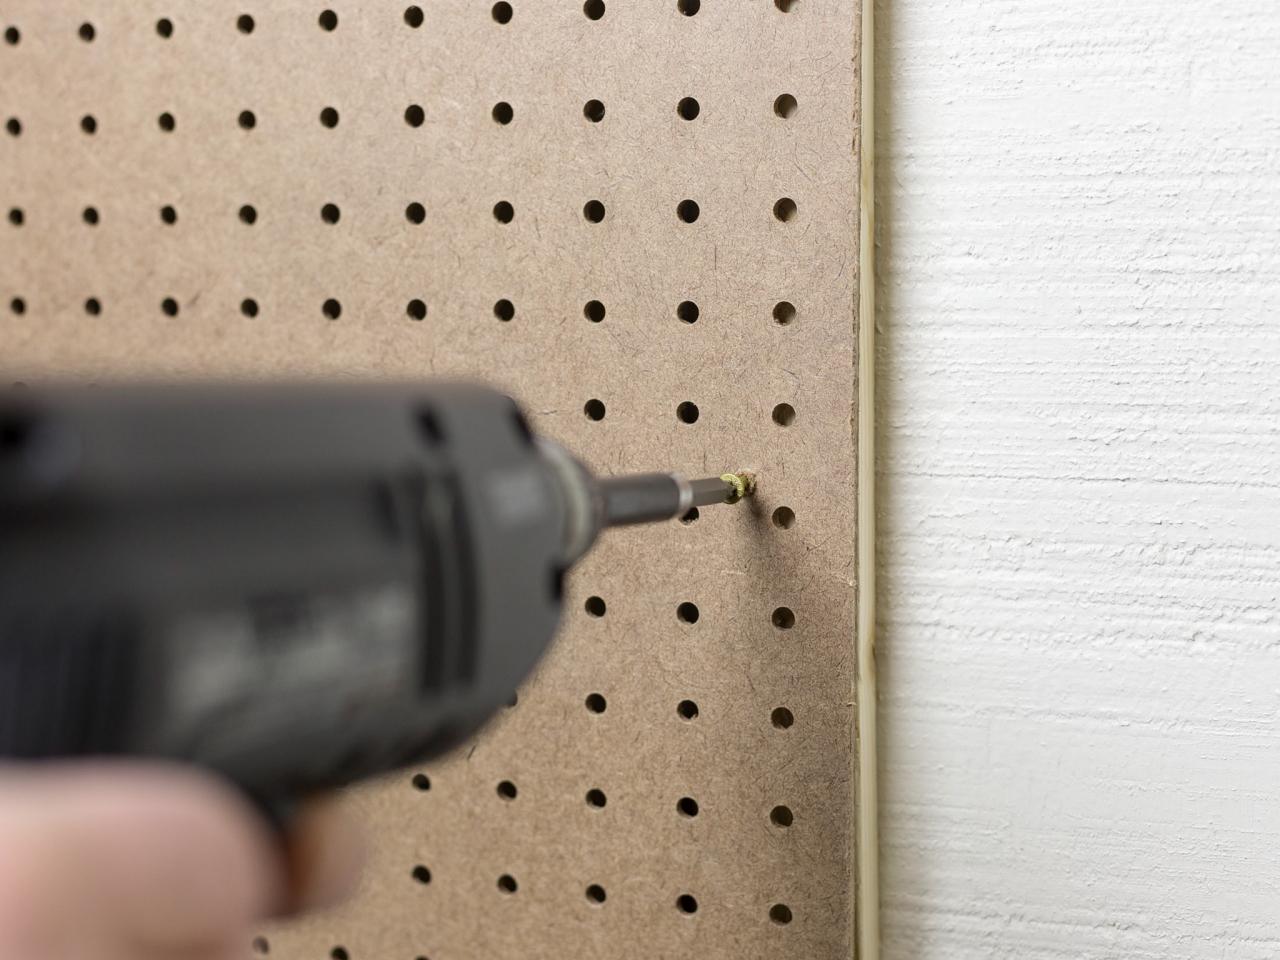
3. Attach Pegboard to Frame
With help, hold the pegboard sheet in place while you secure it to the furring strips with 2” wood screws. Add wood screws about every 6 inches around the frame and on the center supports.

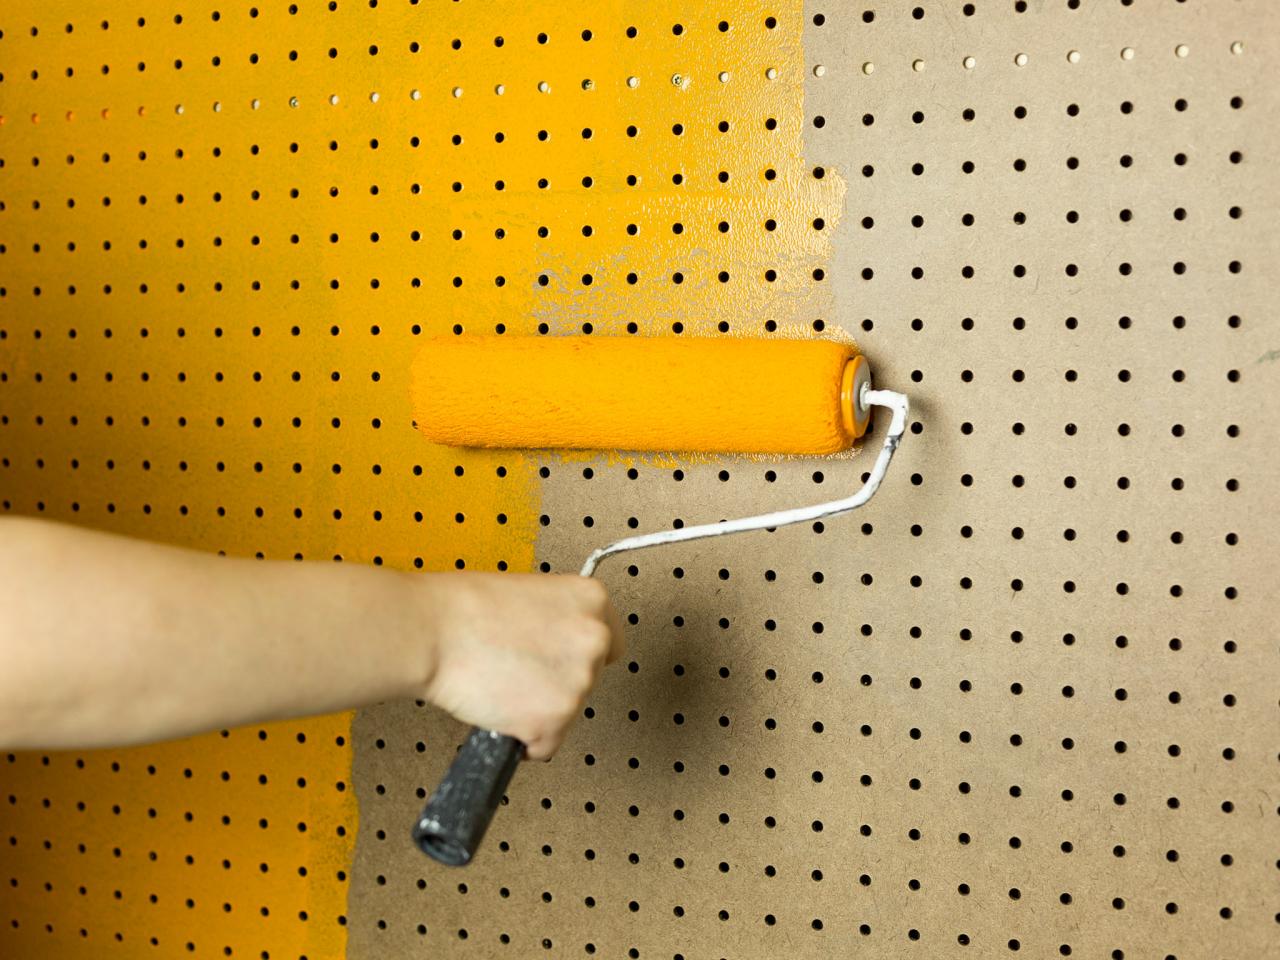
4. Paint the Board
Add a pop of color to your project by painting it a color to match your decor. For best results, choose a paint that has at least a bit of sheen to withstand scuffs and to clean easily.

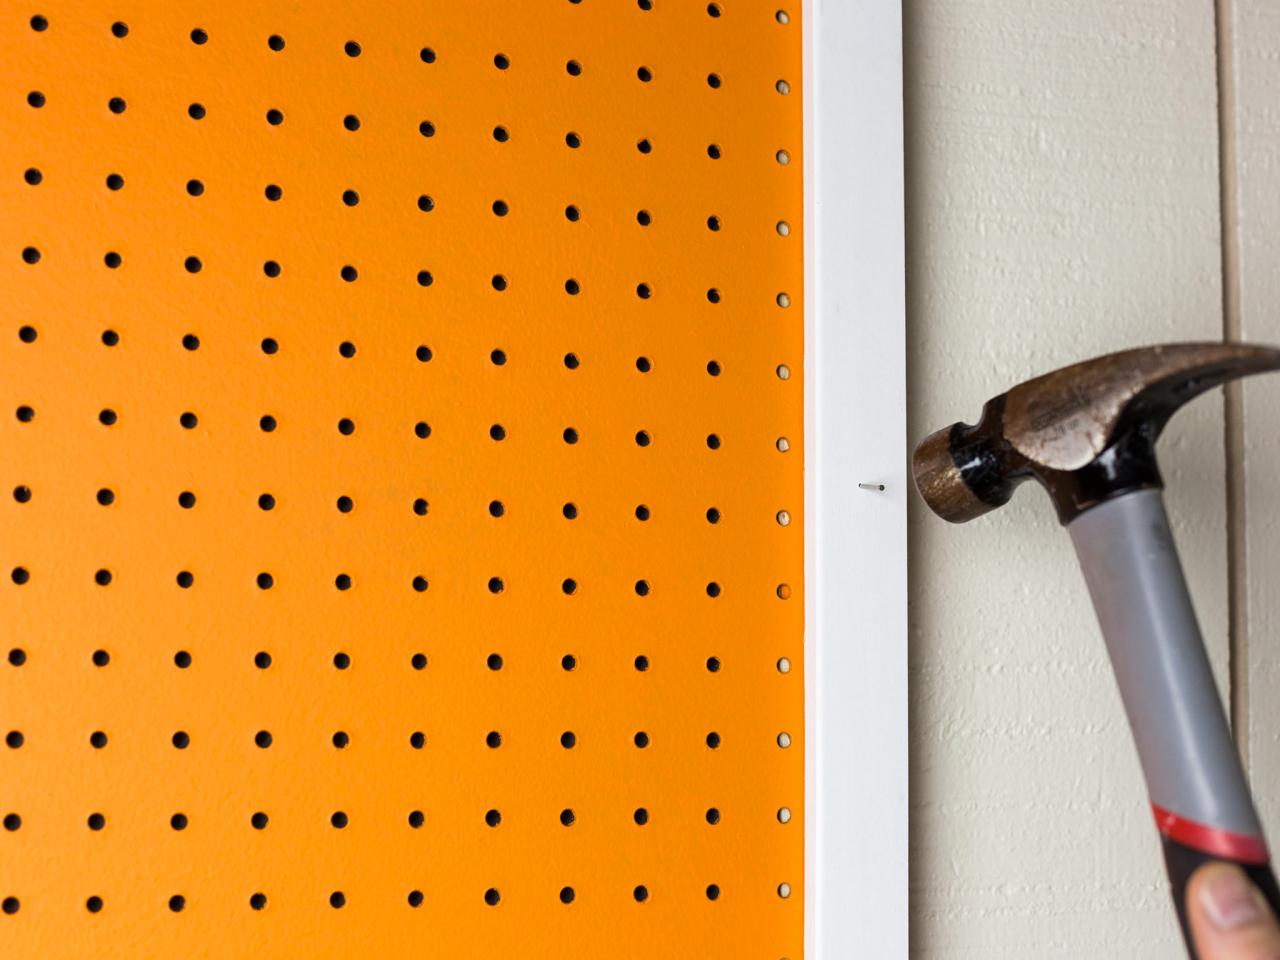
5. Make the Exterior Frame
Cut 1x2 trim to match the measurements of the furring strips for the frame. Paint or stain and seal the trim as desired. Use finishing nails to secure the trim frame in place. Sink the nails and fill them with wood putty. Sand the putty and touch up with paint to cover.

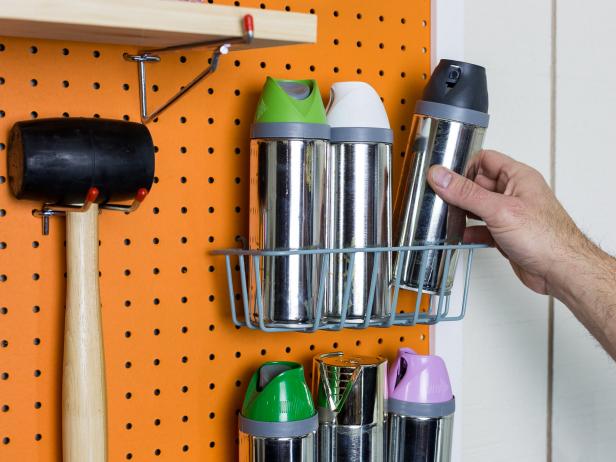
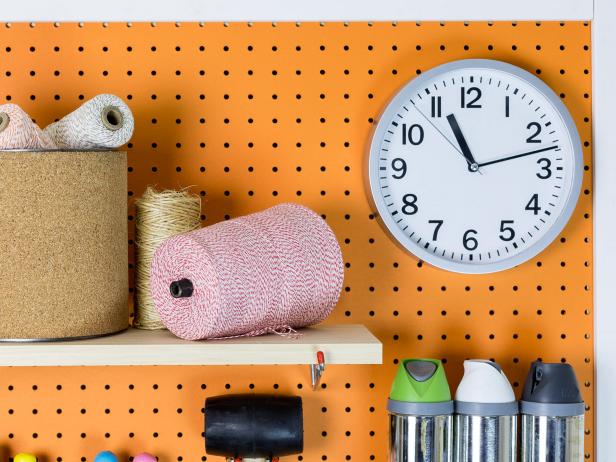
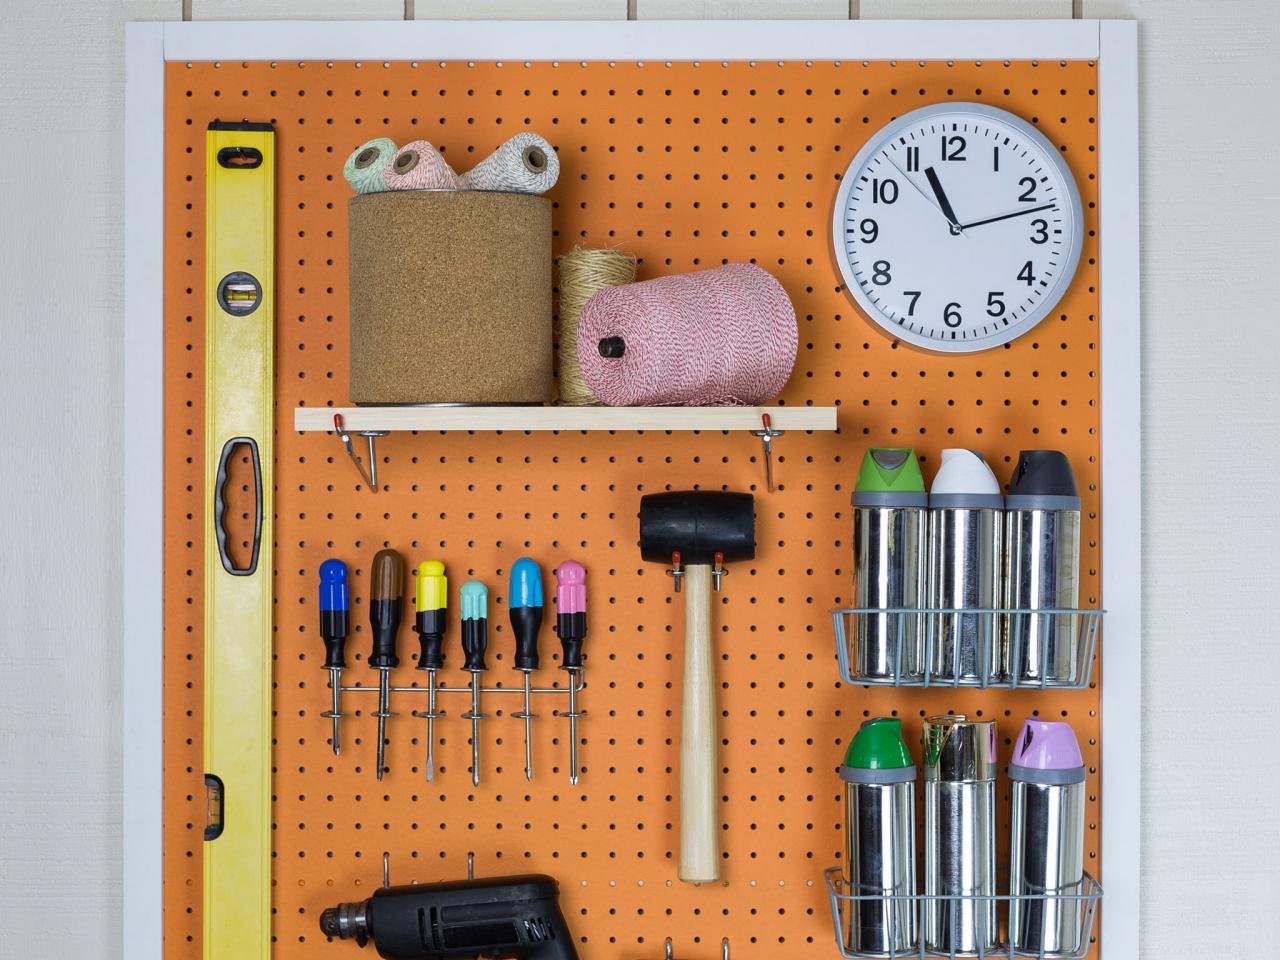
6. Organize the Board
Pegboard accessories come in a variety of shapes and sizes. Use longer pegs together to hold cords; double, rounded hooks to hold drills and other hand tools; and baskets to hold things that are not well suited for hooks such as paint cans. Add extra touches to the pegboard such as shelf support hooks that allow you to place a shelf for more materials.

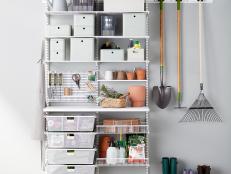
13 Creative Ways to Use Pegboard 13 Photos
Utility meets style in every room of the home — from the garage to the kitchen to the office — thanks to clever uses of pegboard, a basic organization staple.


