


How to Refinish Wood Furniture
Follow these simple steps on how to refinish wood furniture that include stripping, sanding and staining.
If you have a piece of wooden furniture you really like, or a tired thrift-store find with loads of potential, give it new life with a fresh coat of stain. Refinishing is an easy, low-cost way to bring out natural beauty in wood furniture and make fine details shine.

Materials + Tools
- CitriStrip Paint and Varnish Stripper
- Scott Shop Towels
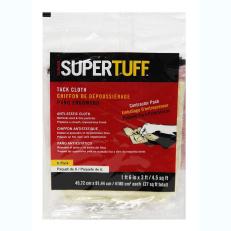
- tack cloth
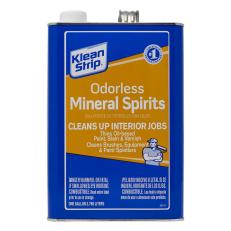
- mineral spirits
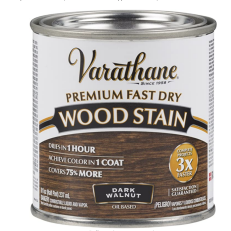
- oil-based stain
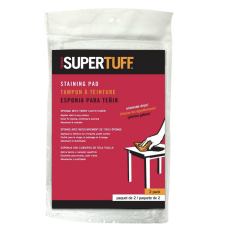
- staining pads
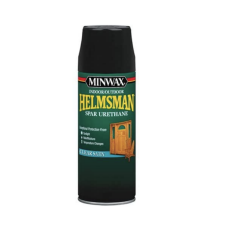
- spray-on clear coat
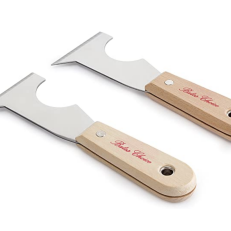
- scraper tool
- palm sander and pads
- sandpaper or sanding block
- safety gear -- goggles, dust mask, etc.
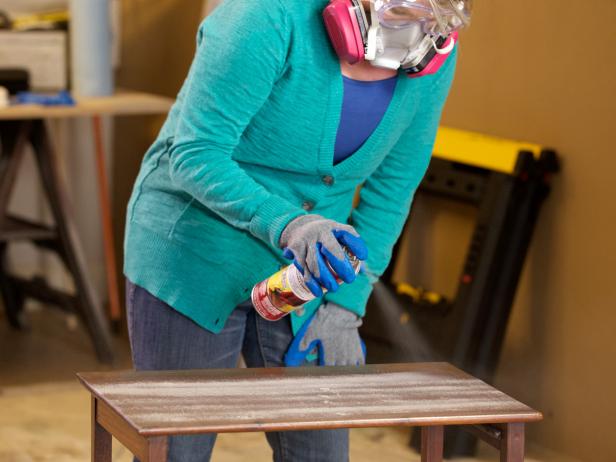
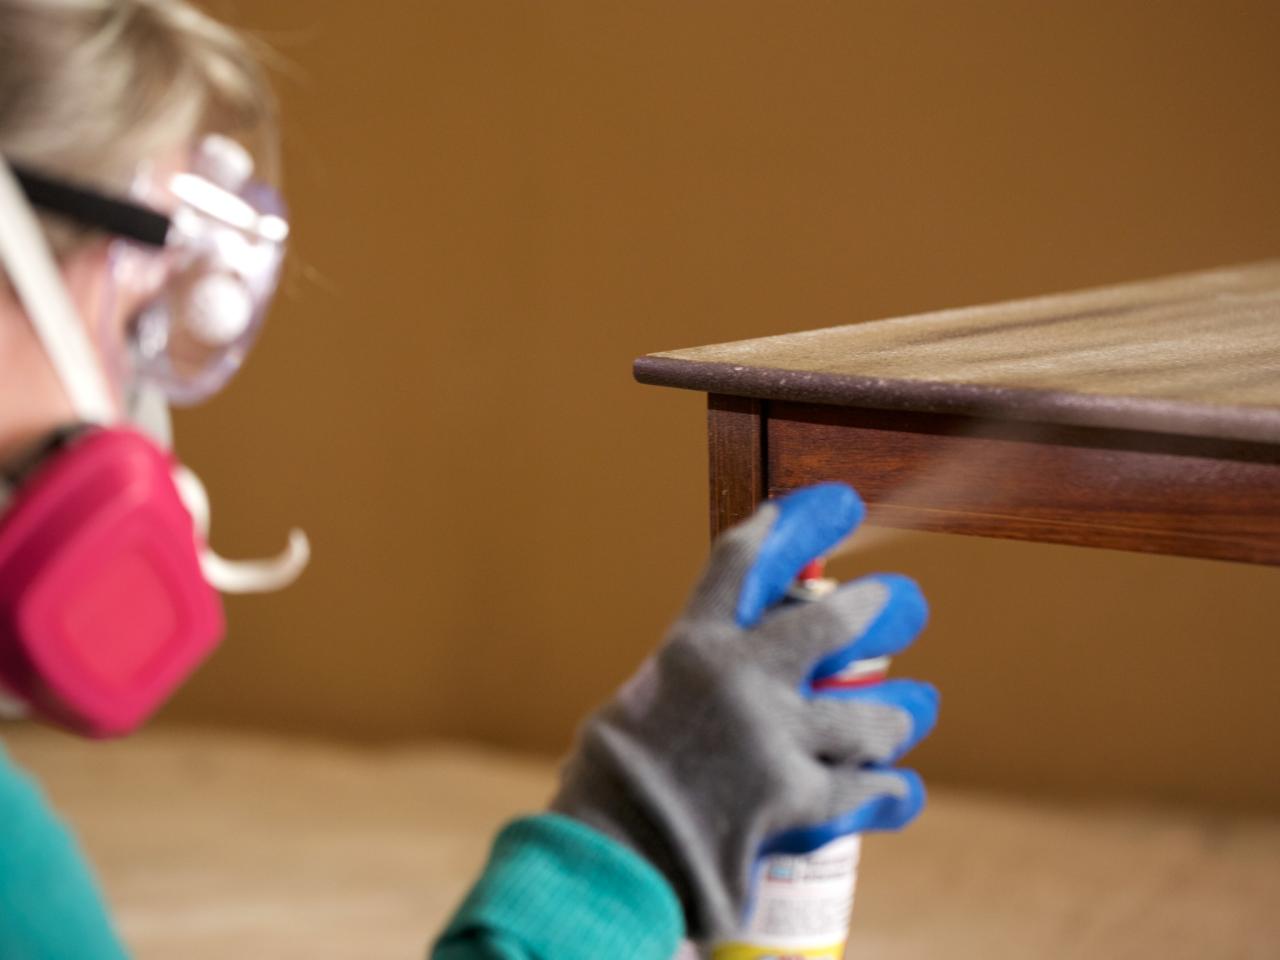
Step 1: Apply Stripper
For small projects, aerosol spray paint stripper is really convenient because it’s easy to control and won’t spill. Spray the stripper evenly over the surface and let it sit for 5 to 10 minutes. You’ll see the old finish start to lift up off the wood.

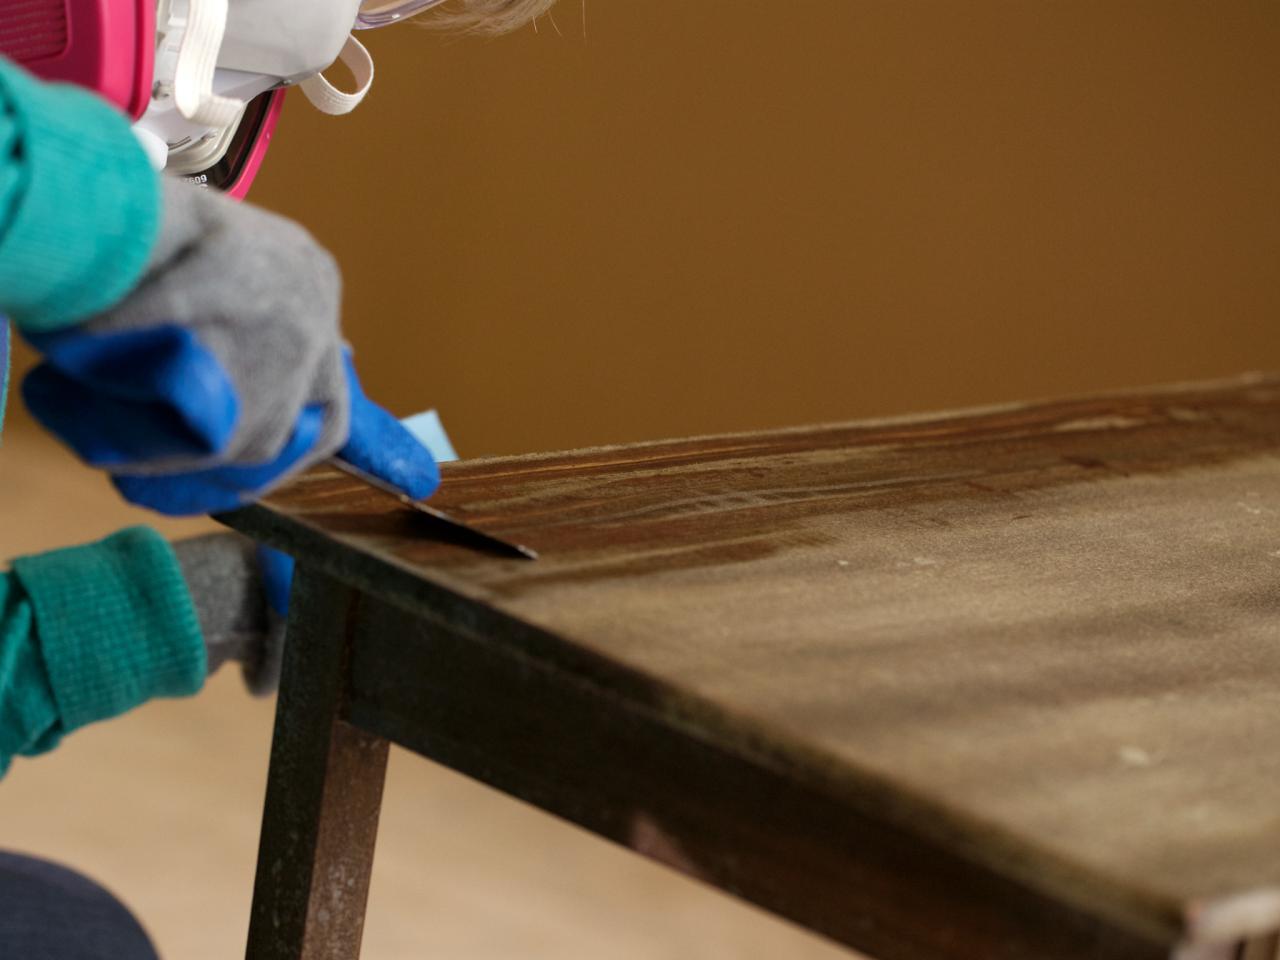
Step 2: Remove Old Finish
Use a scraper tool to remove the old finish. Wipe the blade with a disposable shop cloth between scrapes. You may have to apply stripper and scrape more than once in order to remove the majority of the old finish.

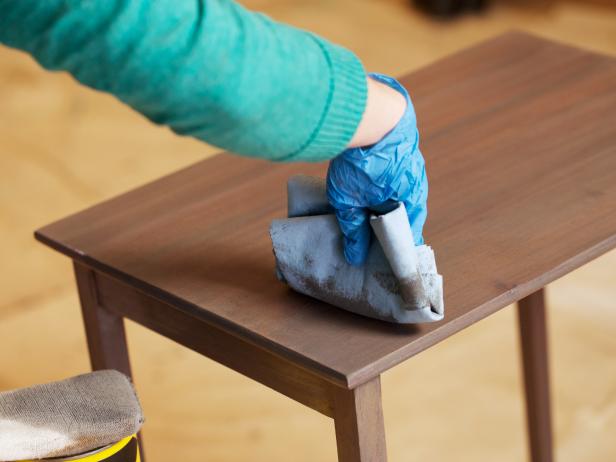
Step 3: Clean With Mineral Spirits
Once you’re done stripping and the surface is dry, wipe with mineral spirits using a clean cloth to remove any residual stripper. Allow the table to dry fully before moving on to sanding.

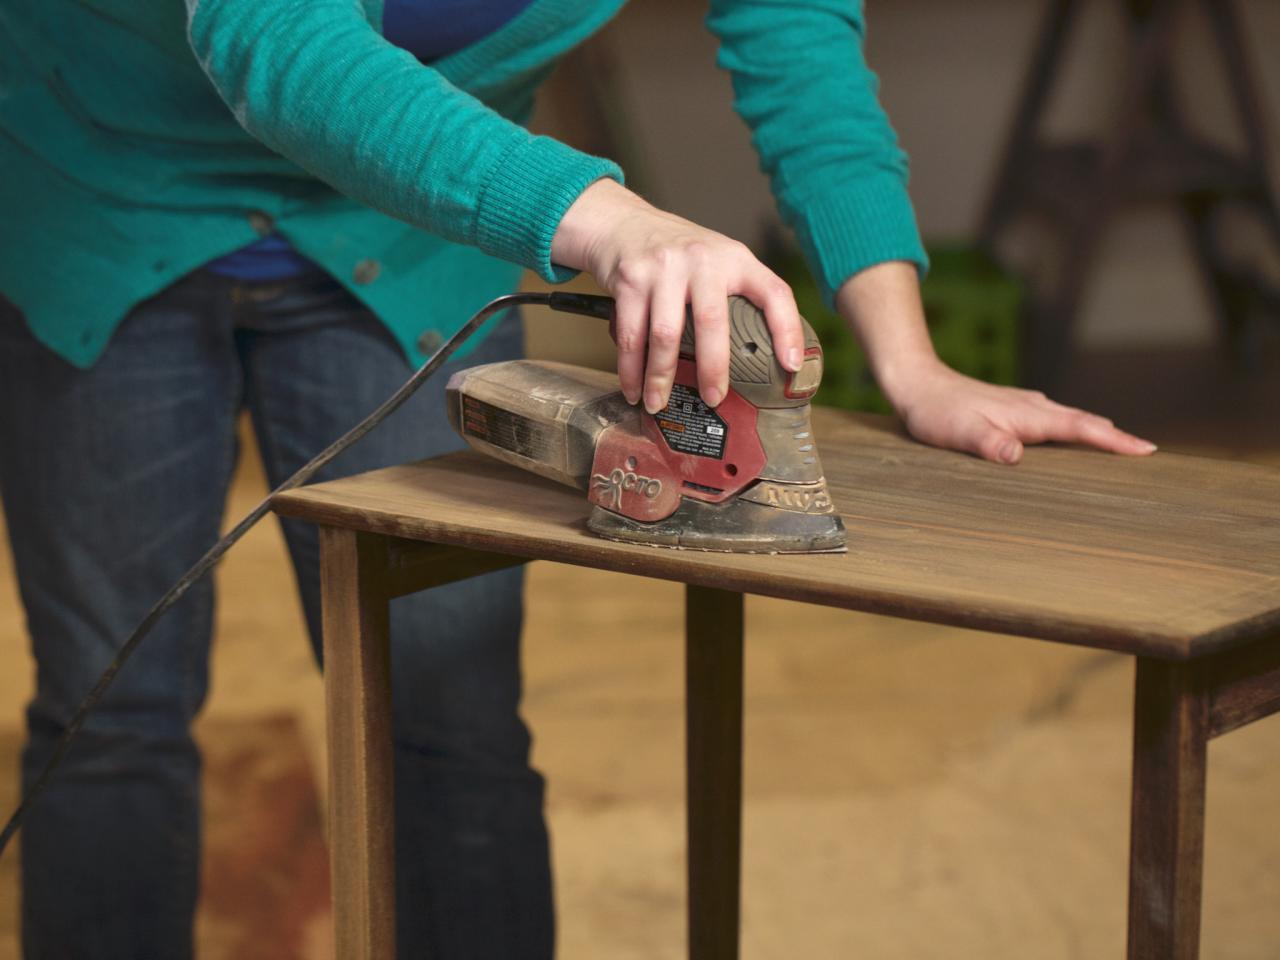
Step 4: Sand Smooth
To remove the last bits of finish, use a palm sander with medium-grit sandpaper (about 150-grit) until you see the bare wood. Then switch to fine sandpaper (200+ grit) until the entire piece is uniform.

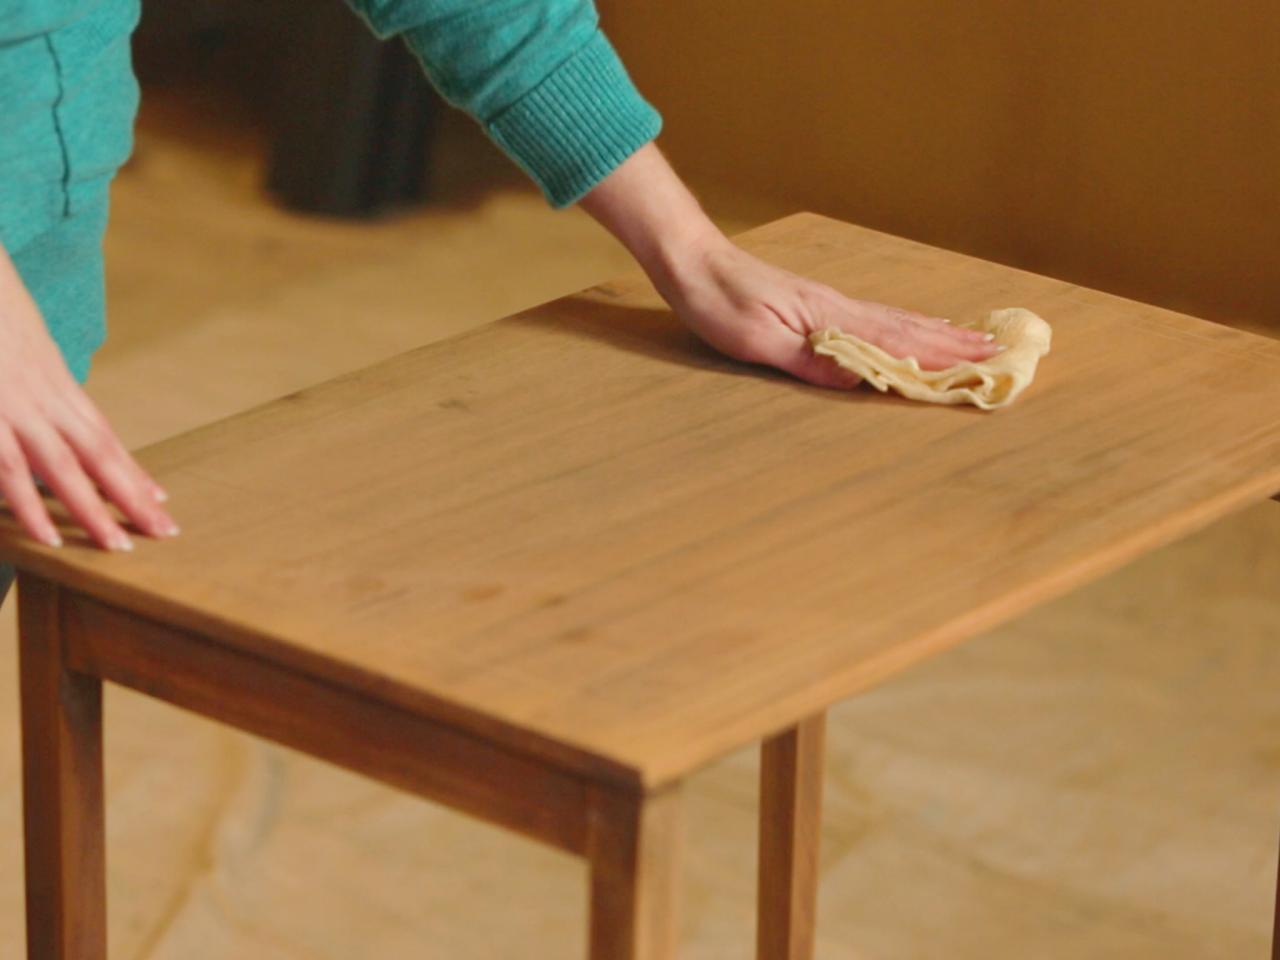
Step 5: Remove Sanding Residue
Wipe down the whole surface with a tack cloth to remove any dust from sanding.

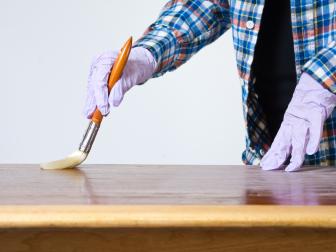
Step 6: Apply Stain
Staining is easiest to do with a staining pad. Dip the pad in the stain and wipe it on using long, even strokes.
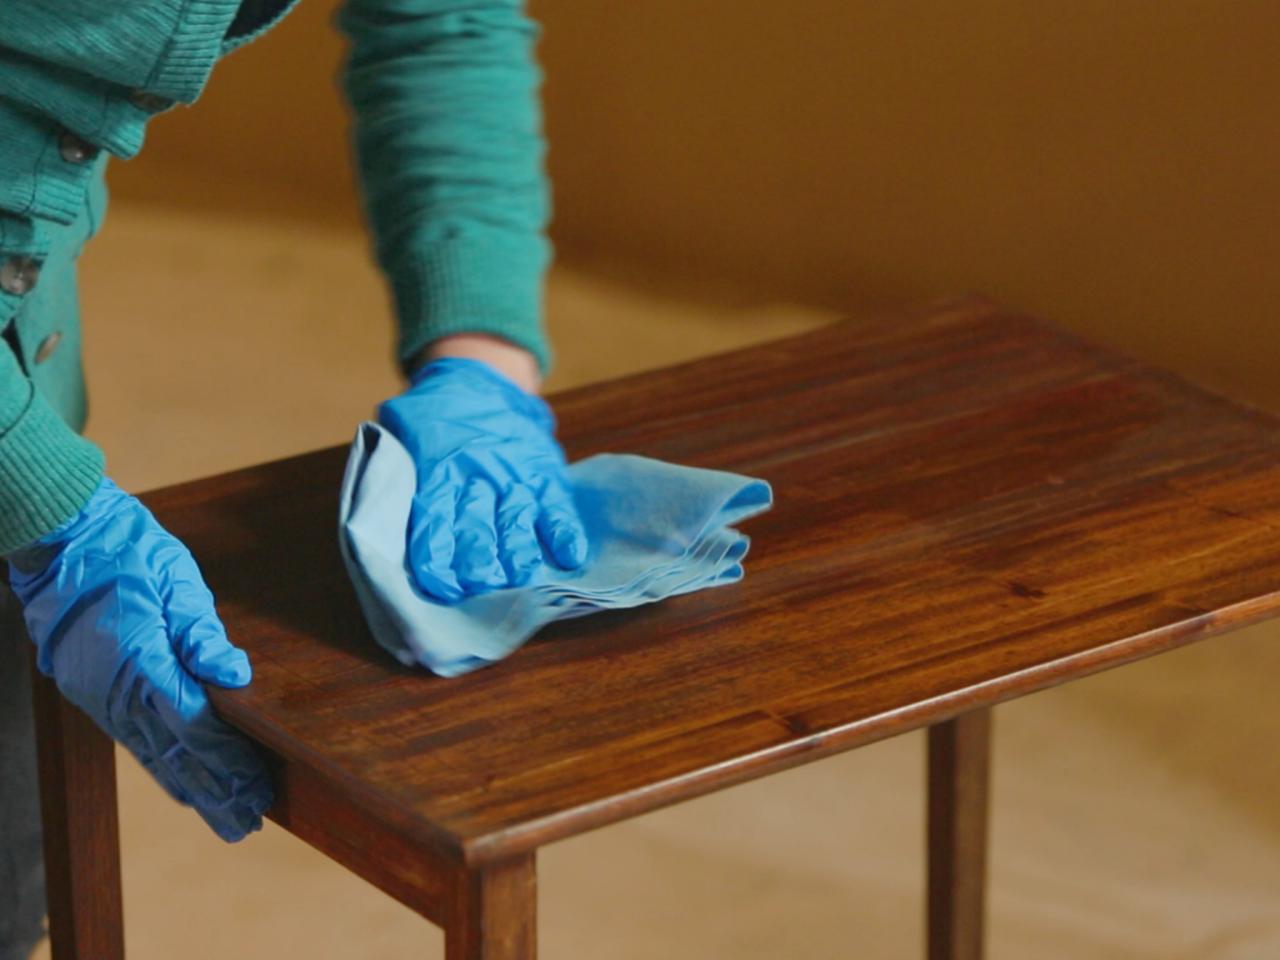
Step 7: Remove Excess Stain
Then use a clean wiping cloth to remove excess stain. Wipe lightly with the grain to avoid streaking. You’ll need to apply multiple coats until you like the color. Keep following the same process but be sure to let the stain dry between coats so you can gauge what it looks like before deciding whether to add another coat.
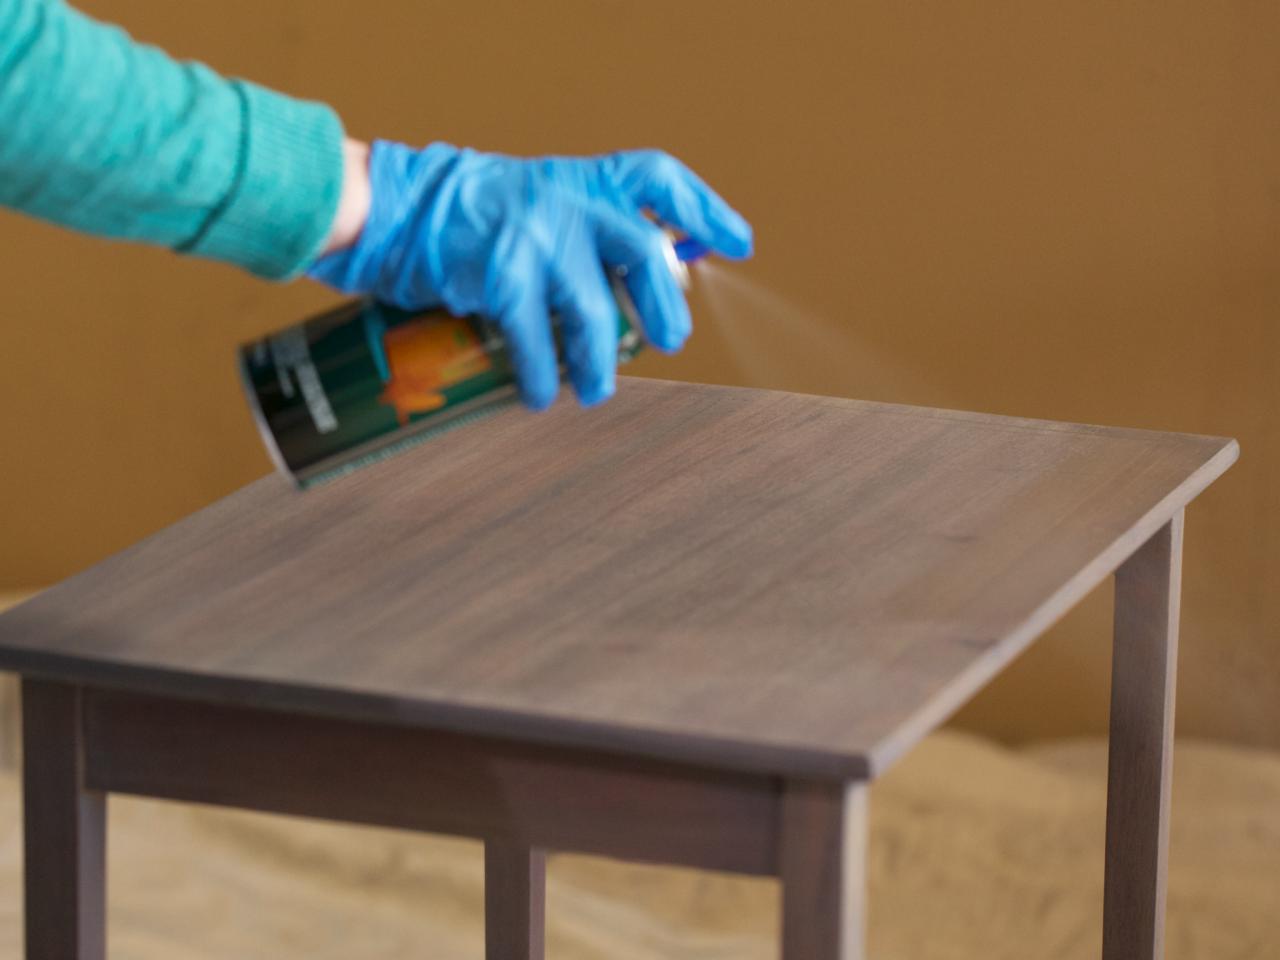
Step 8: Apply Clear Coat
Once your last coat of stain is totally dry, apply an oil-based clear coat for a final layer of sheen and protection. Spray-on clear coat is easy to use and provides great coverage. Spray with a nice even motion following the natural lines of the piece. Apply two coats, sanding in between with 200-grit or higher sandpaper after the first coat is dry. This technique will smooth any imperfections from your first coat and give you a pro-grade finish. Then spray on a final layer.

Step 9: Let Dry
After clear coating, let your finished piece cure fully in a warm, dry, well-ventilated area for 24 hours before use. Your options for staining are limitless. No matter what color you choose, you’ll give new life to an old piece of furniture.

Buy Supplies


More Advice on Refinishing
How to Refinish a Dining Room Table
Easily refinish a dated or worn dining room table to give it a fresh look.

Refinish Kitchen Cabinets 12 Photos
Give your existing kitchen cabinets a high-end designer look.

How to Refinish an Antique Bookcase
Our instructions and tips make it easy to give new life to an old bookshelf.


