


How to Strip and Paint Metal Furniture
Learn how to strip rust off a piece of outdoor metal furniture and repaint it for a brand-new look.
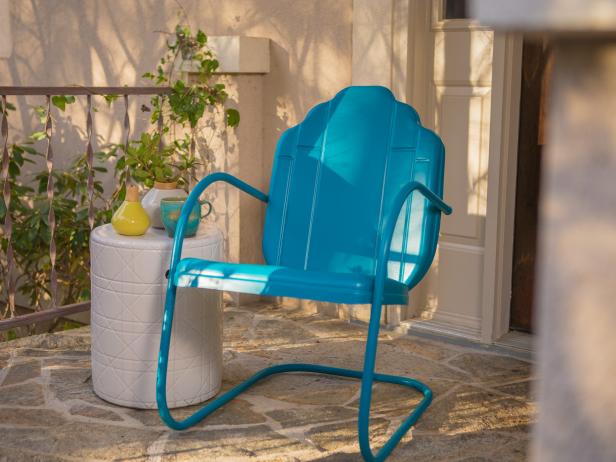
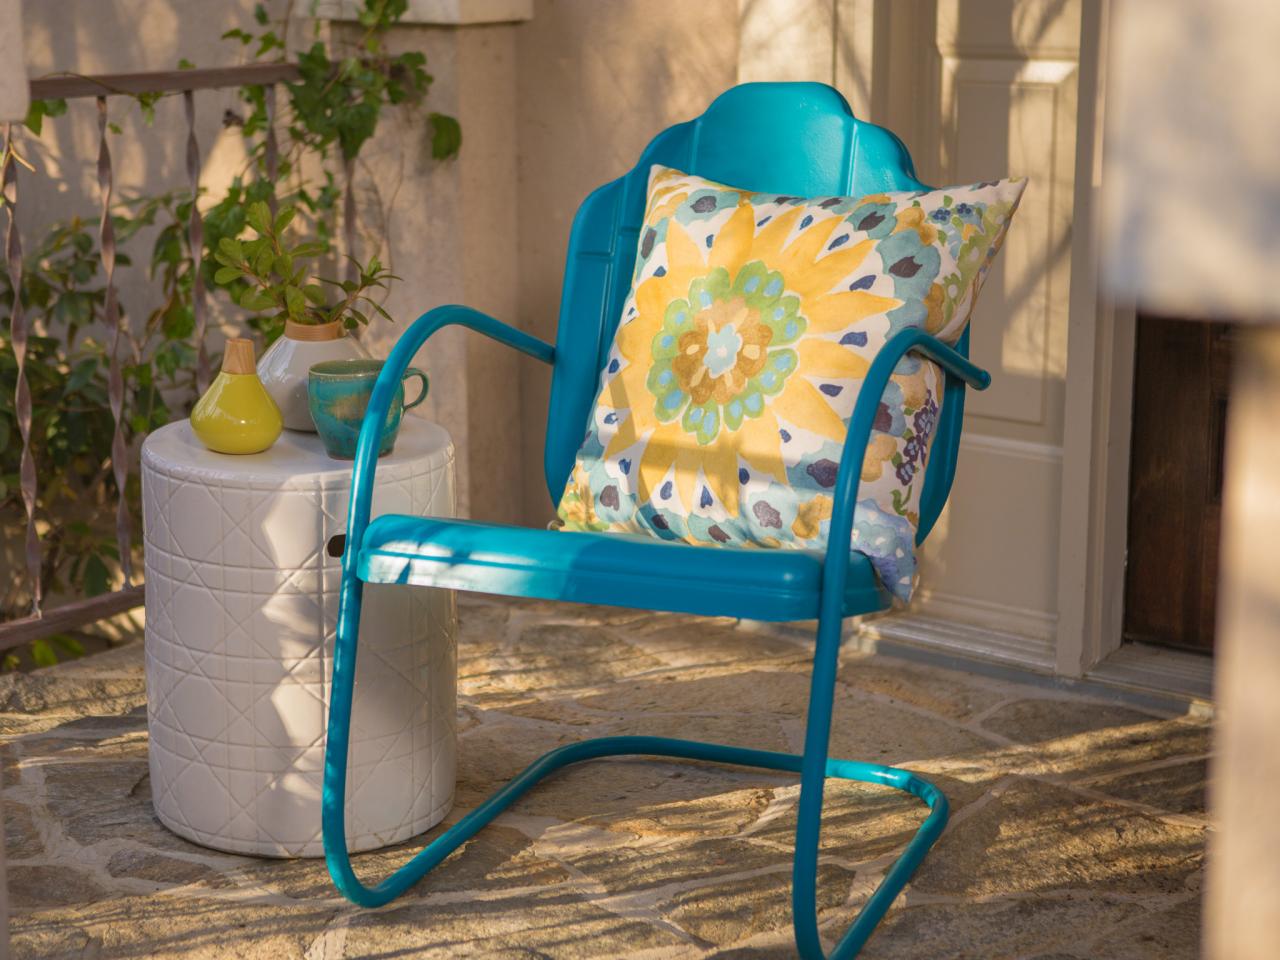
When we found this old chair, it looked like it had been left out in the rain for decades. But with a little elbow grease and some primer and paint, this chair is now a showstopper.
Before

After

Tools and Materials
- outdoor (anti-rust) spray primer for metal
- outdoor (anti-rust) spray paint for metal
- outdoor top-coat sealer
- wire brush
- palm sander and pads
- chip brush
- safety gear
- dropcloths
- sandpaper or sanding block
- acetone
- tack cloth
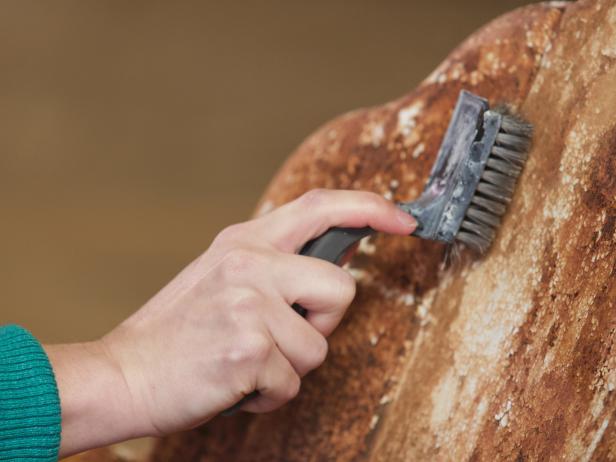
1. Scrape With a Wire Brush
Use a wire brush to remove any loose pieces of rust. Gently scrub off the big pieces, but don’t worry about getting all of it because you can remove the rest with a sander.
2. Sand Off Remaining Rust
Use a palm sander to remove the rest of the rust. If you don’t have a palm sander, you can sand by hand but it takes much longer. Sand the entire chair with 80- to 100-grit sandpaper. Pro Tip: When it comes to sandpaper grit, the lower the number, the coarser the sandpaper, thus the more material it will remove.
3. Hand-Sand Crevices and Curves
Sand by hand to get to those hard-to-reach areas, like the curves of the legs and arms. When most of the rust is gone, switch to 150-grit sandpaper or higher. Continue sanding until the entire chair feels smooth to the touch. You may still see rust on the surface. That’s okay as long as it feels smooth.
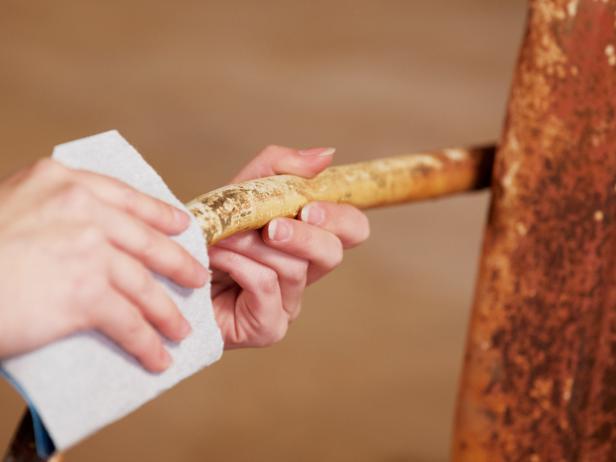
4. Clean With Solvent
Once the surface is smooth and even, wipe it down with a solvent like acetone to ensure the chair is clean and ready for priming and painting.

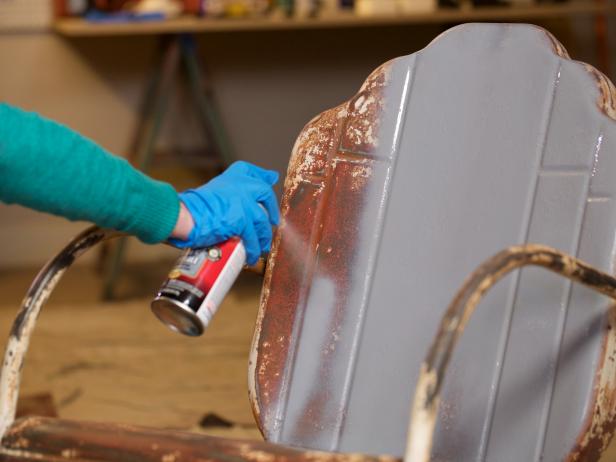
5. Apply Primer
Apply a coat of high-quality rust-preventive spray primer. Choose a white primer under lighter colors and a darker primer under darker colors for uniform coverage. Spray slowly for a consistent spray pattern to avoid drips and overspray. Use a back-and-forth motion following the natural lines of the chair. Be sure to get the back and underside since the chair will live outside. Apply two to three light coats, allowing the primer to dry between each application. Check the label on your primer because drying times can vary. When it is dry, lightly sand the chair with very fine sandpaper if the surface feels a little coarse. Use a tack cloth to wipe off any dust before moving on.
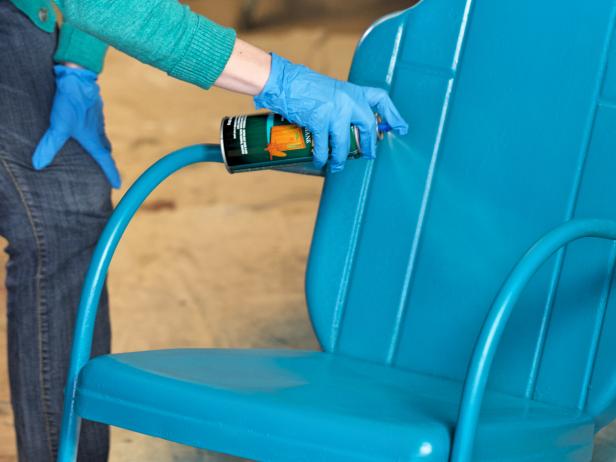
6. Spray on Paint
Use a high-quality oil-based spray paint specifically designed for outdoor use to prevent rust. Spray using a back-and-forth motion, holding the can far enough away for a consistent spray pattern to avoid drips and overspray. Follow the natural lines of the chair to coat it evenly. Remember to get the back and underside of the chair. Apply two to three light coats, allowing each coat to dry to the touch between applications.
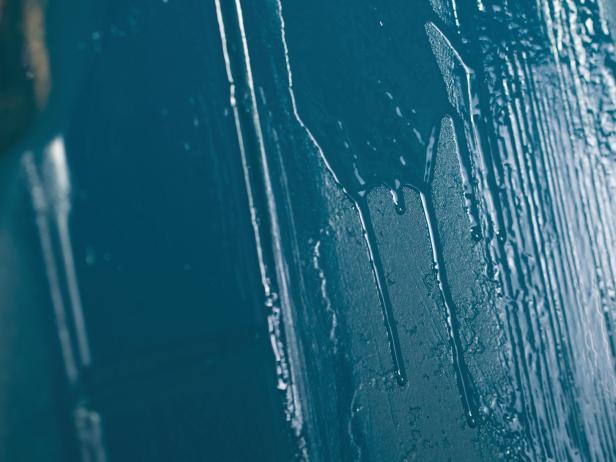
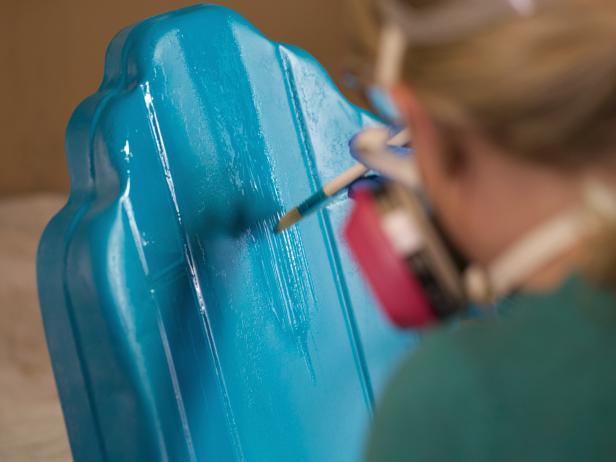
7. How to Fix Drips
If you get a drip, lightly drag a clean chip brush over the area to stop the run and smooth it out before moving on. Chip brushes are inexpensive, disposable natural bristle brushes that work well for touch-ups.
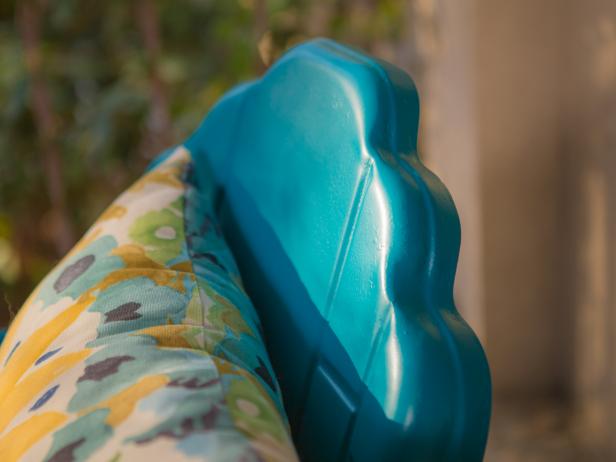
8. Protect With Sealer
Even with rust-inhibiting spray paint, a clear coat is a smart idea. Look for a clear oil-based urethane that’s for outdoor use, preferably with UV protection to help prevent fading. Hold the can 10 to 12 inches away and spray using a back-and-forth motion. Follow the natural lines of the chair to coat it evenly. For a smooth finish, lightly sand between coats with 200-grit or higher sandpaper.
9. Let Dry
Be sure to let the chair cure for 24 hours in a warm, dry, well-ventilated area before use. This chair is now rust-free, repainted and ready for a few more years of outdoor use.
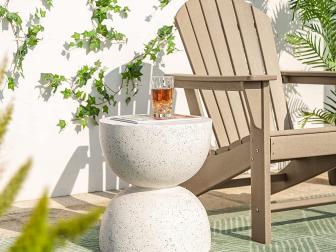
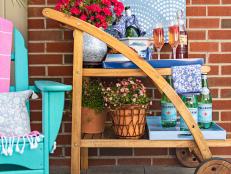
105 Best Patio Furniture Buys for Every Style and Budget
From Adirondack chairs to benches to gliders, refresh your space with our top picks for patio furniture seating so you can kick back with a cold drink and enjoy patio season in your outdoor oasis.


