


How To Install Kitchen Cabinets
Save money and achieve the bespoke look you’re after by learning how to install your own kitchen cabinets.

David Sacks
Kitchen cabinetry has developed something of a bad rap. Sure, custom kitchen cabinets can be as expensive as you make them, with some installs amounting to tens of thousands of dollars, but spending that kind of money isn’t necessary to achieve gorgeous results. In fact, opting for pre-made stock cabinets and installing them yourself will keep you within budget without compromising on looks or quality. So, grab a friend (you’ll be thanking yourself when it comes to hanging those upper cabinets) and some tools, because we’ve got everything you need to know to install cabinets like a pro.
Materials Needed
- pre-made stock cabinets
- toe kick
- measuring tape
- carpentry pencil
- long level
- stud finder
- shims
- trigger clamps
- drill + bits
- cabinet screws
- hammer
- small finish nails
- hole saw bits or jigsaw
- miter saw
Prep Kitchen
Before you head out and buy cabinets, it’s important to prepare the space and get accurate measurements. With a job like this, thoroughness on the front end is what makes the difference in the end product. Once you’ve removed your old cabinets, make a checklist by asking yourself what things need to be addressed before moving forward.
Are there issues with the walls and floors that need to be remedied? If so, now is the time to address them while you have the cabinets out of the space. Maybe you want to refinish your floors or install new flooring altogether. This could be done before or after depending on your preference, just remember to properly mask off new flooring during the cabinet installation to prevent damage. For the walls, patching holes is much easier while the cabinets are out of the way. Lastly, are there any loose ends like plumbing or electrical that need to be finished before installing cabinetry? If so, these should be taken care of before moving forward.
Pro Tip: When shifting appliances and working on walls, start by shutting off the power and water for good measure. Something as simple as screwing into a wall can lead to electric shock when dealing with live wires in the wall.
Kitchen Cabinet Inspiration

Measure Kitchen
Once your space is prepared, measure the layout for your new space carefully and precisely. If you aren’t straying from the space’s current layout, simply use the old cabinets as your guide. Alternatively, you could seek out a template from a design center to create your new space. Either way, this step is essential to ensuring that the cabinets you’ll be installing will work in your space.
Sketches, whether professionally made or not, are important tools to assist you in this step. Don't forget to account for appliances such as your stove and refrigerator when making your measurements and be sure to factor in your range hood if installing upper cabinets. It can be helpful to leave the appliances in their proper place and measure around them, using them as reference points.
Buy Cabinets
Generally speaking, cabinet stores will have someone on hand to aid in translating your measurements and sketches into actual cabinets. It can be extremely helpful to have someone with experience on hand to ensure you get exactly what you want. For example, a 60-inch space could call for a 60-inch cabinet, two 30-inch cabinets or a combination such as a 48-inch alongside a 12-inch cabinet. It’s all dependent on your specific needs and a professional can help familiarize you with the options.
Kitchen Cabinet Inspiration
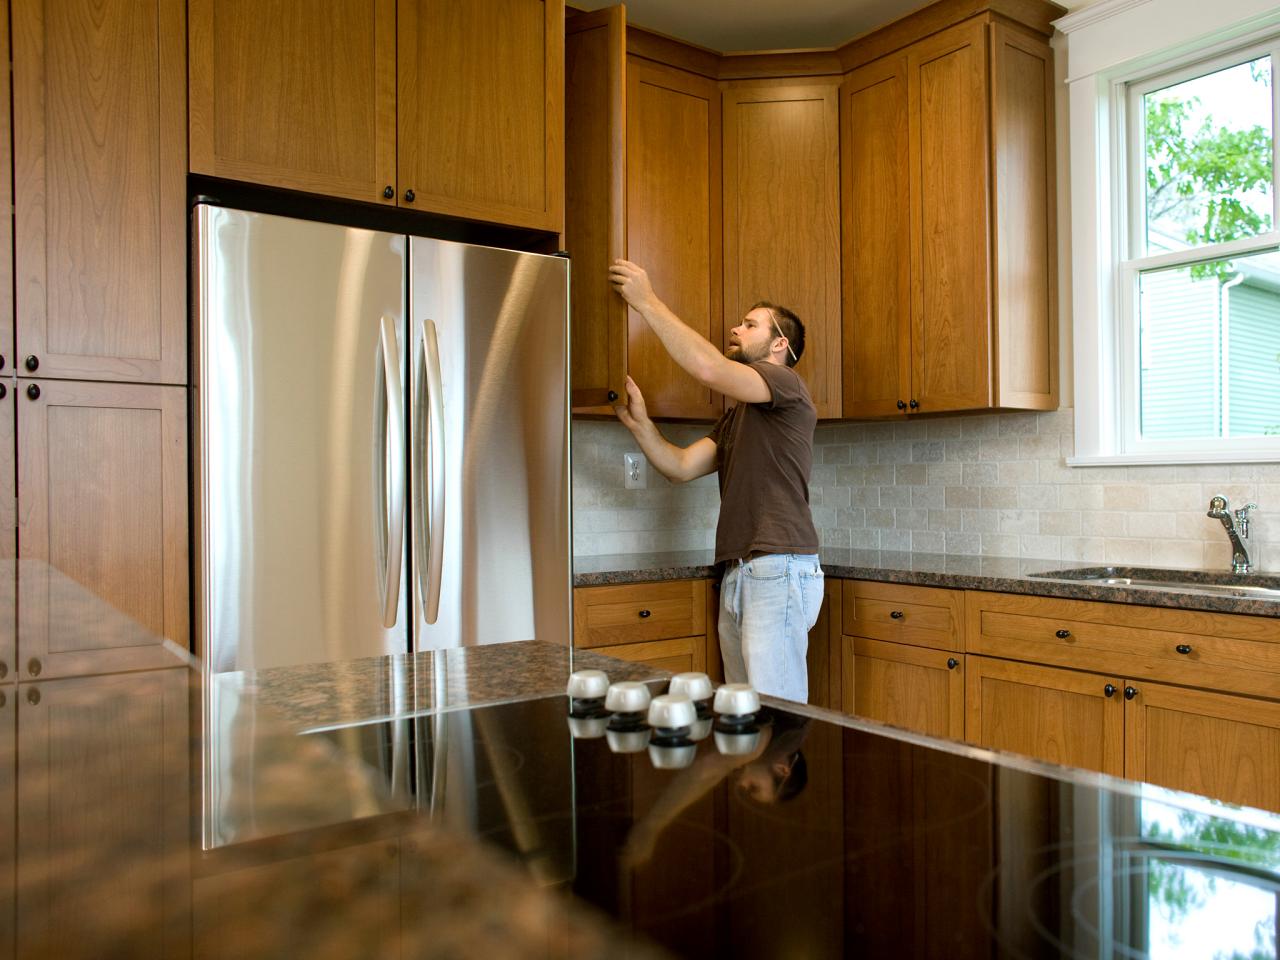
Install Upper Cabinets
Always install the upper cabinets before the lower cabinets. This way you won’t have to awkwardly work over the lower cabinets, risking damaging them in the process. Once you’ve assembled the cabinets according to the manufacturer’s instructions, remove the doors if attached and set them out of harm’s way.
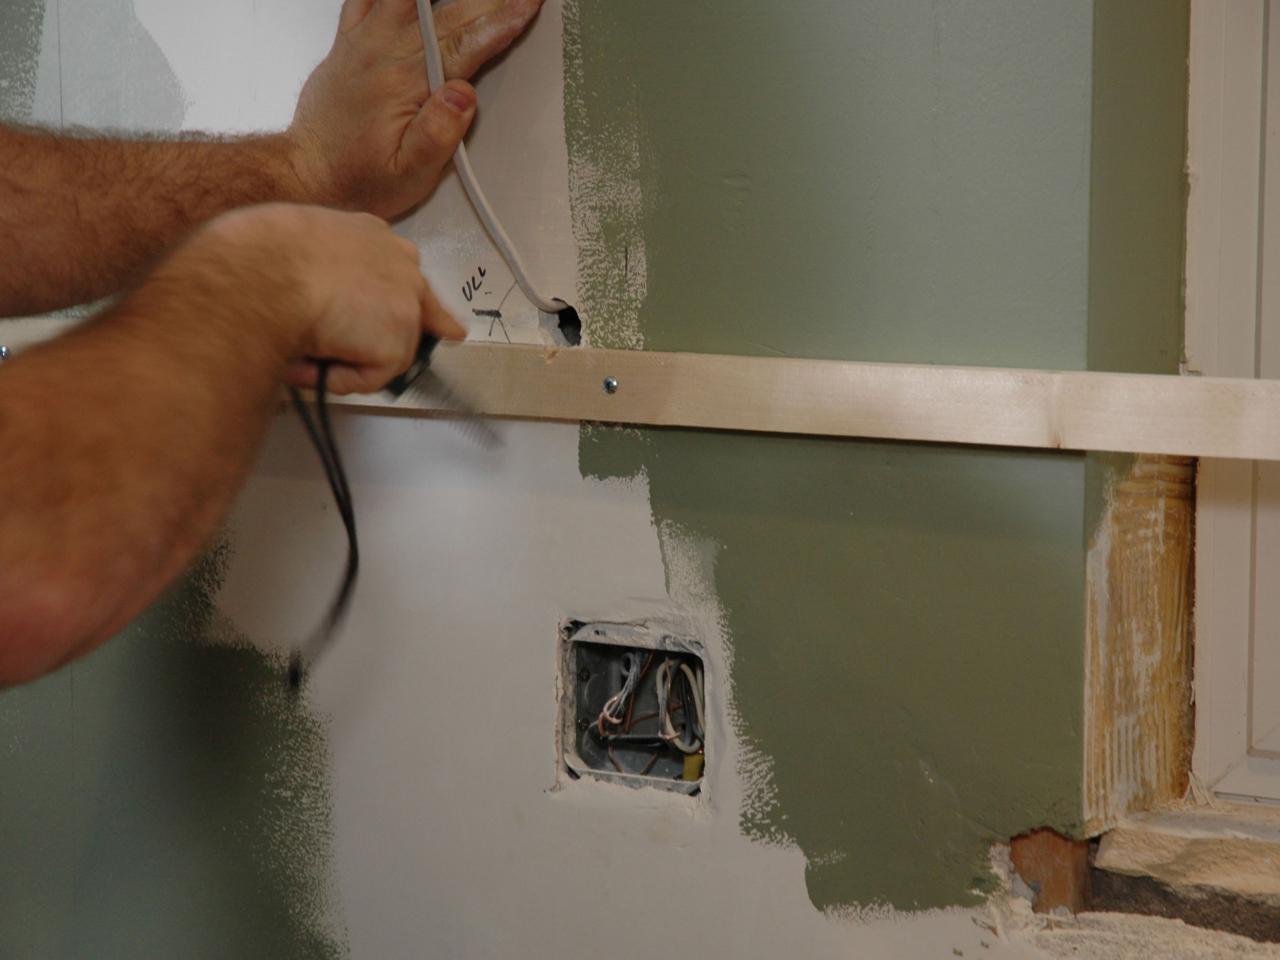
If your cabinets aren’t going to sit against the ceiling, you’ll need to establish a line on the wall to mount your cabinets against. To do this, measure up 36 inches from the floor for average countertop height, then tack on an additional 18 inches. This will be the line to rest the bottom of your upper cabinets against. Use a stud finder and a long level to mark each individual stud. Mark the studs from top to bottom so you can reference the line once the upper cabinets are in place as well as when you install the lower cabinets.
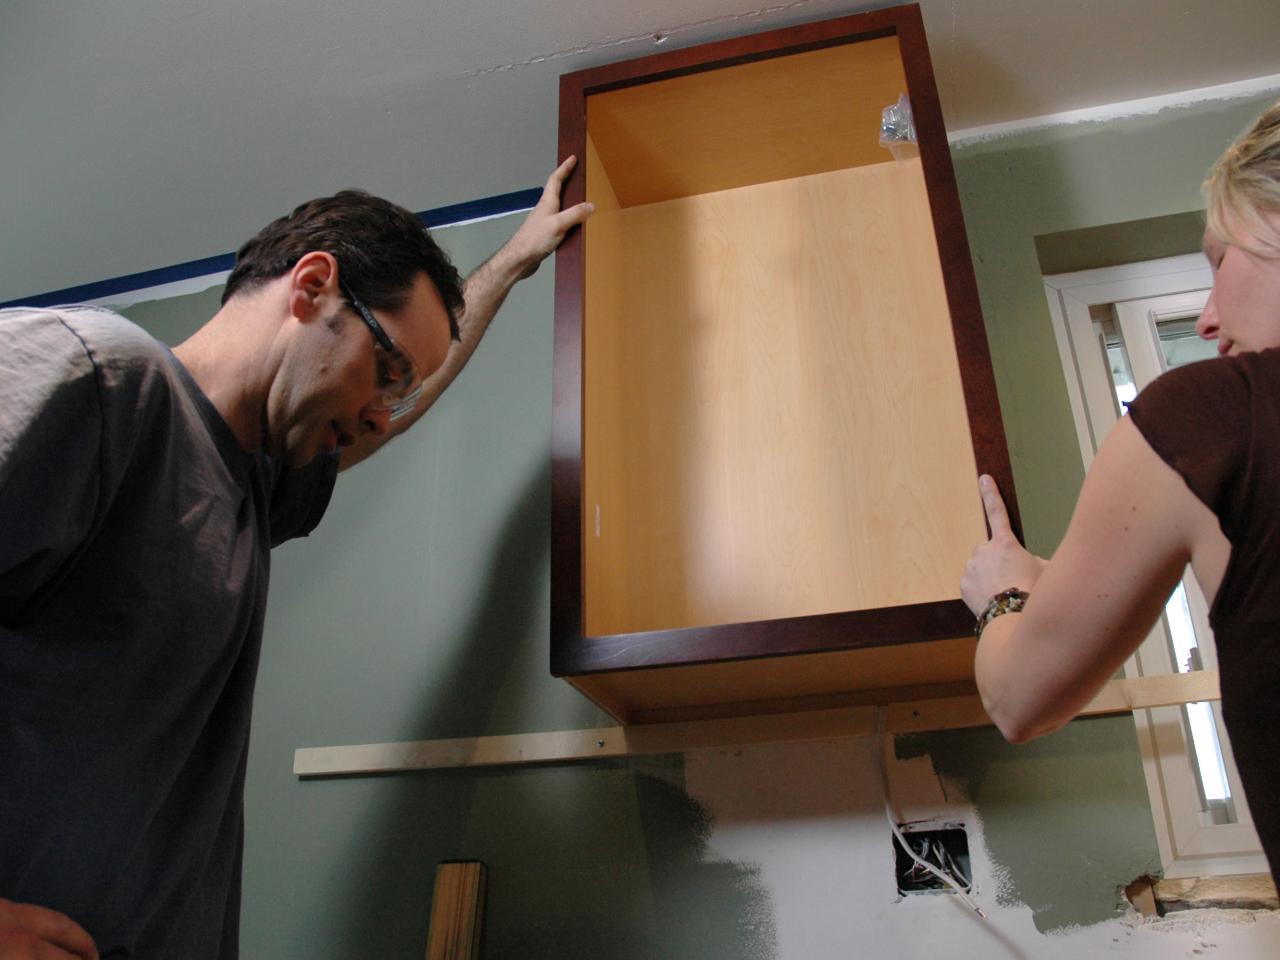
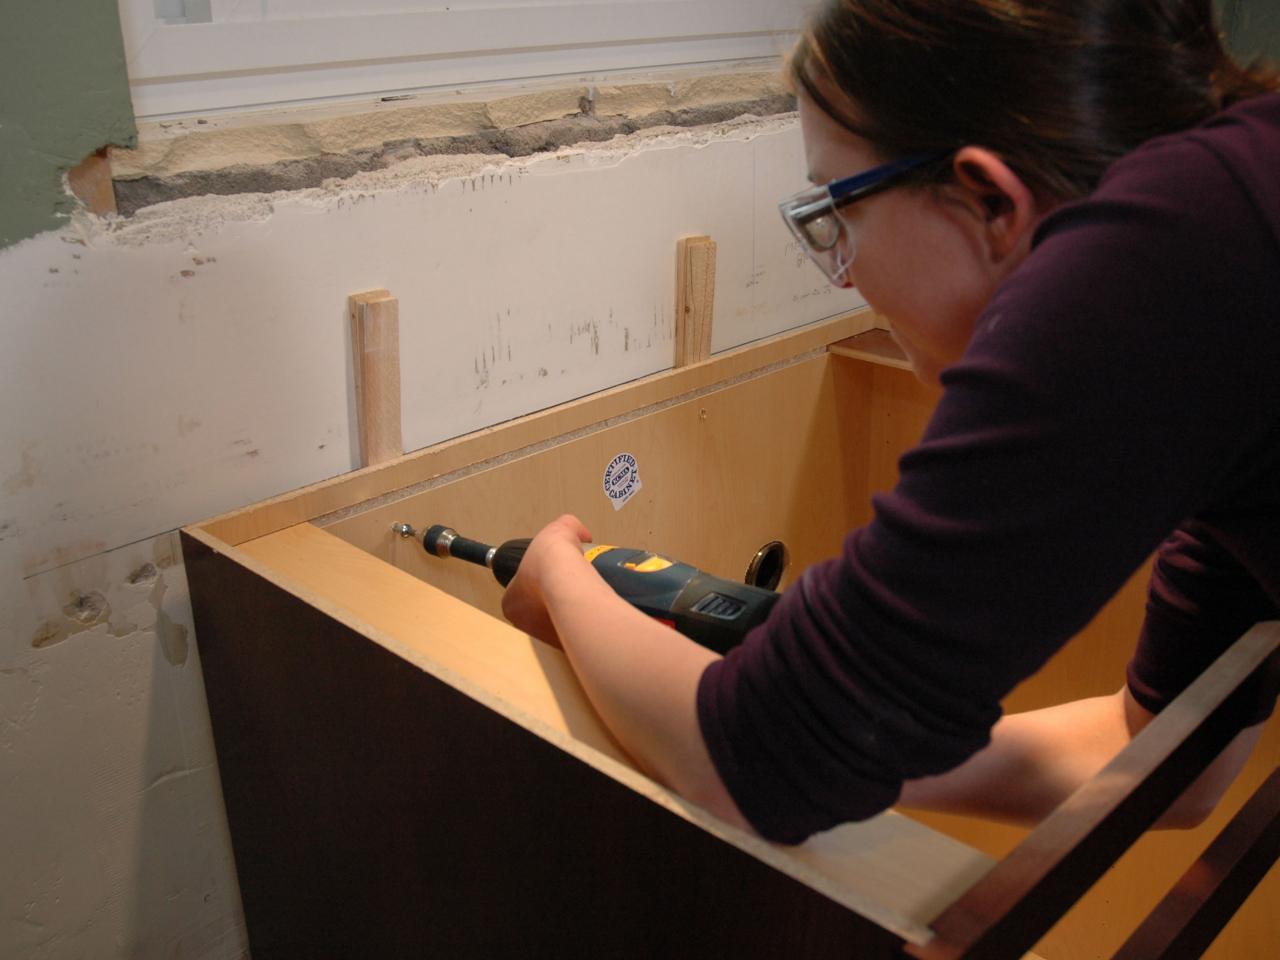
The two most common ways to fasten upper cabinets to the wall are by installing a French cleat or simply screwing through the back of the cabinets. If you are tackling the job on your own, a French cleat will allow you to simply hang the cabinets on the wall. However, a French cleat is only applicable when you plan to leave a space between the top of the cabinets and ceiling. If you have a helper, the easiest way to secure the cabinets is by screwing through the back of the cabinets into the stud using cabinet screws. Use plenty of screws to ensure cabinets stay put even when loaded with heavy kitchenware.

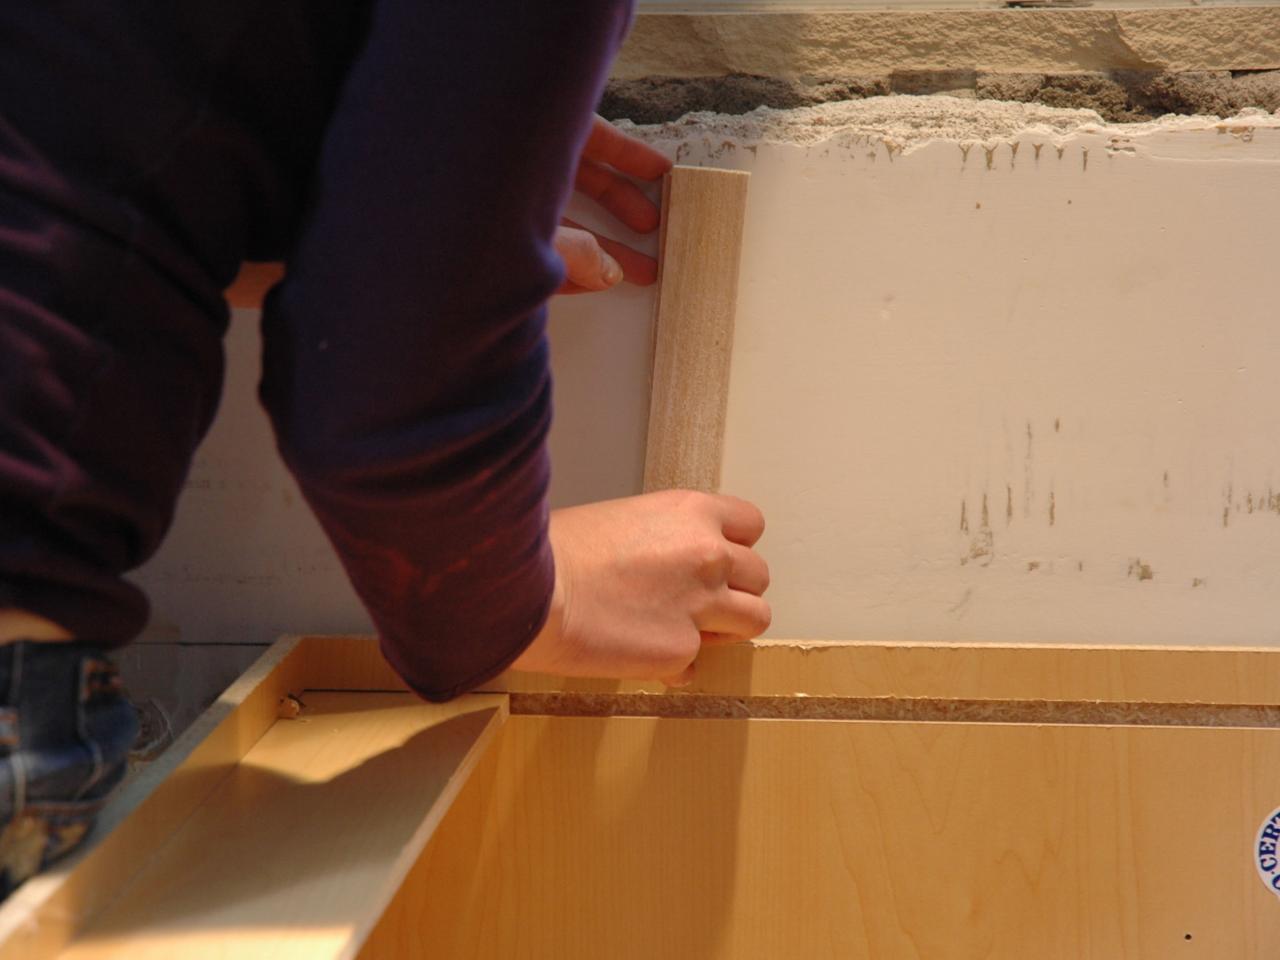
Pro Tip: To aid in upper cabinet installation, take the time to cut and mount a ledger board on the line you marked for the bottom of your cabinets. This will allow you and your assistant to simply place the cabinet against the ledger board, ensuring consistency and assisting with holding the cabinet until the screws are in.

More Kitchen Cabinet Design Ideas
Install Lower Cabinets
Now that the upper cabinets are in place, it’s time to move on to your lowers. Start by removing all doors, drawers and shelves to lighten the cabinets and prevent damage. Lower cabinets are easier to install in the sense that you don’t have to hold them in the air while installing, but there are a few more steps to ensuring a seamless install.
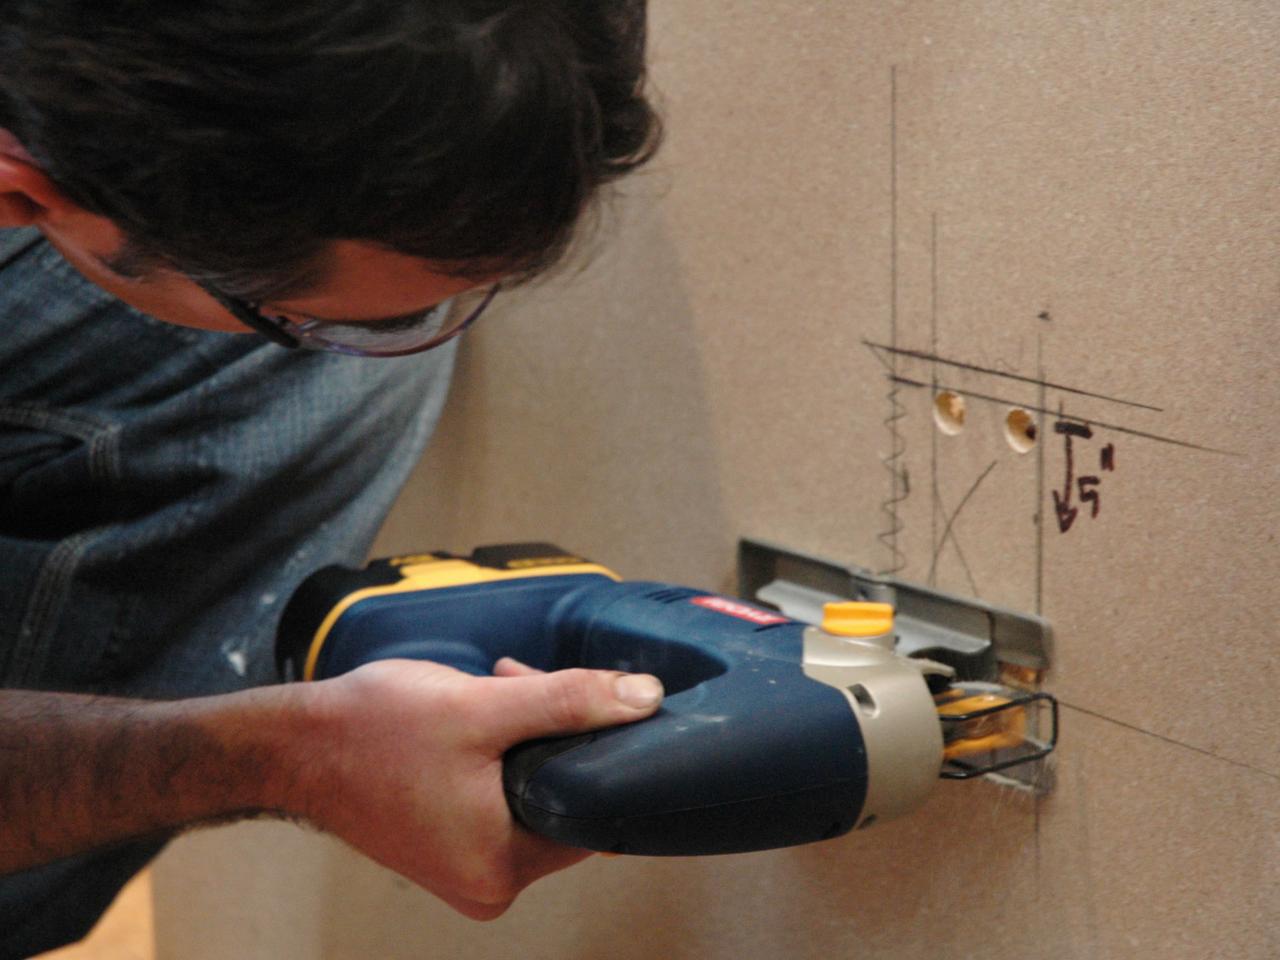
When installing lower cabinets, it’s wise to mockup the layout before fastening the cabinets to the wall. Start by laying out all cabinets other than the sink cabinet. For the sink base, get a measurement for your plumbing, transfer that measurement to the back of the cabinet, then use a drill fitted with a hole saw bit or a jigsaw to cut out the holes. Once cut, slide the base into place.

Now that the bases are mocked up, it’s important to shim the studs accordingly to ensure the cabinet fronts are flush with one another. Using wedge shims at each point where you marked a stud, manipulate each cabinet’s depth until the cabinet fronts line up. Once you’re satisfied with the result, clamp the cabinets together using trigger clamps and screw the cabinets to one another.

Before attaching the cabinets to the wall use your level to check the tops of the front and back of the cabinets. It’s important that your cabinets are level when it comes time to install countertops. If a spot is low, use wedge shims on the floor to bring it up slightly. Tack the shims in place to keep them from moving.

Double-check each shim one last time, then screw through the back of the cabinets, through the shim and into the stud. To check for final uniformity, place a level along the front of the cabinets. Make any final adjustments by pulling screws and adjusting shims one at a time until you’re satisfied with the result.

Note: Don’t worry about the gaps left by the shims, these will be covered by both the countertop and the toe kick.
Final Steps
Finally, you can add your countertops and reinstall your appliances. After the appliances are in place, install the toe kick by cutting it to length using a miter saw and tacking it in place using small finish nails. Once everything is in place, you can attach your cabinet doors and install any hardware to complete your kitchen renovation.


