


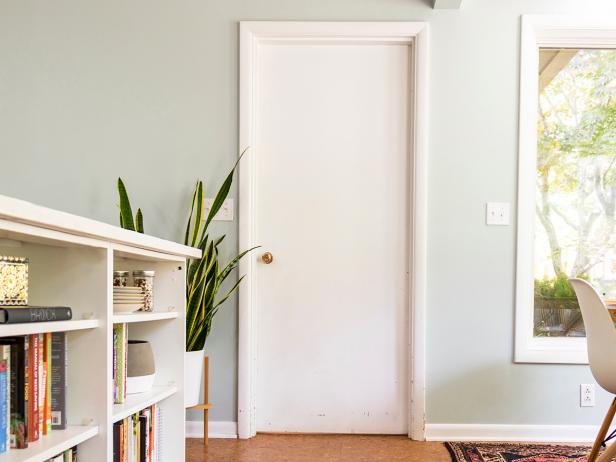
How to Hang a Door in an Existing Jamb
Replacing an interior door in an existing opening is well within the reach of the average homeowner. Follow these simple steps.

While replacing an interior door in an existing opening doesn't require many tools, it does require patience and care. Follow these instructions to hang a solid core door with minimal effort and a higher degree of accuracy.
Tools and Materials
- pencil
- combination square
- screwdriver
- hammer
- utility knife
- hand plane
- chisel
- circular saw
- saw horses
- hole saw
- drill bit (for pilot holes)
- spade bit
1. Remove Knob and Lock Set
Working from the hinge side or rear of the door, remove the doorknob and existing lock set.

2. Remove Hinge Pins
Remove the pins holding the hinge knuckles together. Start with the bottom hinge and work your way up using a hammer and screwdriver. Once you’ve removed the pins, it’s a good idea to place them along with all of the other hardware in a container in a safe place.

3. Remove Door From Hinge Knuckles
Using both hands, lift the door off the hinge knuckles. Leave the wall-side knuckles attached to the door jamb. You’ll want these in the same position so that your door will align properly.

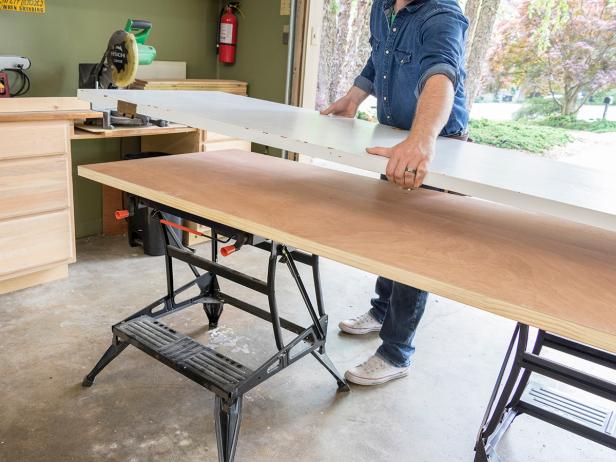
4. Trim Door to Correct Size
Lay your new door across two sawhorses with both ends and sides hanging off a bit. Place your old door on top of the new one. You’ll use the old door as a template to help you cut your new door to size.
5. Make Sure It's Flush
Remove the door-side knuckles, then align the top edge and hinge side of the two doors so that they’re flush. Keep all of the screws and hardware in a safe place for re-installation.

6. Trace the Door
Using a pencil, trace the outline of the old door’s width and height onto the new one.

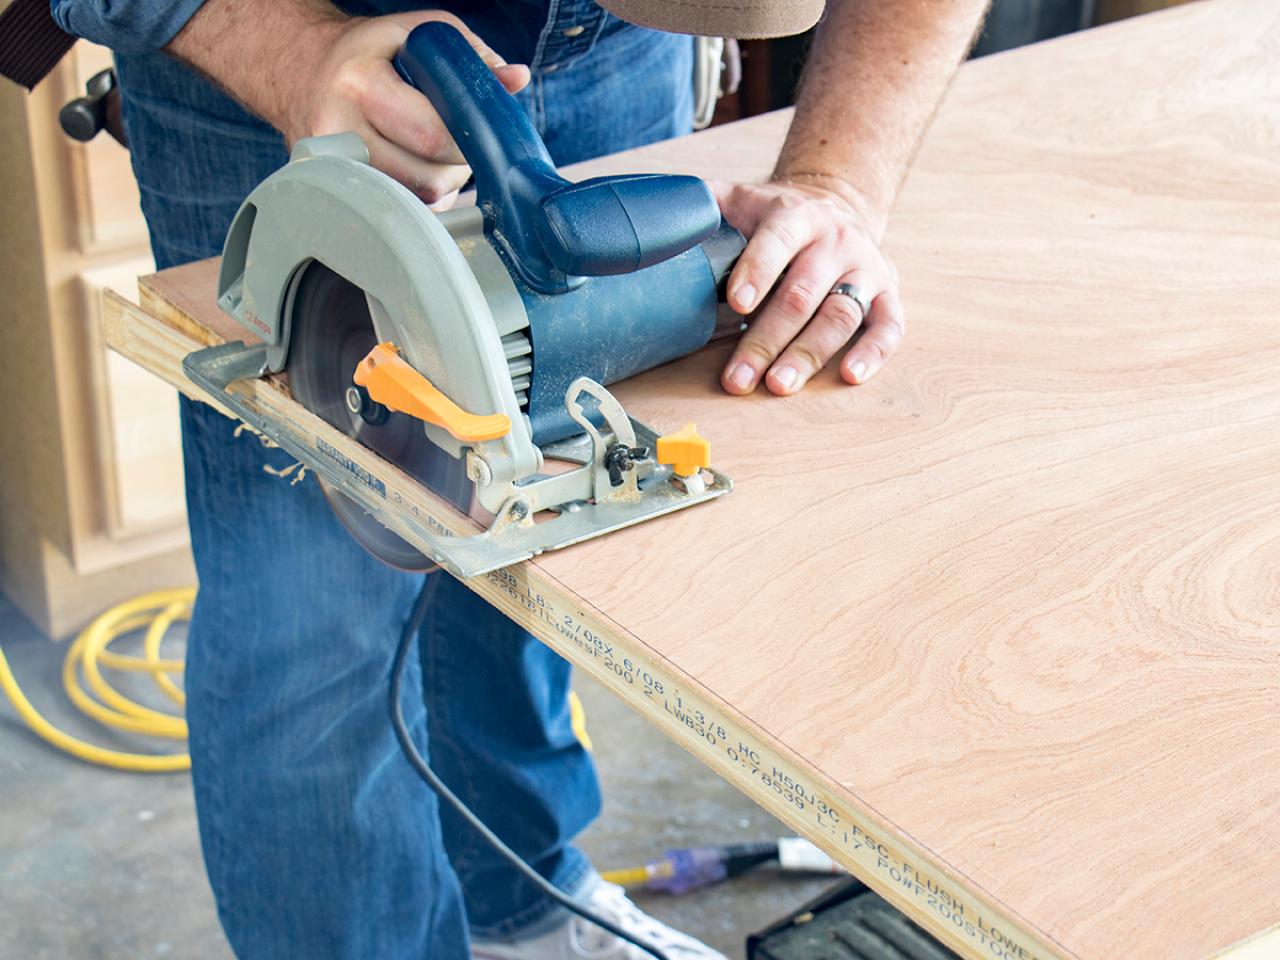
7. Cut the New Door to Size
Remove the old door and cut the new door down to size. If you have more than 3/16 of an inch to remove, you can use a circular saw to do so. If you’re not steady with your saw, you can use a straight edge as a guide. Go slowly and make a long, clean cut. If you have more than an inch to remove, take half off the top and half off the bottom.

8. Use a Hand Plane Tool ... If Necessary
If you only have a small amount to remove, a hand plane is a better tool for the job. Additionally, if you need to clean up your circular saw cuts, you can use the hand plane to square everything up neatly.

9. Transfer Hinge Mortise
Lay the old door back on top of the new one and then transfer your hinge mortise, lock set mortises and door hole outlines. Use a combination square to lay out the mortises, making sure that you’re transferring the proper width and height of the outlines.

10. Score the Outer Edges
Using a utility knife with a sharp blade, score the outer edges of your mortise outlines. This will help you avoid tearout when you begin to work with your chisel. Make straight, deep score lines and be careful not to mar the finish on your door.

11. Make Perpendicular Cutlines
Start by making cutlines perpendicular to the grain of the door. Hammer down to the depth of your hinge knuckle’s mounting plate. You’ll want that plate to be flush with the door's edge.

12. Mortise and Repeat
With your chisel’s beveled edge flat against the door’s edge, gently tap to remove material within your score marks. You want to make a nice flat surface for your hinge to lay into. Go slowly and test-fit your hinge a few times until you get it mounted flush. If you accidentally go too far, you can place a thin wooden shim under your hinge to bring it back flush with the edge of the door. Repeat the process for the other hinge along with the lock set.

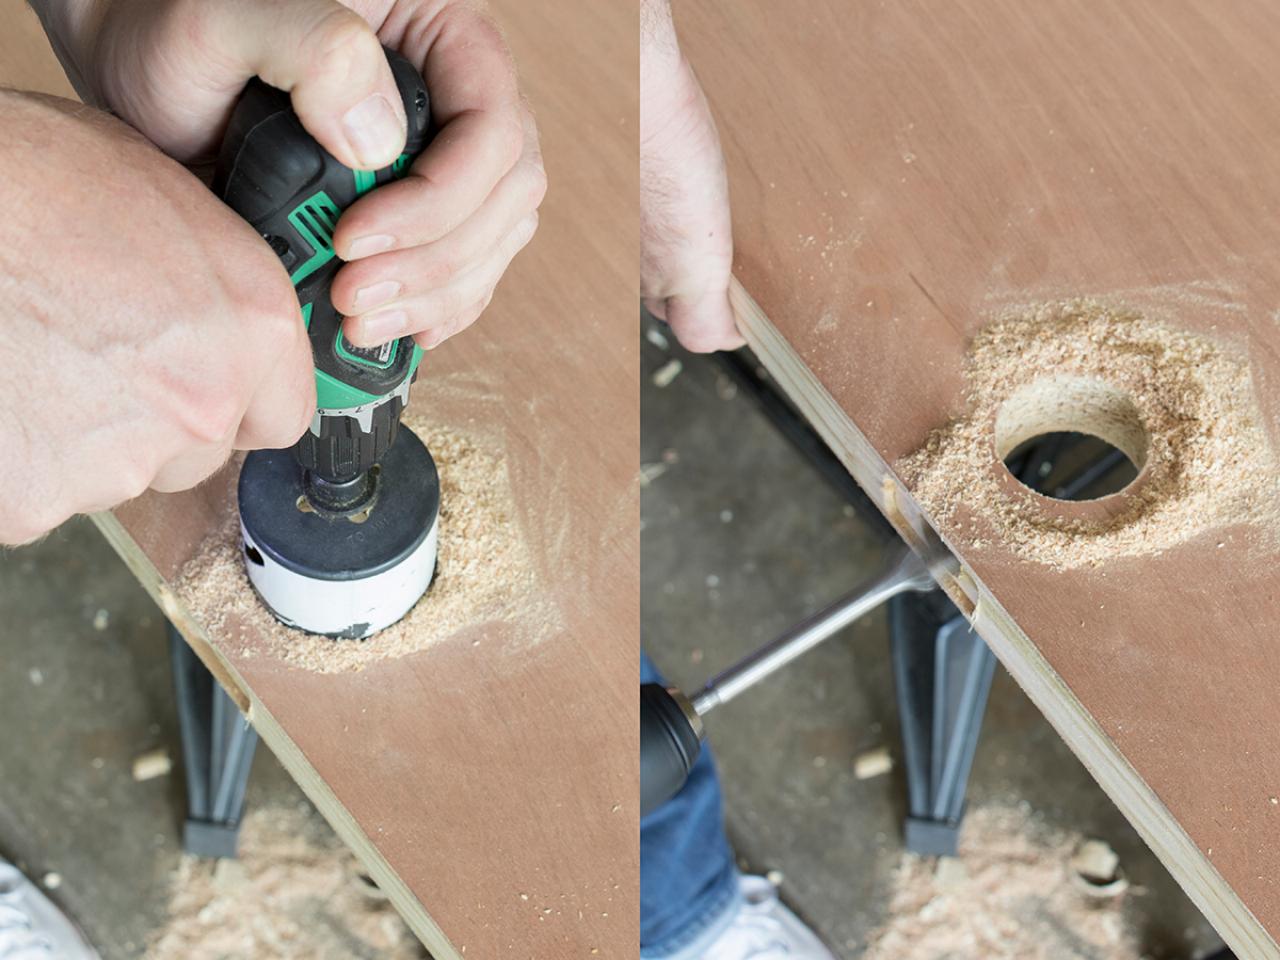
13. Drill Door Holes
Next, you’ll need to drill the hole for the doorknob and the lock set. Using a hole saw that is the correct diameter for your knob, gently drill out the hole for the knob. Then, using a spade bit, drill a hole through the lock set mortise into the knob’s hole. Make sure not to penetrate the back edge of the knob hole. At this point, you can apply paint or finish to your door if desired.

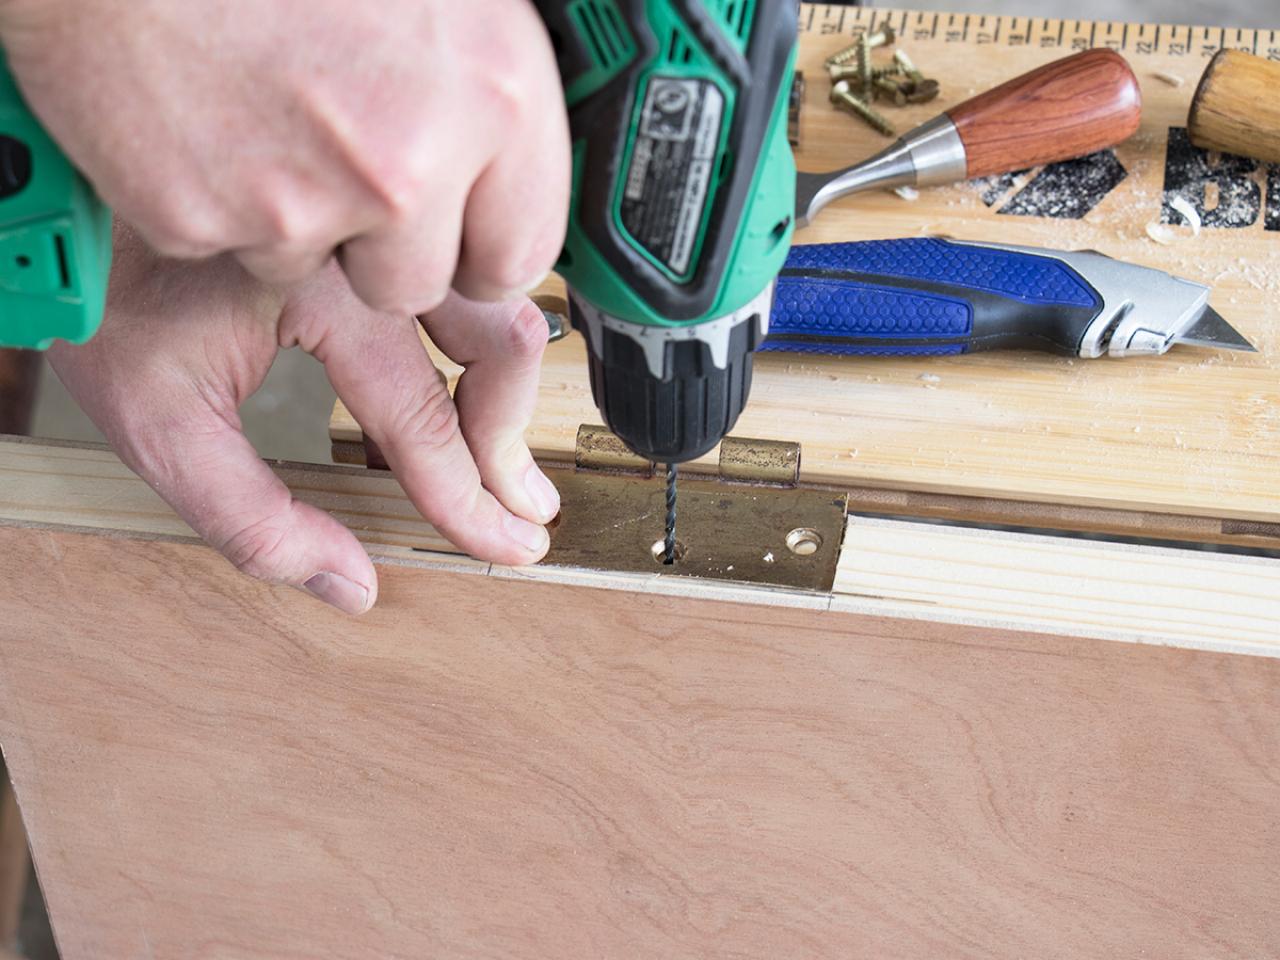
14. Install Accessories
Install the hinge knuckles, lock set and doorknobs. Drill pilot holes for the hinge hardware so that you don’t accidentally split the door’s edge.

15. Hang the Door
Hang your new door and test-fit everything. If your door sticks, make a mark on the edges where it’s not closing flush. You’ll need to take the door back down and shave some material off using a hand plane until the door opens and closes freely. If your knob and lock set are loose, you can bend the striker plate outward slightly, or unscrew the knob and make any necessary adjustments until the door is opening and closing freely.

Once the door is properly adjusted, you can re-insert any remaining hinge pins and install any other decorative hardware or door stops.


59 Inviting Colors to Paint a Front Door 59 Photos
Try a splash of gorgeous color to boost curb appeal and make your front entry more welcoming. Get some ideas from these colorful front doors.


