


How to Caulk a Shower
Follow these simple steps to remove and replace caulk in the shower and bathtub when it starts to mildew and pull away from the shower wall.
Caulk is a homeowner’s best friend, sealing all the little cracks and crevices in the home and keeping water, air and critters from entering. But caulk doesn’t last forever. Here's how to caulk a shower to avoid water damage.

Jalynn Baker
Materials Needed
- caulk gun
- silicone caulk
- gloves
- cloth rag
- mineral spirits
- plastic putty knife
- utility knife
- sponge
- baking soda
Tip: Use a silicone caulk that’s rated for at least 15-year durability; it pays to spend the extra dollar or two so you don’t have to do this all over next year. If your shower is all white, purchase a white silicone caulk. If it’s anything other than white, you may want to use a clear silicone.
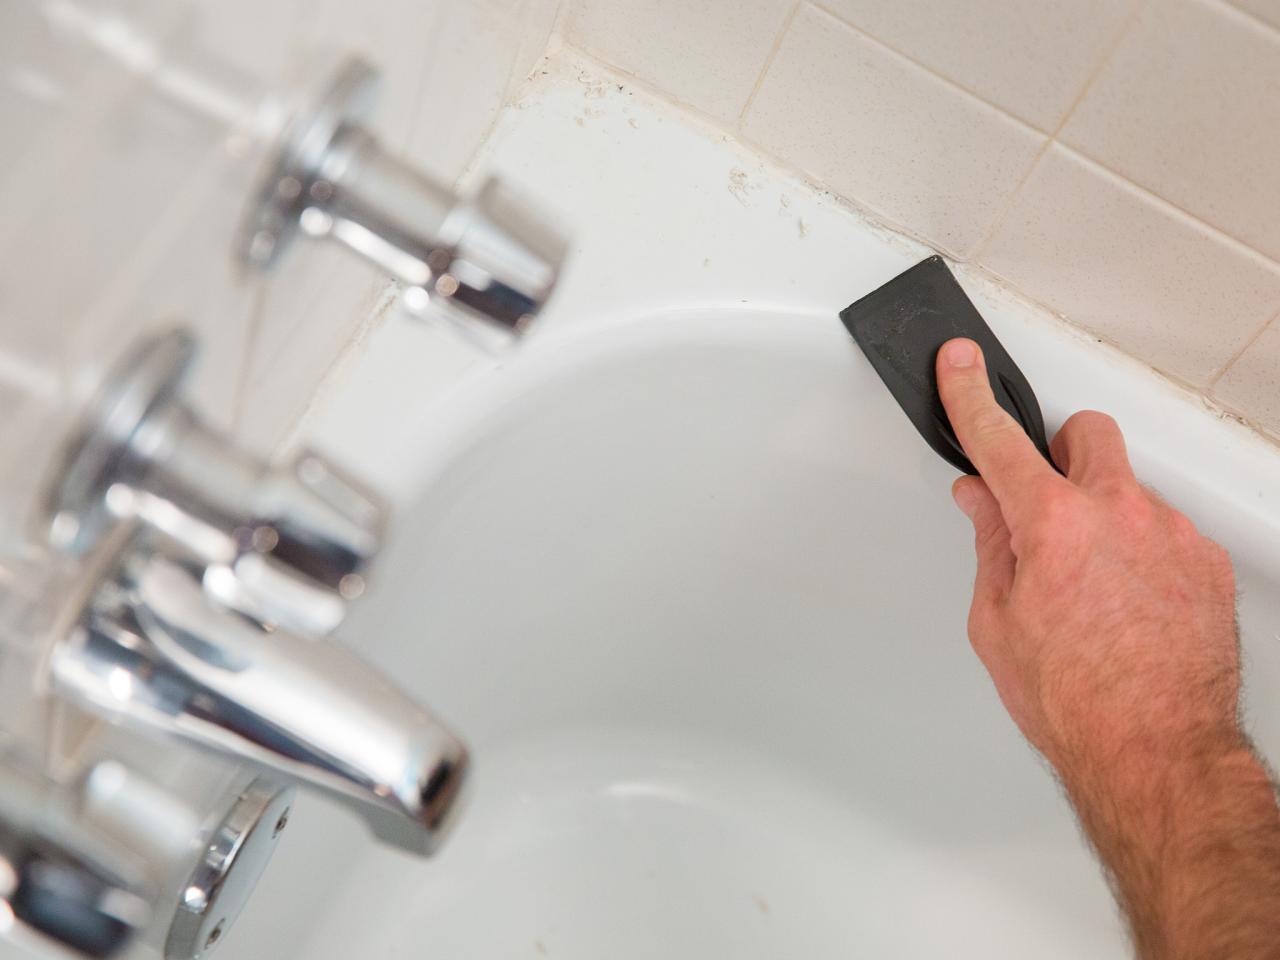
Step 1. Remove Old Caulk
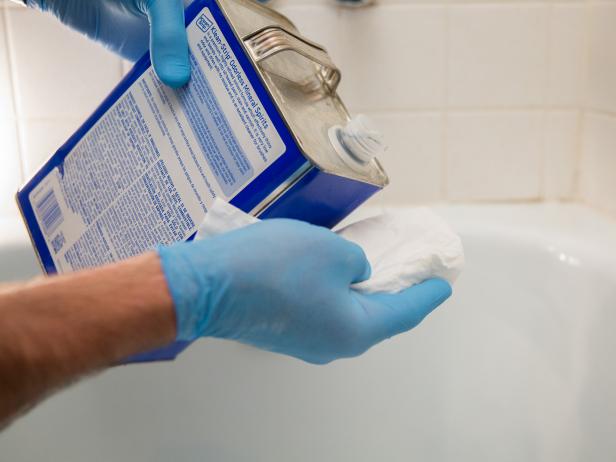
Start by scraping the old caulk away with a plastic putty knife (Image 1). Avoid using a metal scraper if possible, as it could damage your porcelain. Once you’ve scraped off as much of the old caulk as possible, pour a bit of mineral spirits onto a rag to scrub away the last of the residue (Images 2 and 3).

Jalynn Baker
Jalynn Baker

Jalynn Baker
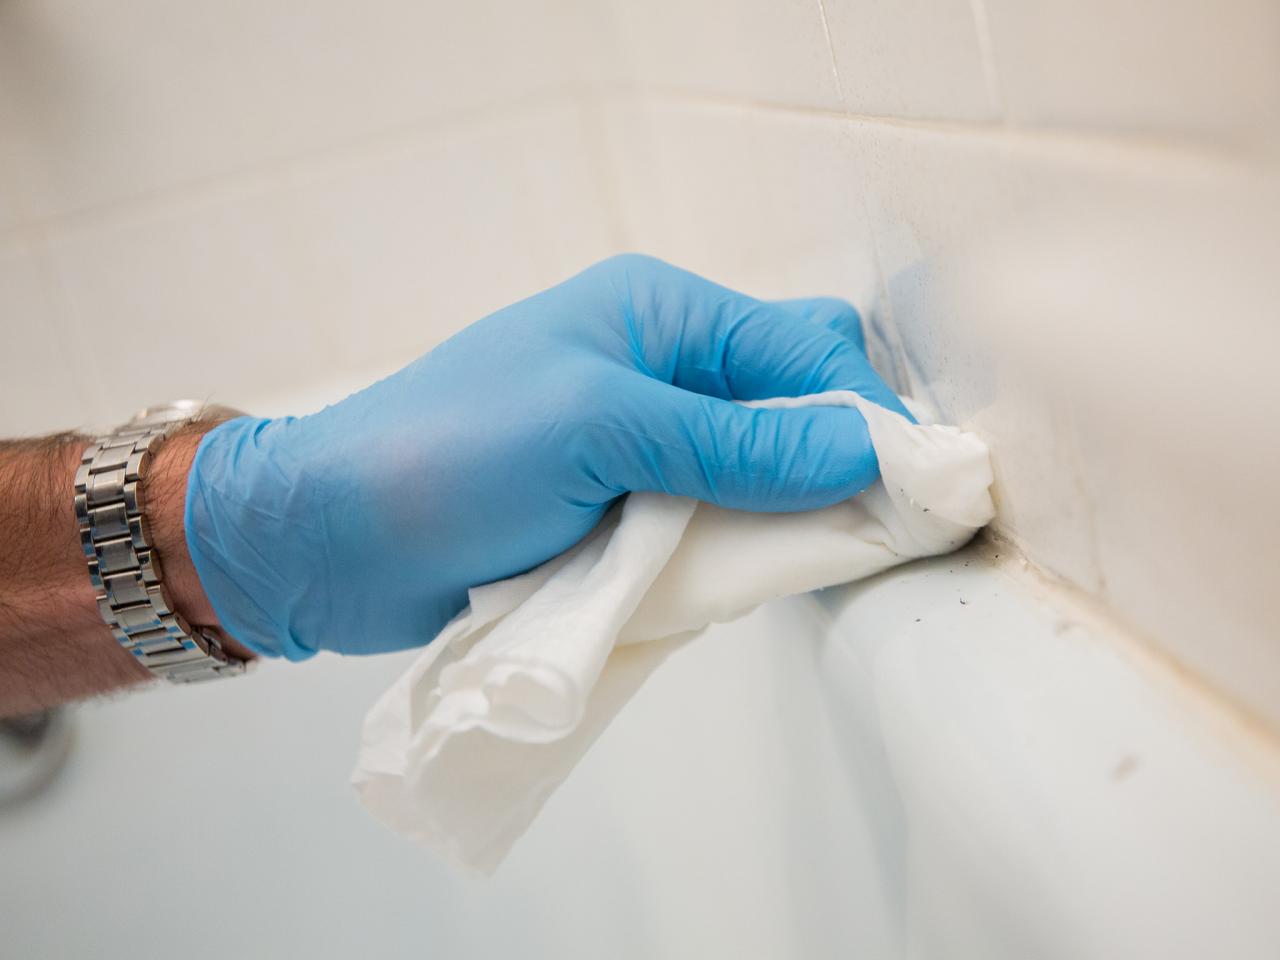
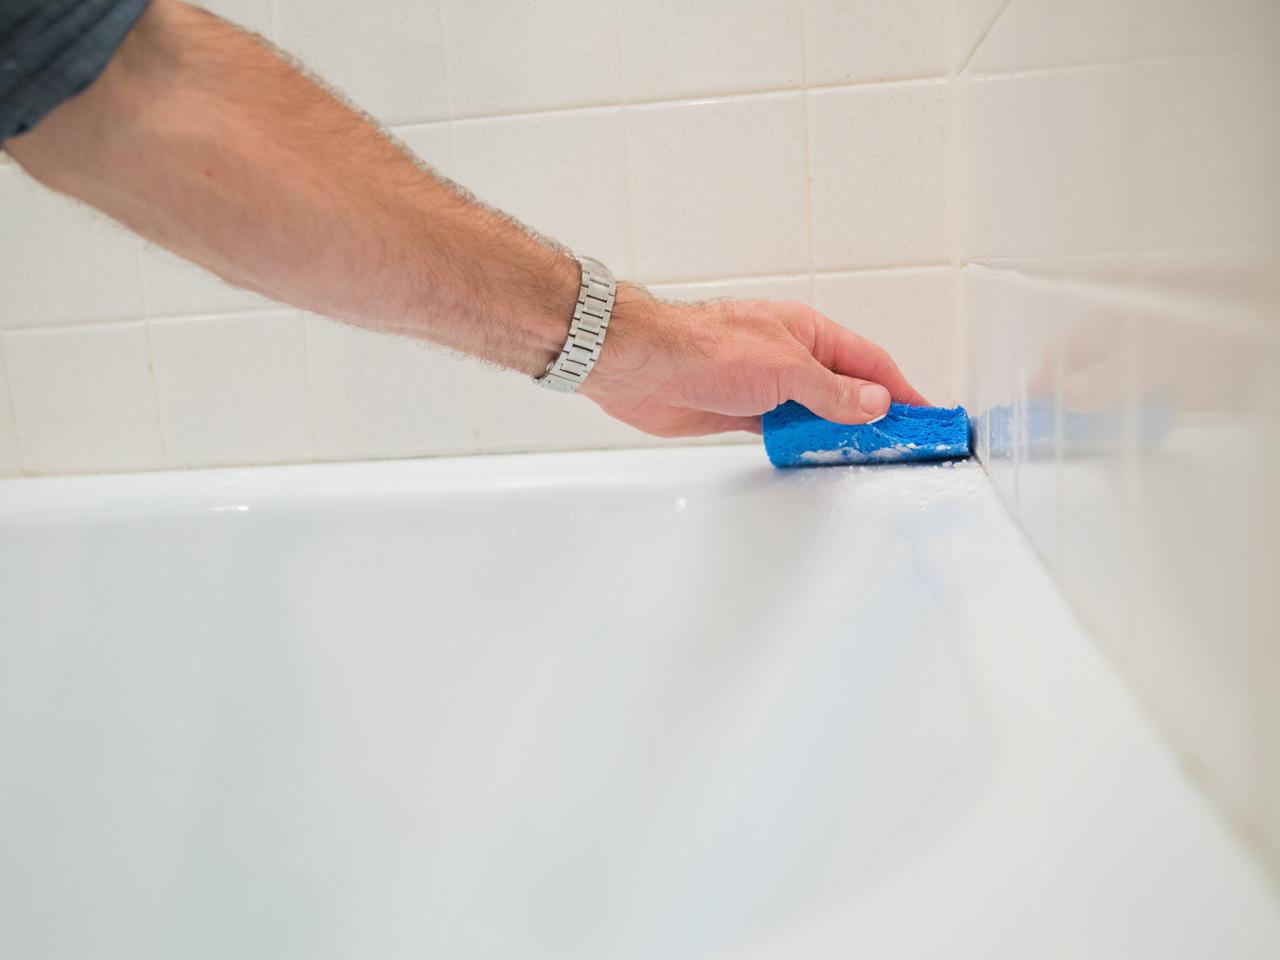
Step 2. Clean the Area Thoroughly
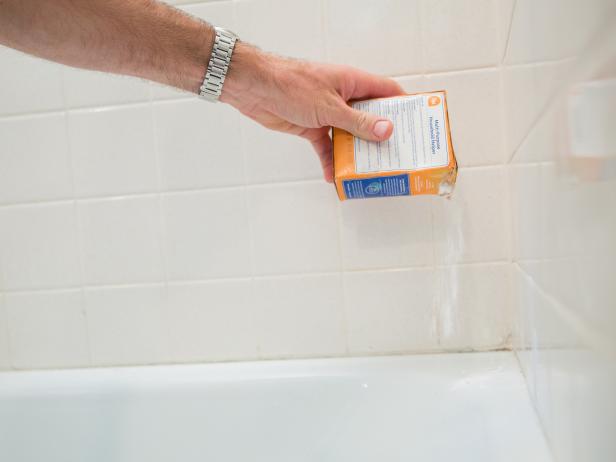
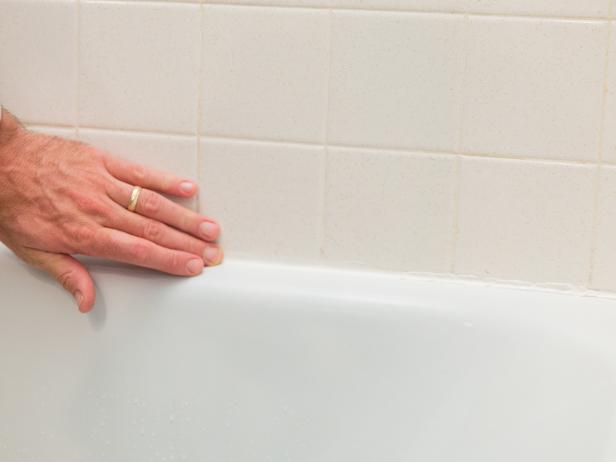
If you notice any grime or soap scum where you’ll be recaulking, wipe the area down with a wet sponge, then sprinkle baking soda over the wet surface (Image 1). Finally, use the sponge to scrub away the baking soda and the soap scum along with it (Image 2). Let the area fully dry.
Jalynn Baker

Jalynn Baker
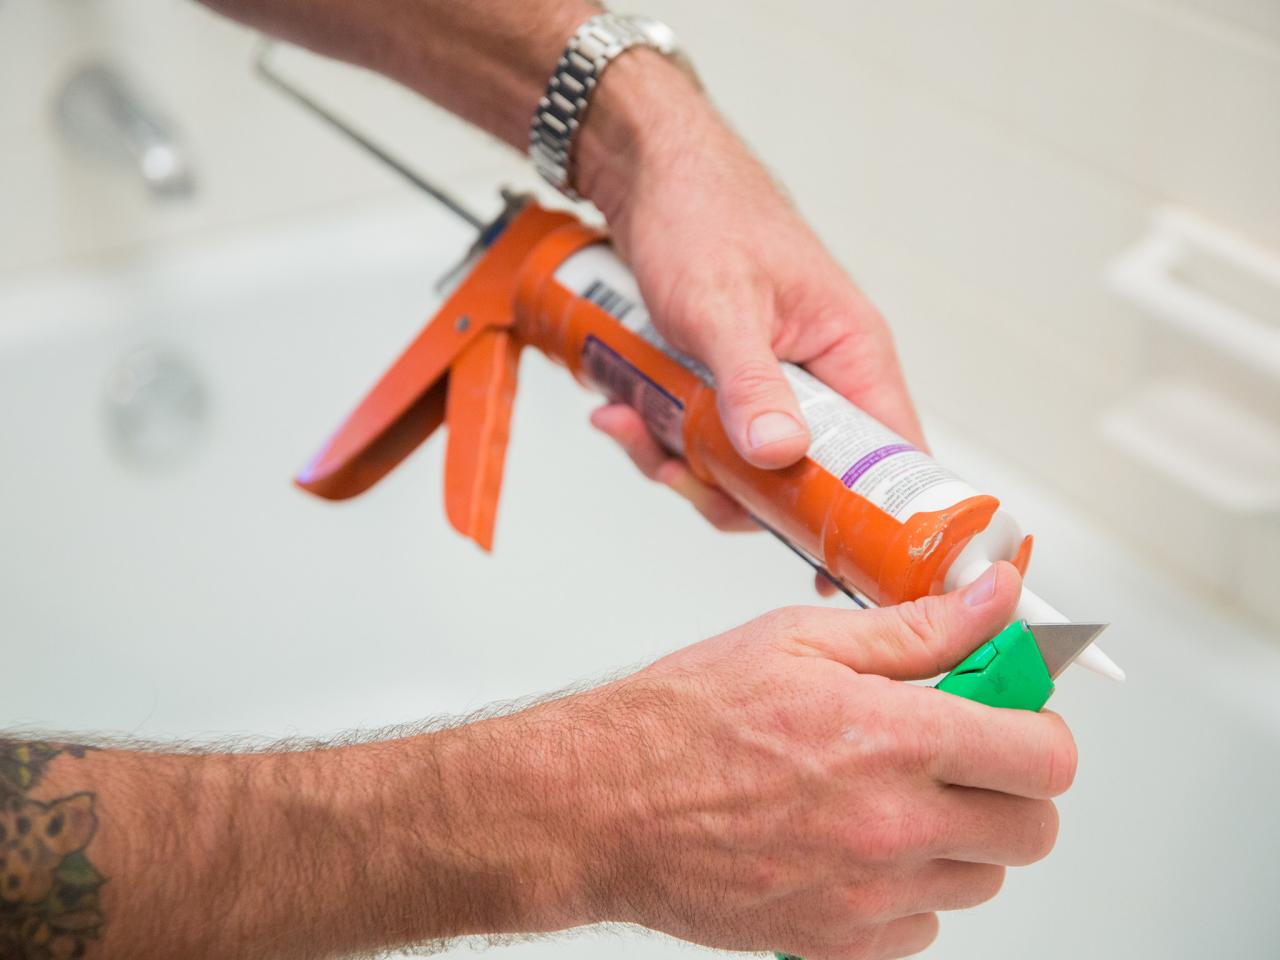
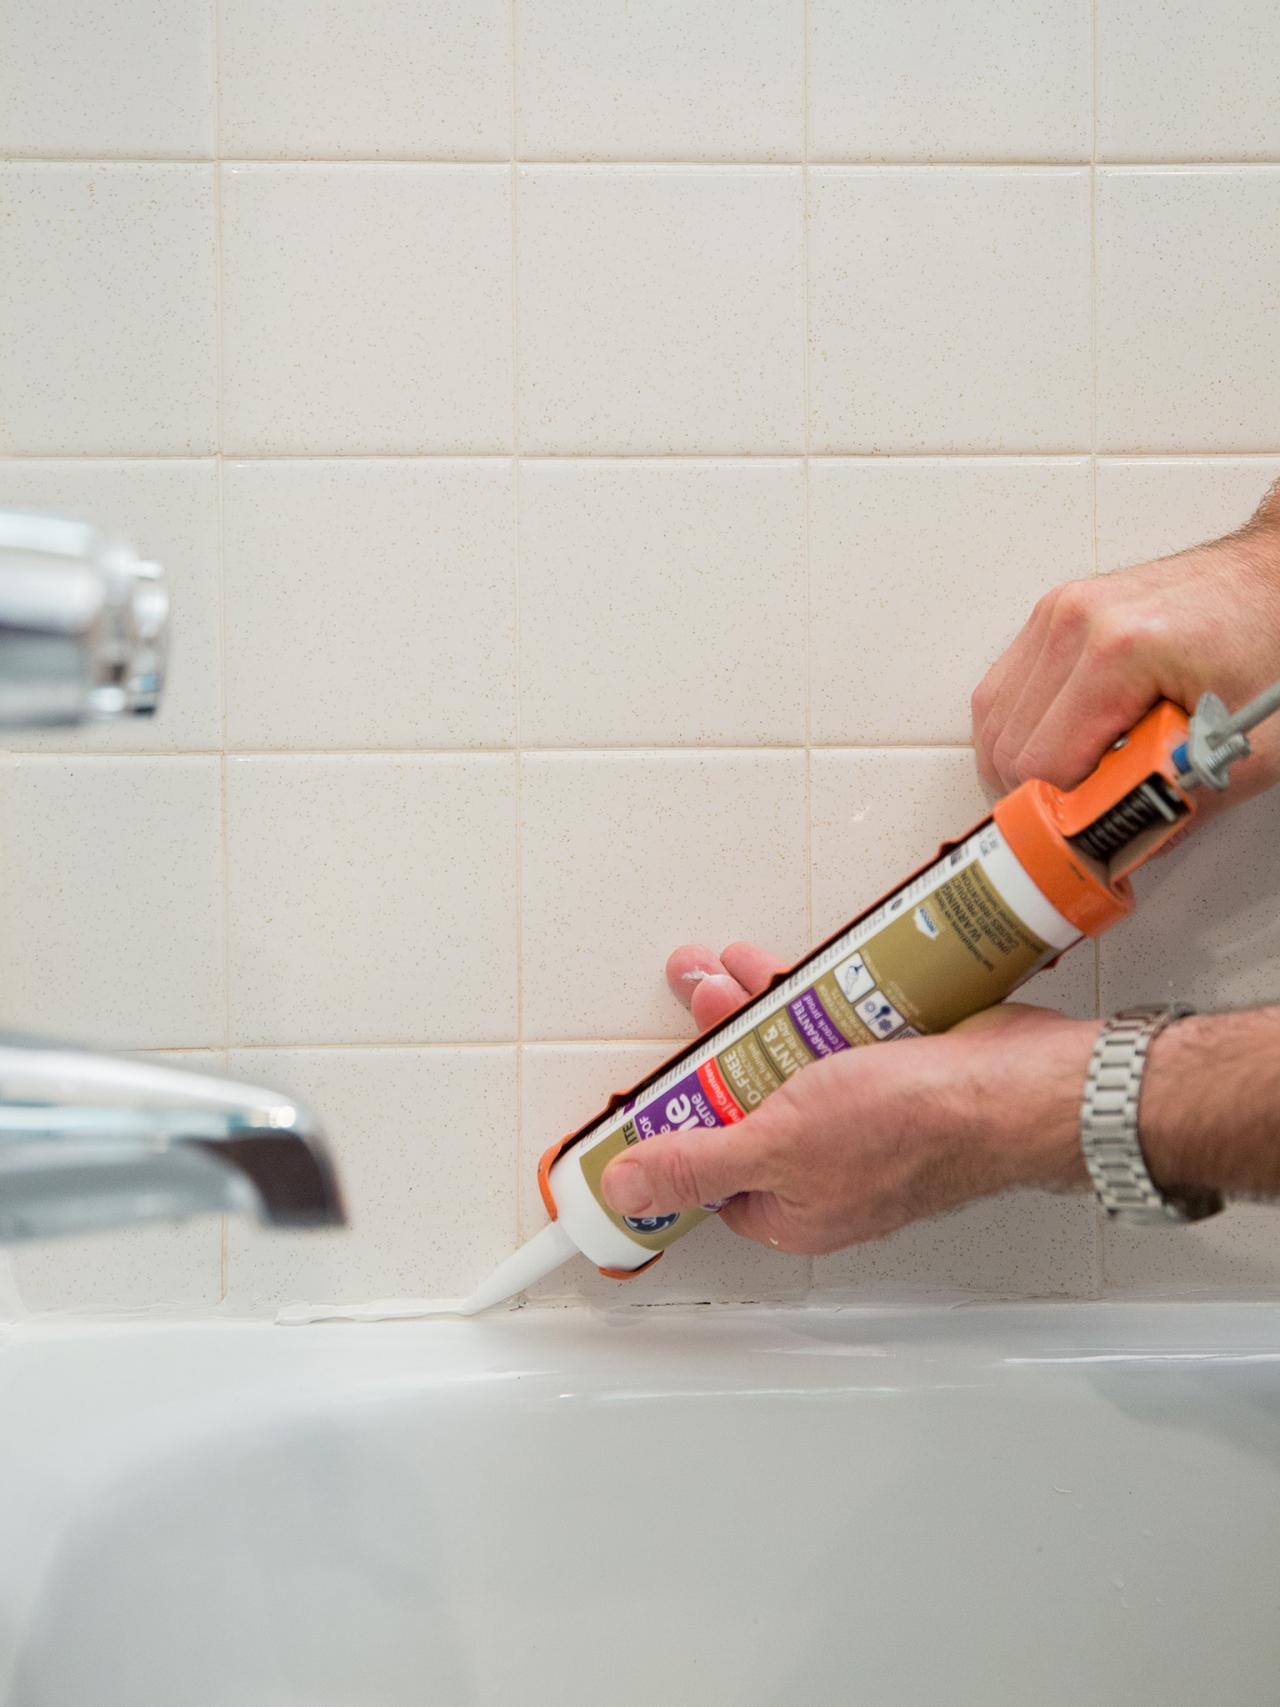
Step 3. Recaulk the Seams
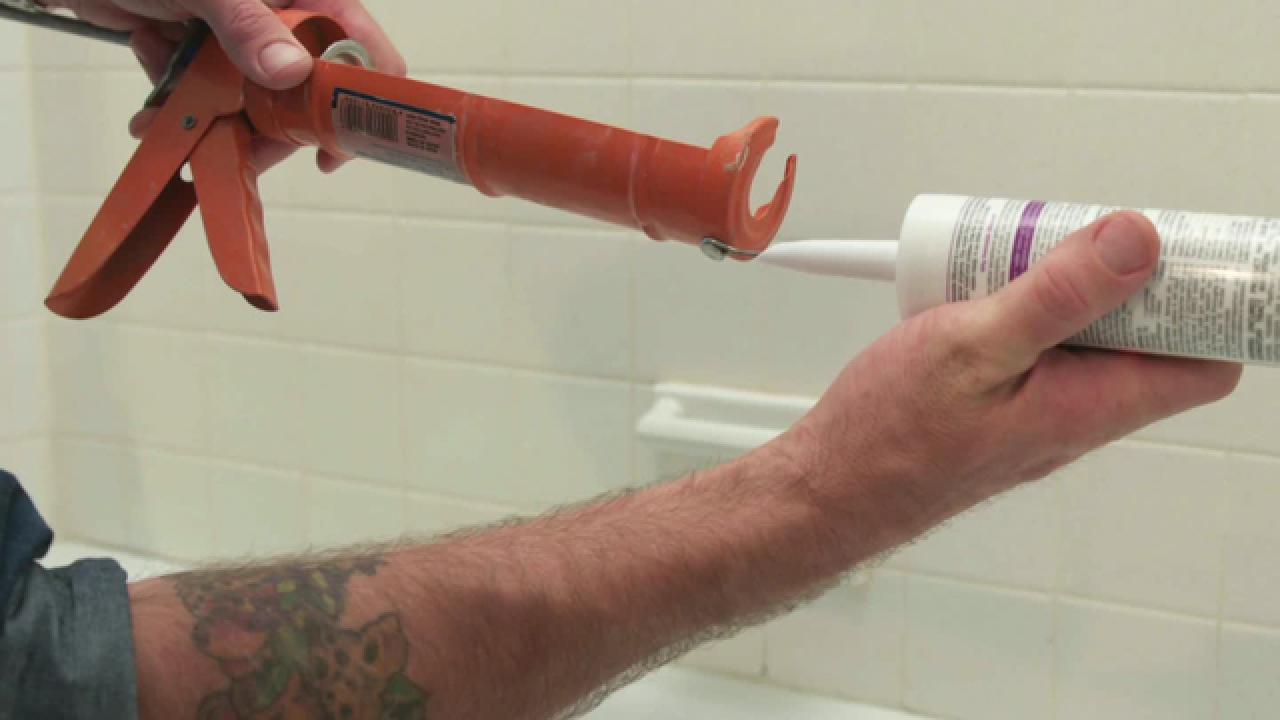
With the old caulk removed and the area cleaned, you’re ready to reseal all the cracks and seams in your shower. Use a utility knife to cut the tip of your caulk tube at a 45-degree angle (Image 1). You’ll need to puncture the inside of the tube through the tip to get the caulk flowing. Run a bead of caulk along the seams slowly (Image 2). Don’t use too much on your first pass. The simplest and most effective way to apply caulk is to lay a continuous thin line and then smooth it into place using a wet finger (Image 3).

How to Use a Caulk Gun
Learn everything you need to know about caulking right here.
This will create a seamless transition between the two surfaces and won’t be as noticeable to the eye. If you need to stop or take a break, remember to press the pressure release lever on the back of your caulk gun so the caulk doesn’t continue to flow. After caulking and smoothing, you may find an area that needs another layer. Apply another thin bead of caulk and smooth using a wet finger. Tip: Keep a wet cloth nearby to wipe your fingers on. You can use it to wipe away any mistakes as well.

Jalynn Baker

Jalynn Baker
Jalynn Baker
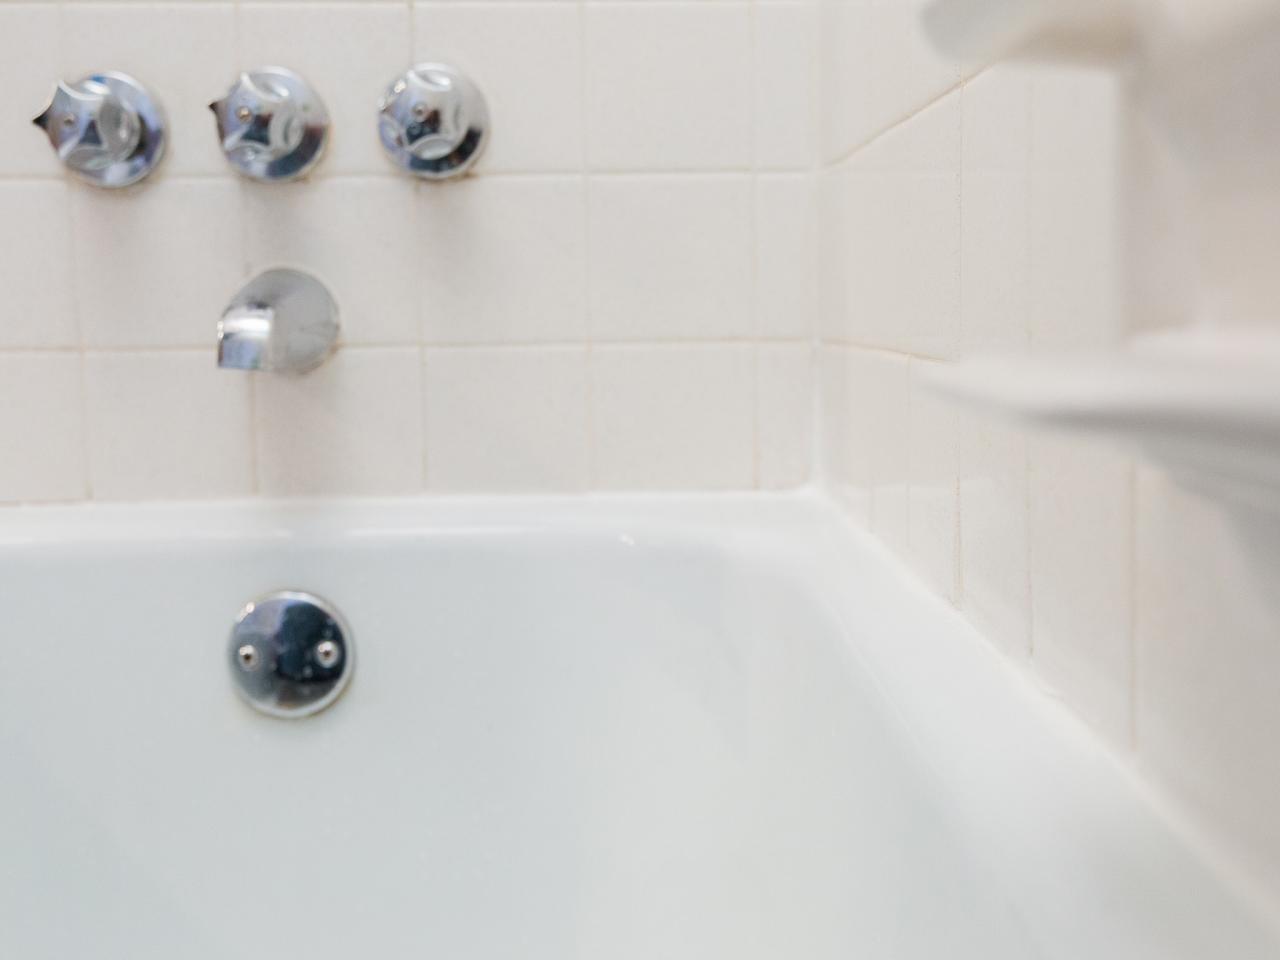
Step 4. Clean Up Edges
Caulking is a bit of an art and takes some getting used to. You may have applied too much in one area or left a smudge on a wall. If so, that’s okay. Take a wet cloth and wipe away the smudges. If one of your seams is too wide and there’s unwanted caulk left on the surface, run the wet cloth along the edge to wipe the excess away.

Jalynn Baker
If you haven’t used an entire tube of caulk, you’ll want to seal the tip to make sure it doesn’t dry out and will be ready for use the next time you need it. If any caulk has dried on your hands, you can clean it off using a rag and some mineral spirits. Congratulations! Your shower is now clean, sealed and ready for years of use.


