


How to Build a Fire Pit in an Afternoon
With a short list of materials and just a few hours, you can easily create an inviting fire pit area that will quickly become your new favorite spot in the backyard.
This DIY fire pit couldn't be easier to put together. There is no need to mix mortar or concrete, just simply create the base and then stack blocks. The blocks and river rock we used are available at most big hardware stores. Before assembling, check your local building codes for any rules and regulations regarding fire pits in your area. Next, choose a flat and level location away from your house and any low-hanging trees or other structures. When purchasing the concrete bricks, ensure the manufacturer has deemed them safe for fire pit usage.

Tools & Materials
- (48) 10.25" x 7" tumbled concrete wall blocks
- (48) 3.5" x 7" mini tumbled concrete wall blocks
- (6) bags of river rock
- rake
- garden hoe
- shovel
- 3' - 4' level
- weed killer
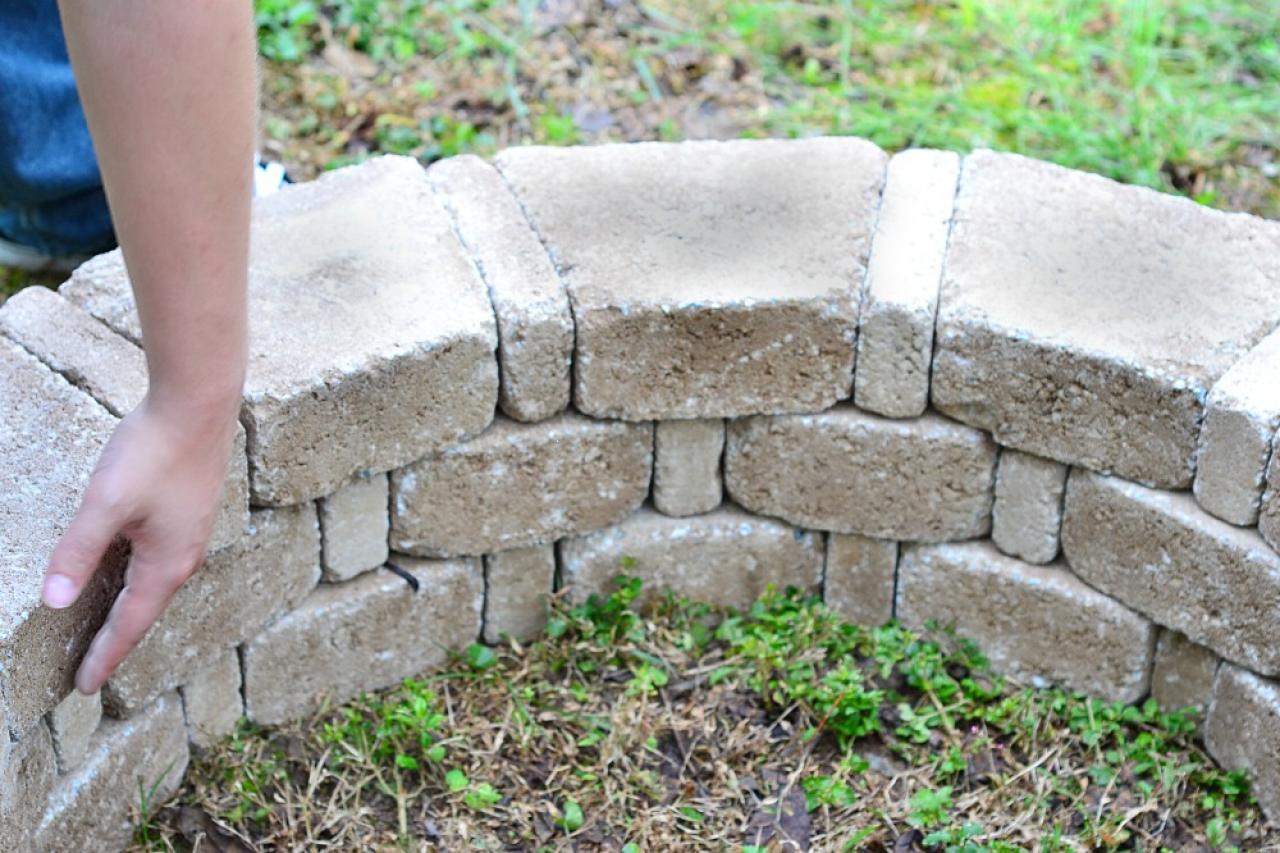
1. Create Foundation
Create the first tier of the fire pit by forming a circle, alternating the large and mini bricks to create a pattern. Using a level, make sure the bricks are relatively even all the way around. If the circle is more than an inch or two uneven, remove the higher bricks and dig out the dirt underneath until they're level with the rest. It's important for the first level to be as even as possible to create a sturdy foundation.
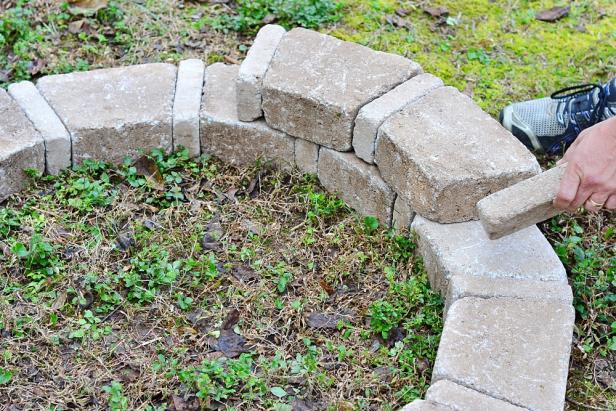
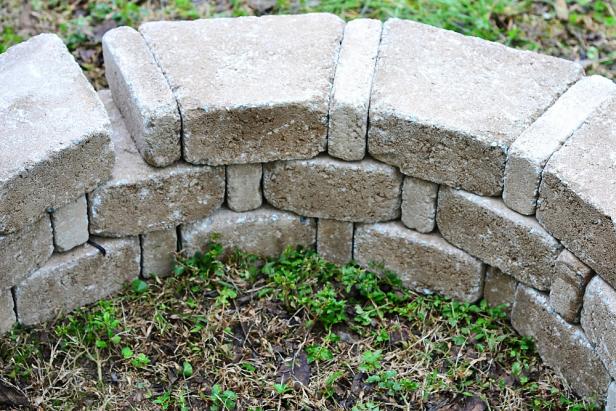
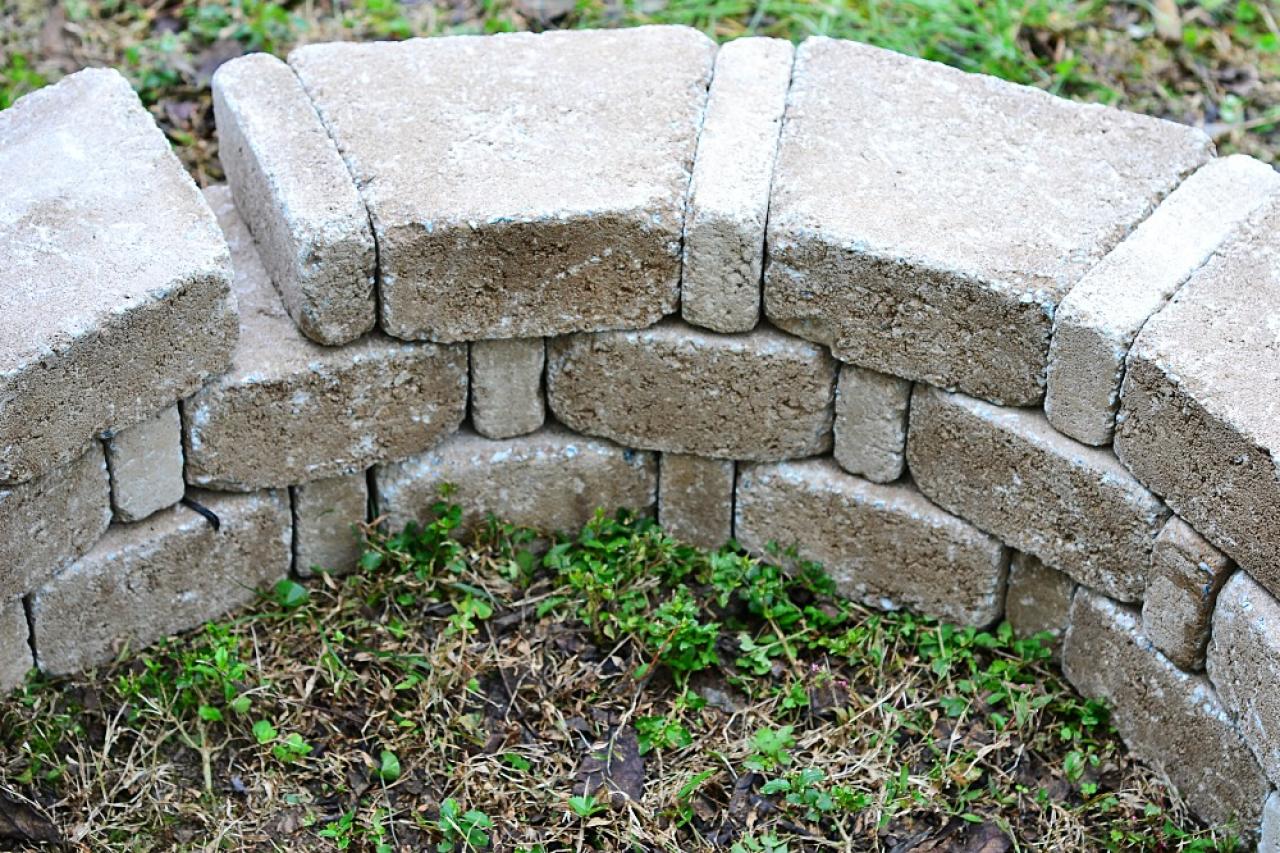
2. Build Sides
Begin the next layer by alternating the large and small bricks again, placing the small bricks on top of and in the middle of a larger brick to continue the pattern.
3. Keep Fire Pit Level
During the assembly process, step back from time to time and make sure the fire pit wall is even. Adjust as necessary to keep it symmetrical and level.

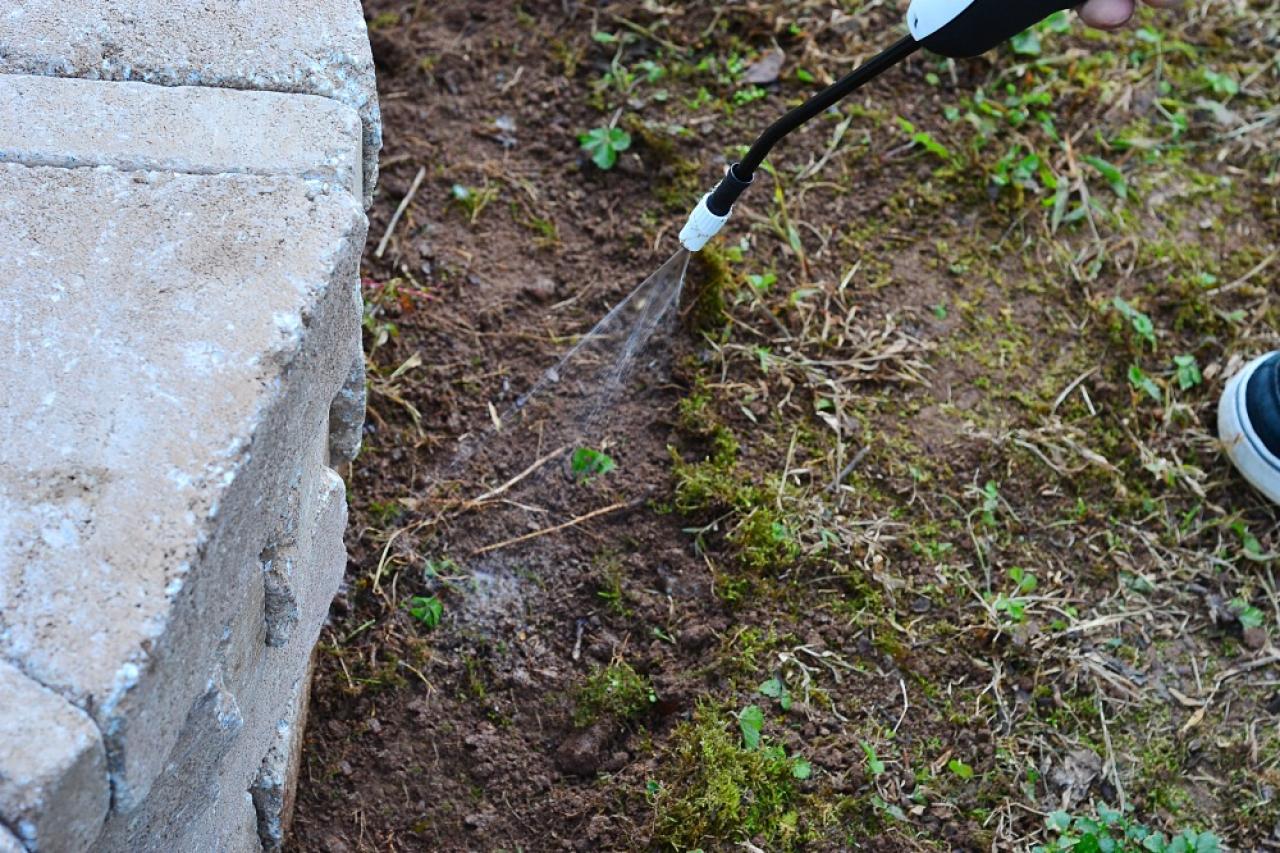
4. Clear Around Perimeter
Using a hoe and a shovel, clear out a two-inch area around the perimeter of the fire pit. Apply a weed killer to cut back on weeds growing up around your new fire pit.

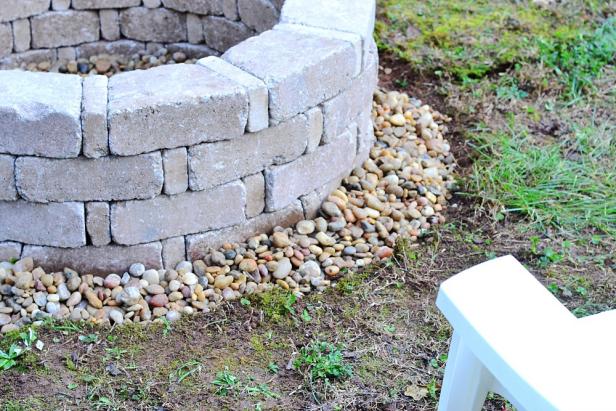
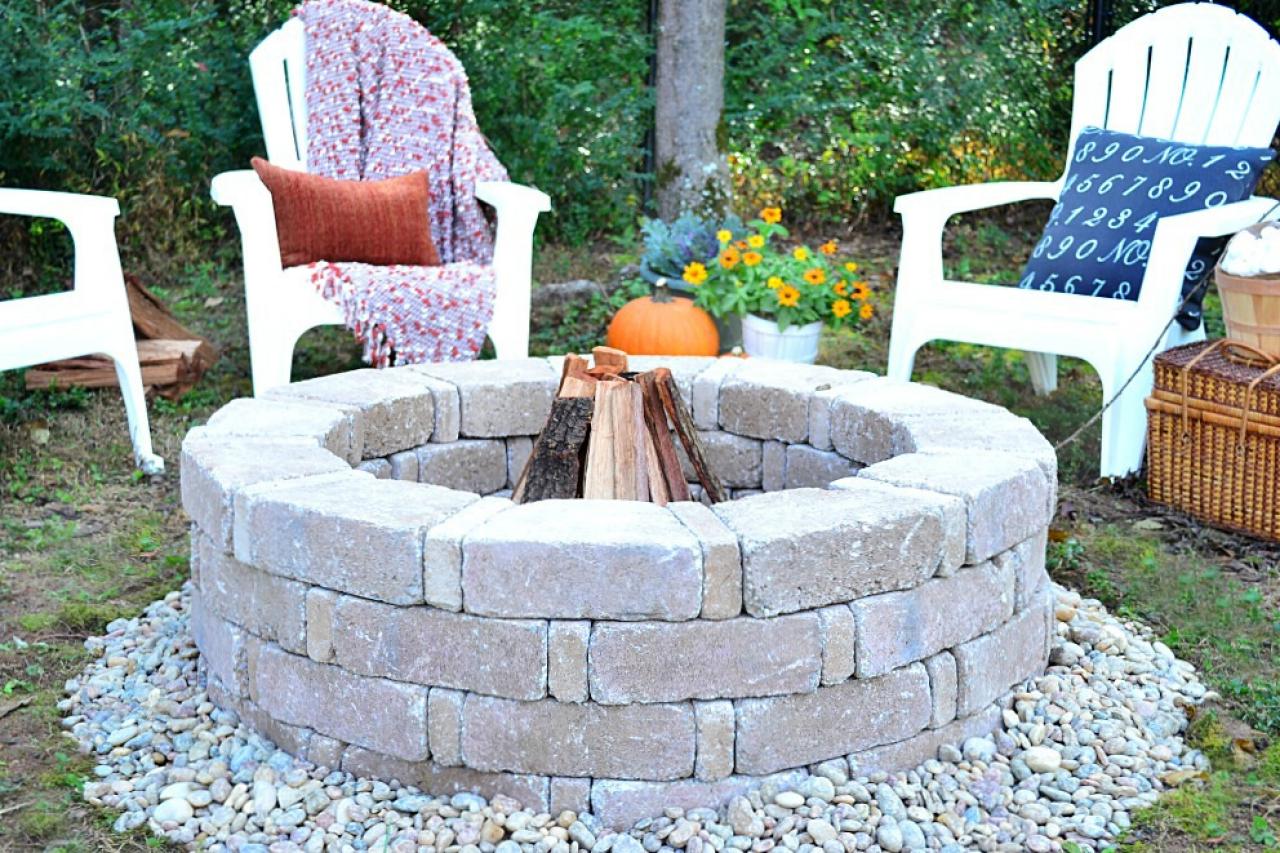
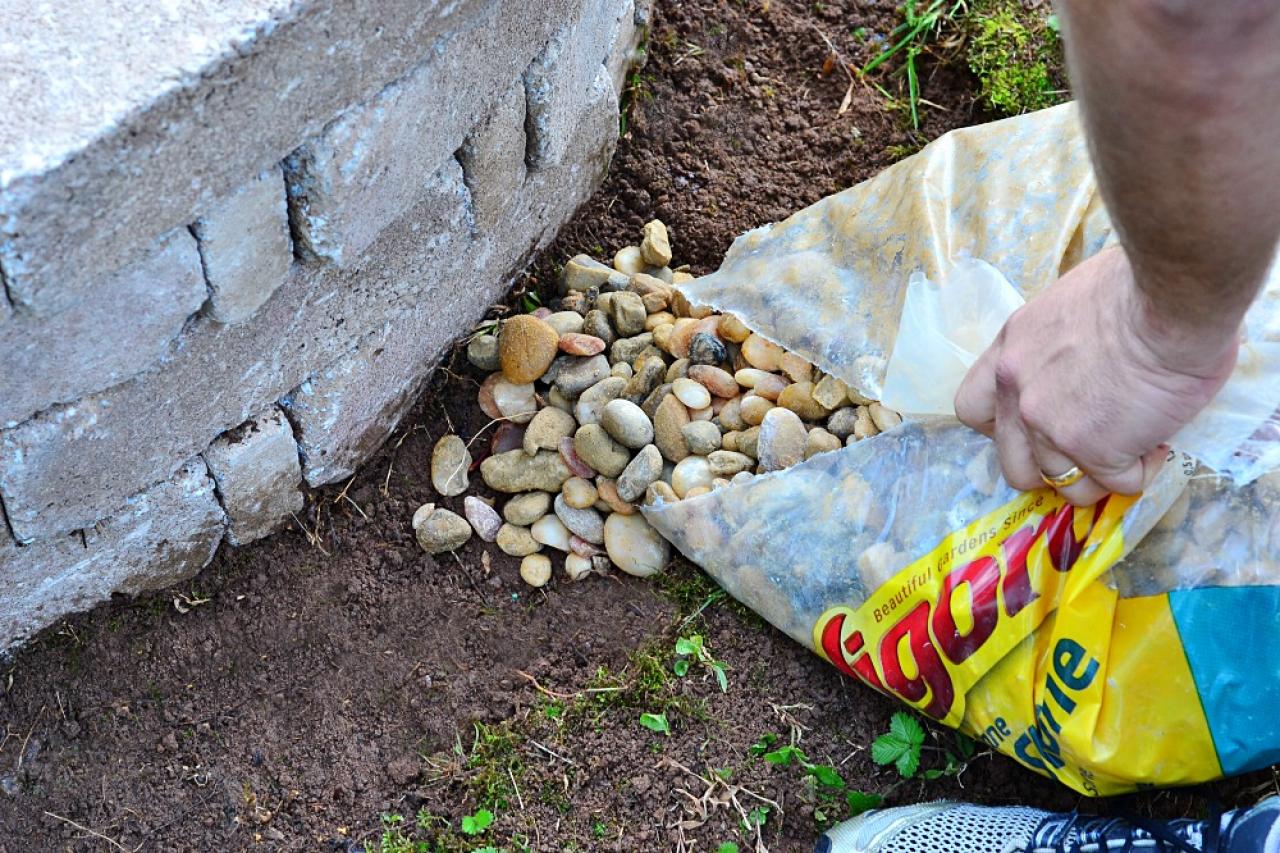
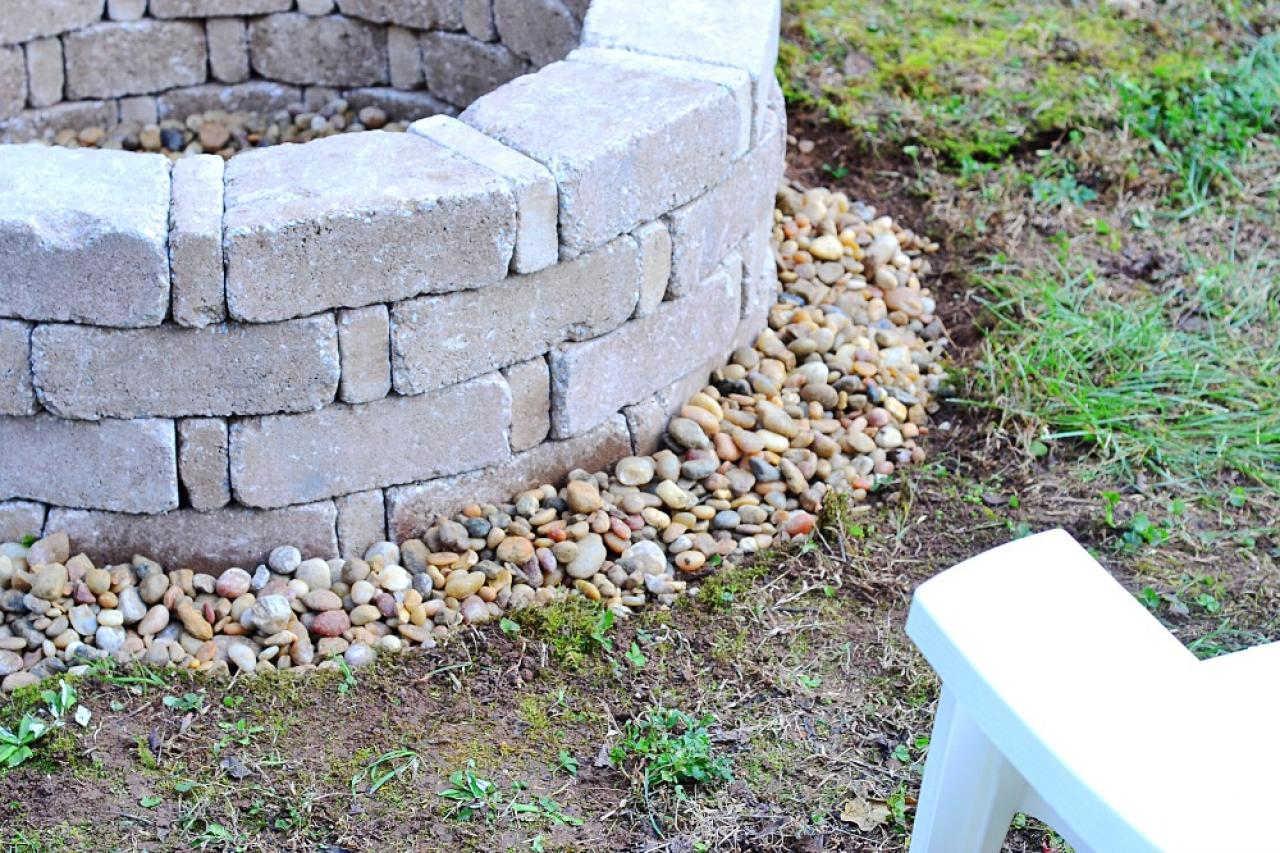
5. Add River Rock
In the newly cleared area, pour river rock evenly around the perimeter (Image 1). The addition of the river rock will give the fire pit a nice finished look and help keep the bottom layer of bricks from shifting (Image 2).

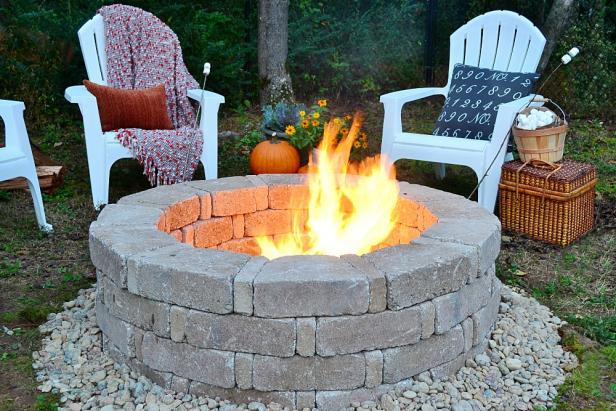
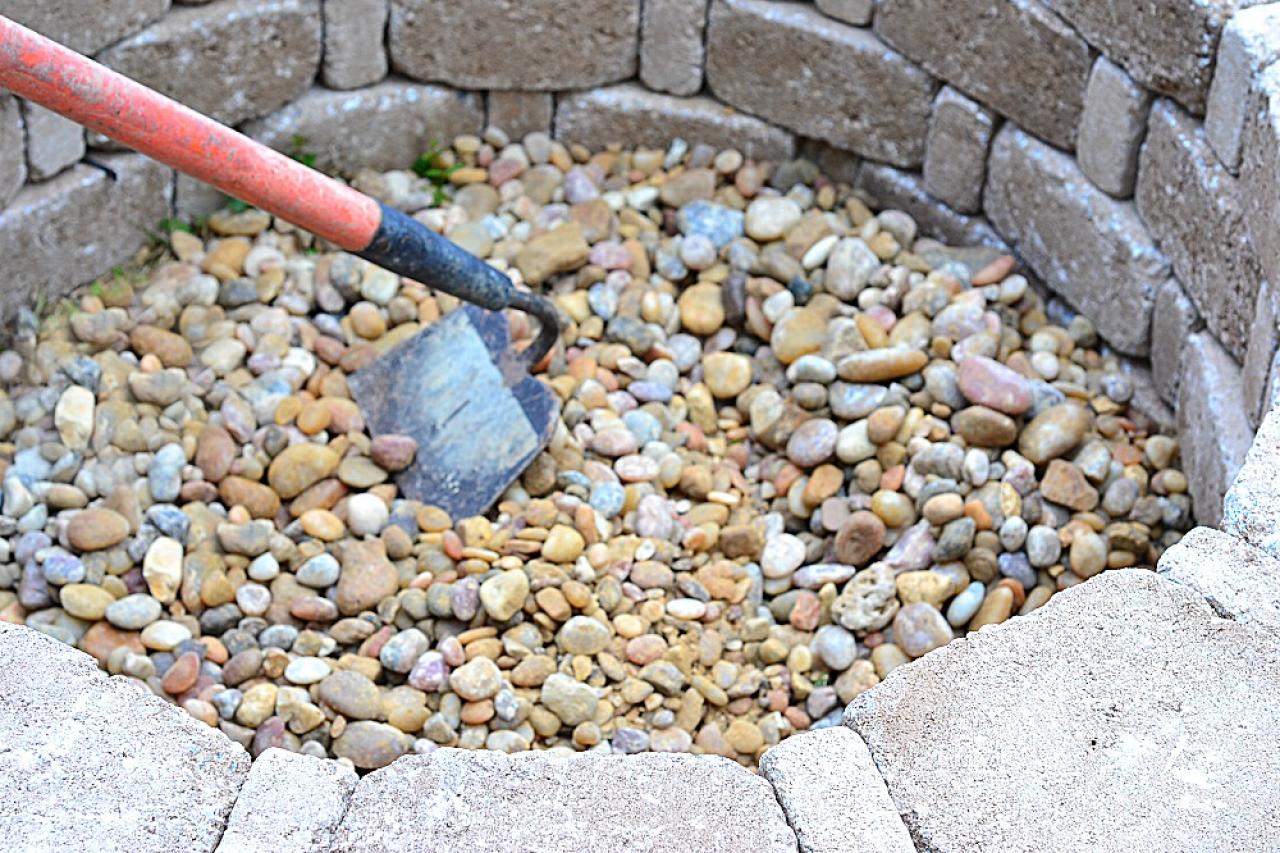
6. Finishing Touches
Finish off your fire pit project by spreading the remaining river rock in the bottom of the pit to help with drainage and prevent weed growth.

7. Create a Seating Area
Resin Adirondack chairs are virtually maintenance-free and, with the addition of outdoor pillows and blankets, will make the area feel comfortable and cozy. S'mores, anyone?


