


How to Build a Vertical Book Tower
Short on space to display your books? You’ll certainly be able to fit this DIY bookshelf into your life.

A wood book tower costs about $200, but if you’ve got some basic woodworking skills and tools, you can build one in an afternoon for about $25.

Tools and Materials
- chop saw
- circular saw
- drill with 7/16” bit
- measuring tape/ruler
- speed square
- straight edge
- (1) premium 2x4 x 8’ pine board
- 2 ’x 2’ piece of 1/2” medium-density fiberboard (MDF)
- (14) 2” wood screws
- paint or stain
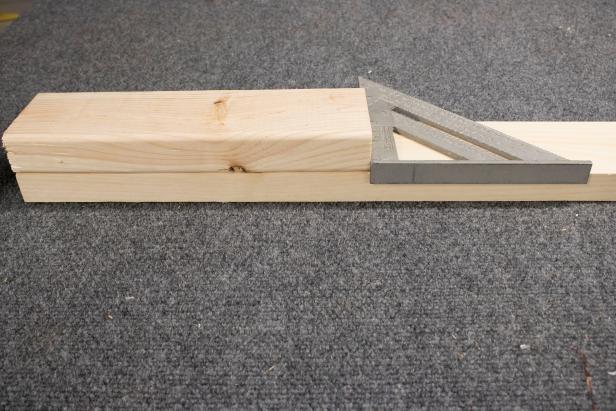
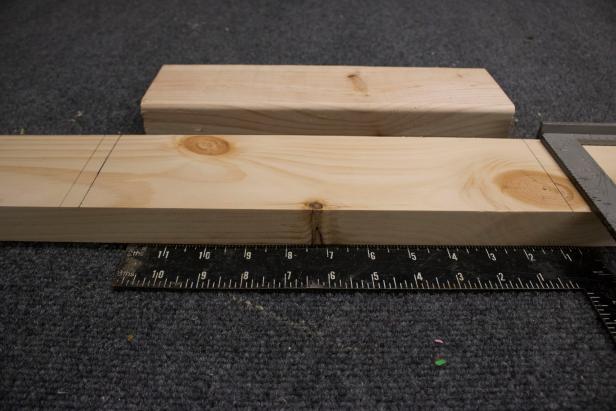
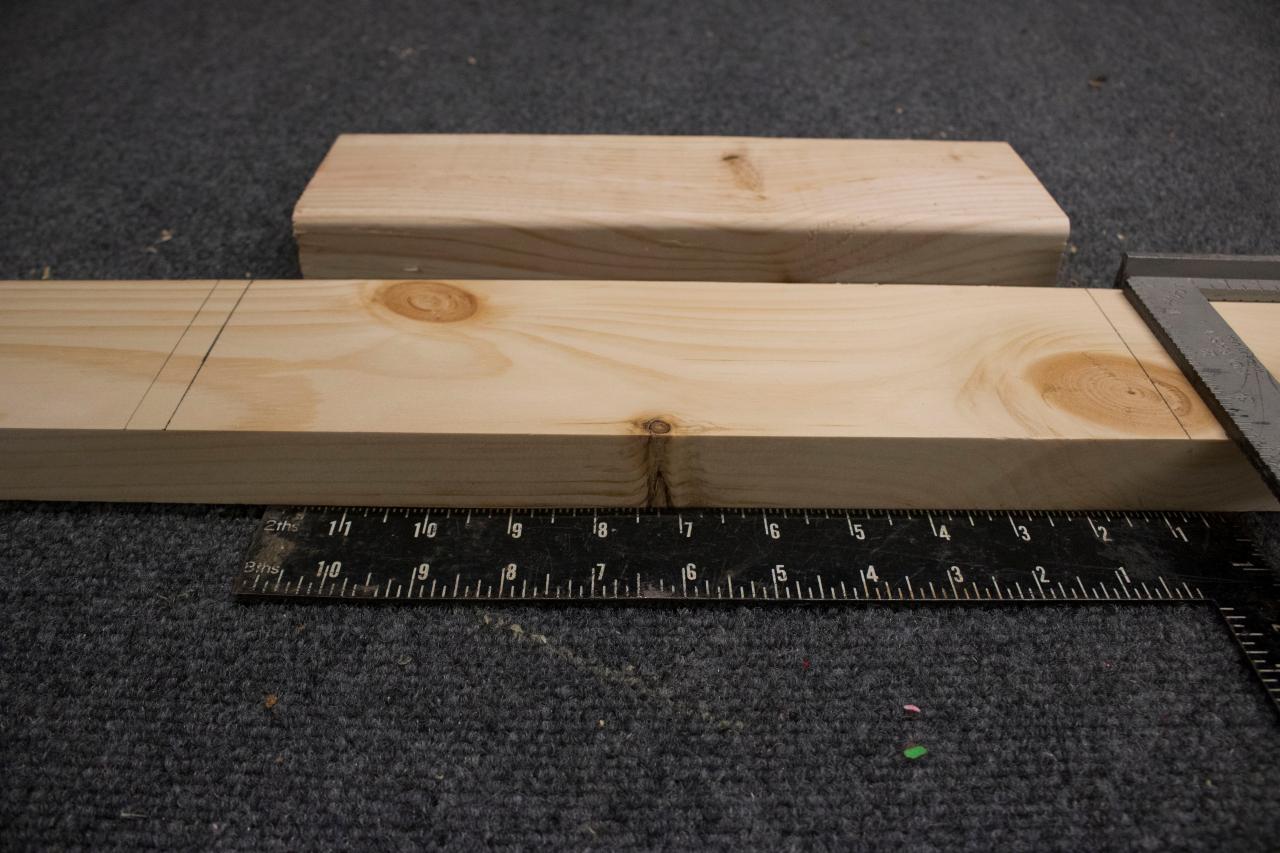
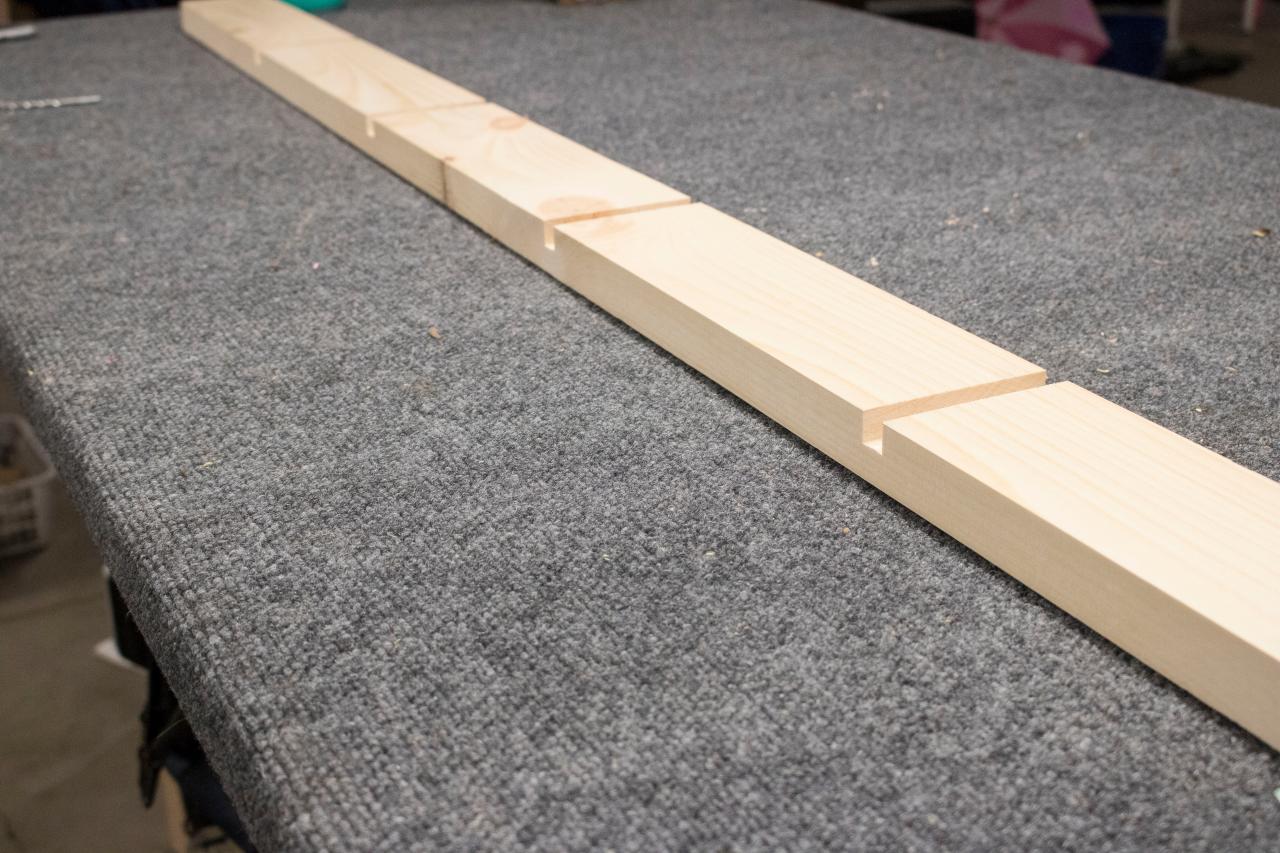
Step 1: Plan Your Cuts
A 2x4 board is used to construct the spine of the bookshelf. Along its length, plan and measure so that one shelf is located every 12”-16". Use a piece of a scrap board as a spacer to keep the distance consistent. And use a speed square to mark in pencil where each shelf will be located. The chop saw will be used to create dado cuts (or trench cuts) in the 2x4 spine. When you create a dado cut, you remove the material in small slices, one sliver at a time, and when done right, each trench will be the perfect space in which to fit a shelf. It’s important that the placement for each shelf is marked precisely to accommodate a 1/2” piece of MDF so that the shelf fits tight. If you want your bookshelf to be less than 8’ tall (the length of the board), cut the board shorter, and then measure accordingly. At the bottom of the spine, incorporate a measurement so that the 2x4 will join and lap with a piece of 1/2” MDF for the shelf footer (shown in Step 3 photos).
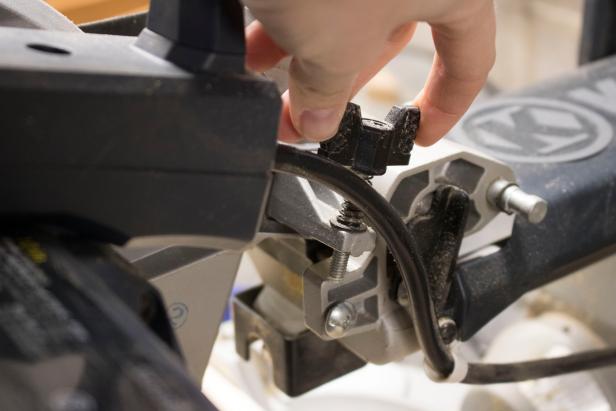
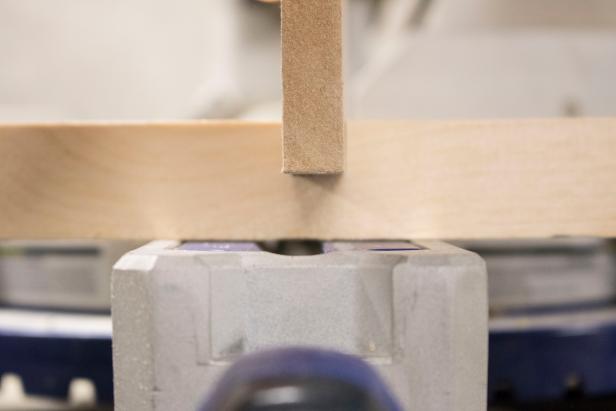
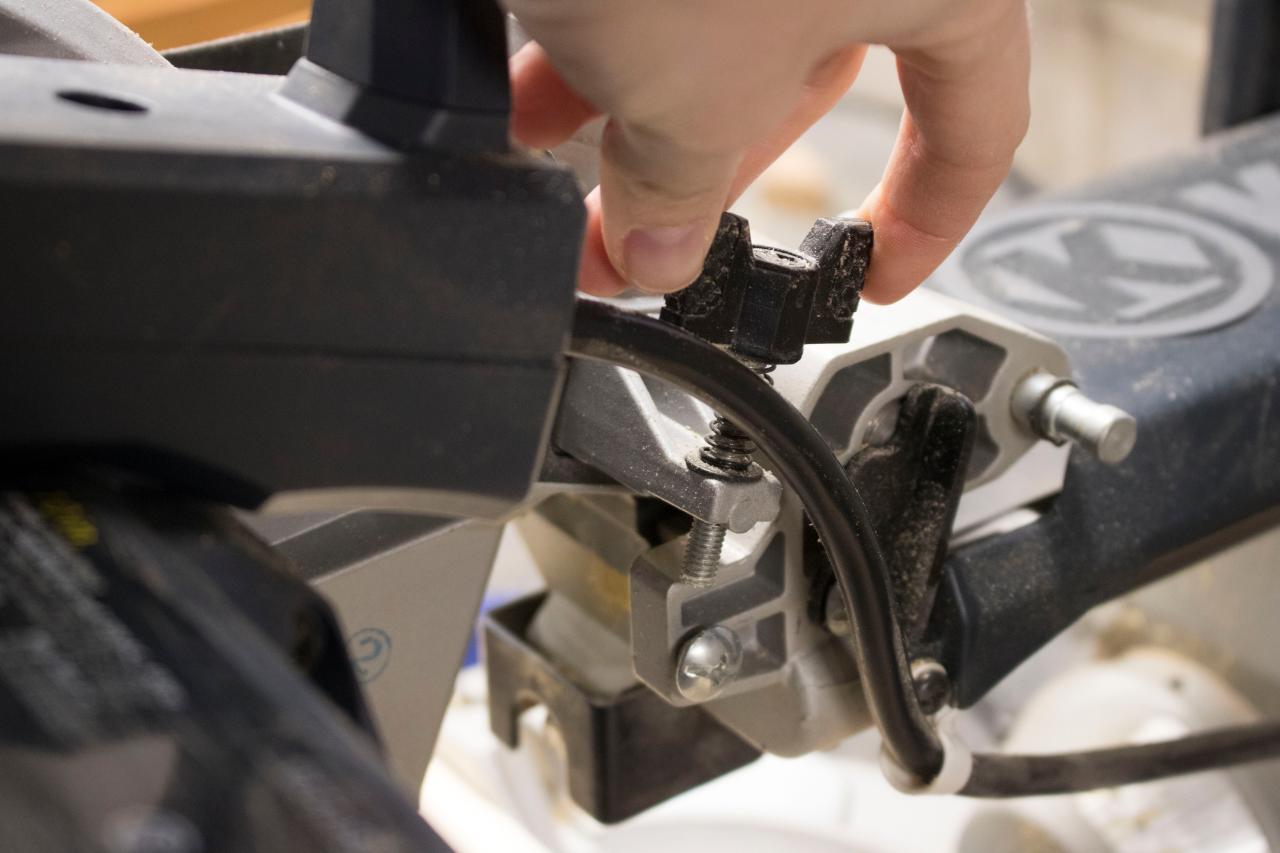
Step 2: Adjust Chop Saw and Test Dado Cuts
Before cutting the notches in the spine of the shelves, adjust the depth of the blade on your chop saw so that it doesn’t cut all the way through the wood. Cutting halfway through the 2x4 board – roughly 3/4” – is ideal so that the spine remains structural, but the trench cut is still deep enough in which to secure each shelf board. Test the depth of the blade against a piece of scrap wood. Practice your dado cuts at this time to see how easy it is to create a trench by trimming 1/8” (the width of the saw blade), sliding the board down, and removing another 1/8", and repeating until you have created a 1/2" space in the wood.
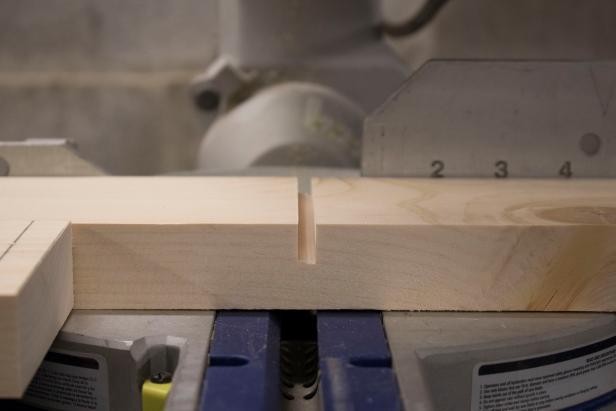
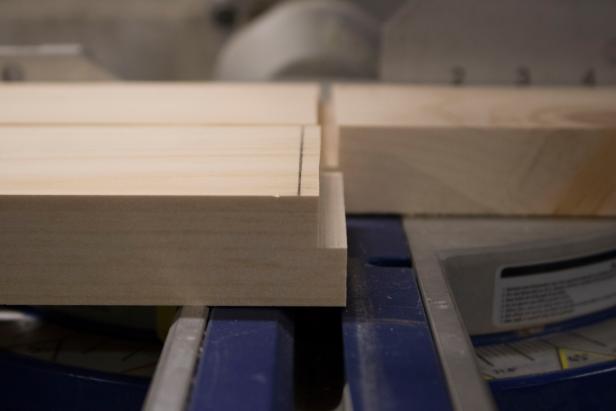
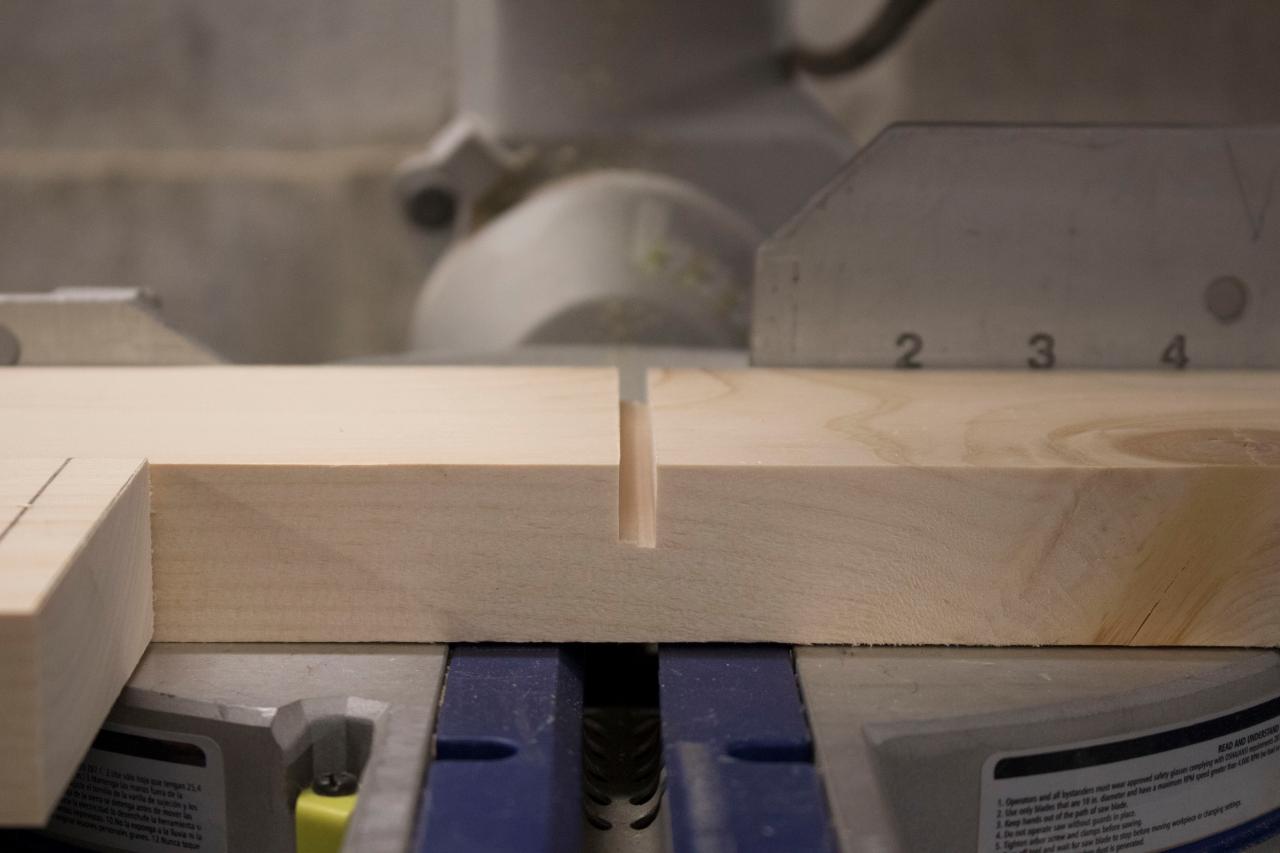
Step 3: Finish Dado Cuts on Bookshelf Spine
Keep the scrap board from Step 2 in position at your chop saw. Lay the full-length bookshelf spine in front of it. As you use the chop saw at its adjusted blade height, the blade will cut first through the spine, and then will slide back into the scrap board. Don't stop the blade or lift the saw until the blade is pushed back through the scrap wood to ensure that your dado trenches in the spine are consistent. Use the chop saw to slowly cut away each 1/2” dado trench in the bookshelf spine as described previously. It will take 4-5 cuts to create each trench in between the measured pencil marks. As you get close to the pencil marks, test a piece of cut MDF in the space to be sure it’s a tight fit. You won’t want the MDF to be loose in the trench, or the shelf will sag.

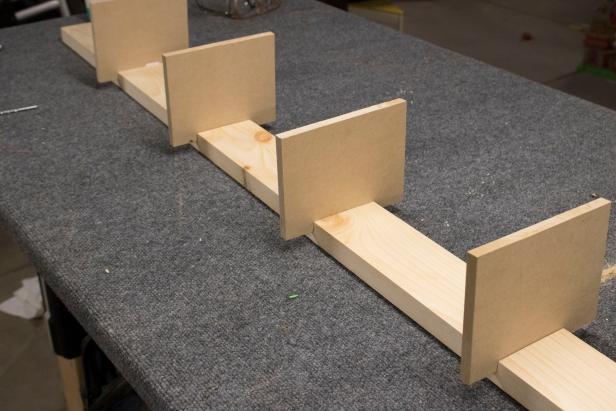
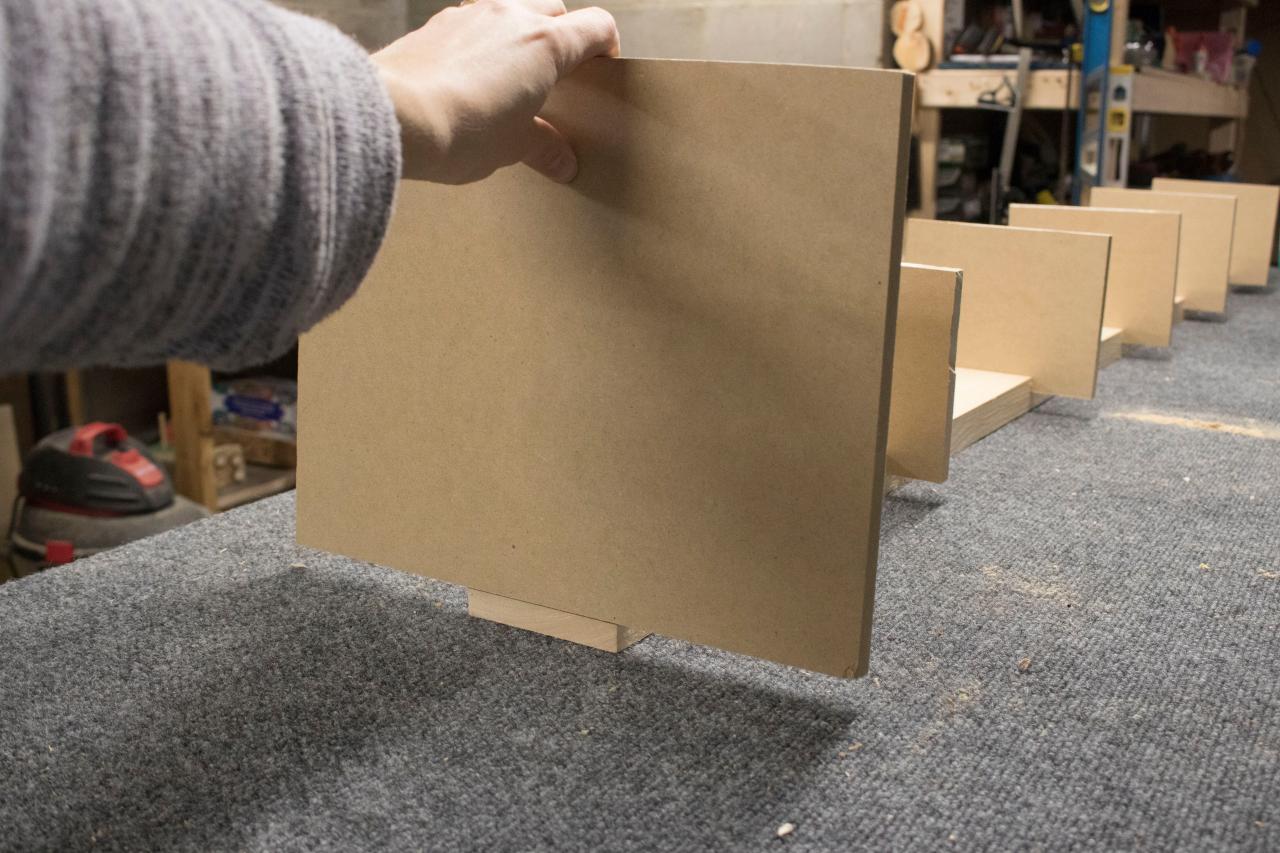
Step 4: Cut MDF Shelves to Size
Use the circular saw to cut the MDF into five 9” x 5” pieces for the individual shelves, and one 15” x 18” piece for the base. Note that since the base is larger, you’ll assemble that piece last. Make sure that the shelves all fit into the bookshelf spine by dry-fitting them in position.

Step 5: Paint and Stain (Optional)
We painted the shelves and used a semi-gloss polyurethane to coat the wooden spine. The options here are endless, so do what suits your style.
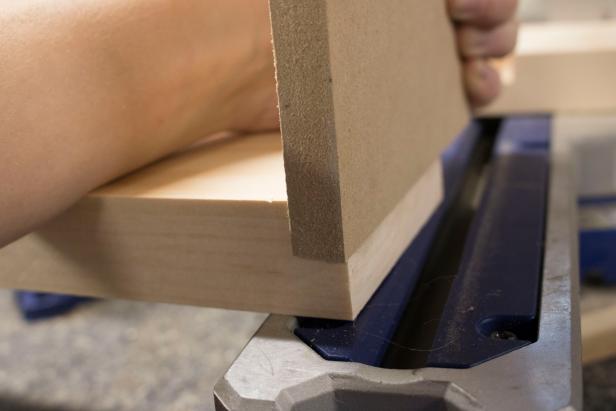
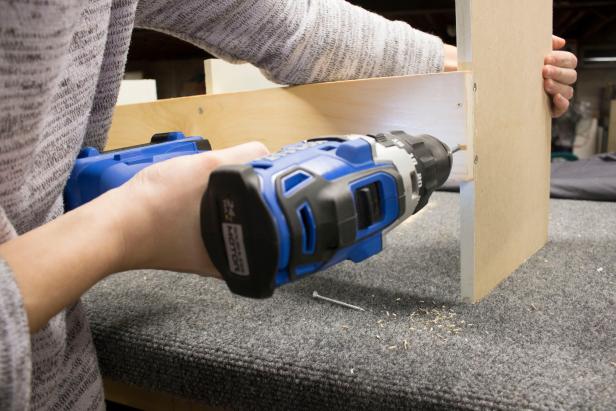
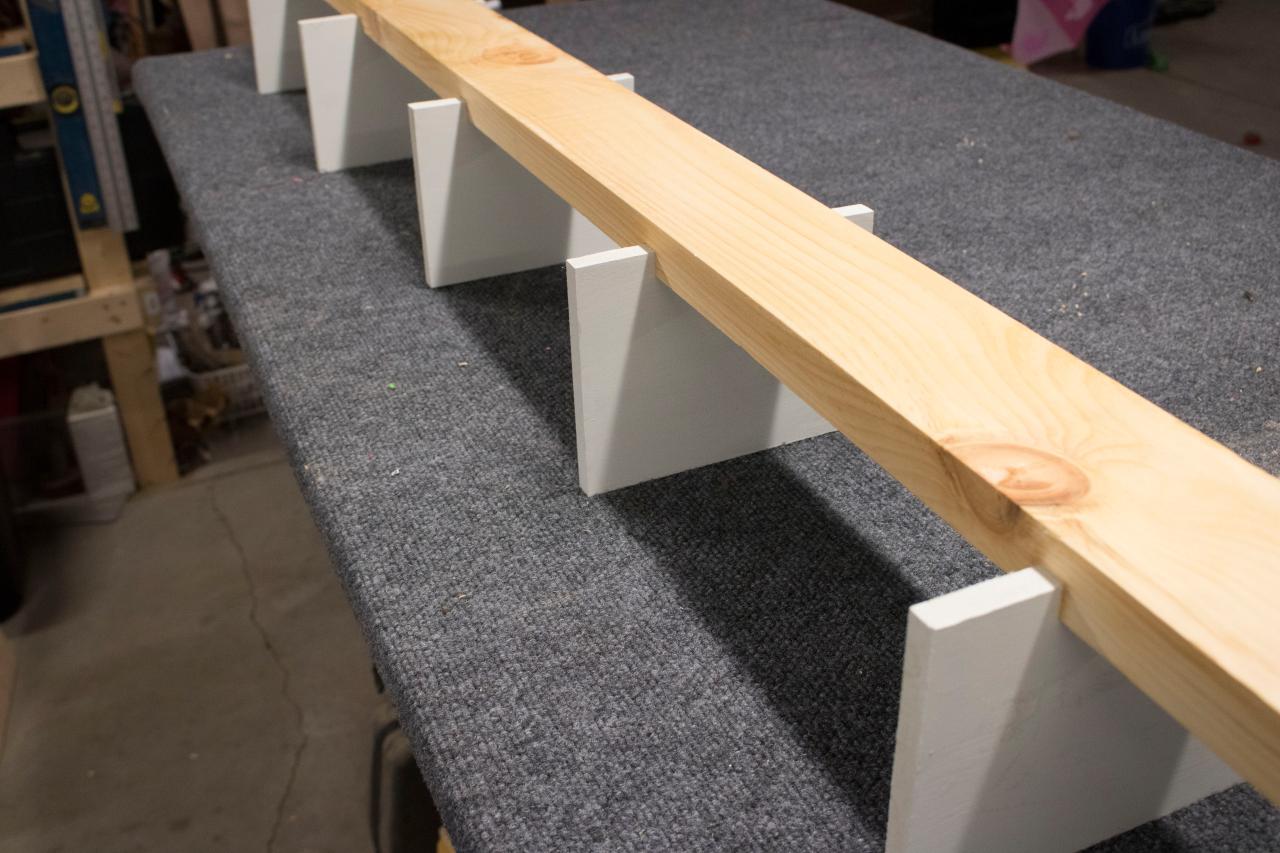
Step 6: Fit and Assemble the Shelves
Wedge each MDF shelf into position along the spine — remember, they should fit tightly into the dado trenches you cut — and then flip the shelf so the spine is on top. Use a rubber mallet to tap the spine downwards onto the shelves if they need a little help. Predrill two holes straight down through the 2x4 and into each shelf. Follow-up by attaching 2” wood screws into each hole to secure the shelf board to the spine. If you drill at an angle, you risk puncturing the MDF. Be sure to predrill straight down into the boards.

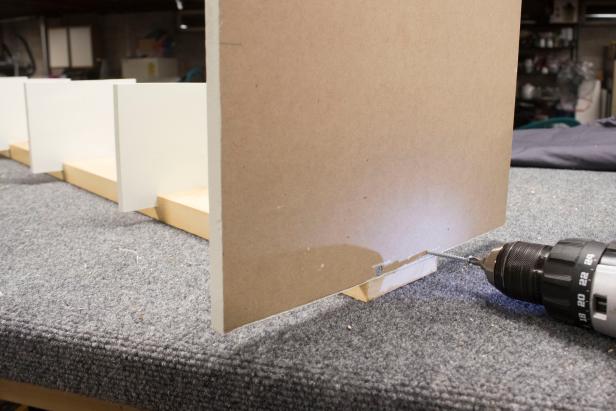
Step 7: Attach Base to the Tower
The tower base will attach to the spine using four screws for added stability. Predrill all four holes: two from the backside of the spine, much like you attached the shelves, and two from beneath, upwards and into the spine. Align the screws so there are no collisions.
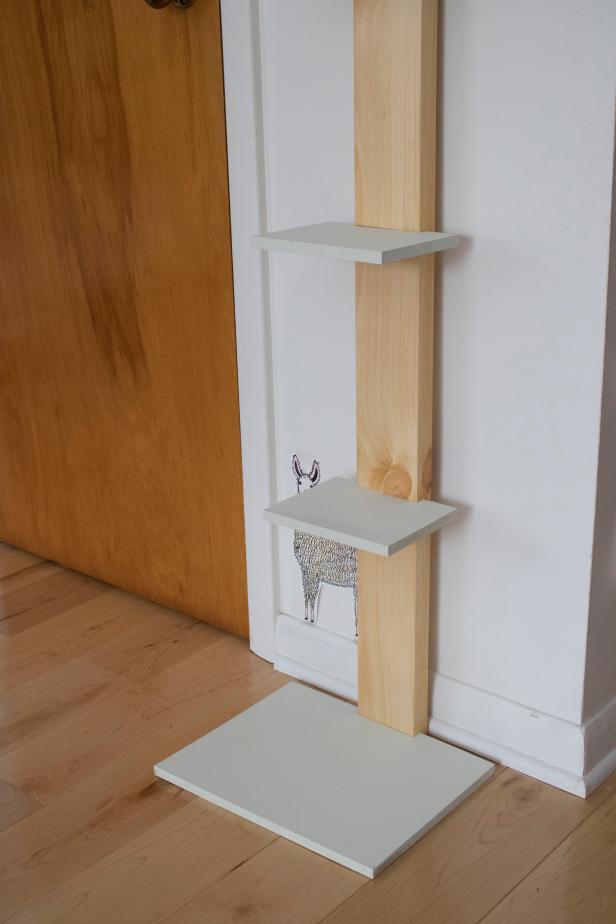
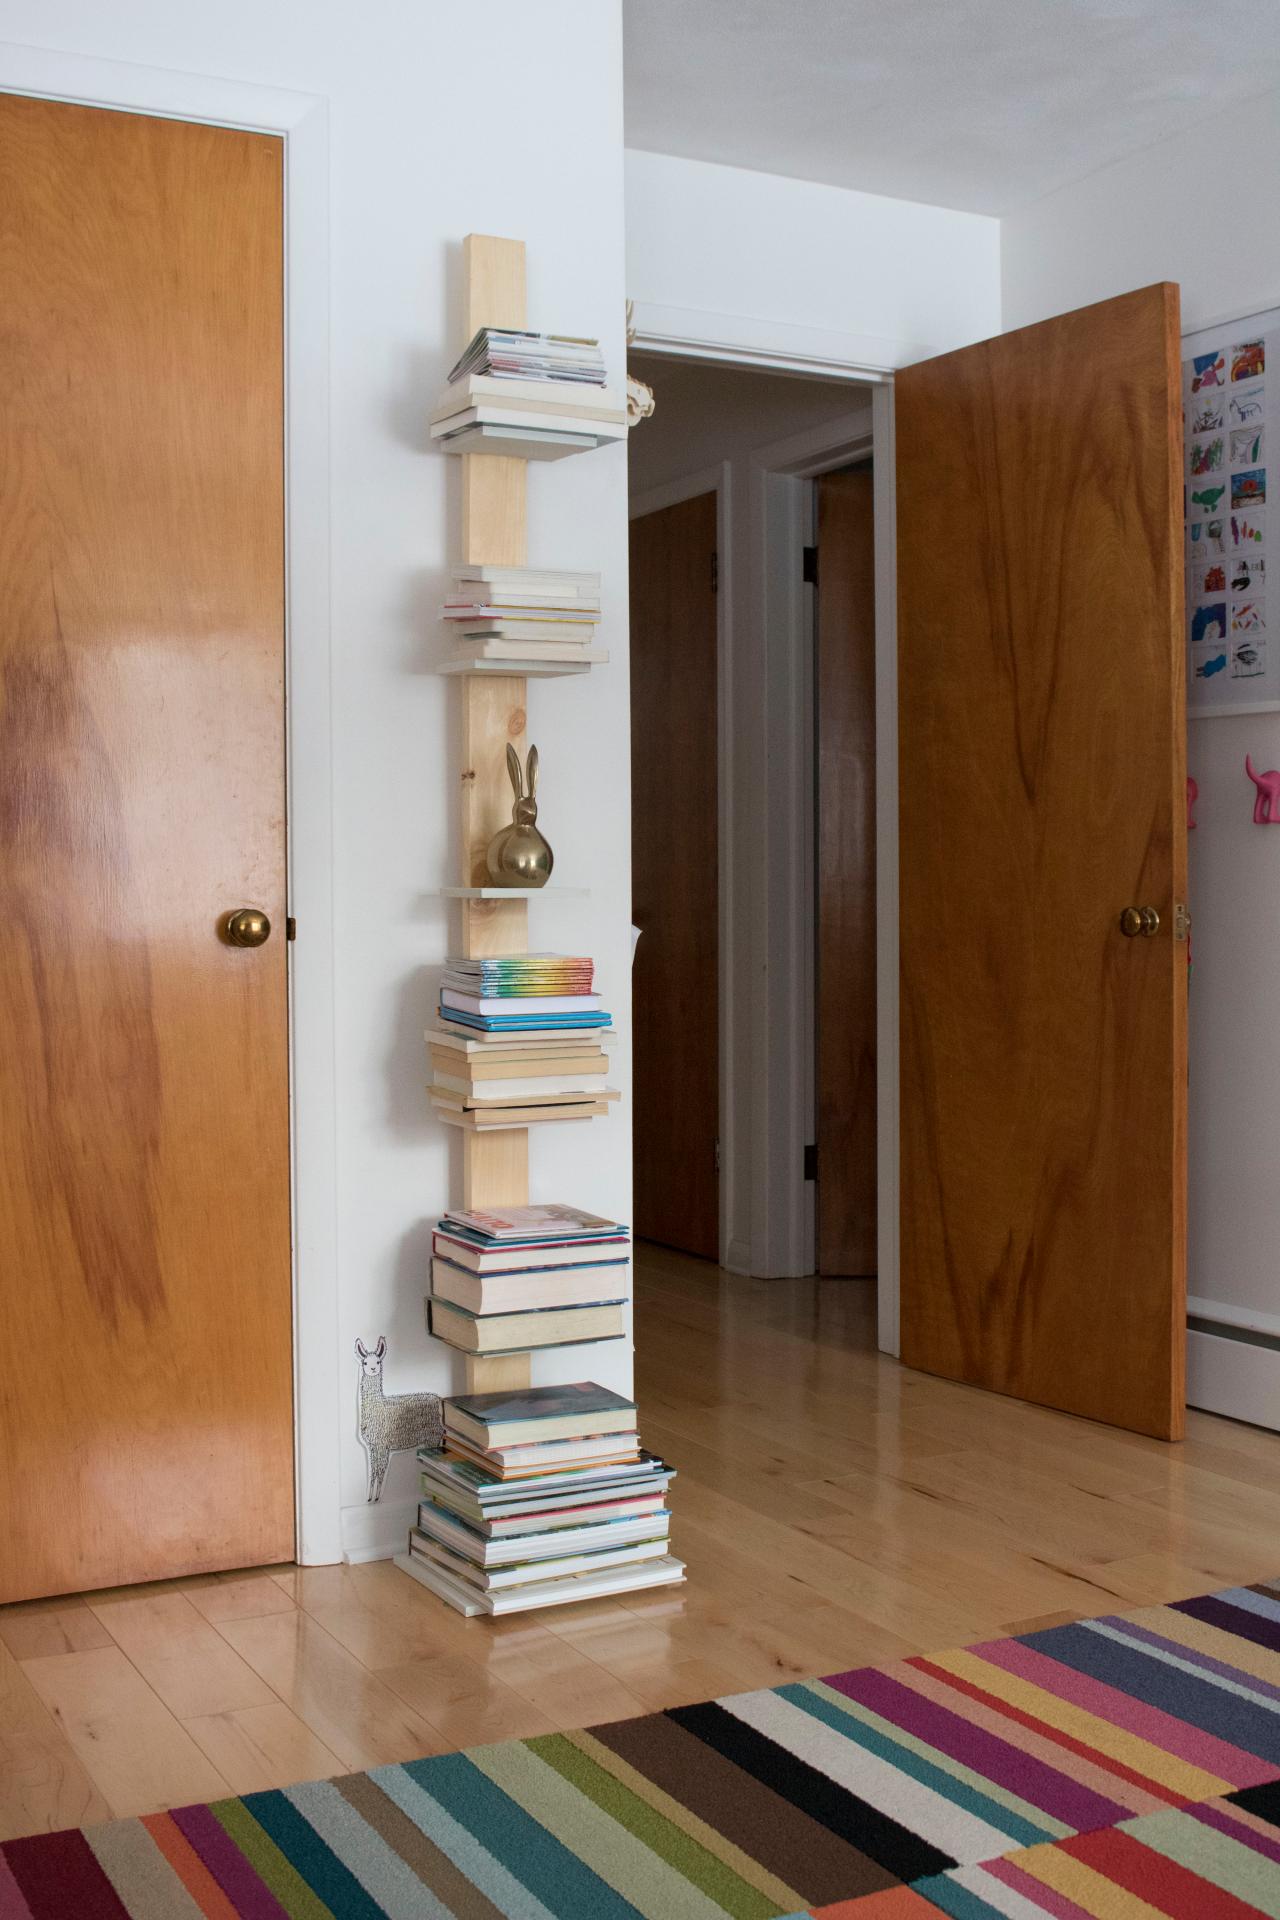
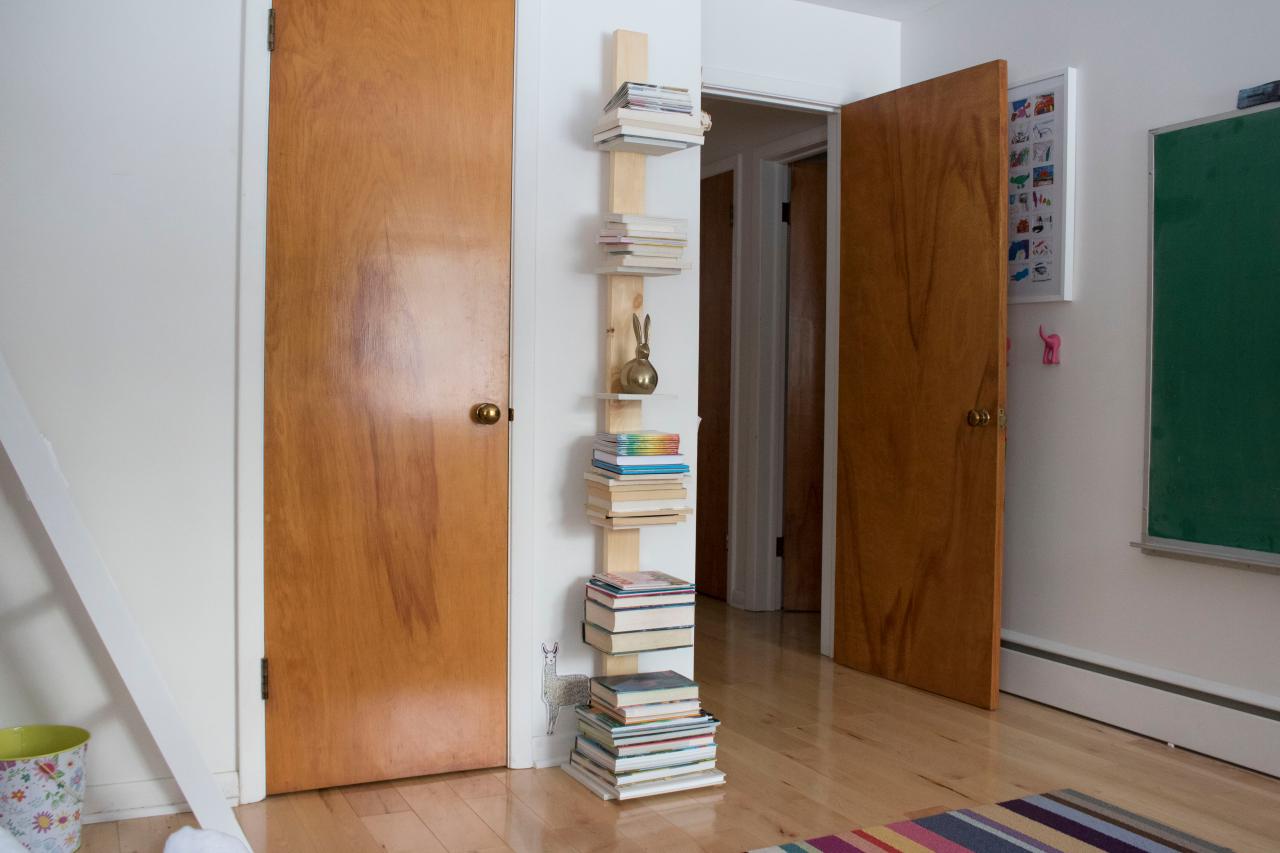
Step 8: Secure Tower to Wall
The shelf should stand upright on its own quite easily, given that the base is as wide as it is. If your baseboard is exceptionally deep, you may want to consider notching out the base, but you may find that the book tower leans back at an ever so slight angle on its own. In this case, as shown in the above photo, the bookshelf is leaning back slightly but not so much as to tilt the base. Always thinking safety when kids are around, consider adding a wall anchor such as a toggle bolt to secure the book tower to the drywall. When upright, the top 6"-8" of the tower will rest quite flush against the wall even if you are competing with the baseboard, so within 8" from the top of the spine is the ideal place to predrill a hole, and position a wall anchor. Toggle bolts typically come with a very long screw that will reach through the 2x4 spine, and through the drywall to prevent the shelf from tipping in any direction if nudged or imbalanced.
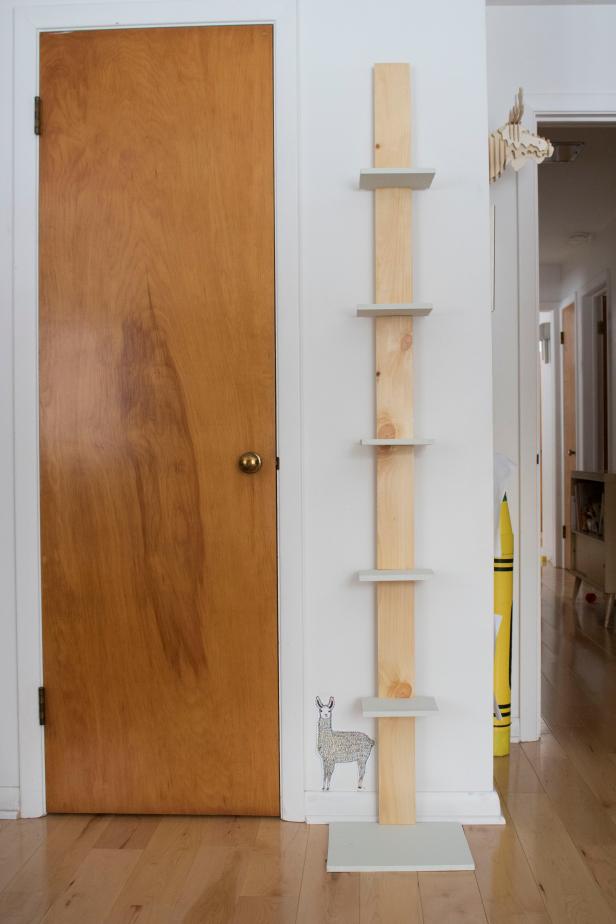
Step 9: Decorate
The biggest books work well on the bottom, and everything else works well on the narrower, shallower shelves. The titles are tucked inward for this reveal, but this bookshelf makes for an easy way to organize stacks of books in a decorative way in even the smallest of spaces.

Emily Fazio


