


.jpg.rend.hgtvcom.196.196.suffix/1738870169237.jpeg)


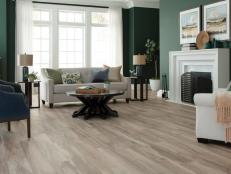
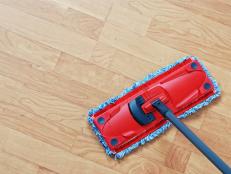
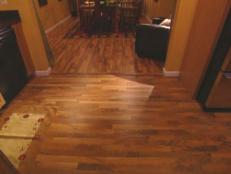
How to Clean Hardwood Floors
Learn how to care for hardwood floors by using these natural cleaners and following these simple tips.
Clean Floors the Right Way

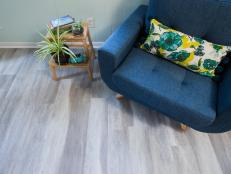
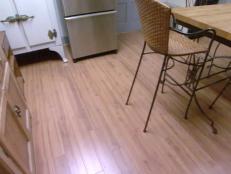
How to Clean Vinyl Floors
Remove dirt, scuffs and stains from vinyl floors with these easy cleaning and maintenance tips.

How to Clean Concrete Floors
Cleaning outdoor concrete flooring is different from indoor concrete flooring.

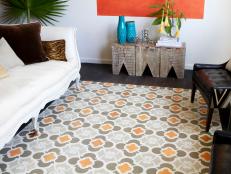
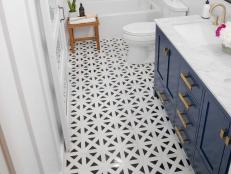
How to Clean Ceramic + Porcelain Tile Floors
Make your tile floor look like new with these easy and inexpensive DIY cleaning tips.
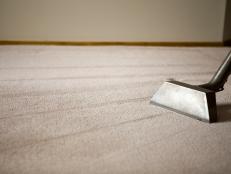
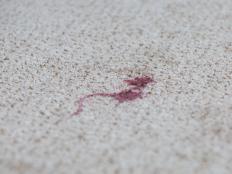
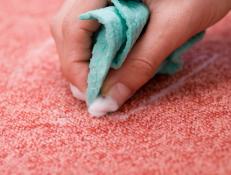
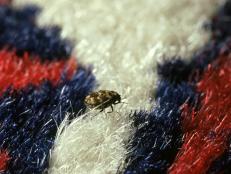
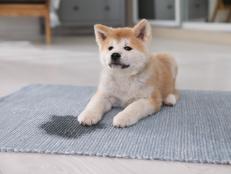
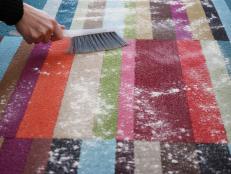
Carpet Cleaning Advice


.jpg.rend.hgtvcom.231.174.suffix/1738870334591.jpeg)


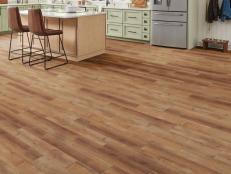
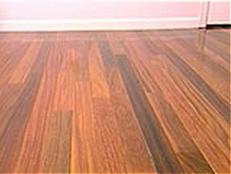
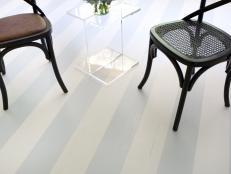
Learn the Different Types of Hardwood Flooring
The enduring good looks of hardwood flooring come in many types and styles to fit different needs and budgets.
Shop Flooring & Floor Care
The Best Vinyl Plank Flooring for Your Home Apr 24, 2025
Vinyl plank flooring is a modern miracle that provides the luxurious look and longevity of hardwood floors without the warping, wa …

Deal Alert: Top Floor-Care Brands are on a Sale at QVC Apr 10, 2025
Pet-hair picker-uppers, steam cleaners, robot vacuums and cordless sticks — take your pick because we found some great ones at dis …

8 Best Dyson Vacuums of 2025, Tested and Reviewed Feb 24, 2025
With so many models on the market, it can be difficult to know which Dyson vacuum is best for your home. We've combed through the …

Say Hello to the Cutest Wet Mop You've Ever Seen: Clorox x Staff The Mop Feb 27, 2025
Clorox and functional home goods brand, Staff, teamed up to create a beautiful, effective mop that you might actually want to leav …
5 Ways to Save on New Flooring Before the Holidays Nov 10, 2022
Plan ahead and prepare your home for the festivities to come with these top-tier hybrid resilient, luxury vinyl plank, hardwood an …

Prep for Holiday Guests With Fresh Floors From LL Flooring Aug 12, 2022
Gear up for holiday hosting with floors that can rise to the occasion. Shop the hardwood, waterproof vinyl plank and hybrid resili …

Fun and Function Define This Interior Design Student’s Eclectic, Black-and-White Manhattan Studio 22 Photos
Carrie Carrollo is committed to contradictory decor in her playful New York City studio. And it all started with a set of black-an …
Flooring How-Tos
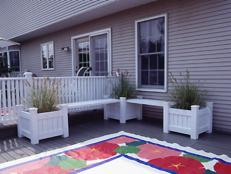
How to Paint a Faux Rug on a Hardwood Floor Jan 14, 2022
Learn how to stencil a patterned faux rug to add personality to a room or disguise a worn-out floor.
How to Clean Hardwood Floors Oct 29, 2024
Learn how to care for hardwood floors by using these natural cleaners and following these simple tips.

How to Clean Concrete Floors Oct 21, 2021
Cleaning outdoor concrete flooring is different from indoor concrete flooring. Here's how to remove dirt and mildew from both surf …

How to Remove a Tile Floor Oct 20, 2021
Follow these step-by-step instructions to remove an old bathroom tile floor.
Installing a Tile Floor May 20, 2024
Learn how to lay a stone or ceramic tile floor in a kitchen or bathroom.

How to Clean Vinyl Floors Feb 20, 2025
Vinyl floors are durable and easy to maintain, but the right cleaning routine will keep them looking like new.
How to Install Snap-Together Laminate Flooring Jul 1, 2020
If you’re looking for budget-friendly flooring that stands up to kids and pets, laminate is a great option. Learn how to easily in …
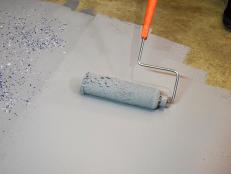
How to Paint a Garage Floor With Epoxy Dec 15, 2021
Using epoxy paint with terrazzo flakes on your garage floor will help prevent stains and deterioration, and the polished finish wi …
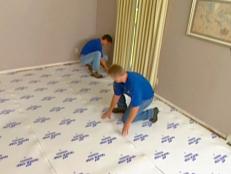
How to Install Underlayment and Laminate Flooring Sep 9, 2014
These step-by-step instructions will show you how to install underlayment and flooring to get beautiful laminate flooring in any r …
How to Install a Hardwood Floor Sep 9, 2014
DIY experts give step-by-step instructions on how to install hardwood floors in any room.

How to Install Tile Flooring Oct 9, 2018
The experts show how to remove old carpet and replace it with a tile floor.

How to Paint a Diamond Pattern on a Wood Floor Sep 9, 2014
Add a stylish touch to a room by painting a diamond pattern onto a wood floor.

Install Laminate Flooring Aug 31, 2014
Learn how to install durable and inexpensive laminate flooring — it's a snap.

Paint Hardwood Floors With a Pattern Sep 23, 2018
Breathe new life into old hardwood floors with a fresh coat of paint in an eye-catching pattern.
Make Your Own Floorcloth Nov 6, 2018
Learn how to "decorate" your floor by adding a floorcloth.

Install Tongue-and-Groove Wood-Veneer Flooring Nov 6, 2018
No need for staples or glue with this "floating" floor. Just follow these step-by-step instructions.
Add Pizzazz to Plain Hardwood Floors With Paint Sep 23, 2018
Personalize basic hardwood floors with pattern, using proper preparation and simple painting steps.
How to Install Laminate Flooring Oct 12, 2015
Completely change the look of a room with new laminate flooring.

How to Remove Burn Marks on a Hardwood Floor Sep 14, 2014
Rub 'em out with these step-by-step instructions.


.jpg.rend.hgtvcom.231.174.85.suffix/1738870169237.webp)


