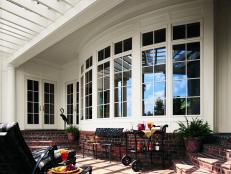
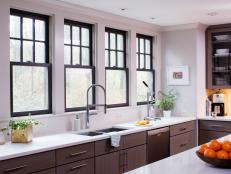
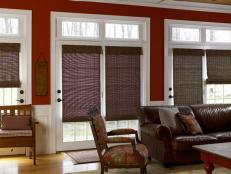
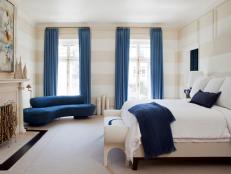
Choosing the Right Windows for Your Home Style
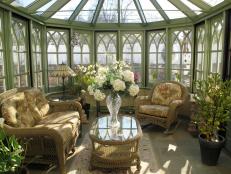
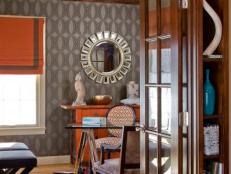
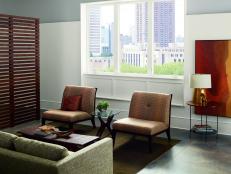
From the historical to the here-and-now, any style of home is enhanced by just the right windows. Whether you’re building from the ground up or replacing old windows in an existing home, this guide will help you select the style that looks most authentic — and most attractive — for your architecture.

12 Things to Put on Your Windowsills
Trying to squeeze a bit more functionality out of your small space? Don't overlook that little ledge beneath your window.