


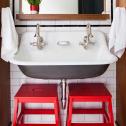
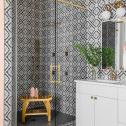
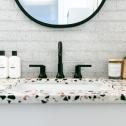
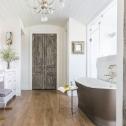
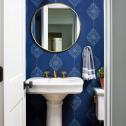

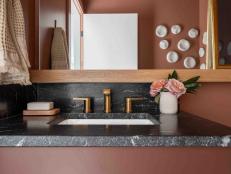
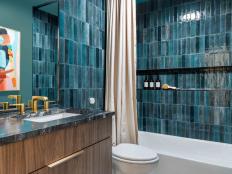
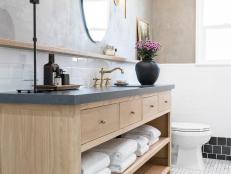
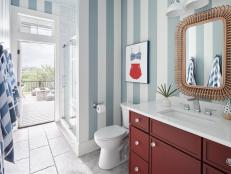
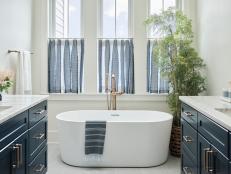
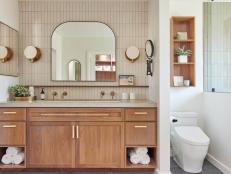
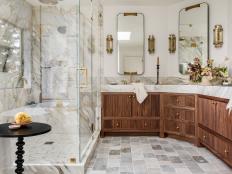
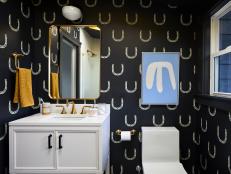
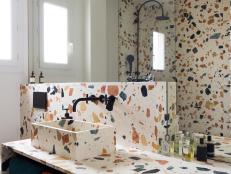
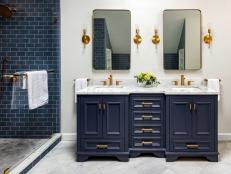
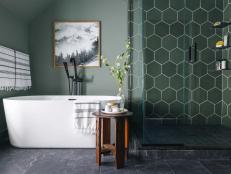
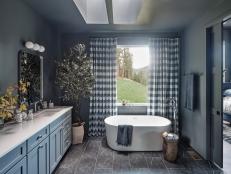
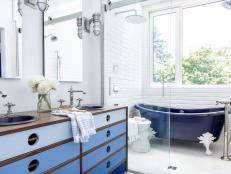
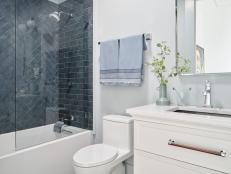
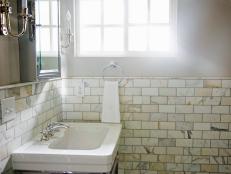
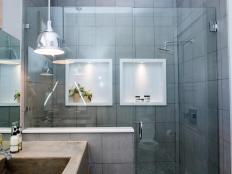
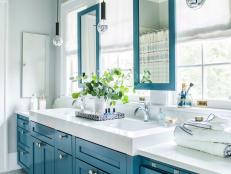
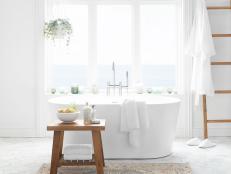
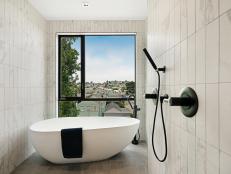
65 Dreamy, Spa-Inspired Bathrooms 65 Photos
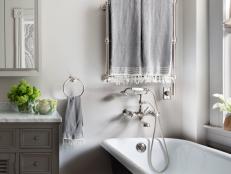
These bathing beauties boast fabulous features such as steam showers, luxury fixtures, freestanding soaking tubs, and more (not to mention style to spare).
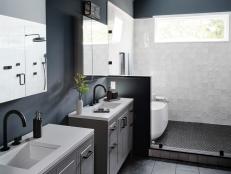
See the Latest in Bathroom Design
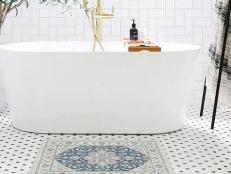
Looking to make your bathroom more spa-like? Check out these beautiful spaces.


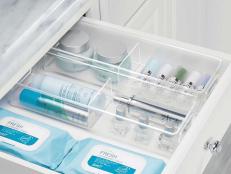
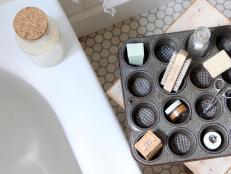
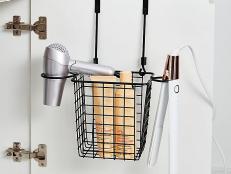
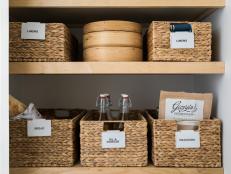
Organize Your Bathroom Storage
Corral the clutter on your countertops and in your cabinets and linen closets.
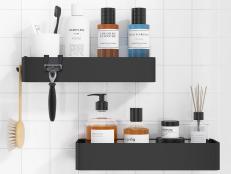


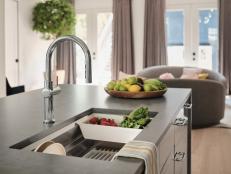
Shop These Top Bathroom Products
Discover products that will make your bathroom more stylish and functional.


What's New in Bathrooms
35 Best Bathroom Sinks for Every Style and Space Mar 27, 2024
Clean up your act with a new bathroom sink. Shop our top picks for popular styles like pedestal, undermount, vessel and more.
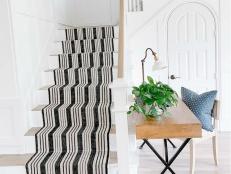
The Best Rugs for Every Room in 2024 Mar 1, 2024
Ground your space in style and function. Bring our know-how underfoot to discover which rugs to put where in your home.
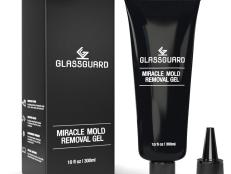
I Tried This Instagram-Famous Mold-Removal Gel — and It Really Works Feb 28, 2024
GlassGuard’s Miracle Mold Removal Gel promises to remove 99 percent of mold from tiles, grout, ceramics and glass, but how does it …
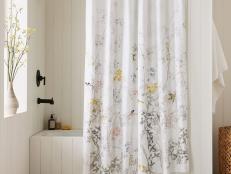
The Best Shower Curtains for Style and Functionality Feb 6, 2024
Pull out all the stops with these top-rated shower curtains.
14 Practical Products That Will Completely Organize Your Bathroom Jan 30, 2024
Give your bathroom the organizational overhaul it deserves with these smart storage solutions, from above the toilet to inside cab …
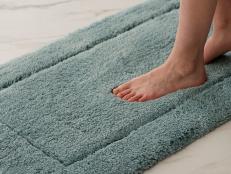
8 Best Bath Mats of 2024, Tested and Reviewed Jan 24, 2024
We stood and spilled on 20 bath mats to find the softest, most absorbent and slip-resistant options that keep your toes dry and el …
28 Best Shower Caddies for Organized Showers Jan 19, 2024
Bring order to your shower with these smart storage solutions that corral bathroom clutter.
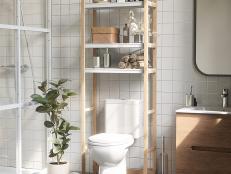
30 Over-the-Toilet Storage Solutions That Are Actually Stylish Dec 14, 2023
Create more storage in a bathroom without sacrificing space or style.
The Best Shower Curtain Rods of 2023 Jul 6, 2023
Update your bathroom in a flash with these top-rated shower curtain rods.
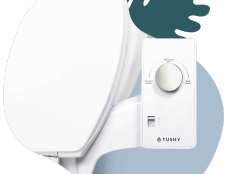
I Got a TUSHY Bidet and Everything Is Different Now Jan 29, 2024
I should have done it years ago. Bidets are common in countries all over the world and have been for centuries, but they’ve been s …
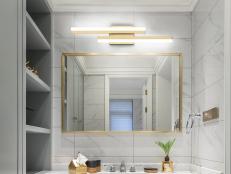
28 Best Bathroom Light Fixtures for Every Style Oct 6, 2023
Brighten your bathroom in style with these must-shop light fixtures.
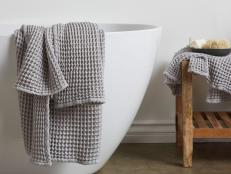
15 Best Bath Towels of 2024 Jan 16, 2024
Stock your linen closet with these top-rated bath towels.
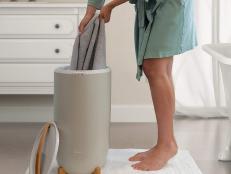
The Best Towel Warmers of 2024 Jan 16, 2024
Stay warm and cozy with these top-rated towel warmers for every style and budget.
These Easy Bathroom Swaps Can Be Done in One Weekend Apr 20, 2023
Without spending a lot of time or money, you can have a bathroom that feels brand new.
How to Clean a Bathtub Jan 30, 2024
Give yourself a spa-level bathing experience with these simple tips for deep-cleaning your bathtub.
Porcelain vs. Ceramic Tile: What's the Difference? Jan 11, 2024
Ceramic and porcelain tiles share many similarities, but they also have noteworthy differences. Learn the pros and cons of each ma …

How to Clean a Shower Jun 21, 2023
Here's how you get rid of soap scum and shower grime so that your once-sparkly shower can shine again.
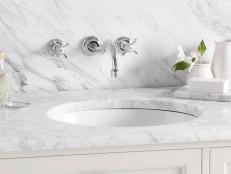
35 Best Bathroom Faucets for Every Style and Space Feb 16, 2023
These show-stopping bathroom faucets will leave your space dripping in style.
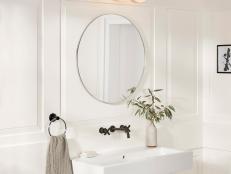
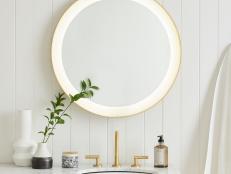
35 Best Bathroom Mirrors for Every Style and Space Jan 30, 2024
Mirror, mirror on the wall: Yes, you need to shop them all.
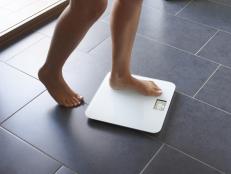
The Best Bathroom Scales of 2023 Feb 3, 2023
Keep tabs on your health and track your fitness progress with these bestselling bathroom scales from Amazon.
15 Best Organizers for Kids' Bathrooms Jan 12, 2023
Get your little ones' bathroom in tip-top shape with these must-have products.
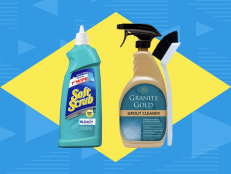
The Best Grout Cleaners and Brushes of 2024, Tested and Reviewed Jan 16, 2024
Whether your grout is just old and yellowed or has mold and mildew buildup, grab one of these hard-working cleaning solutions and …
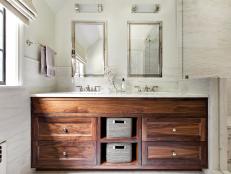
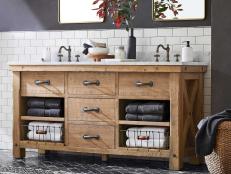
35 Best Bathroom Vanities for Every Style and Space Jan 30, 2024
Freshen up in a flash with our top vanity picks for your bathroom remodel.
Ruggable Just Launched Bath Mats and We Want Them All Sep 15, 2022
The fan-favorite washable rug brand released a line of bath mats that are some of its most affordable rugs yet.
Guide to Buying Bath Towels Dec 22, 2023
There are aisles and aisles of towels out there, so picking the right ones can be overwhelming. Here's how to get good towels and …
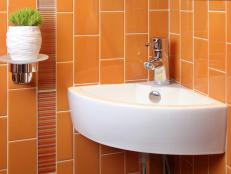
Reasons to Choose Ceramic Tile Jul 19, 2022
Ceramic tile is a smart choice for floors, countertops and walls because of its durability, beauty and endless design choices.
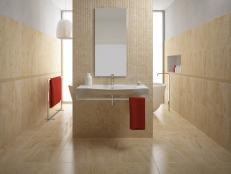
Reasons to Choose Porcelain Tile Jan 9, 2024
Harder than ceramic, porcelain tile is a smart choice for floors, countertops and walls because of its durability, beauty and coun …
How to Choose the Right Tile for Your Home Jul 18, 2022
Learn all about the different types of tile and slabs that can be used on floors, walls and countertops including ceramic, porcela …

Guide to Selecting Bathroom Cabinets Feb 15, 2022
Read on to get the 411 on everything you need to consider when selecting and installing new bathroom cabinets at home.
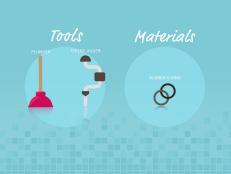
How to Unclog a Toilet Jul 25, 2022
Here are three ways to unclog a toilet, plus, discover some ways to prevent a toilet from getting clogged up.


