


.jpg.rend.hgtvcom.196.196.suffix/1738870169237.jpeg)


50 DIY Home Improvement Projects to Tackle This Weekend 50 Photos
Take your home from builder-grade to custom-made with low-cost home upgrades you can tackle in a weekend or less.
Remodeling Ideas & Cost

Improvements That Pay Off
30 Tips for Increasing Your Home's Value
The road to selling a home can be a long one. Learn to improve the value of your home based on your budget with these 30 tips.


Helpful How-To Advice

Home Project Ideas
20 Things Every Homeowner Should Know How to Do 20 Photos
Get tips for tackling 20 basic home repairs and projects, from fixing a running toilet to cleaning the gutters.


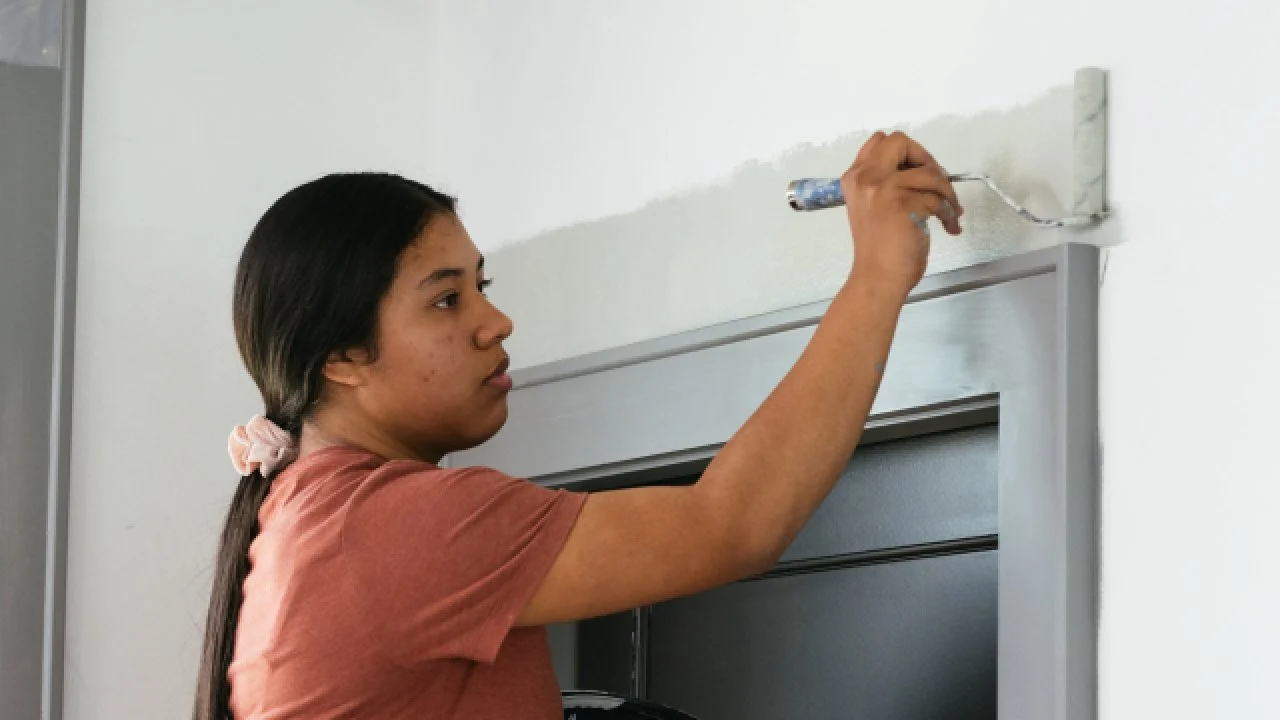
Top Painting Tips

New-Look Front Door
Read This Before You Paint Your Front Door
Whether it’s just a touchup with a favorite hue or an entirely new shade that will grace your entrance, take note of these helpful hints before you pick up your brush.


Loading Video...


.jpg.rend.hgtvcom.231.174.85.suffix/1738870169237.webp)