


Installing a Tile Floor
Learn how to lay a stone or ceramic tile floor in a kitchen or bathroom.

SHAIN RIEVLEY
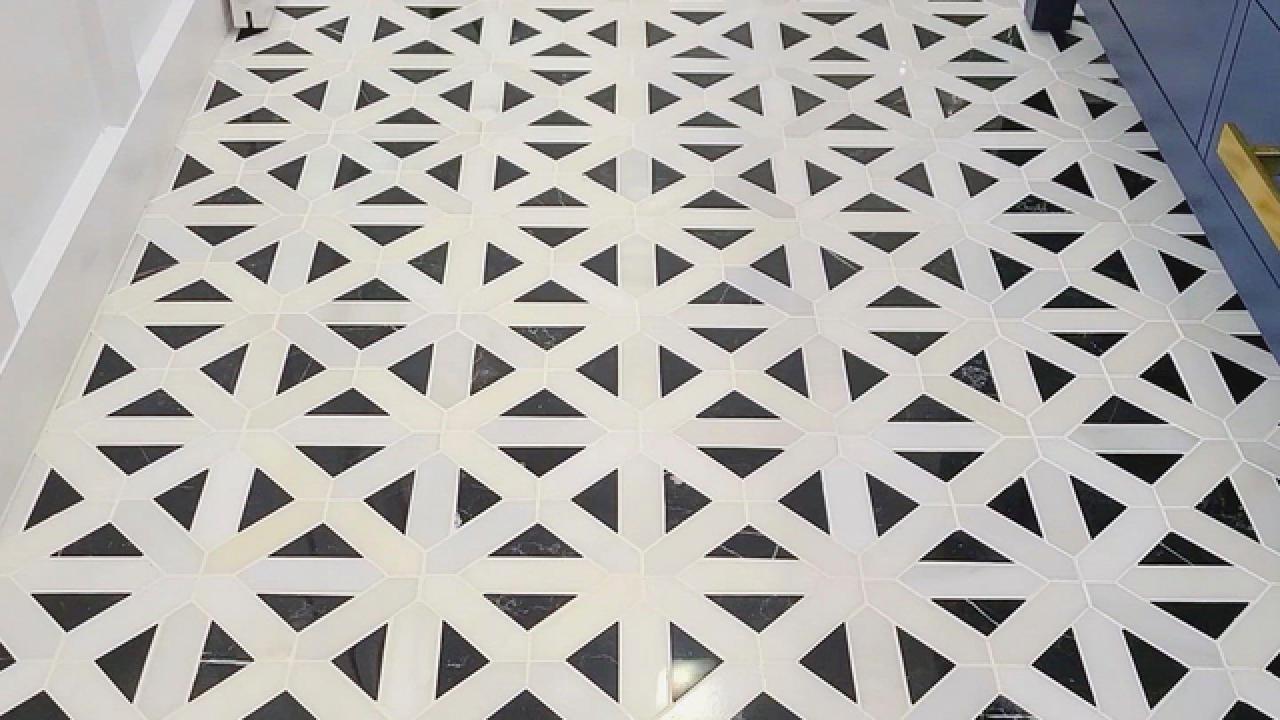
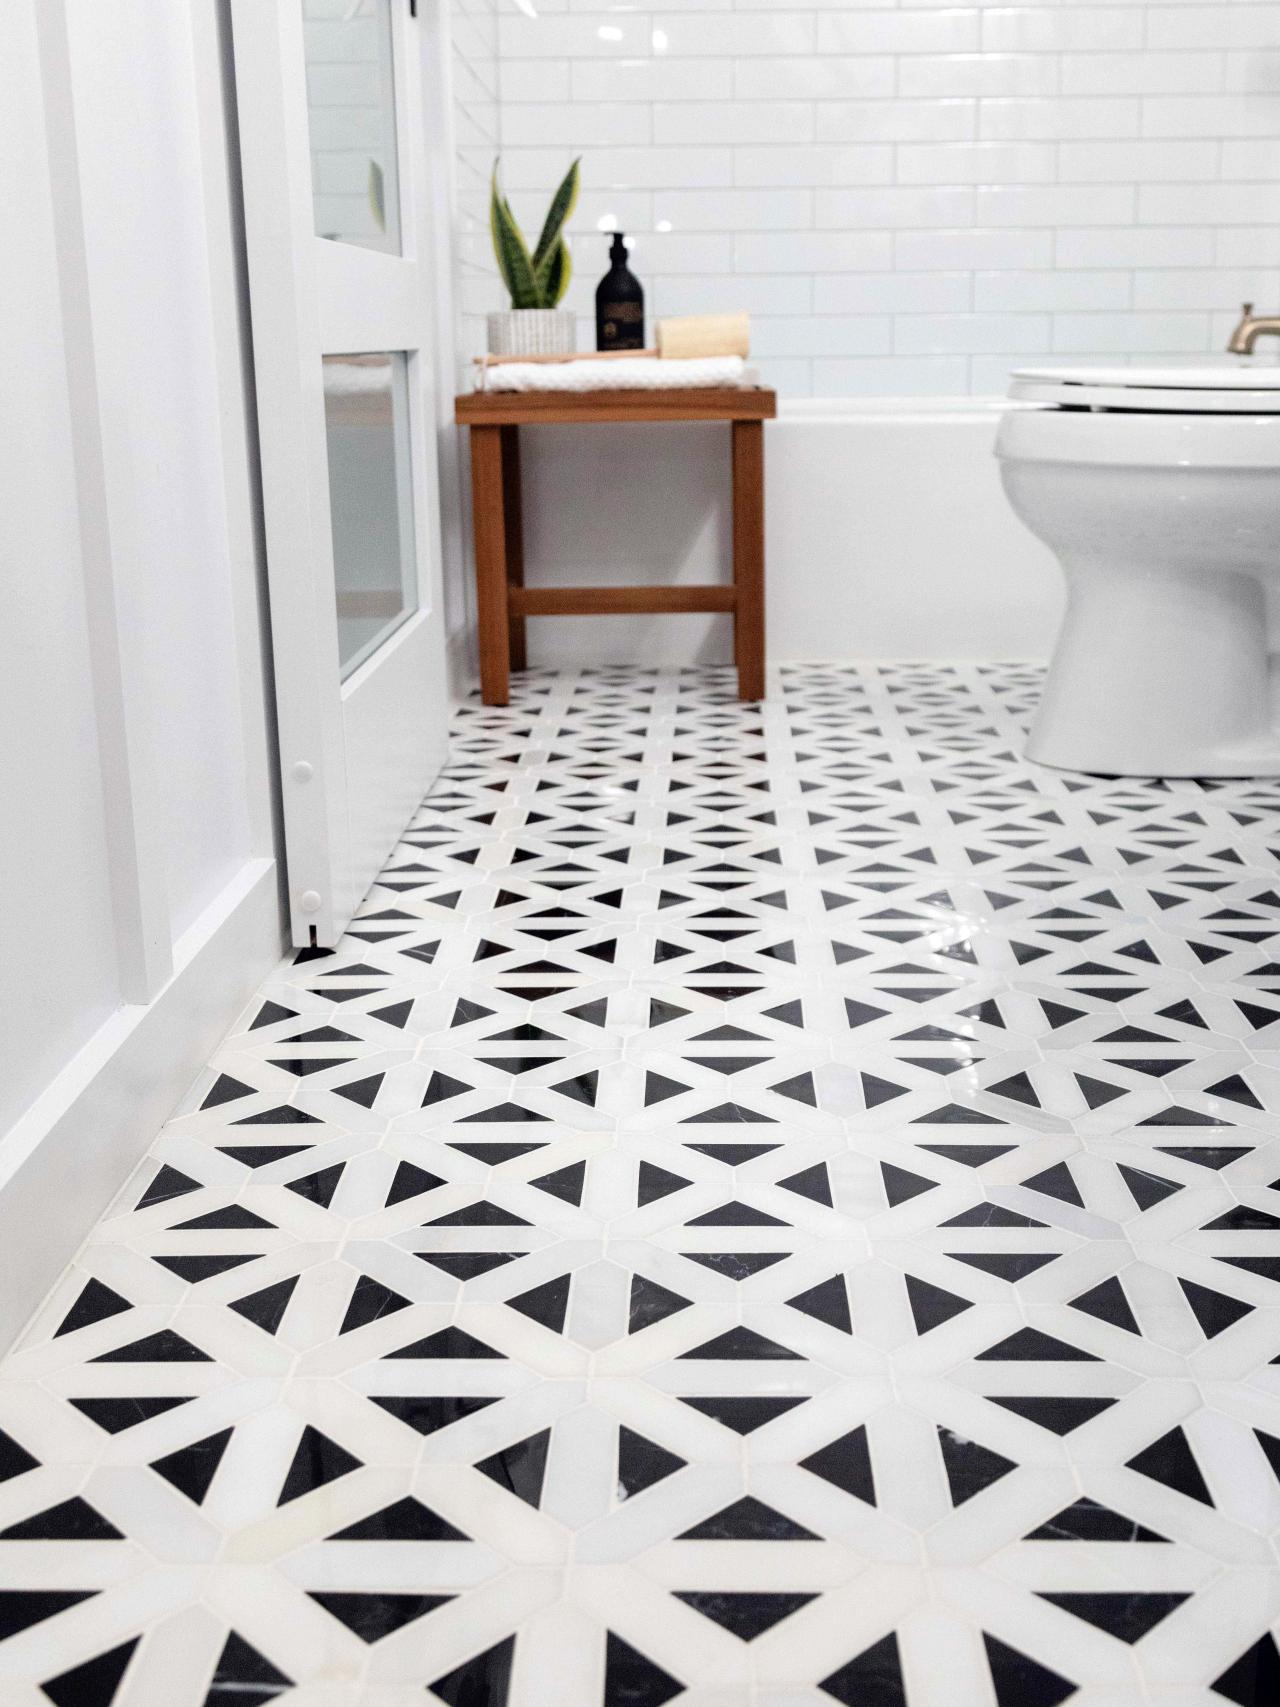
In a kitchen or bathroom, stone or ceramic surfaces resist water, odors and, above all, they are easy to clean. If you selected natural stone over ceramic tile, be aware that stone must be sealed to prevent staining. Also, natural stone can be less durable than ceramic.
Tools and Materials
- stone or ceramic tiles
- cement backer board
- hammer
- pry bar
- safety goggles and gloves
- jam saw
- tape measure
- chalk line
- carpenter's square
- small-tooth and 1/4-inch groove trowels
- mastic
- seam tape
- putty knife
- plastic tile spacers
- wet saw or manual tile cutter
- tile nippers
- grout
- rubber grout float
- sponge, towels and water bucket
- stone tile sealant (must be used with authentic stone)
Steps:
1. It is common to want to cover old flooring, and you can do that. But you need to apply a layer of cement backer board over it. A layer of backer board and mastic will help ensure that the tile does not crack or shift. Take accurate room measurements to determine the total square footage of backer board and tile that you'll need. Include an additional 10 to 15 percent overage to cover any broken tiles.
2. Remove the door thresholds carefully with a pry bar. Use a hammer and pry bar to remove shoe molding and baseboards. Wear safety glasses and gloves.
3. Stack a piece of cement backer board and tile to determine the new height of the floor. Use a jam saw to cut the door jams so that they can accommodate the new tile.
4. If installing the tile in a kitchen, remove the stove and refrigerator. If installing in a bathroom, remove the toilet.
5. Using a small-toothed trowel, apply mastic to the back of the backer board and lay down the backer board. Attach the backer board to the floor using a drill and screws. Repeat the process leaving about an eighth of an inch gap between the boards.
6. Use a circular saw to cut backer board just as you would cut wood or use a utility knife to score and pop it as you would drywall. Once all the backer board is installed, cover the seams with joint tape, pushing it down with a putty knife. Next, load the putty knife with mastic and spread it over the tape, smoothing it out over the seams. Remove any excess mastic with a putty knife, then allow the mastic to dry according to the manufacturer's instructions.
7. Sweep away any debris. Determine the layout of your tile. Use a carpenter's square and a chalk line if necessary to line up the tiles. Use whole tiles in the center of the room and cut tile against the walls or less visible areas. Label the tiles to make sure you re-lay them in your desired pattern.
8. Dust off the tiles you are about to lay. Have plenty of plastic spacers available. Using a 1/4-inch-groove trowel, spread the mastic in a small section onto the backer board. Comb the mastic evenly. Lay the first tile and set it into place with a twisting motion (palms flat on the surface, fingers splayed, twisting the tile slightly side-to-side).
9. Repeat this step, using plastic spacers to maintain consistency in the design. Lay all full tiles first. Don't worry about cutting tiles to fit yet. Move on to the next section of full tiles. Use a damp towel to wipe away any mastic that emerges through the spaces.
10. Use a wet saw or manual tile cutter to cut the tile — both methods work great, but thicker tile should be cut with a wet saw. Tile nippers are handy for cutting around corners and rounded edges.
11. When the mastic begins to set, carefully remove the spacers. To make cuts for the tiles to fit against the wall, measure the distance from the last full tile to the wall, and then transfer those measurements onto a tile. Cut the tile to size. Embed the cut tiles next to the wall and continue working across the floor.
12. Once all tiles are set, remove any surfaced mastic with a damp towel and allow the tiles to set overnight. Do not walk on them!
13. It is now time to grout the area. Sanded grout is intended for wider grout lines and unsanded grout is for smaller grout lines. The grout color is your choice. You can choose a grout that blends with the floor and is similar in color to the tile, or you can choose a dramatic grout color that will make the tile design "pop."
14. To apply the grout, place it onto the tile and spread it over the surface using a rubber grout float. Holding the float at a low angle, pack the grout firmly into the joints until completely filled. It will take about five minutes for the grout to firm up. Scrape off excess grout with the float, working diagonally across the tiles.
15. After the grout has dried slightly, give the tiles a good cleaning by wiping a damp sponge across the tiles, being careful to not pull the grout out of the joints. Rinse the sponge frequently and change the water often. Next, buff the floor with a clean cloth. When dry, dust the area off and again wipe down with a damp cloth. Let the tile cure for several days (up to seven) before applying a sealant.
16. Replace the molding or install new molding. If the floor level has been raised to obstruct a door, simply remove the door and use a circular saw to cut the door bottom so that it will clear. In doorways, install transition strips on the floor and use a nail set to push the nail head below the wood surface.

How to Cut Backer Board and Tips on How to Install It
Backer board (aka cement board) is sturdy and solid, but it is surprisingly easy to cut. Learn the best methods for cutting the various sizes of backer board, plus, get a few tips on how to install it.


