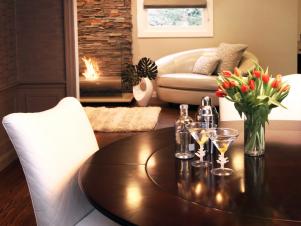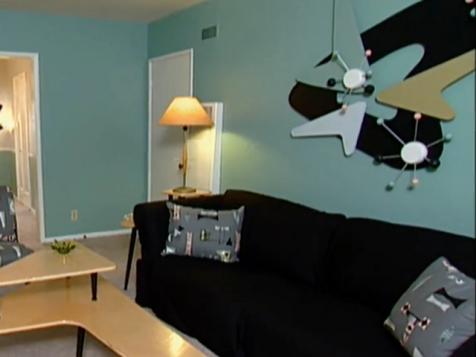
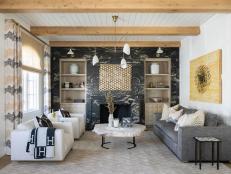
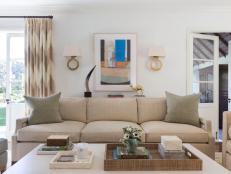
Designers Share 40 Ways to Make Your Living Room Cozy 40 Photos
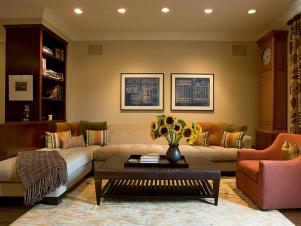
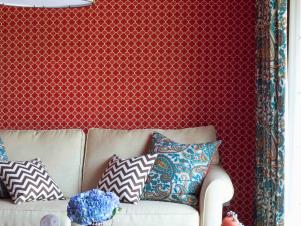
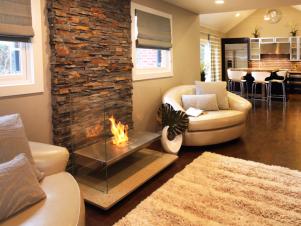
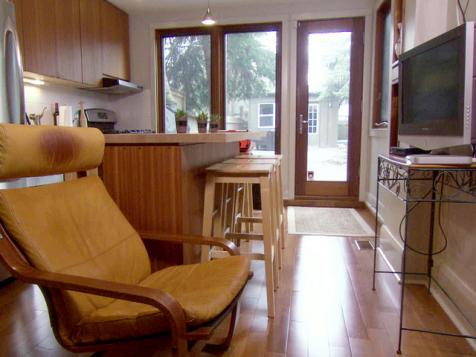
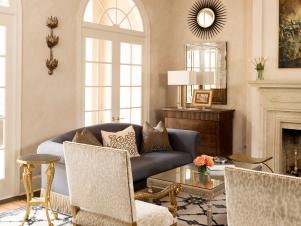
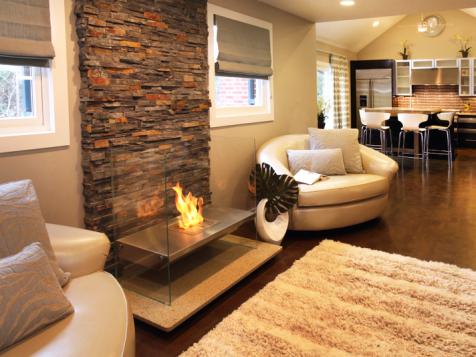
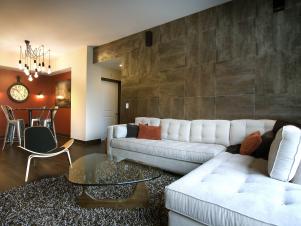
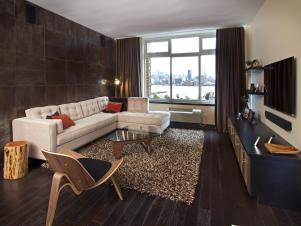
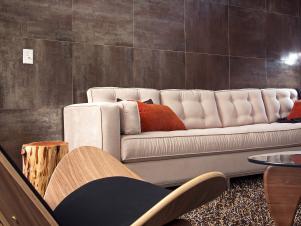
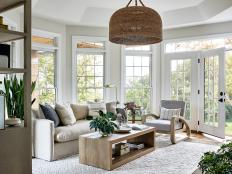
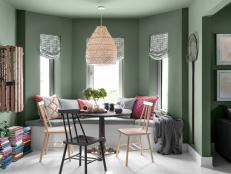
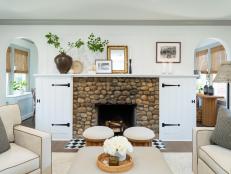
Whether you're working with a small space or just want to give your great room a more intimate vibe, a few of our favorite designers share inspiration (and practical design tips) for creating a cozy living room.
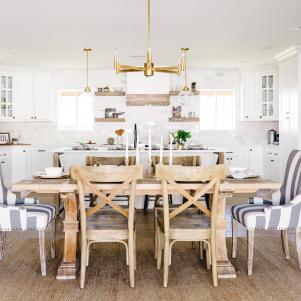
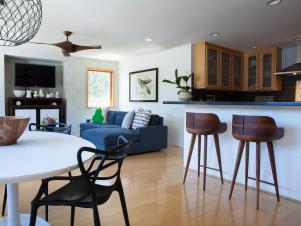
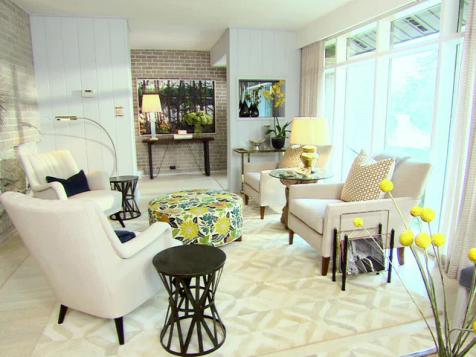
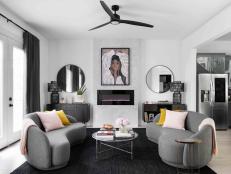
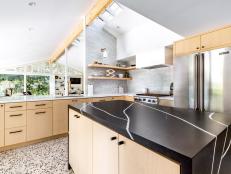
Our Latest Living Room Ideas
Get inspired by our freshest living room decorating tips.


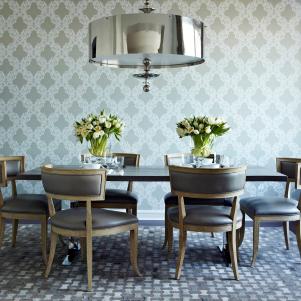
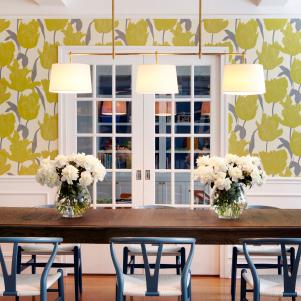
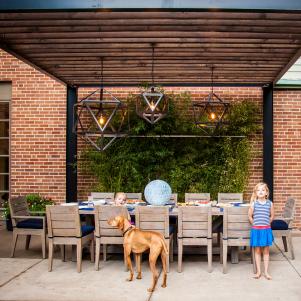
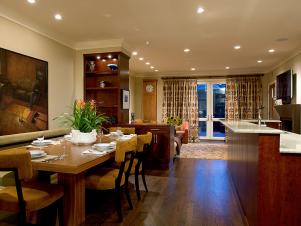
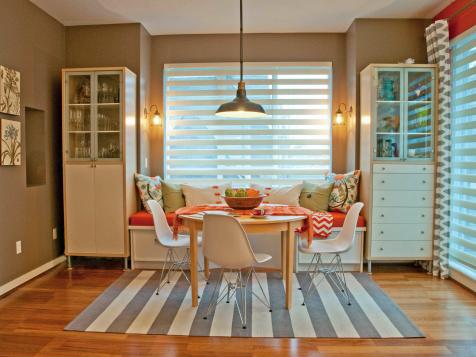
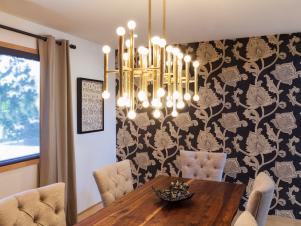
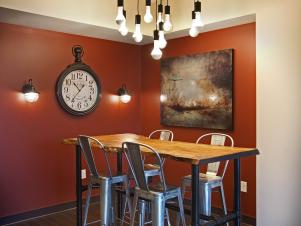
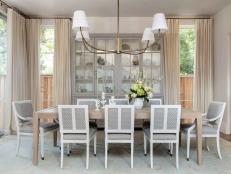
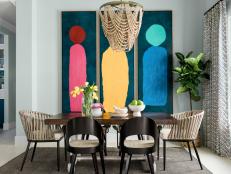
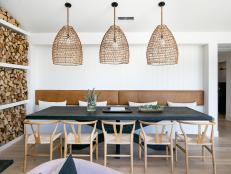
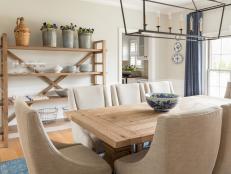
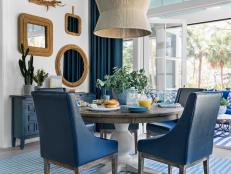
What's New in Dining Rooms
Dining room feeling dated? Freshen it up with these on-trend design ideas.
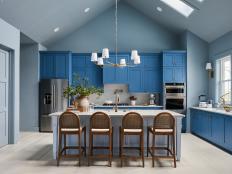


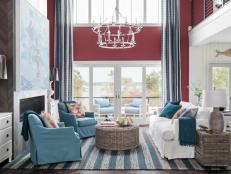


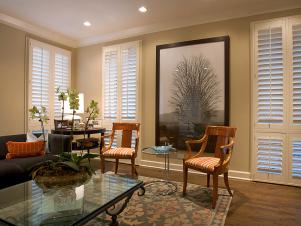
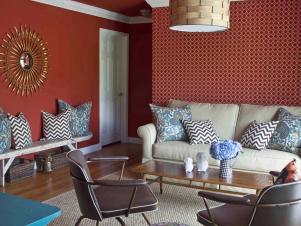
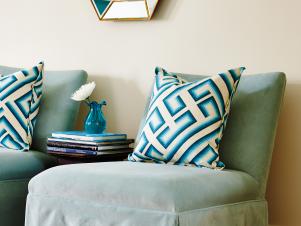
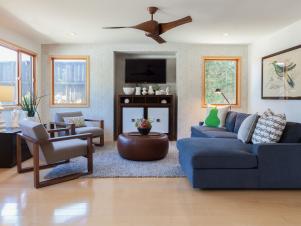
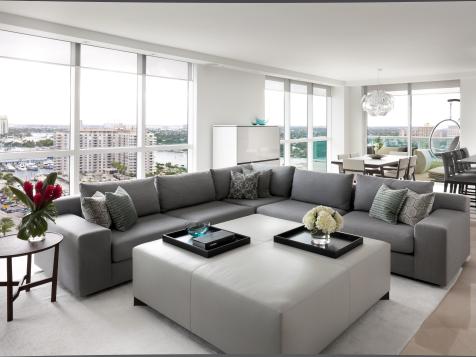
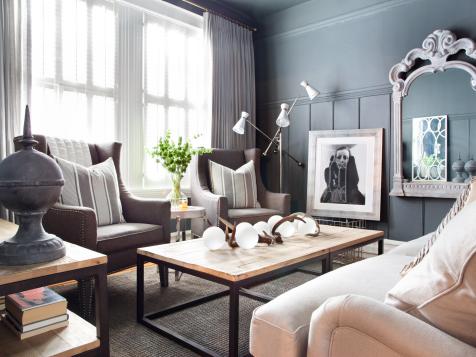
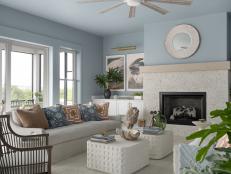
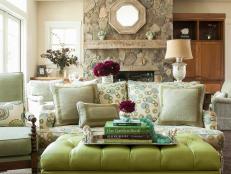
Living Room Color Inspiration
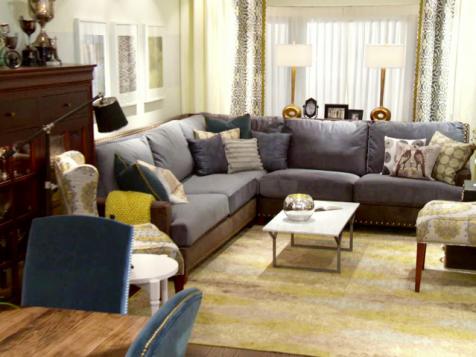
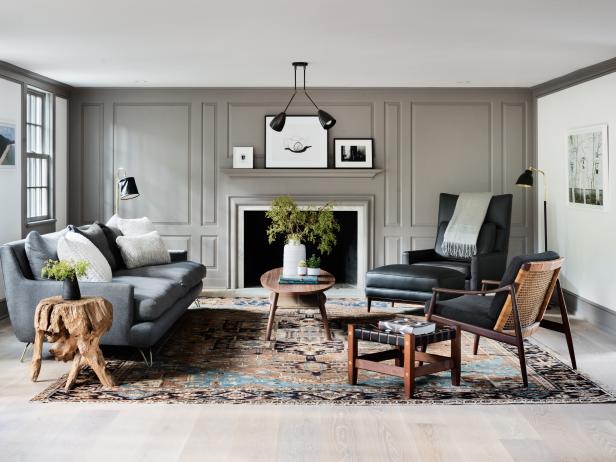
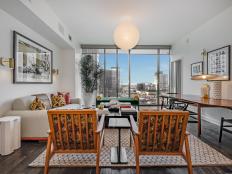
Whether you’re going for warm and cozy or bright and cheery, the right color palette can set the tone for your living room. Get inspired by these spaces.


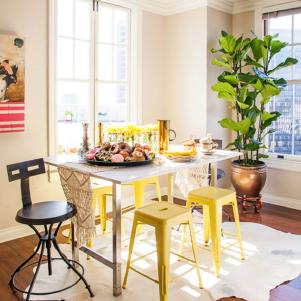
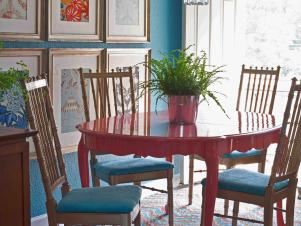
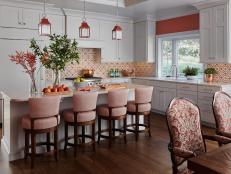
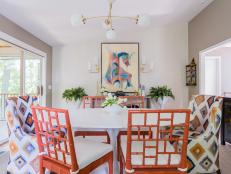
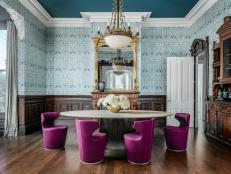
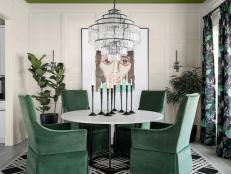
Our Favorite Colorful Dining Rooms 18 Photos
Get inspired to spice up your dining room by browsing these chic spaces where look-at-me color reigns supreme.
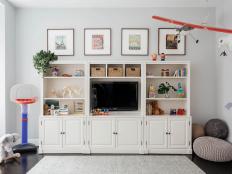
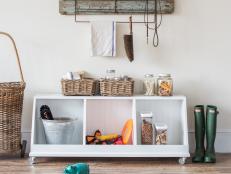
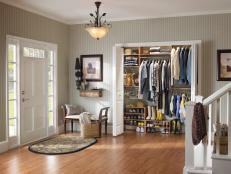
Living Room Storage Tips
Living rooms tend to accumulate a lot of stuff. Get kids’ toys, pet gear, media accessories and more under control with these tips.


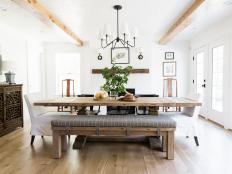
20 Stylish Dining Room Storage Ideas 31 Photos
From credenzas and sideboards to floating buffets and banquettes with drawers, discover a storage option that works for your dining space and design style.
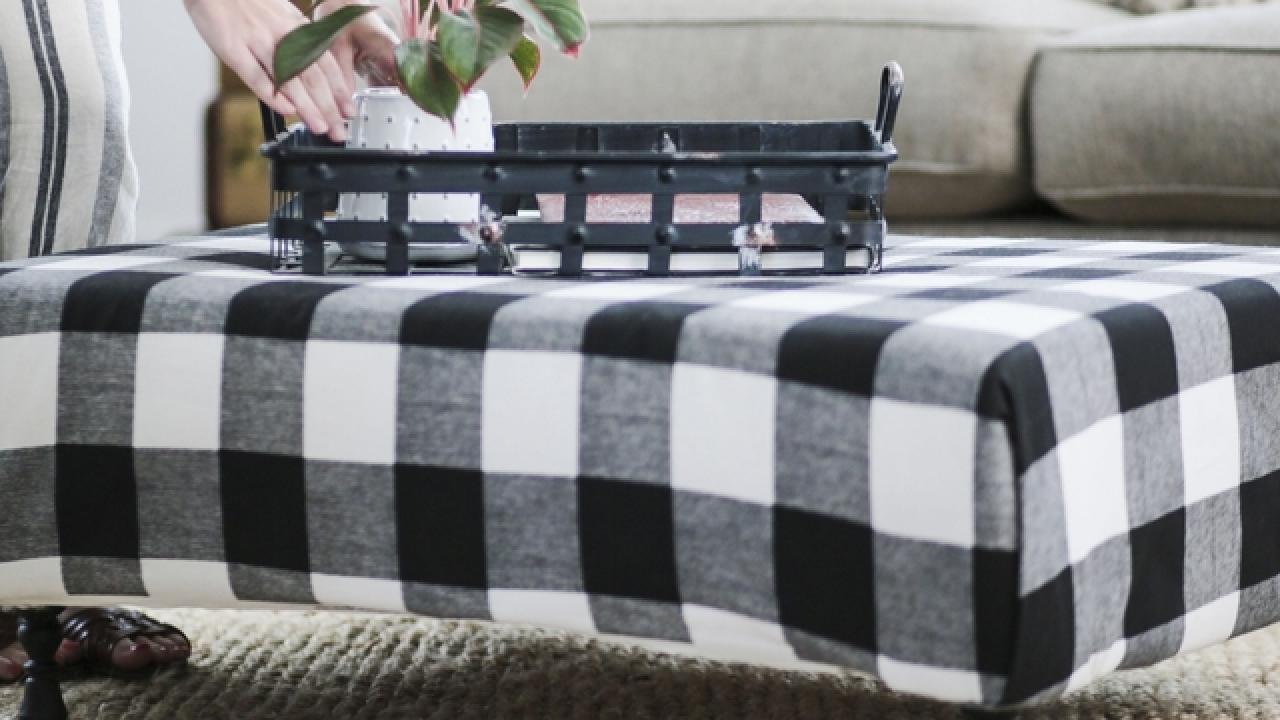
Watch: Easy Living Room DIYs
Shop Living and Dining Room Decor
Spruce up your home with these HGTV-approved product picks.

20 Dining Room Rugs for Every Style, Size and Budget Apr 12, 2024
See which type of area rug goes best with your dining table, and shop our favorites.
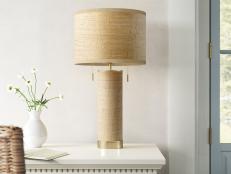
The Best Table Lamps for Every Style in 2024 Feb 28, 2024
Set the mood and make a statement in any room of your house with the help of our hand-picked table lamp finds.

The Best Protective Couch Covers for Pets and Kids Jan 30, 2024
Messy fingers and muddy paws don't stand a chance against these sofa slipcovers.
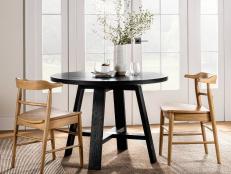
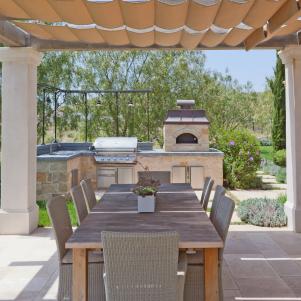
The Best Small-Space Kitchen and Dining Tables Jan 19, 2023
These space-saving tables are short in size but big on style.

The Best Firewood Storage Ideas Oct 6, 2023
Bring the heat with these stylish log holders, totes and stands.
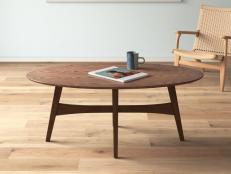
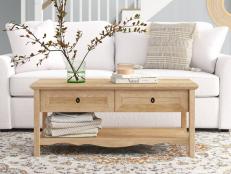
The Best Coffee Tables Under $300 Jul 26, 2022
Savor the savings with these beautiful, budget-friendly coffee tables from Urban Outfitters, Target, Pottery Barn, Wayfair and mor …

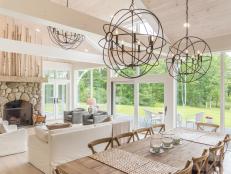
12 Dining Room Light Fixtures and Chandeliers Under $200 Jan 6, 2021
Breathe new life into your dining room design with a budget-friendly light fixture or chandelier.
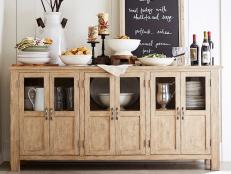
12 Sensational Dining Room Cabinets for Every Style and Budget Dec 10, 2020
Make a statement ahead of your holiday feast with these showstopping buffet tables, cabinets, credenzas and sideboards.

The Best Dining Room Chairs for Every Style Nov 12, 2020
No matter the design style of your favorite eatery — your dining room — we've found the chairs to surround the table.

10 Beautiful + Budget-Friendly Dining Sets Under $500 Sep 24, 2020
Experience fine dining on a dime with these family-size dining sets that all fall under $500.

Living Room Throw Blankets You'll Love Under $50 Jul 23, 2020
Shop some of the hottest throw blanket styles for your living room at no-sweat prices.

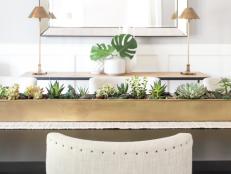
This Dreamy Reno Reset the Clock on a Blah Dining Room Nov 12, 2019
HGTV Magazine editors to the rescue: Color, pattern and fab brass touches totally transformed the dining room in this New Jersey h …

The Makeover That Took 10 Years Off This Dining Room Oct 29, 2018
HGTV Magazine chronicles a New Jersey family who gave their dated dining room a colorful makeover.