


How to Repair and Patch Damaged Carpet
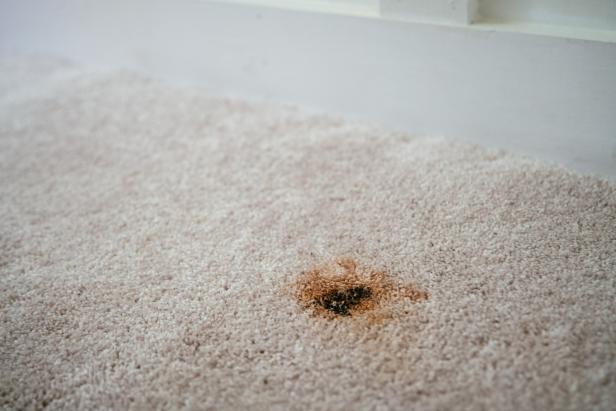
Got a stain in your carpeting that can’t be removed by cleaning? Learn how to cut away the damaged area and install a seamless patch.

There are many things to love about carpeting. It is soft underfoot, it muffles sound, it adds insulation, keeps spaces warmer in winter, and it is quite affordable. However, carpet is susceptible to damage such as stains or burns, and replacing it can be costly. Luckily, though, with a bit of patience and diligence, fixing a damaged carpet yourself is surprisingly easy and requires only a few tools.
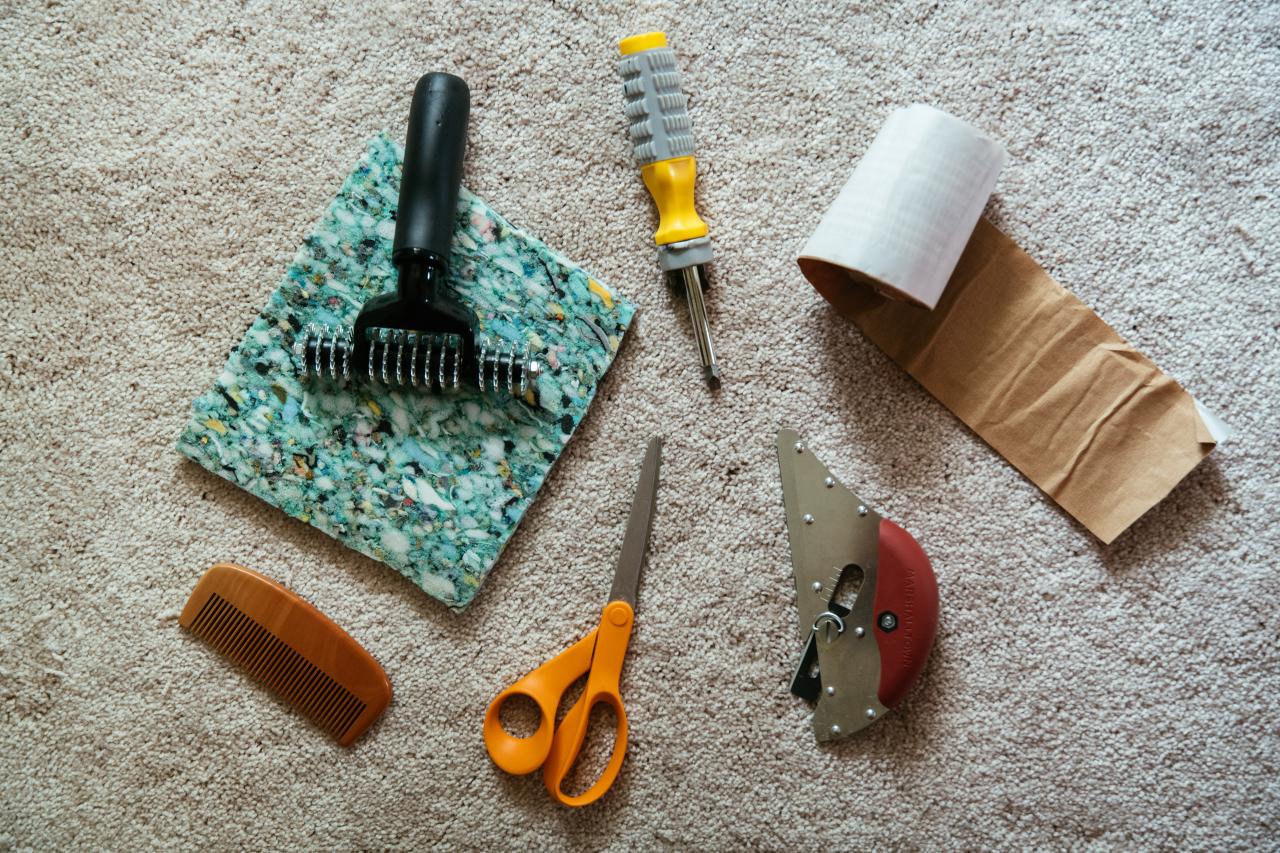
Tools and Materials
- extra piece of matching carpet
- matching piece of carpet pad
- carpet seam tape
- screwdriver
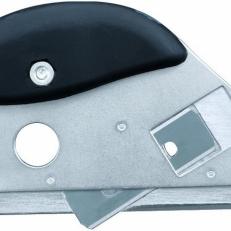
- cushion back cutter
- utility knife
- scissors
- carpet seam tape
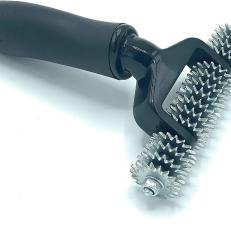
- star seam roller
- comb or natural-bristle brush
Step 1: Gather Supplies
Replacing a piece of carpet works best on a small area, less than about a square foot. For the repair, you’ll need a matching piece of carpet. Often, when a carpet is installed, remnants are set aside for potential repairs. If you don’t have a matching remnant or can’t source a new matching piece from a store, you will need to identify a piece of donor carpet. Donor carpet is a matching carpet cut from a hidden area. Some good areas to search for a donor are in corners, inside closets, or under sofas or other furniture. The donor carpet can then be replaced with a closely matching carpet. Because it is hidden, it doesn’t need to match perfectly.

Jennie Andrews
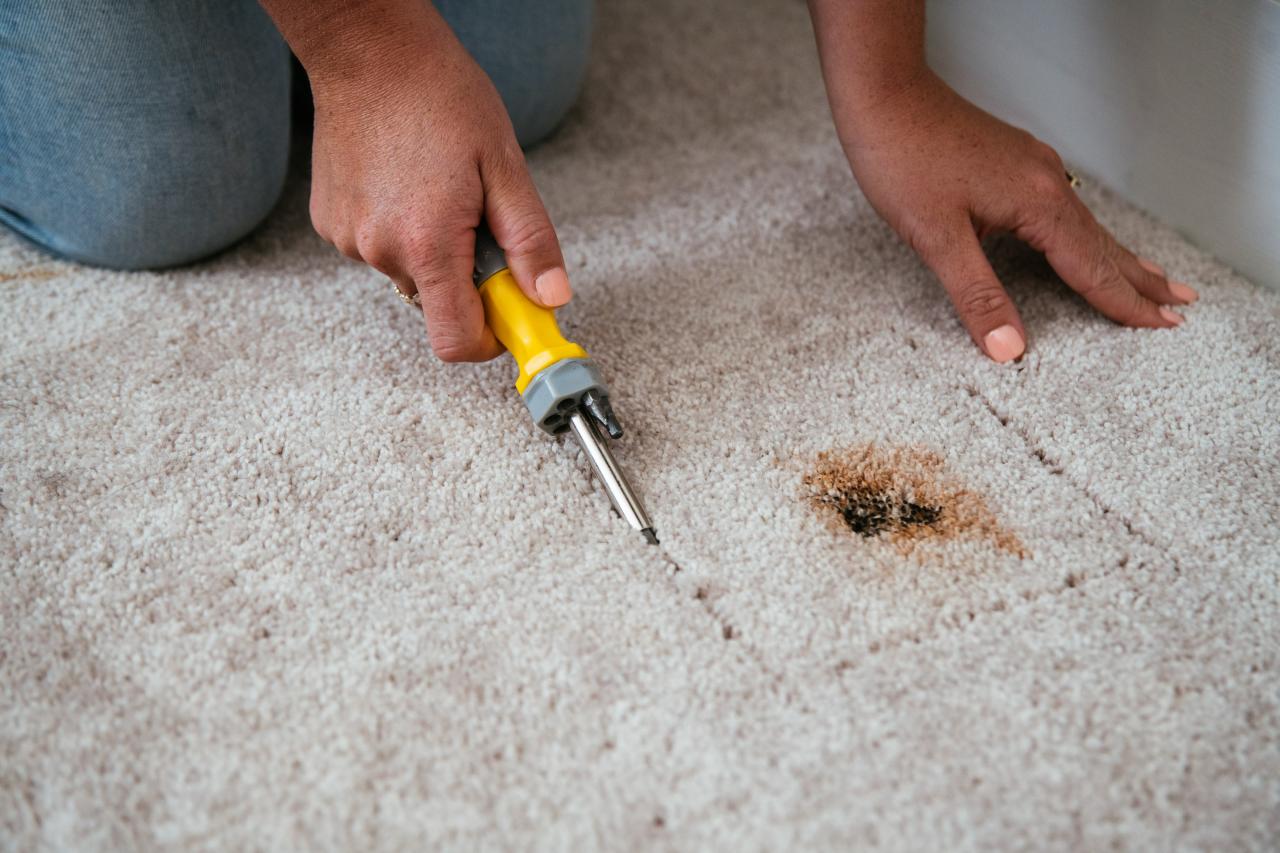
Step 2: Mark the Damaged Section
Use a screwdriver to mark a square around the damage. Work the pointed end of the screwdriver down into the fibers and gently separate the fibers in a straight line. This prevents the blade from cutting the carpet fibers.

Jennie Andrews
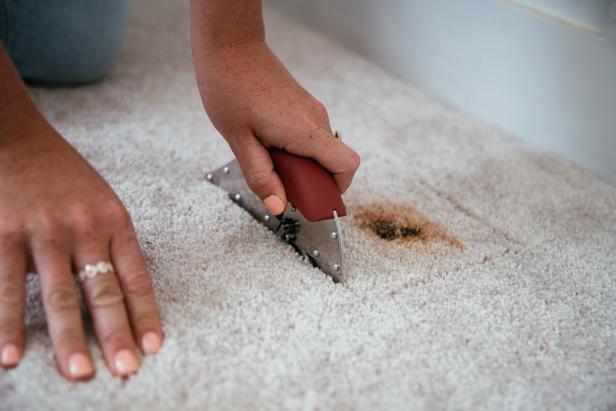
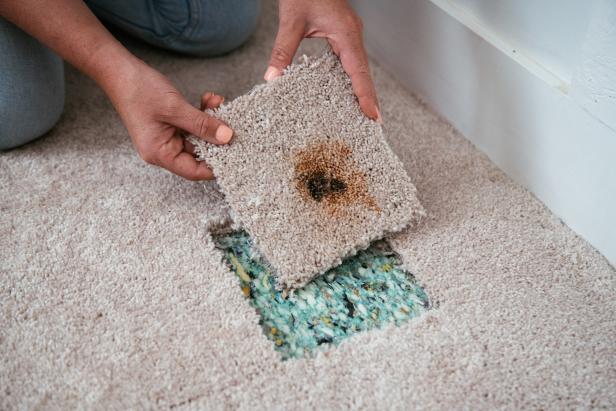
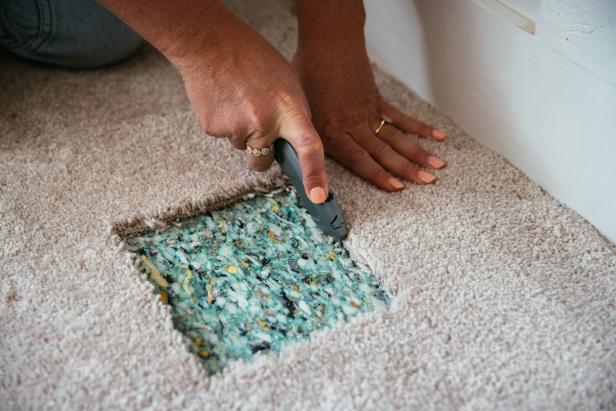
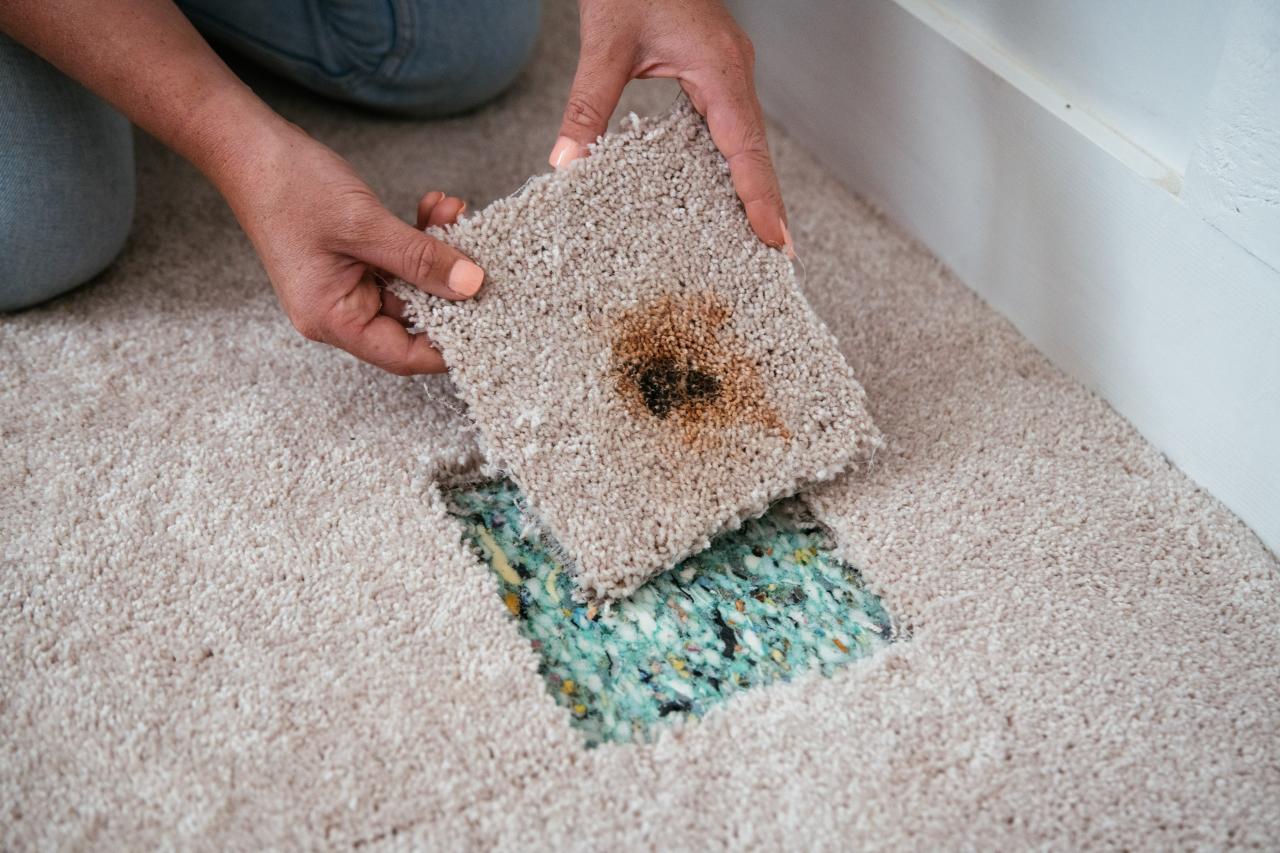
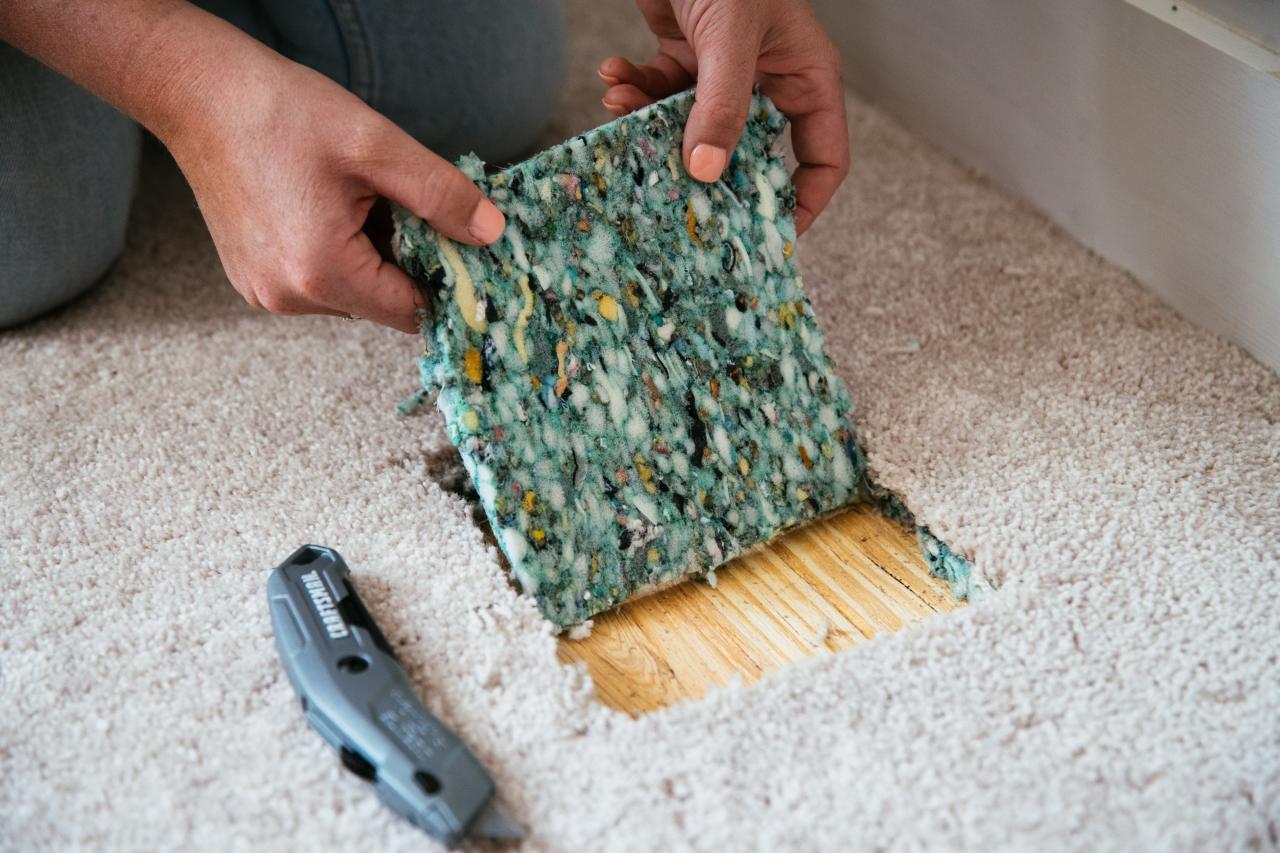
Step 3: Cut Out the Damaged Section
Using a cushion back cutter, cut a square, keeping your lines as straight as possible. Use caution not to cut the fibers of the carpet, only the backing. Gently remove the piece of carpet. If your carpet pad is still in good shape, leave it in place. If it is damaged, you may need to remove and replace it as well. A utility knife works best for this step.
Jennie Andrews
Jennie Andrews
Jennie Andrews

Jennie Andrews
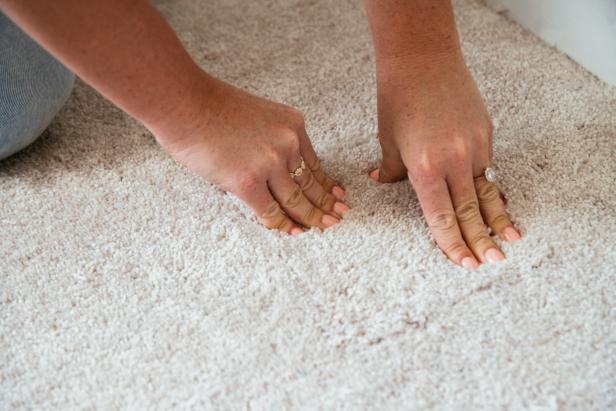
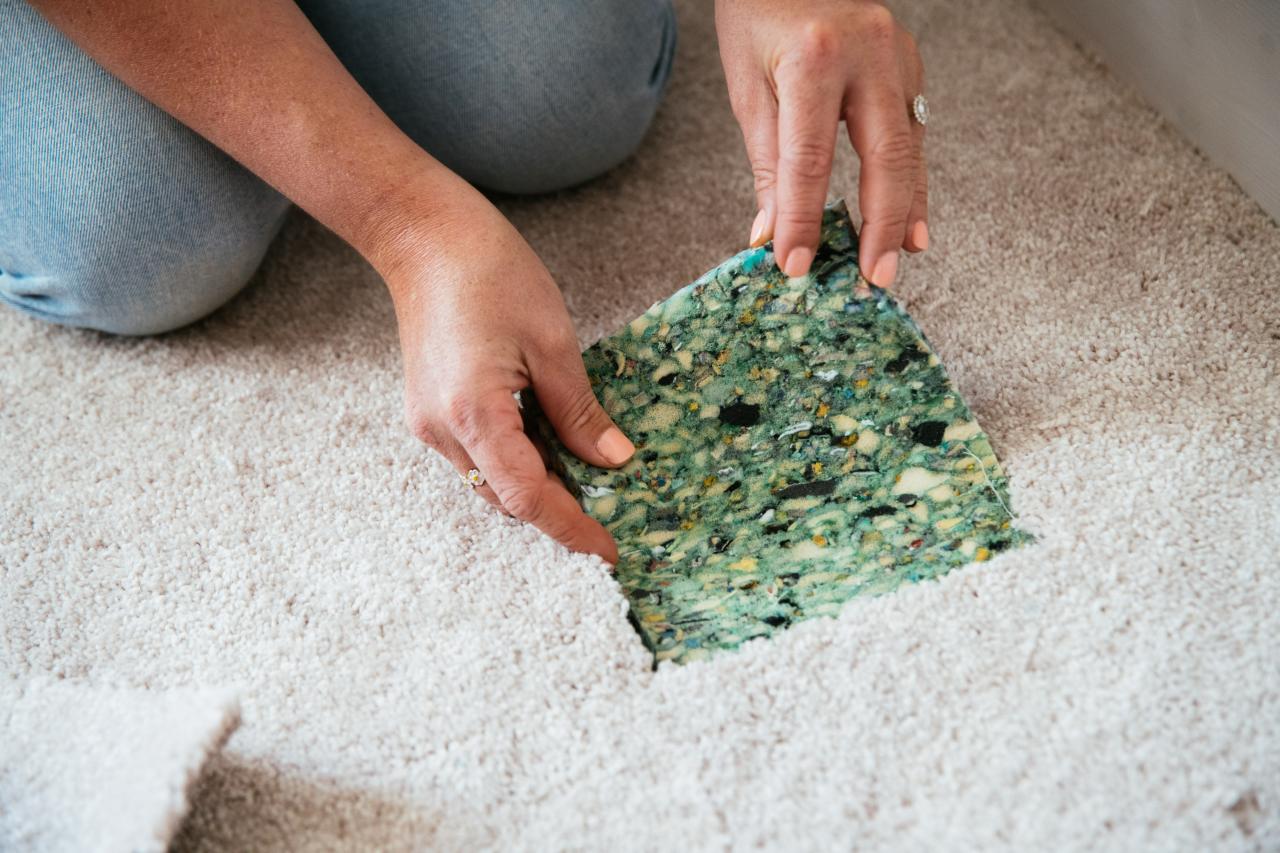
Step 4: Cut the Donor Piece
Determine which direction the new piece should fit. On most carpets (excluding some low-pile styles), the carpet fibers run in one direction. Run your hand across both pieces of carpet to determine the alignment of the donor piece. Lay the damaged piece of carpet atop the donor carpet in the correct alignment. Using the screwdriver, trace the damaged carpet. Using the cushion back cutter, cut the carpet as close to the size of the damaged piece as possible, erring on the large side. If necessary, cut a square of carpet padding to match as well, either from under the donor piece or from a new piece of identical thickness.

Jennie Andrews

Jennie Andrews
Jennie Andrews
Jennie Andrews
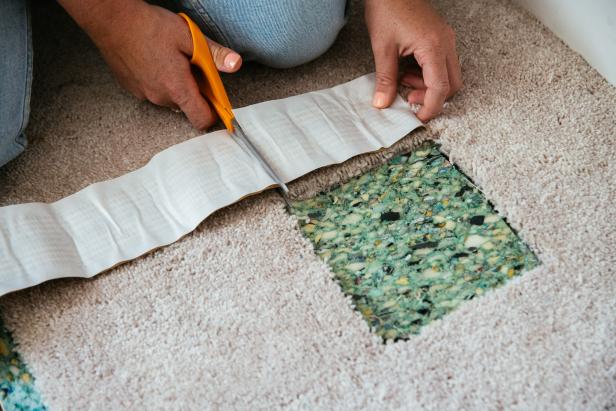
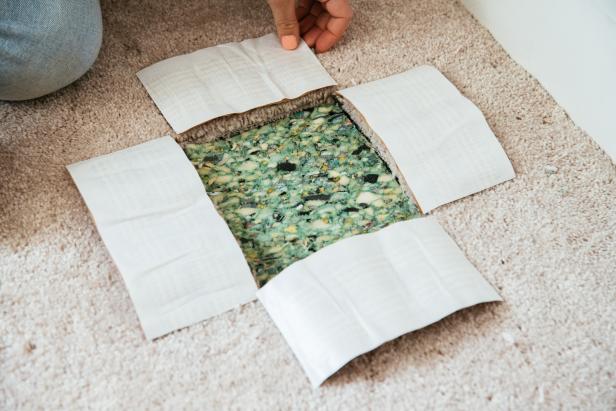
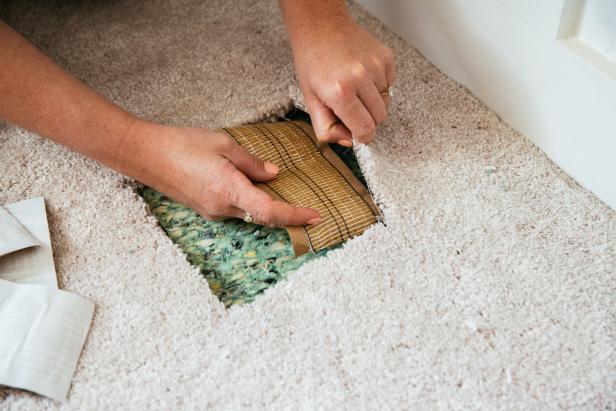
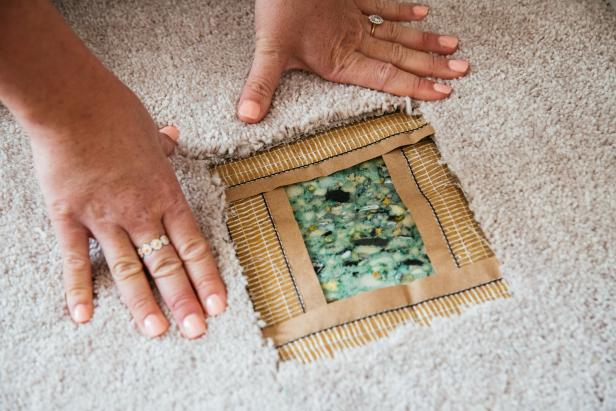
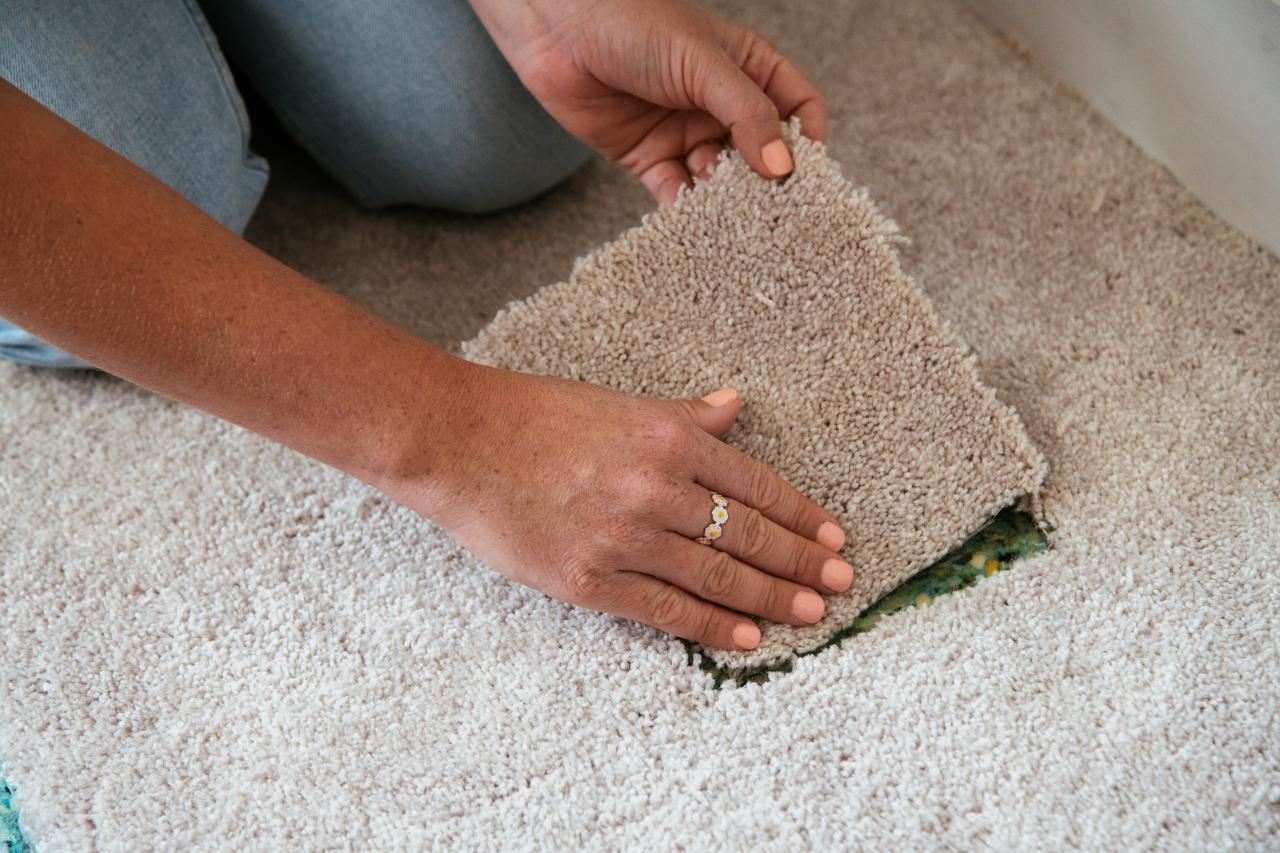
Step 5: Install the Donor Piece
Begin by putting the carpet pad in place. Test the size of the piece to assure a snug fit that has no gaps. If the piece is slightly too big, you can trim it carefully with scissors. Re-check the direction of the fibers on the new piece. Cut four strips of carpet tape to fit each of the four sides of the hole. Most professionals use a heat-set tape that requires a special heat iron (around $100). While this may be a better option for especially high-traffic areas, a pressure-activated tape works well and can save you a bit of money. Once you have your pieces cut, peel the backing from the tape and slide each piece adhesive-side up, halfway under each edge. Use caution. The tape is very sticky and cannot be realigned once stuck. If you make a mistake, remove the tape and start with a fresh piece. Carefully place the piece of carpet into the hole and press firmly around the edges to adhere to the tape.
Jennie Andrews
Jennie Andrews

Jennie Andrews
Jennie Andrews
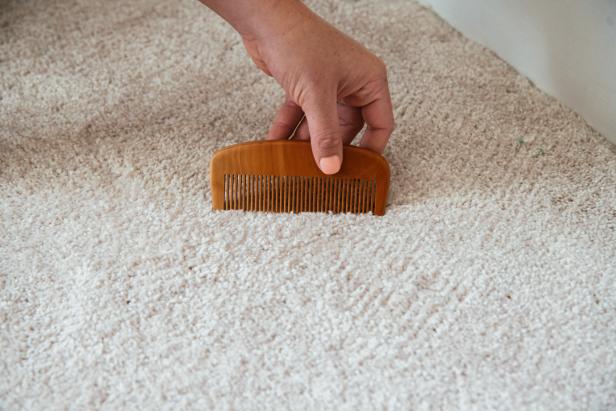
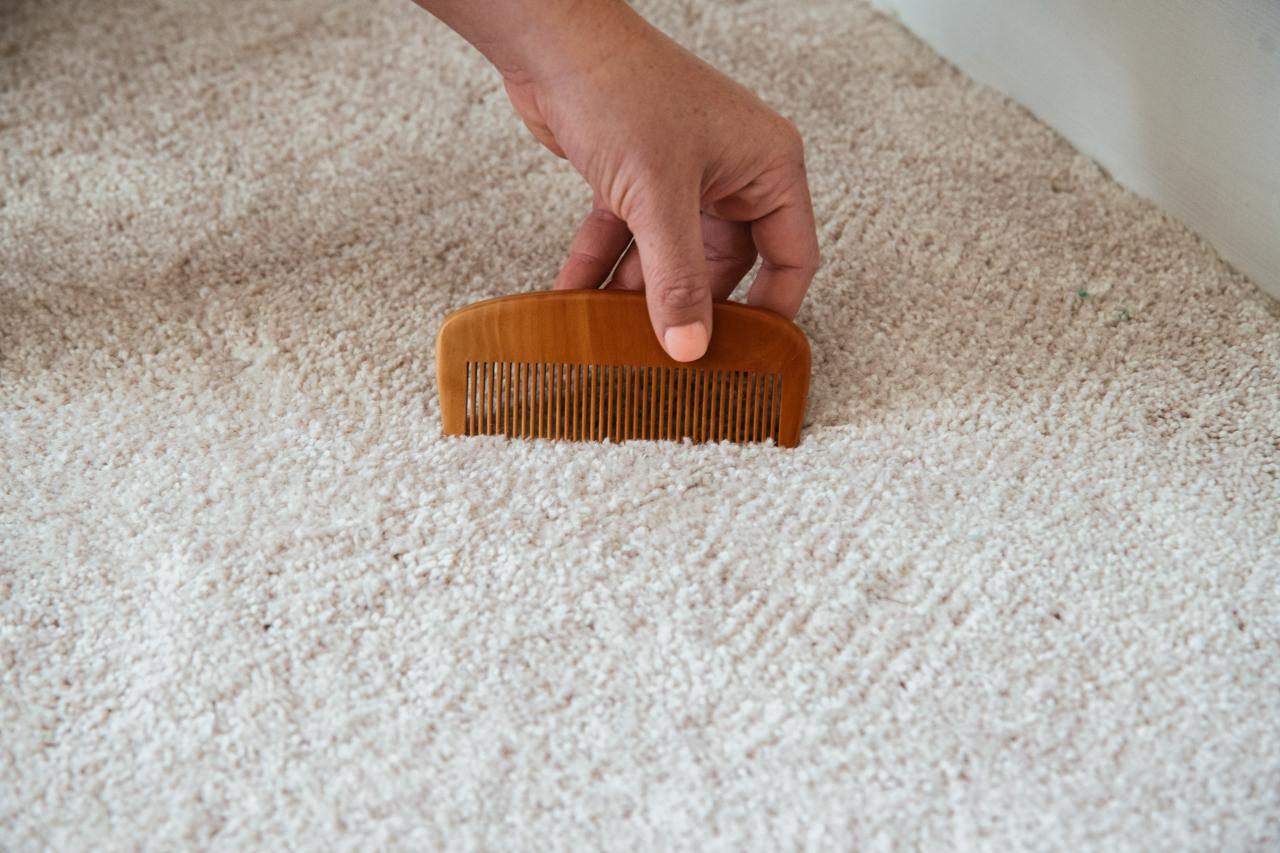
Step 6: Blend the Seams
Use a star wheel carpet seam roller to blend the fibers along the seam. A comb or a brush made with natural fibers also works well to meld the old and new pieces together, creating an invisible seam. Be careful not to pull any fibers from the carpet edges as you work.

Jennie Andrews
Jennie Andrews
Step 7: Admire Your Work
Stand back, admire your work and count all of the dollars you saved by tackling a quick and easy repair yourself.

Shop Carpet Repair Tools


How to Remove Wall-to-Wall Carpet
Removing old yucky carpeting can be one of the most satisfying DIY jobs. Plus, doing it yourself will save money. You’ll need just a few basic tools and less than half a day to complete the job.


