1 / 44
Photo: Jennifer Boomer/Verbatim Photo A.
From:
Fixer Upper and New Chapter for Family of Four.
Built-In Beauty
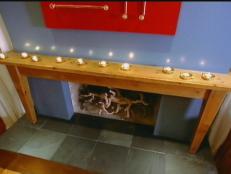
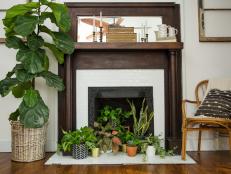
Having a fireplace in the middle of your home can sometimes feel like a daunting style challenge, but it doesn’t have to be. Whether you’re looking to tackle a bold brick face with a softer look, add a bit of texture with tile or just swap out the styling with some new accessories, you can find inspiration in some of our favorite designer fireplaces.
We can’t decide what we love more about this fireplace design, the built-in shelves, the firewood storage or the handsome rustic reclaimed wood mantel. Browse the following hot designs that surely will spark some fireplace design ideas.