


15 Home Issues You Shouldn't Ignore 15 Photos
From pesky critters to peeling paint, don't put off dealing with these red-flag problems at home.
Our Top Home Improvement Tips


Kitchen Projects


Bathroom Projects


Watch: Home Remedies
More Home Improvement Videos


What's New in Home Improvement
You'll Wonder How You Ever Lived Without These Handy Touch-Up Tools Jan 26, 2023
Retouching paint on walls and refreshing wood furniture and flooring is much easier with these clever touch-up products for your h …
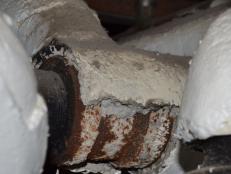
What Does Asbestos Look Like and How to Identify It Oct 24, 2022
Nearly 50 years after the first federal ban, asbestos is finally not being used in new residential building materials, but it stil …

8 Ways to Fix Drafty Windows Oct 12, 2022
Save money and stay warm this winter with these DIY ways to insulate and weather-strip windows as well as doors.

The Best Showerheads to Update Your Bathroom Nov 16, 2022
Upgrade your bathroom with a new showerhead. We have the top picks for rainfall, low-flow, adjustable and even Bluetooth.

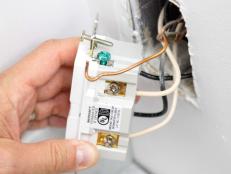
How to Test Electrical Receptacles for Grounding May 23, 2022
Grounded electrical outlets are important for safety in the home. Learn how you can check your wiring for issues and gain peace of …
Egypt Sherrod Used the Coolest Paint Trick in her Winning 'Rock the Block' House Jan 18, 2023
Create a bold-but-cozy room with this super-easy paint trick.
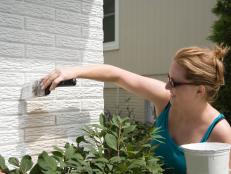
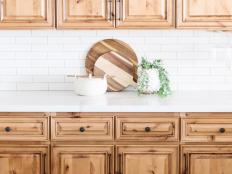
How to Paint a Tile Backsplash Aug 17, 2022
Give your kitchen a facelift this weekend with a little elbow grease, some 220-grit sand paper and a lot of epoxy paint. Find out …
8 Things You Didn't Know About Joe Mazza of HGTV's 'Home Inspector Joe' Jul 26, 2023
Get to know Joe Mazza, home inspector and host of HGTV's Home Inspector Joe.
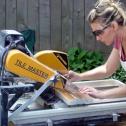
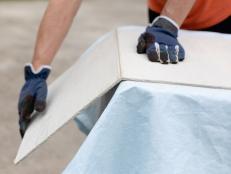
How to Cut Backer Board and Tips on How to Install It Dec 9, 2021
Backer board (aka cement board) is sturdy and solid, but it is surprisingly easy to cut. Learn the best methods for cutting the va …
How to Identify Basic Electrical Wiring Mar 1, 2024
Whether you’re changing an outlet, light fixture or switch, the first thing you need to know is how a light switch and outlet are …
23 Things Every First-Time Homebuyer Should Know Mar 28, 2022
You’re about to make the biggest investment in your life — so do your homework and learn about bidding strategies, down payment op …
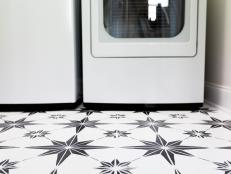
How to Paint & Stencil Ceramic Tile Apr 11, 2023
Remodeling on a budget? Give outdated floors a refresh with our step-by-step guide to painting and stenciling ceramic tile. All yo …
Actress Lorraine Bracco Buys and Renovates Sicilian Home in New Series "My Big Italian Adventure" Sep 16, 2020
She bought the 200-year-old home for only one euro.
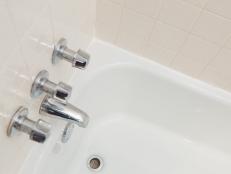
How to Caulk a Shower Nov 9, 2022
Follow these simple steps to remove and replace caulk in the shower and bathtub when it starts to mildew and pull away from the sh …

How to Hang a Door in an Existing Jamb Apr 2, 2024
Replacing an interior door in an existing opening is well within the reach of the average homeowner. Follow these simple steps.

How to Remove a Stripped Screw Jan 20, 2023
Keep all your projects moving and say goodbye to stripped screws once and for all with these helpful tips and tricks.
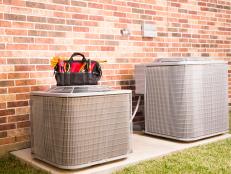
Easy Steps to Keep Your Air-Conditioning Unit Running Smoothly Jul 21, 2022
Regular cleaning and maintenance will save you money and extend the life of your heat pump or HVAC unit.

Big News! HGTV Casting For Two New Series Starring Familiar Favorites Feb 4, 2020
Boise Boys' Clint Robertson and Luke Caldwell and Leanne and Steve Ford of Restored by the Fords are back with two new series.

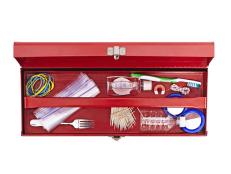
Tackle All of Your DIY Projects With Walmart’s Line of Affordable Tools Apr 13, 2021
You can finally start those DIY projects you've been putting off, thanks to Walmart's line of high-quality (and affordable!) HART …

How to Change a Light Fixture Jan 13, 2020
With 30 minutes and some basic tools, you can easily switch out a light fixture yourself. Follow these steps to tackle this simple …

How to Install Shiplap Jan 13, 2020
Bring instant farmhouse charm to your home by adding DIY plywood shiplap to a wall or ceiling.
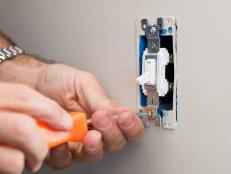
How to Wire a Light Switch Jun 6, 2023
Electricity is a mystery to many people, but some electrical projects — like wiring a switch — are so simple that anyone can do th …
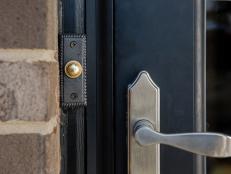
How to Install a Doorbell Jan 13, 2020
Whether your doorbell is broken, unattractive or simply not high-tech enough, it’s an easy fix to replace it with something that’s …
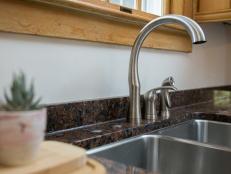
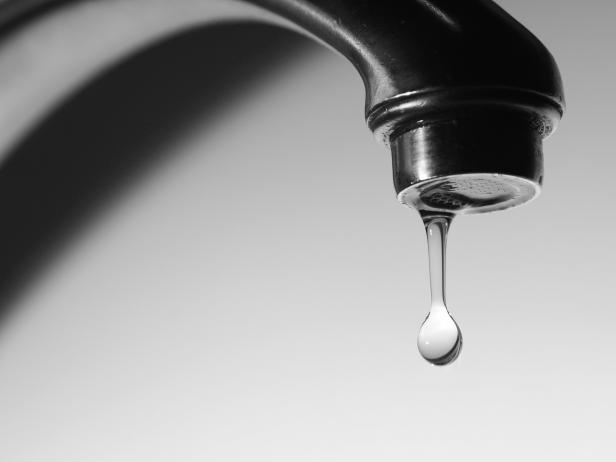
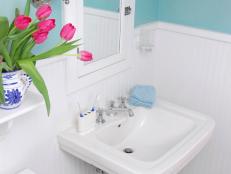
How to Replace a Faucet May 16, 2023
Replacing a faucet that's outdated or always dripping is a relatively easy DIY project.
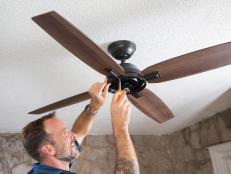
How to Install a Ceiling Fan Jan 13, 2020
The process for installing a ceiling fan is similar to wiring a light fixture, with a few modifications to accommodate for the ext …
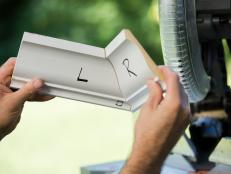
How to Install Crown Molding Nov 21, 2019
Crown molding is an inexpensive and easy way to add visual interest and value to your home. With just a few tools and basic carpen …
Attention First-Time Homebuyers: Do This Before You Buy Aug 23, 2019
Volunteer for a Habitat for Humanity build. You’ll learn the basics of home construction and gain some confidence to tackle your o …
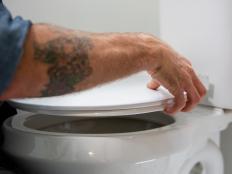
How to Remove or Replace a Toilet Seat Jun 6, 2023
Remove and replace a broken or old toilet seat in no time. We share the easy steps below.
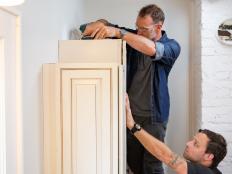
How to Remove a Kitchen Cabinet Aug 2, 2019
Remove your kitchen cabinets in record time by following our four simple steps.
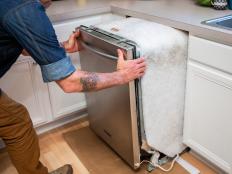
How to Remove a Dishwasher Aug 15, 2022
Removing your dishwasher doesn't need to be left to the pros. Follow our steps to get the dishwasher out yourself in no time.


