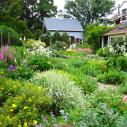


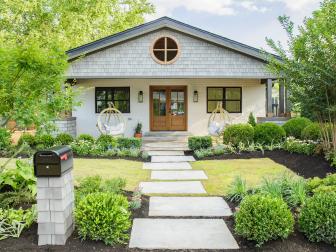
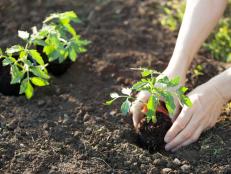
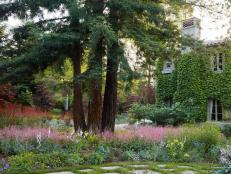
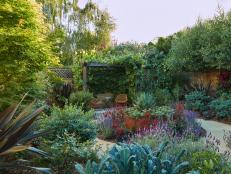
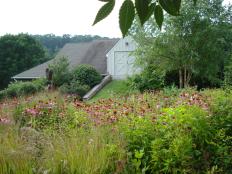
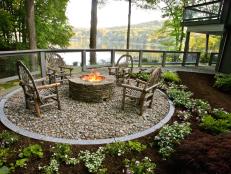
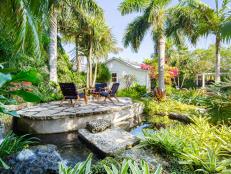
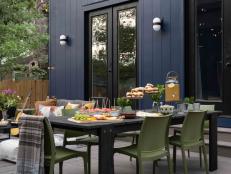
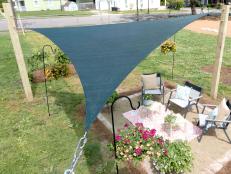
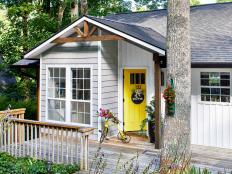
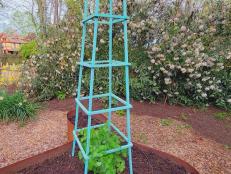
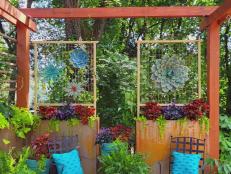
50 Beautiful Backyard Landscaping Ideas 50 Photos
Need backyard design inspiration? Try these backyard landscaping ideas for a sloped, shady or boring backyard.


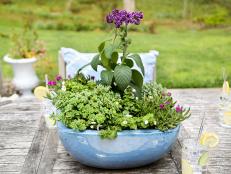
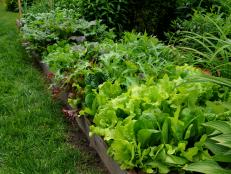
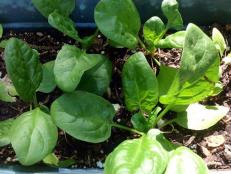
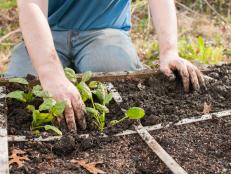
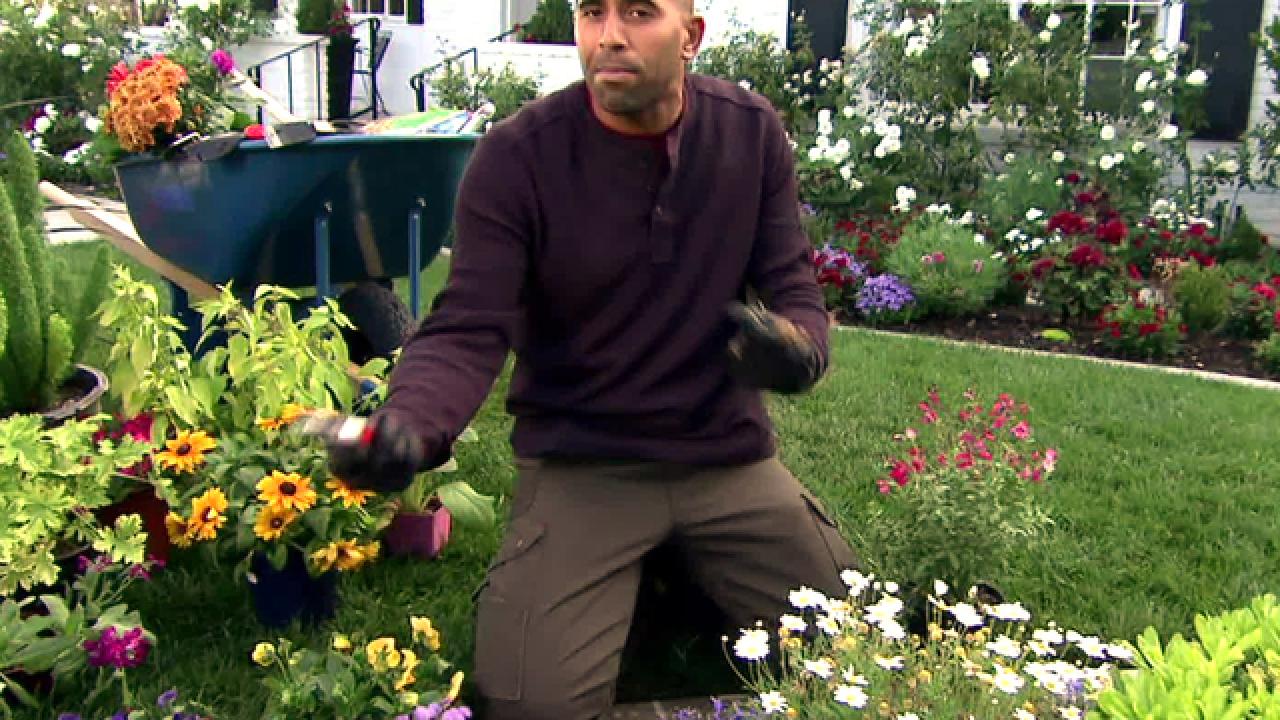
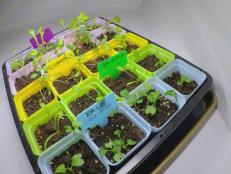
Spring Gardening Tips
More in Gardens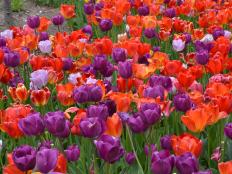
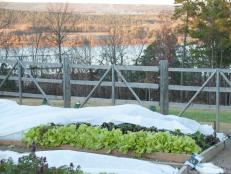


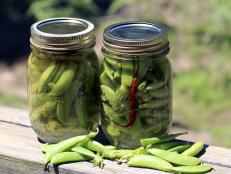
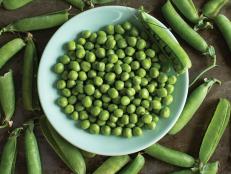

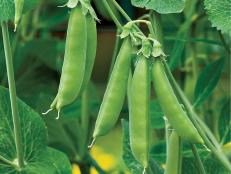

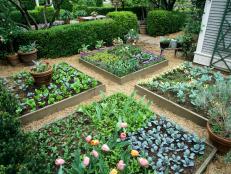
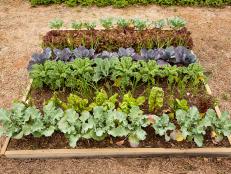
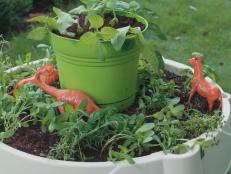
Vegetable Garden Ideas
More in Vegetable Gardening


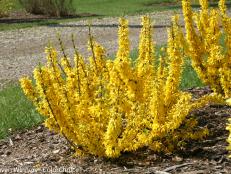
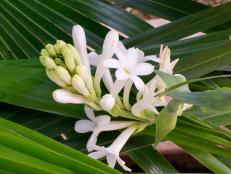
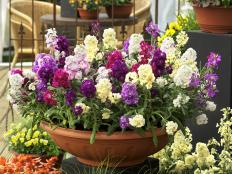
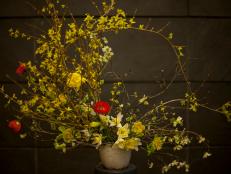
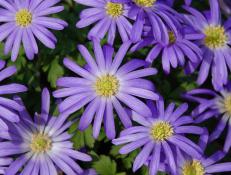
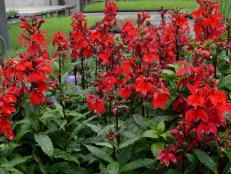
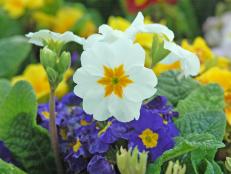
All About Flowers
More in Flowers and Plants


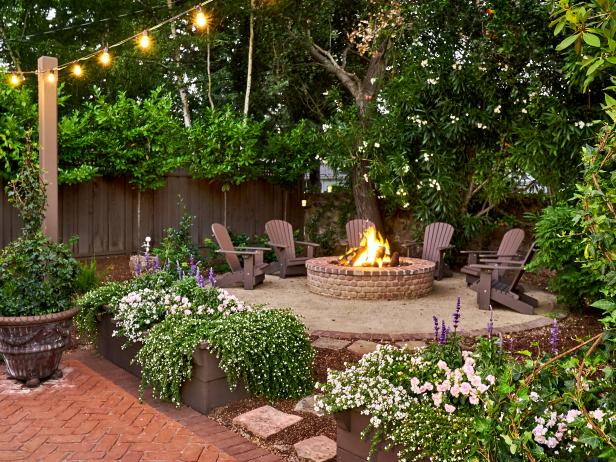
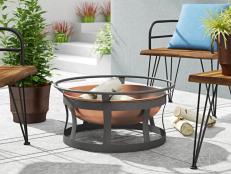
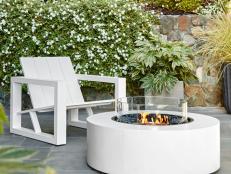
Fire Pit Ideas
More in Landscaping and Hardscaping


Dreamy Decks
More in Outdoor Spaces


Watch: Gardening Tips for Beginners
More Gardening Videos


What's New in Outdoors
What Is No-Mow May and Is It a Good Idea? Apr 17, 2024
No-mow May is all about helping pollinators. Learn more about this trend and how to make it work for you.

13 Wearable Mosquito Repellents That Aren't Smelly Aerosol Sprays Apr 16, 2024
Ditch that aerosol can of bug spray and opt for these handy alternatives.

13 Best Adirondack Chairs for Every Style and Budget Apr 15, 2024
Because sunny afternoons are best enjoyed in an Adirondack chair.

8 Best Lawn Aerators in 2024 Apr 12, 2024
Lawn aerators can turn a dying lawn into a thriving one. Learn about how aerators work and shop our top recommendations.

The 10 Best Indoor Herb Garden Kits, According to a Master Gardener Apr 4, 2024
Snip fresh herbs right when you need them with one of these indoor herb garden kits to grow thyme, cilantro, basil, parsley and mo …

Spruce Up Your Outdoor Space With These Bestselling Patio Buys on Amazon Apr 4, 2024
Discover which outdoor furniture sets, patio accessories and porch essentials Amazon customers are raving about this season.
No-Till Gardening Methods Apr 3, 2024
No-till gardening saves time, conserves water and reduces weeds. There are several methods including Hugelkultur, Ruth Stout, back …

49 Beautiful Outdoor Rugs for Every Style and Need Apr 3, 2024
Make your outdoor space an inviting place to lounge by adding a pretty and practical rug.
25 Budget-Friendly Buys You Didn't Know You Needed for Your Garden Apr 1, 2024
Add a special touch to your outdoor space with these beautiful and functional finds under $50.
20 Useful Products on Amazon for Growing, Preserving and Cooking With Herbs Mar 28, 2024
Save herbs for home-cooked meals, cute decor and more with these handy gadgets and planters.

The Best Spring-Inspired Outdoor Decor on Amazon Mar 28, 2024
Daisies, tulips, bright colors and fresh green accents all evoke feelings of spring. Shop our seasonal outdoor decor picks on Amaz …
The Best Outdoor Fire Tables Mar 26, 2024
Have the best of both worlds — a cozy fire pit and table to gather around. We break down the best fire tables for your outdoor spa …

28 Best House Numbers for Every Architectural Style Mar 26, 2024
Crank up your curb appeal with these head-turning house numbers and address signs.

The Best Wicker Patio Sets for Every Budget Mar 25, 2024
Shop the summer mainstay to bring timeless style to your porch, deck or patio.
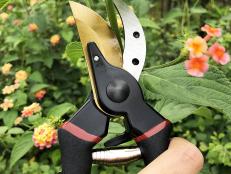
28 Garden Tools and Essentials for Year-Round Care Mar 22, 2024
When you're ready to grow, use our green-thumb shopping list to find great garden tools, gear and more, with top picks from HGTV e …
The Best Watering Cans of 2024, Picked by HGTV Editors Mar 21, 2024
Hydrate your plant babies and keep them blooming with a top-rated watering can perfect for your home and needs.
Top-Rated Gardening Buys You Need Now, According to Amazon Shoppers Mar 29, 2024
These tried-and-true lawn and garden products are backed by thousands of positive customer reviews.
The Best Fire Pits Under $350 Mar 20, 2024
Warm up your outdoor space with one of these budget-friendly fire pits you can buy online.
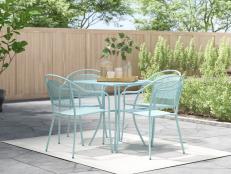
11 Best Outdoor Dining Sets Under $600 Mar 20, 2024
Snag one of these stylish outdoor dining sets without breaking your budget.

How to Propagate Plants Apr 15, 2024
Propagating plants is easy. Plus, learning how to propagate plants can save you money you'd otherwise spend on buying new plants.
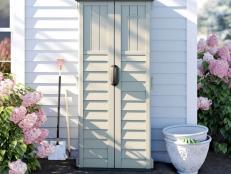
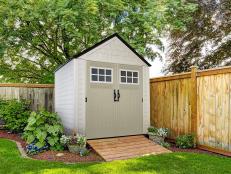
10 Small Storage Sheds You Need Now Under $350 Mar 15, 2024
These little storage sheds won’t break the bank or become an eyesore in the yard.

20 Best Porch Swings for Every Style and Budget Mar 15, 2024
Take a load off this summer with these top-rated porch swings.
12 Best Propane Fire Pits Mar 14, 2024
Cool or warm evenings, roasting hot dogs or marshmallows, small or large gatherings — fire pits are the ultimate hangout spot. Dis …
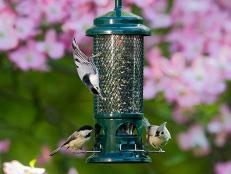
35 Best Bird Feeders and Accessories for Your Yard Mar 14, 2024
Want to attract songbirds to your yard and garden? Check out our recommendations for the best bird feeders, including window feede …
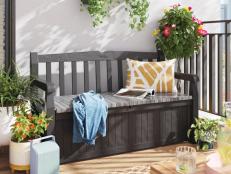
The Best Outdoor Storage Benches Under $200 Apr 12, 2024
Because we could all use a few more hiding spots for our backyard gear.
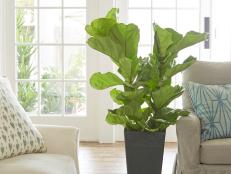
Low-Maintenance Alternatives to Fiddle-Leaf Fig Mar 13, 2024
If you’re fighting to keep your fiddle-leaf fig healthy and gorgeous, don’t give up. Find success with easy-growing houseplants th …
The Best Outdoor Storage Sheds on Amazon Mar 13, 2024
Today’s storage shed options are more attractive than you think.

35 Outdoor Rocking Chairs We Love for Porch Lounging Mar 13, 2024
Shop our favorite outdoor rocking chairs that make porch lounging even more relaxing.
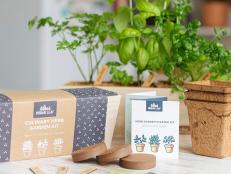
10 Best Garden Starter Kits on Amazon Mar 12, 2024
Get your grow on with these easy-to-follow gardening kits for beginners.
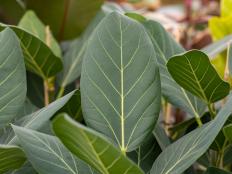
Discover the Beauty of Ficus 'Audrey' Mar 11, 2024
Celebrate gorgeous greenery by adding a trendy Ficus ‘Audrey’ to your houseplant collection. Learn how to care for this no-fuss fi …