


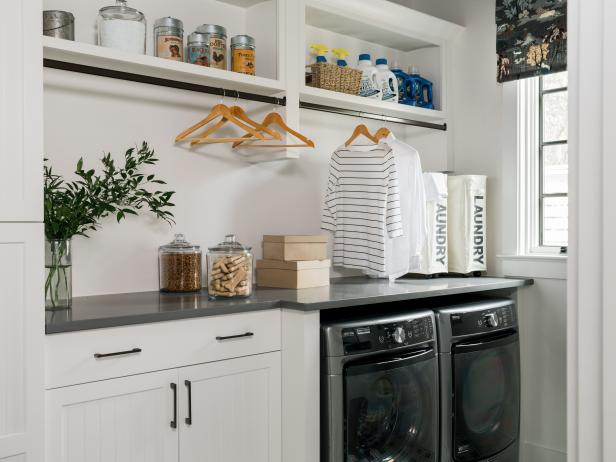
Storage and Organization From HGTV Smart Home 2018
From open shelves in the kitchen to custom cabinetry in the master closet, HGTV Smart Home 2018 makes staying organized practically effortless. See how these different storage solutions clear up space and maximize functionality.

Cost-Saving Built-In Storage Ideas
From the most affordable, durable materials to clever repurposing and finishing ideas, learn 12 ways to get the most bang for your buck from custom built-ins.
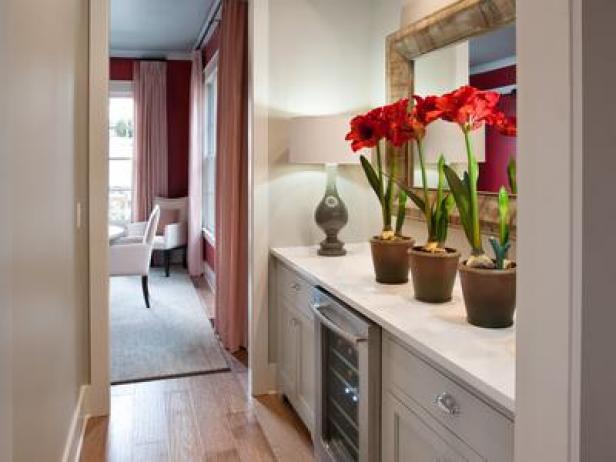
Butler's Pantry Pictures From HGTV Smart Home 2014
Located between the kitchen and dining room, this pass-through offers additional storage and a wine chiller for easy entertaining.


