


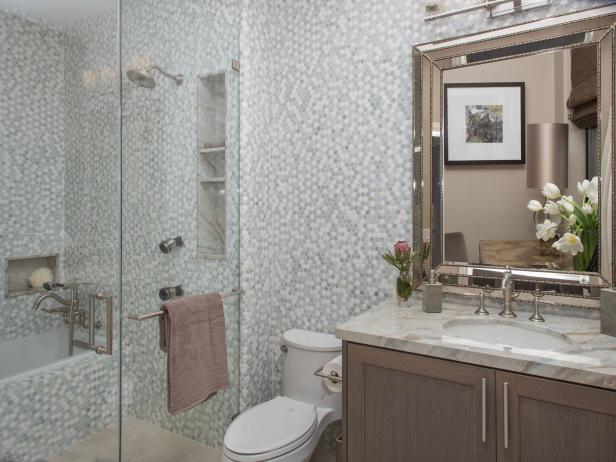
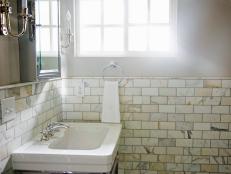
Before and After: 30 Incredible Small Bathroom Makeovers 41 Photos
From changing the paint color to knocking down walls, see how your favorite HGTV hosts take on these tiny bathrooms.
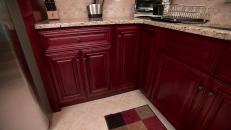
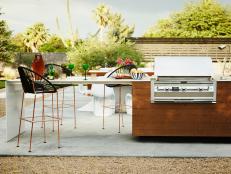
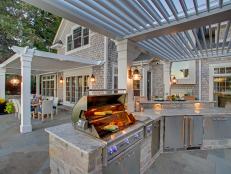
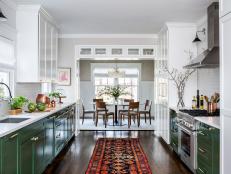
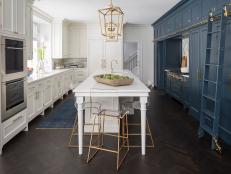
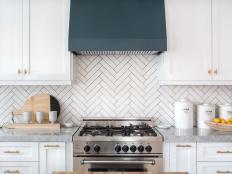
Kitchen Remodel Ideas
More in Kitchen RemodelFind the tips and inspiration you need to start your kitchen remodel, from planning and budgeting pointers to countertop and cabinet designs.


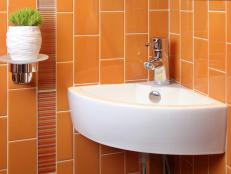

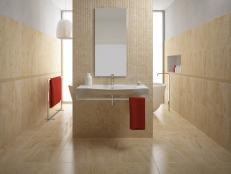


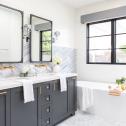
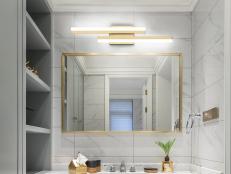
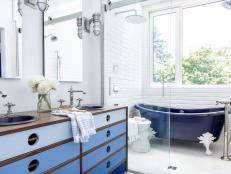
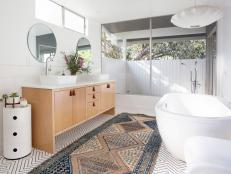
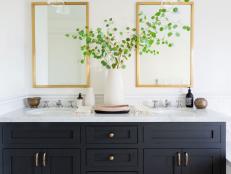
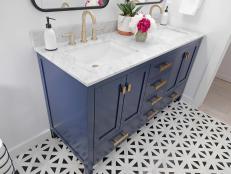
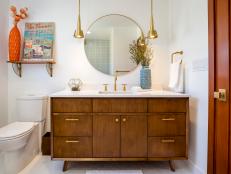
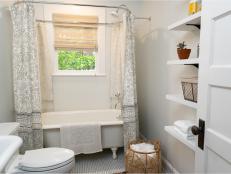
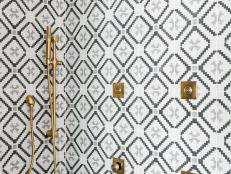
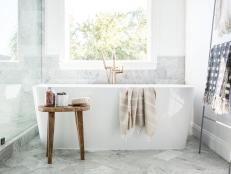
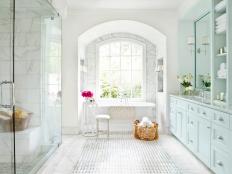
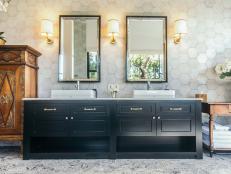
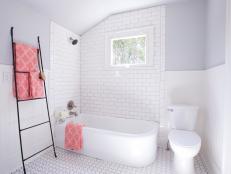
Bathroom Remodel Ideas
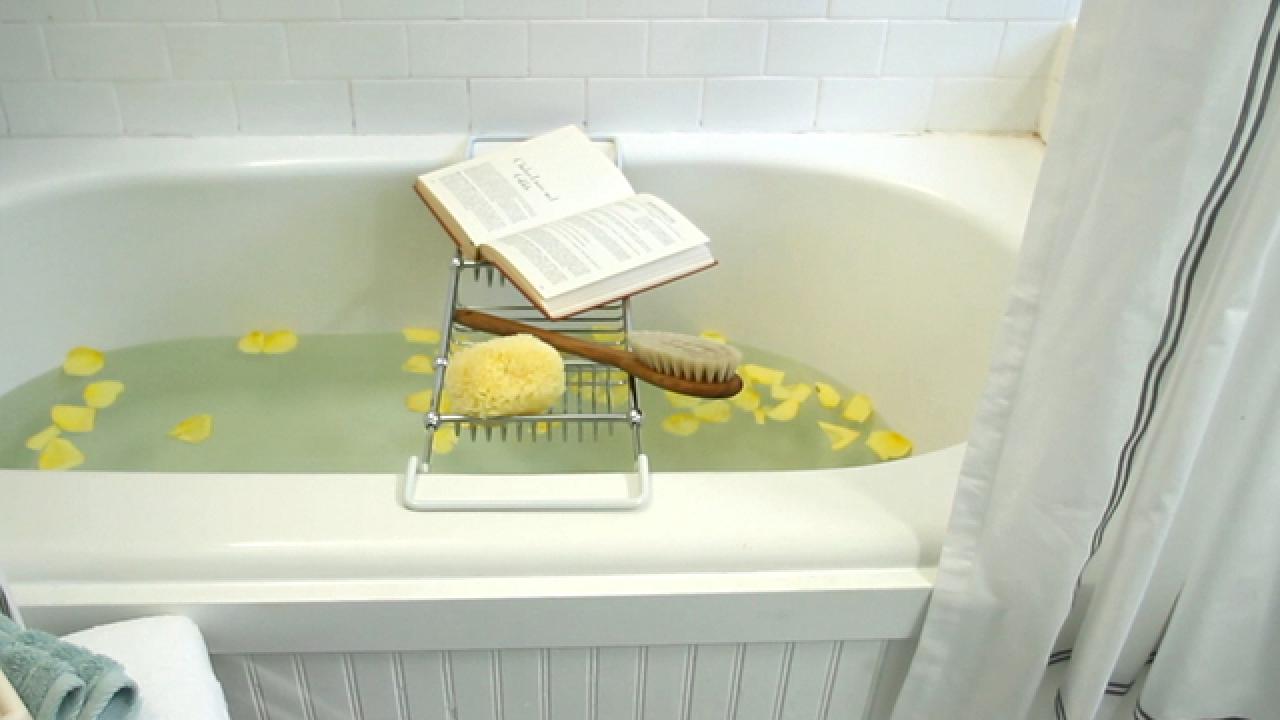
More in Bathroom RemodelRead up on our best bathroom remodeling advice and browse before-and-after bathroom remodel photos to inspire your design.


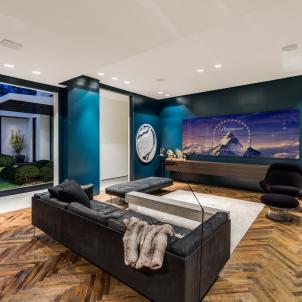
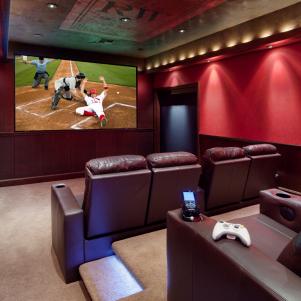
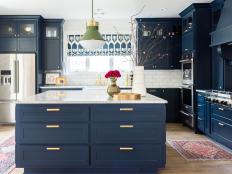
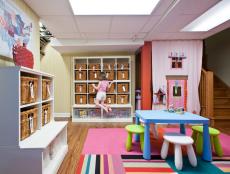
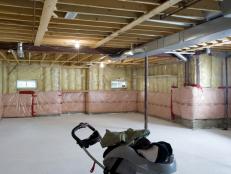
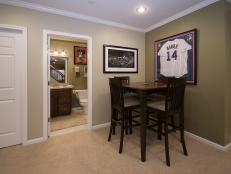
Basement Remodel Ideas
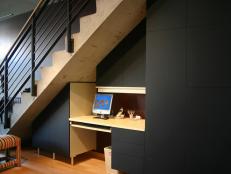
More in Interior RemodelA finished basement can add valuable square footage to your home. Learn how to transform this untapped space into your new favorite room.


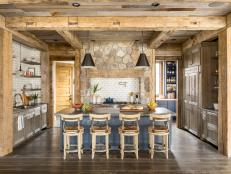
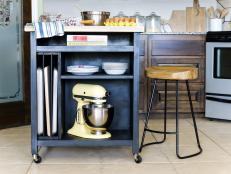
Room-by-Room Remodeling Advice
From setting a budget to choosing materials to hiring the right contractors, we'll guide you through each step of the remodeling process.
Watch: Quick Remodeling Projects
Loading Video...