


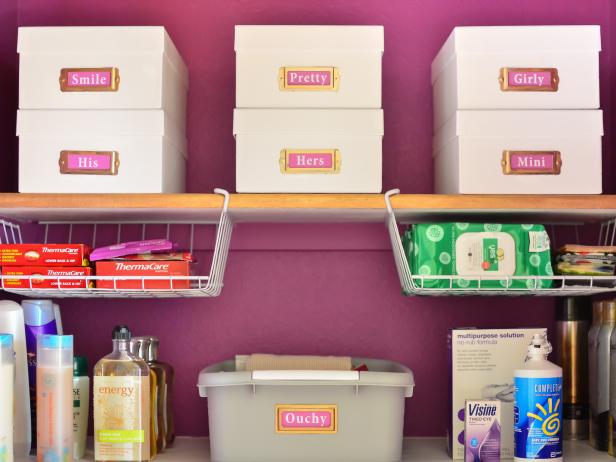
14 Storage Secrets From an Organization Blogger
Melissa George of Polished Habitat shares her best storage hacks and must-have products for staying organized. You'll want to try them all!
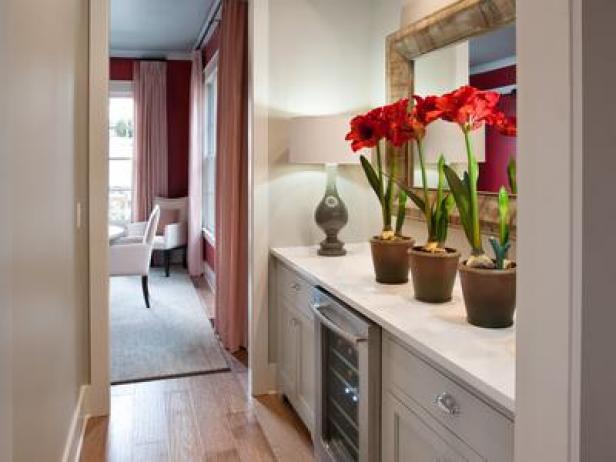
Butler's Pantry Pictures From HGTV Smart Home 2014
Located between the kitchen and dining room, this pass-through offers additional storage and a wine chiller for easy entertaining.

Cost-Saving Built-In Storage Ideas
From the most affordable, durable materials to clever repurposing and finishing ideas, learn 12 ways to get the most bang for your buck from custom built-ins.


