


Brick Paver Patios
Learn about your options for brick paver patios and explore design ideas for your outdoor living space.

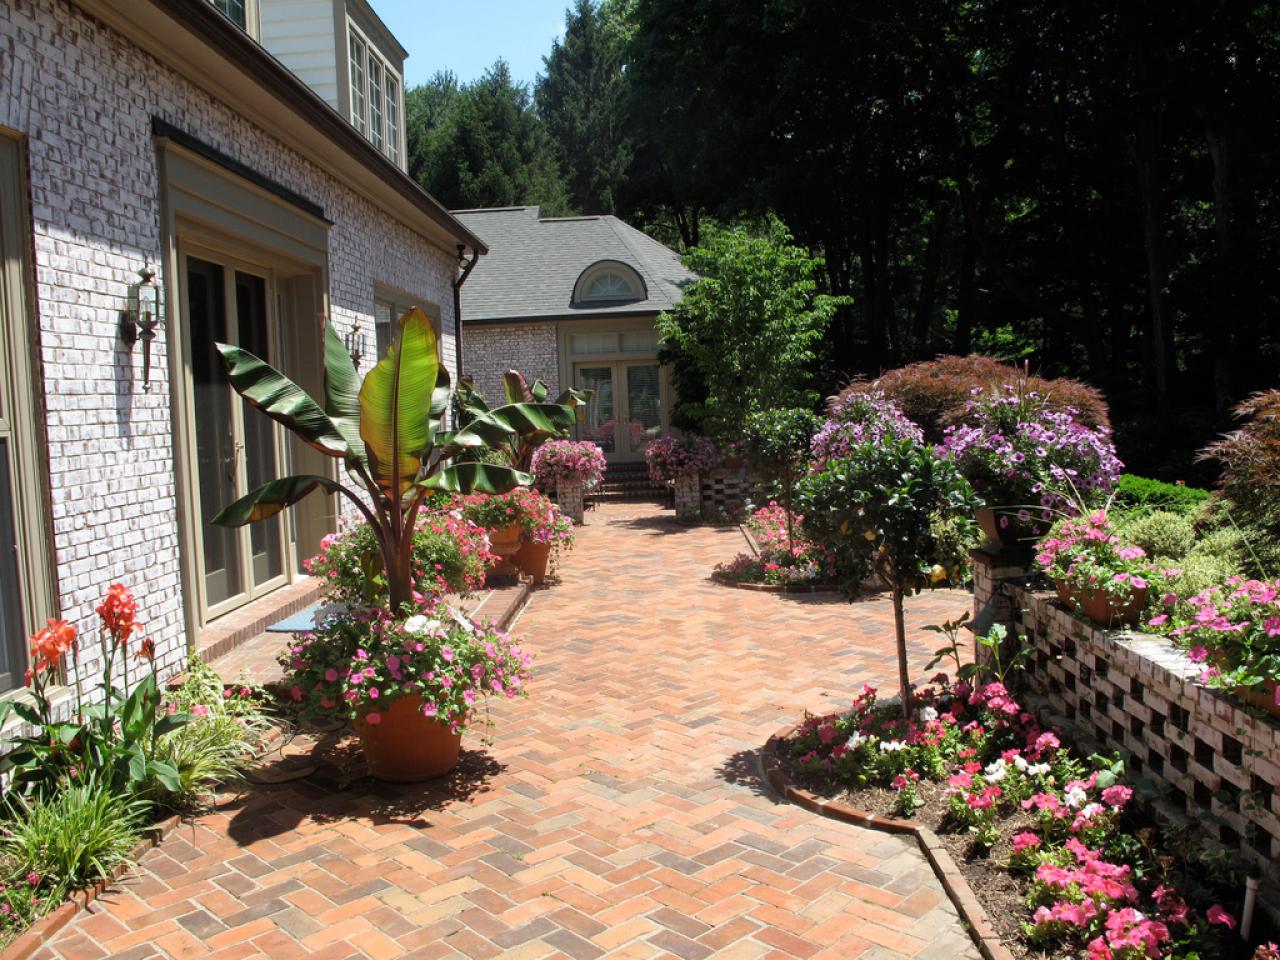
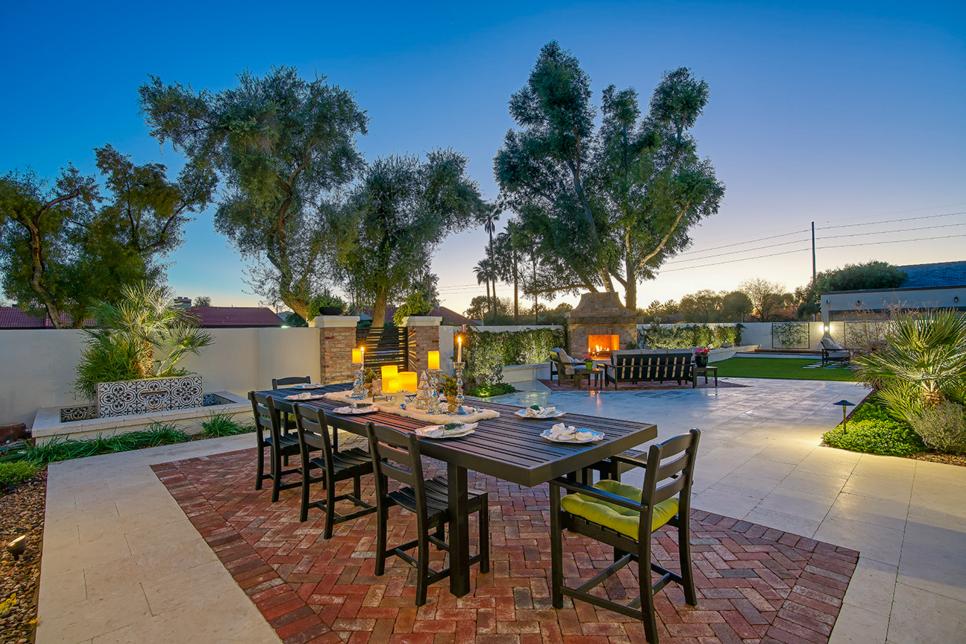
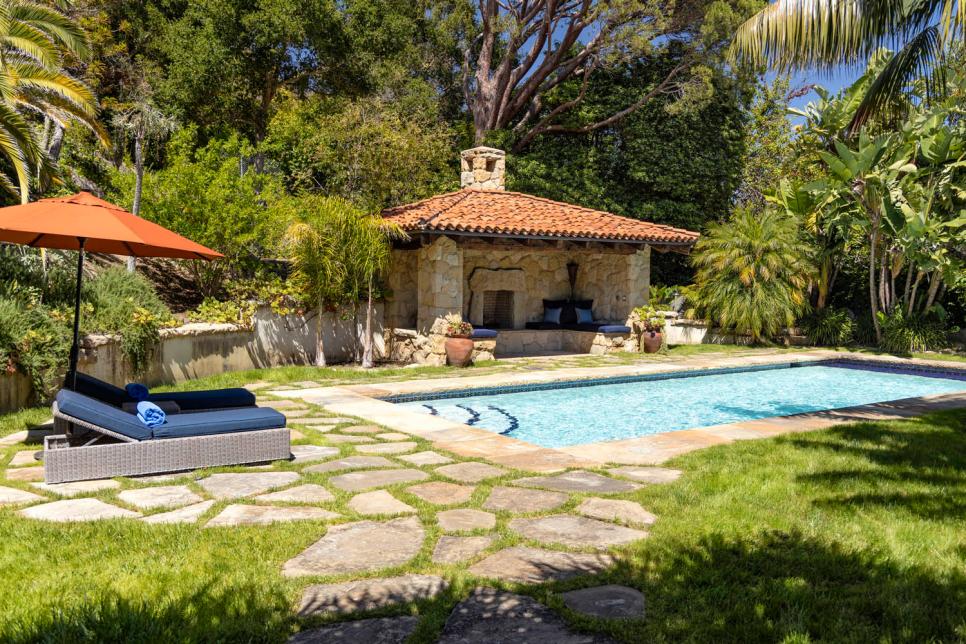
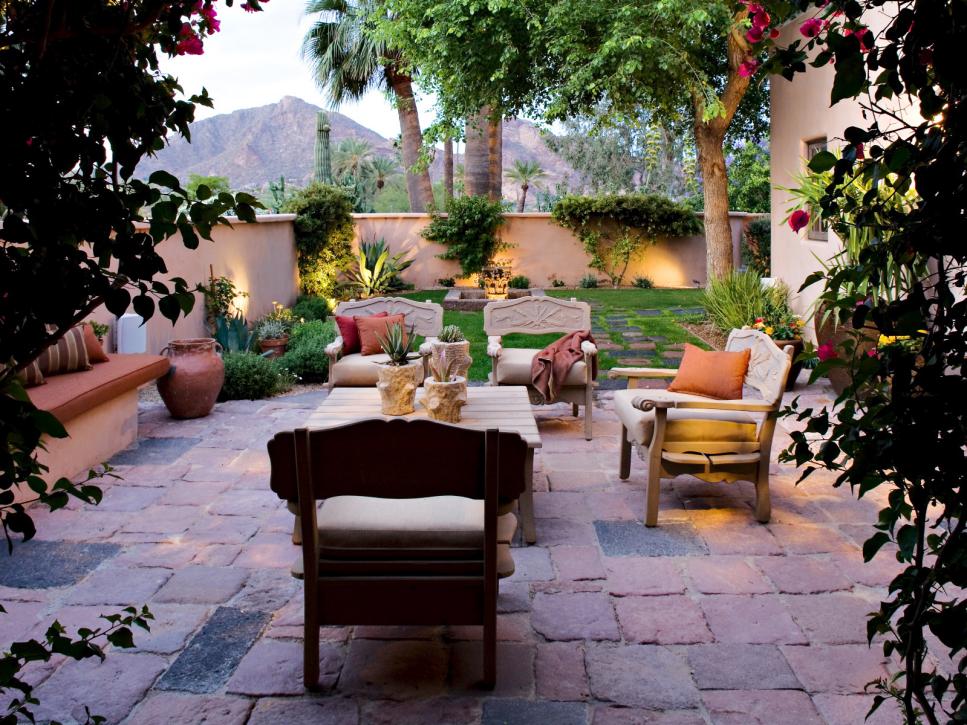
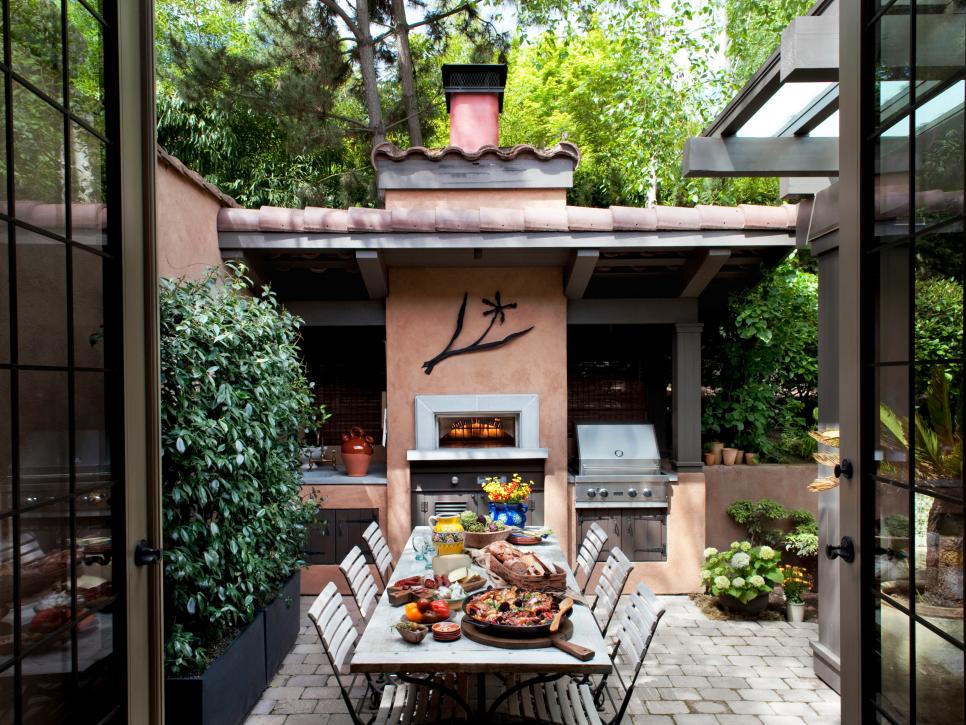
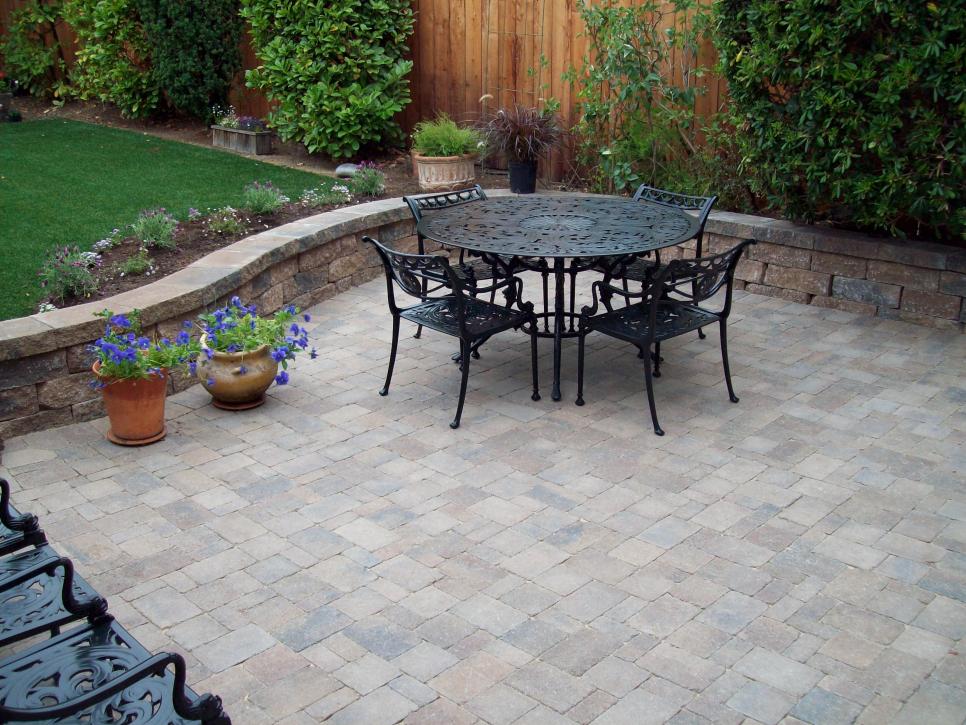
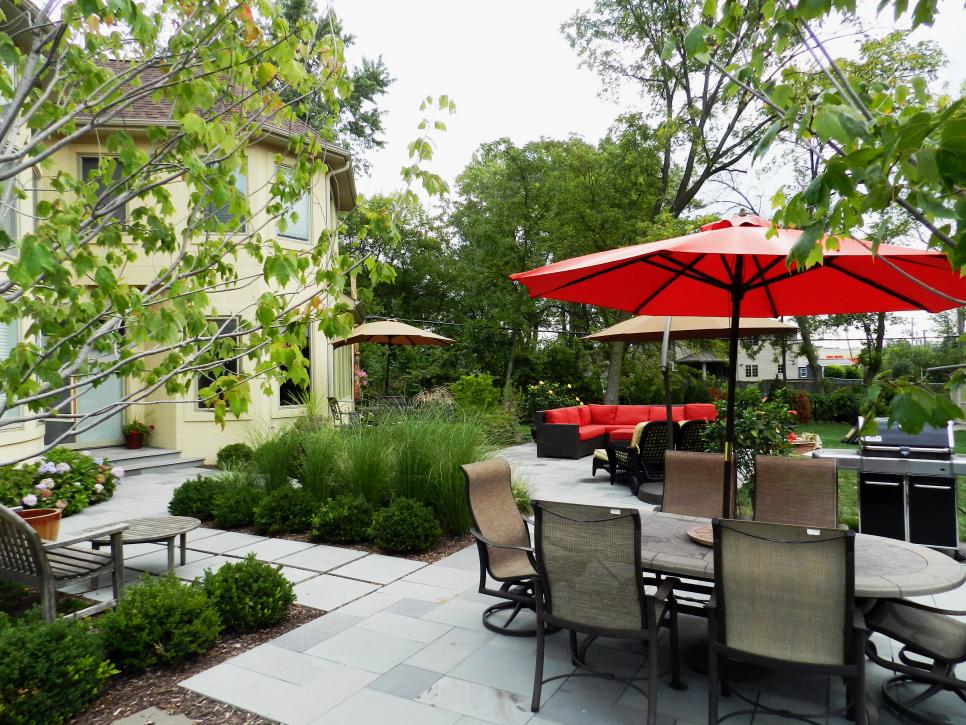
Photo Credit: Gregs Landscaping
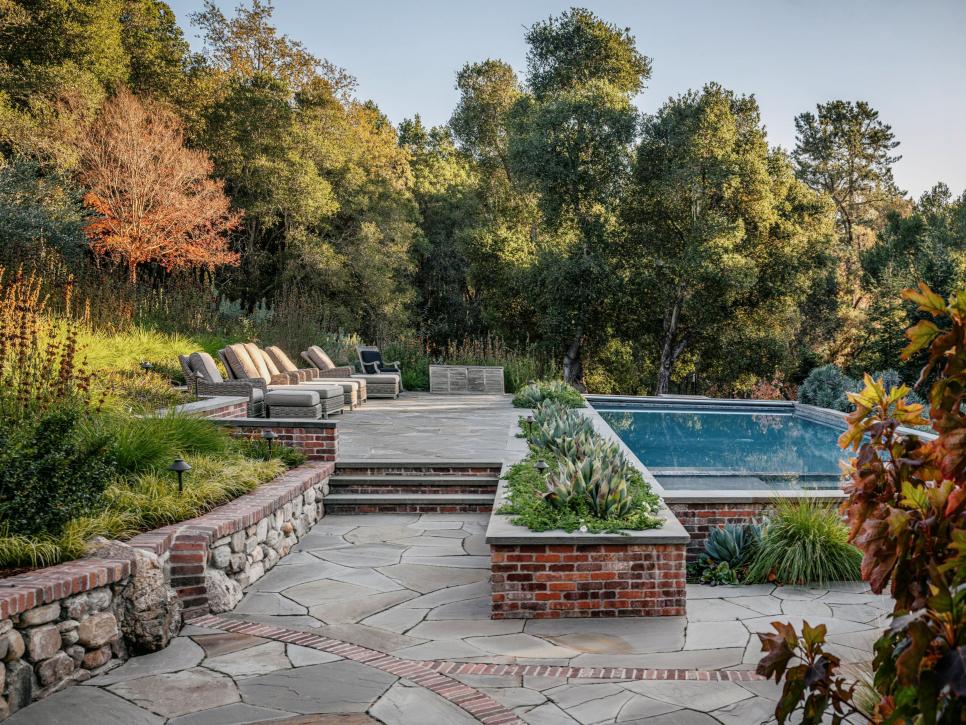
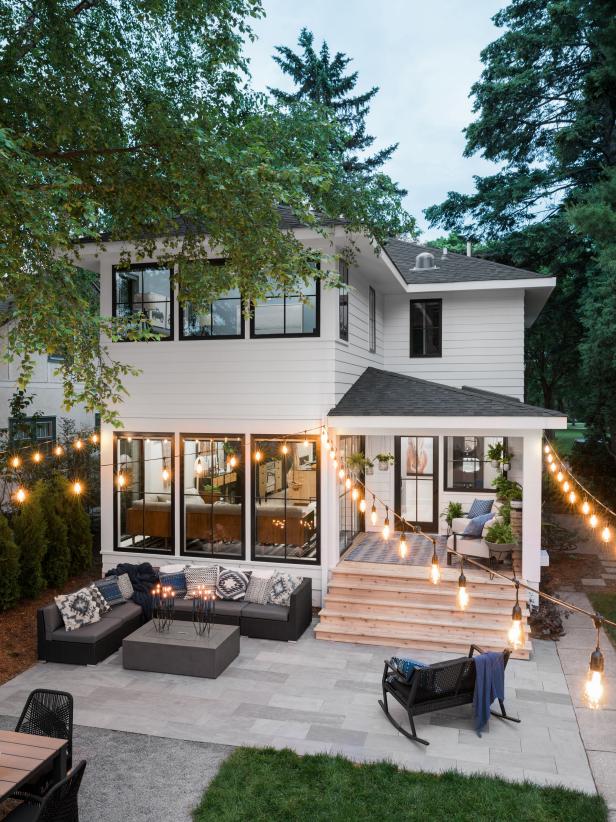
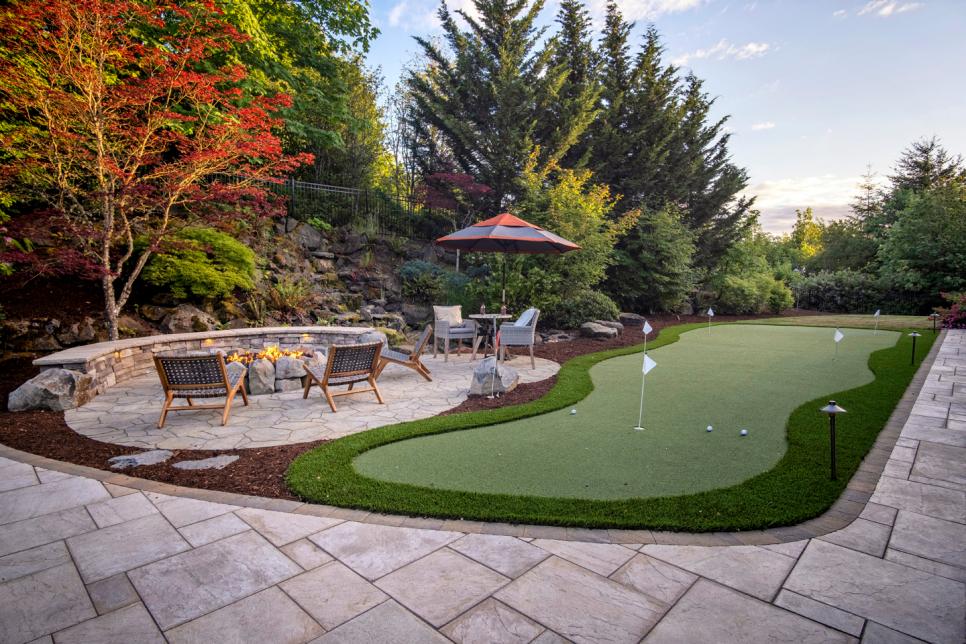
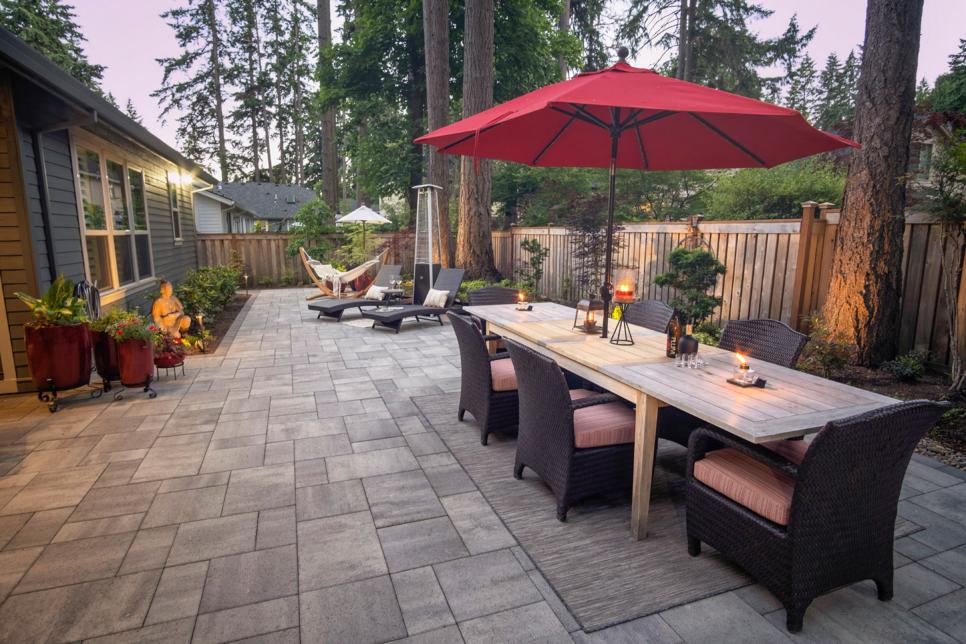
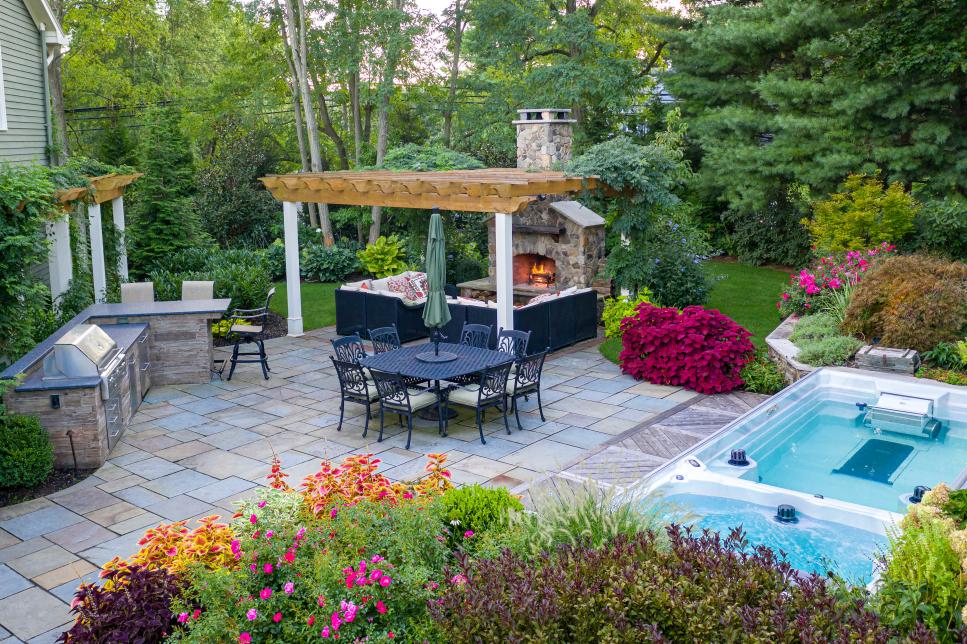
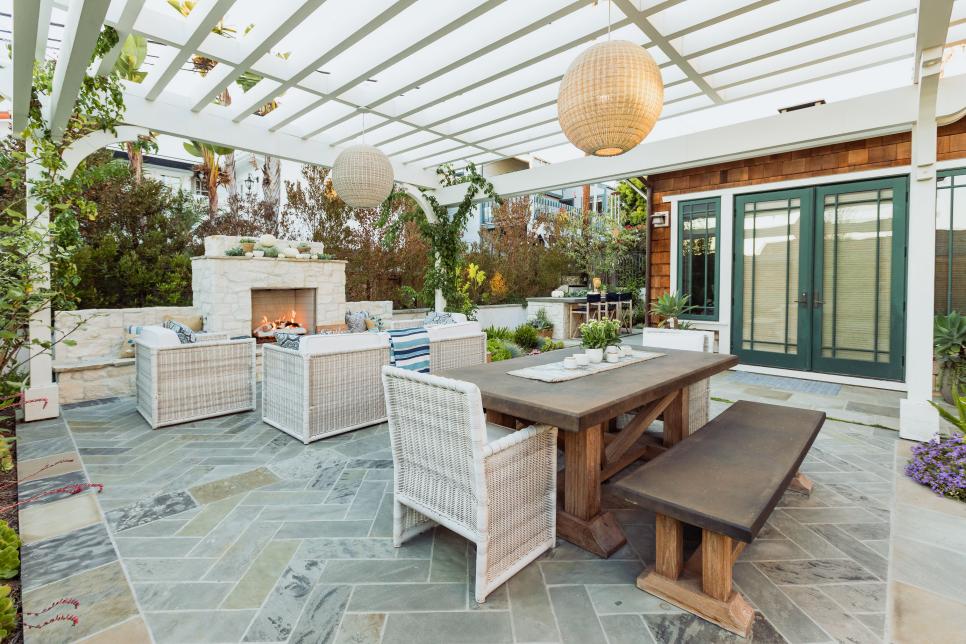
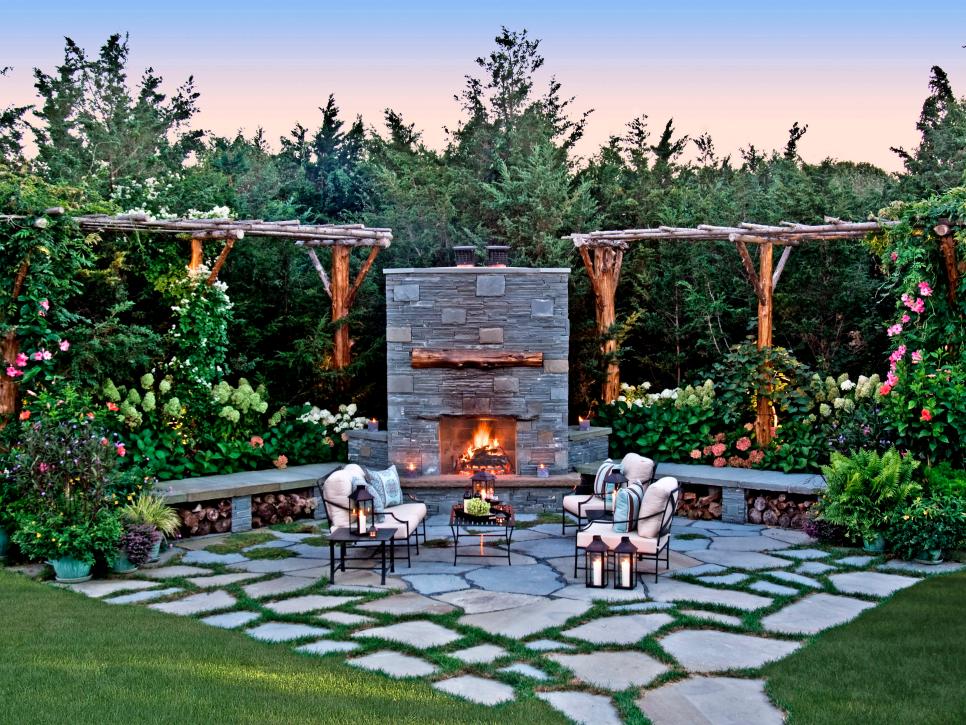
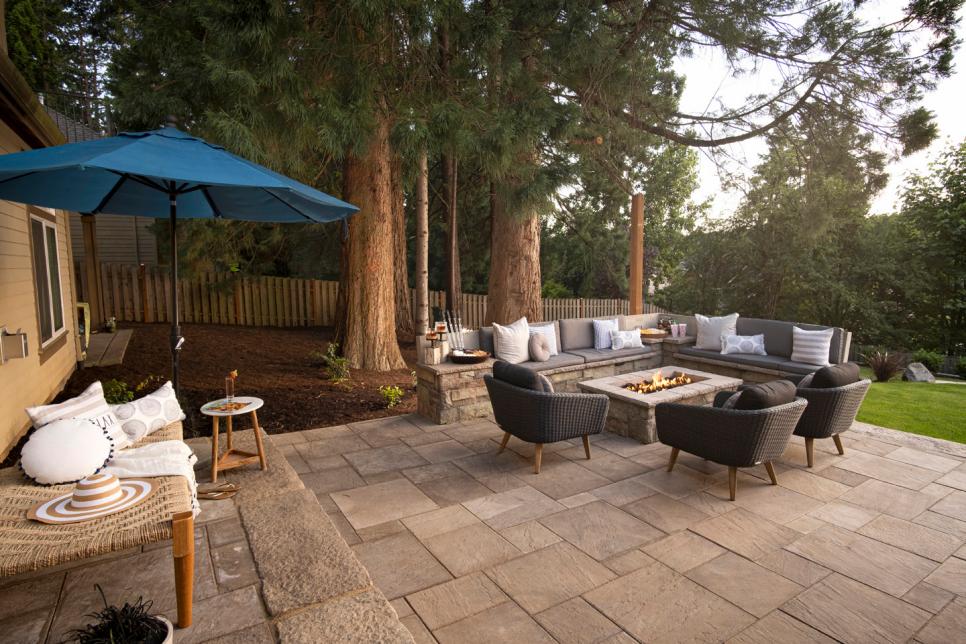
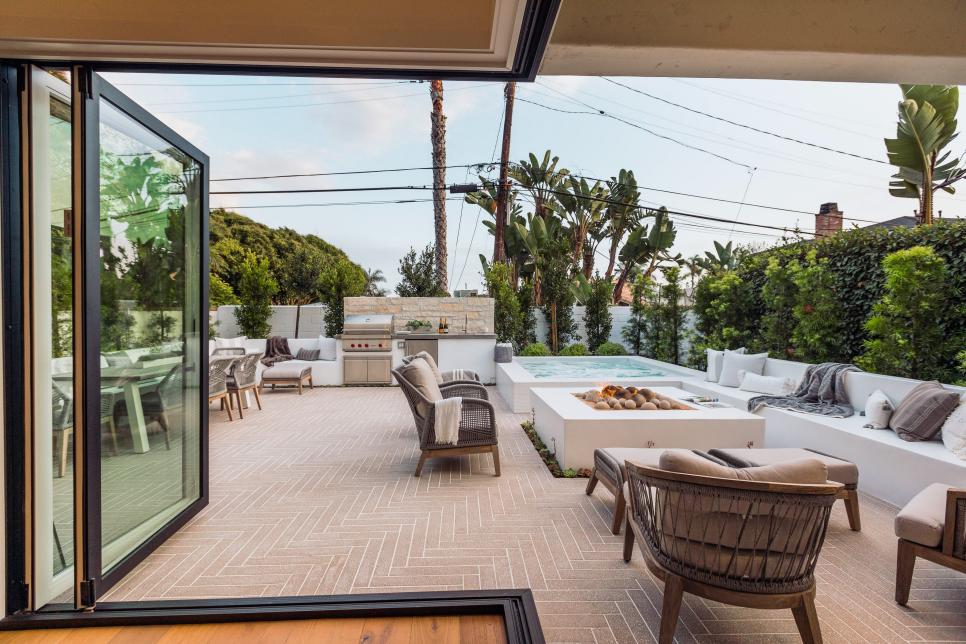
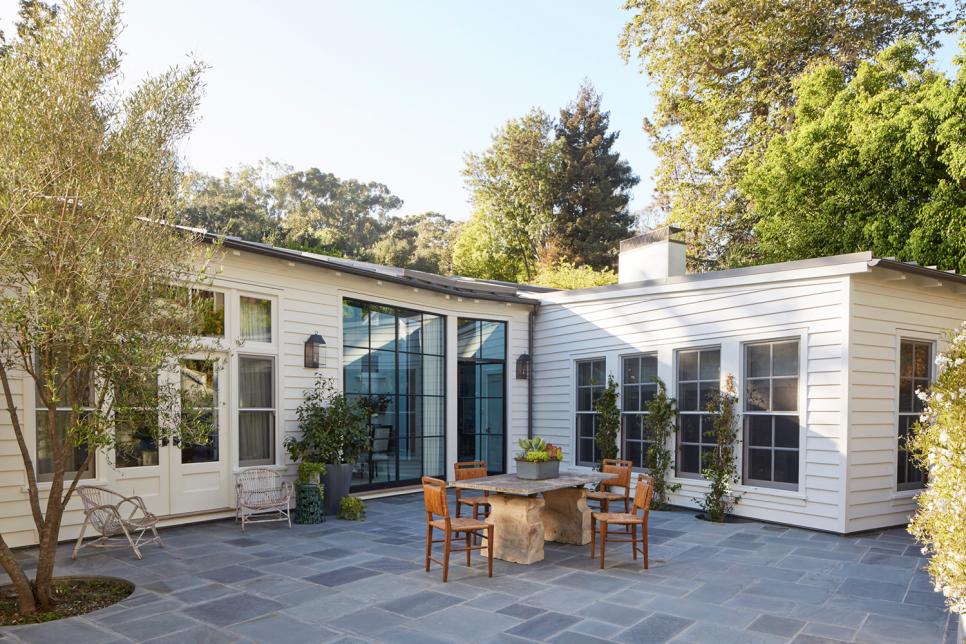
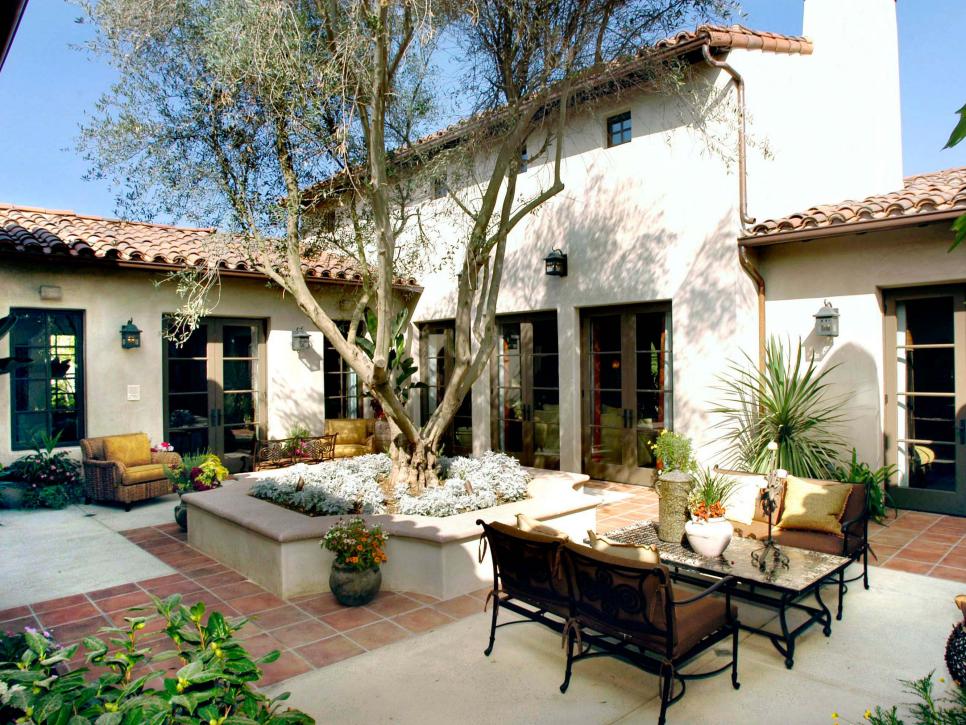
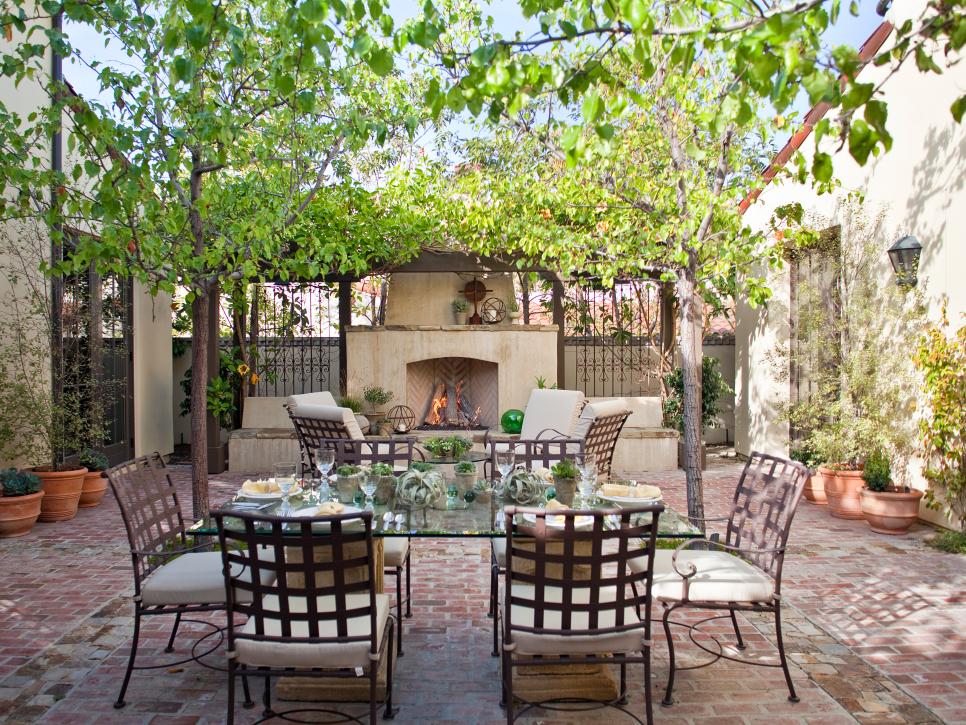
Brick paver patios are attractive to anyone designing an outdoor living space for many reasons: they offer attractive design options, are relatively inexpensive, and will last for years if installed correctly. With many options available for brick paver patio designs, you'll have plenty of opportunities to find the style that's right for you.
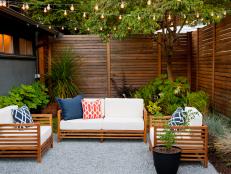
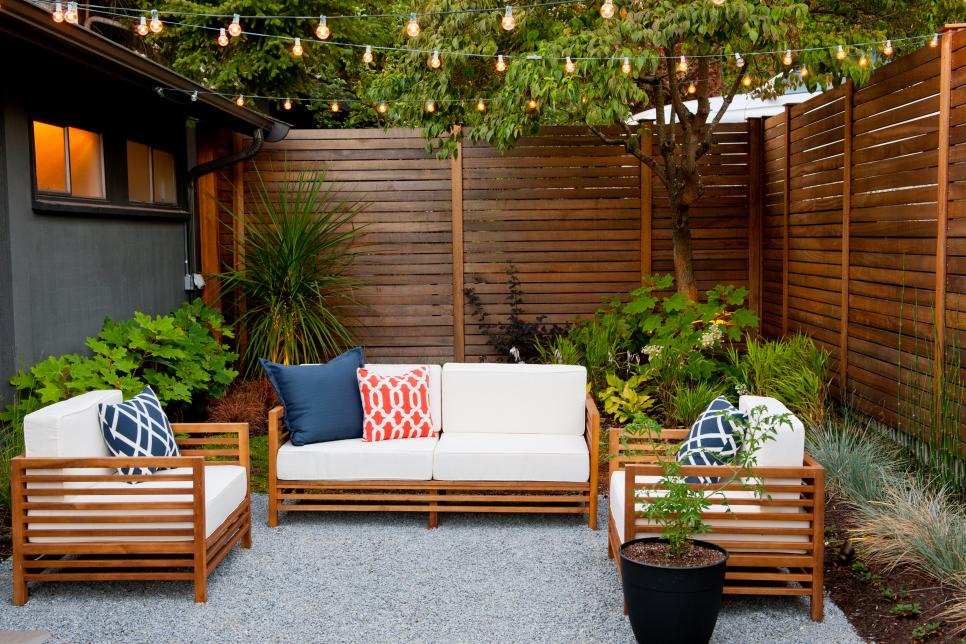
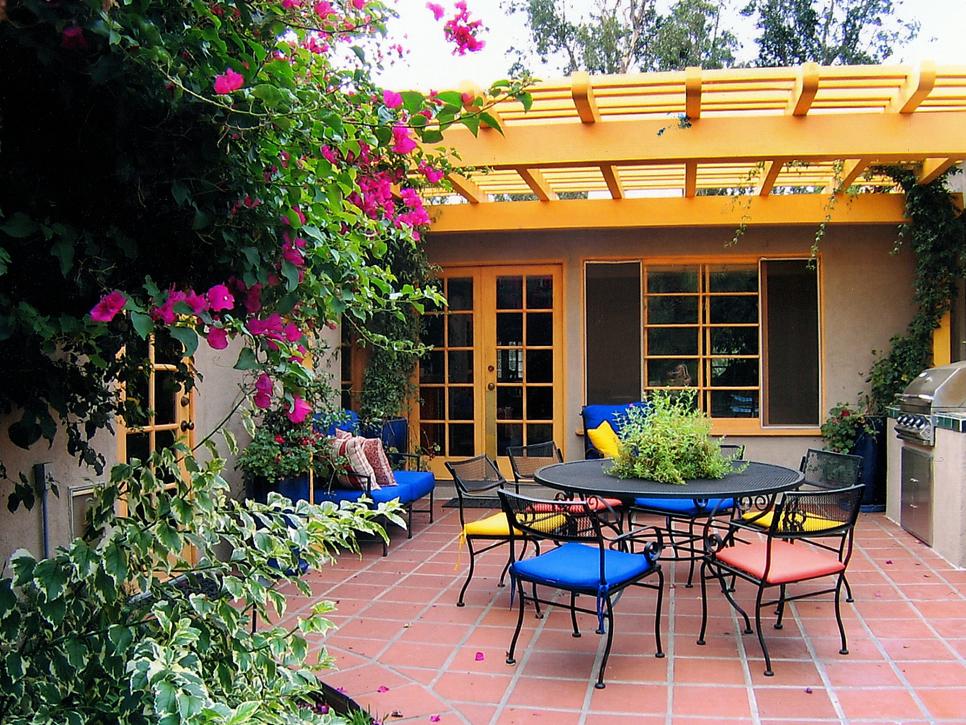
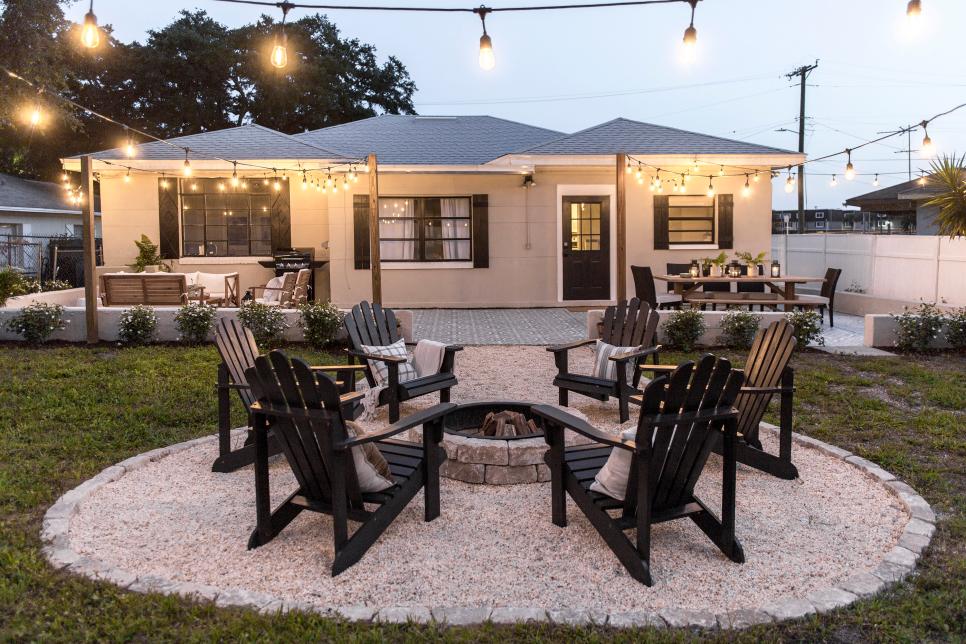
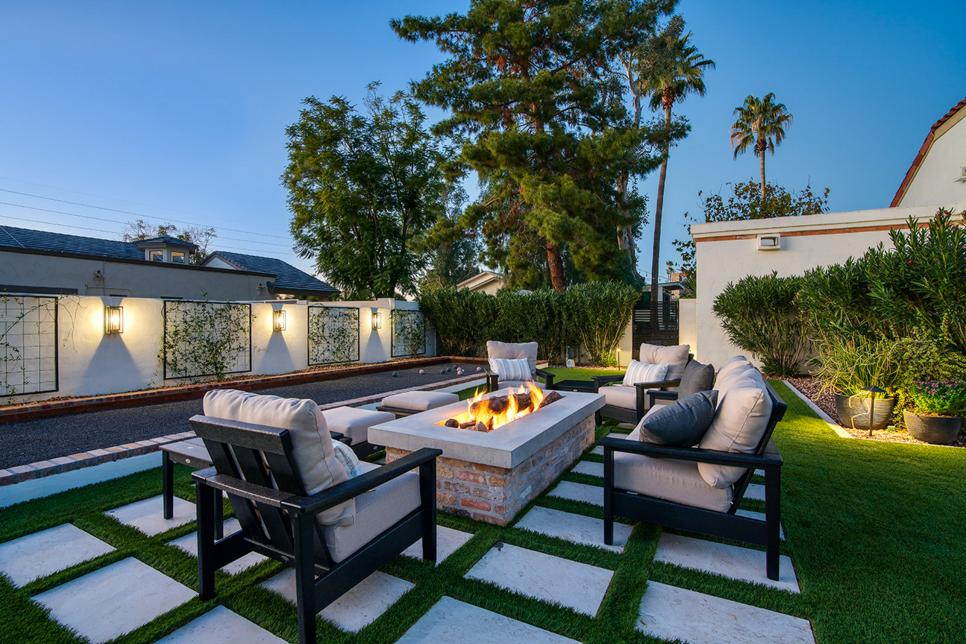
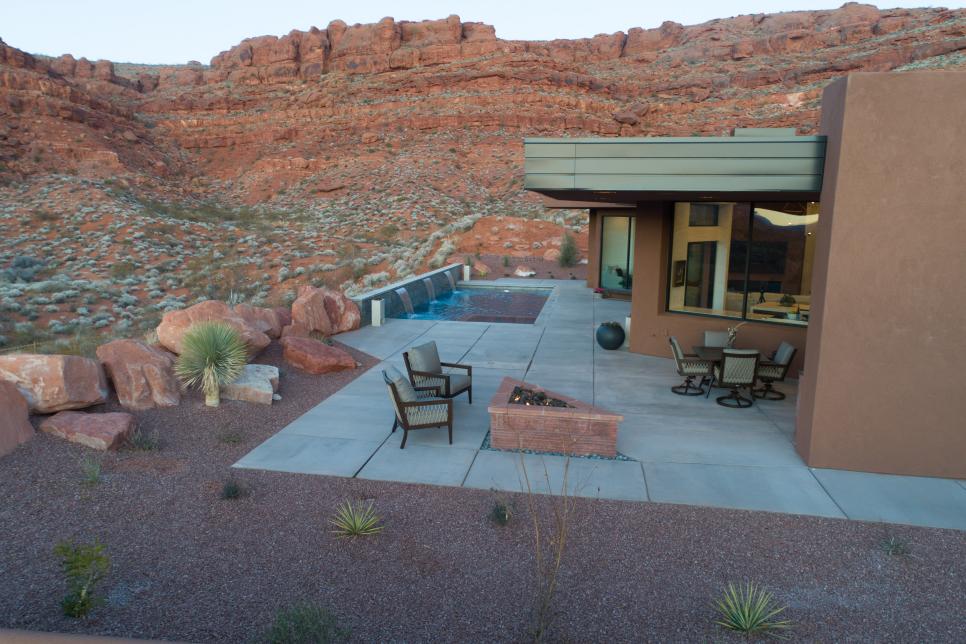
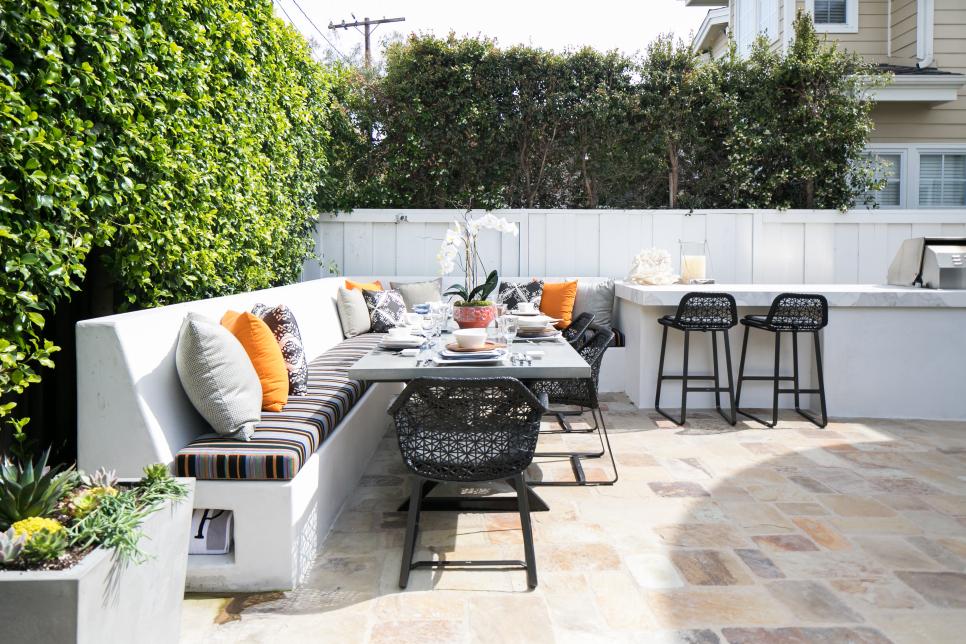
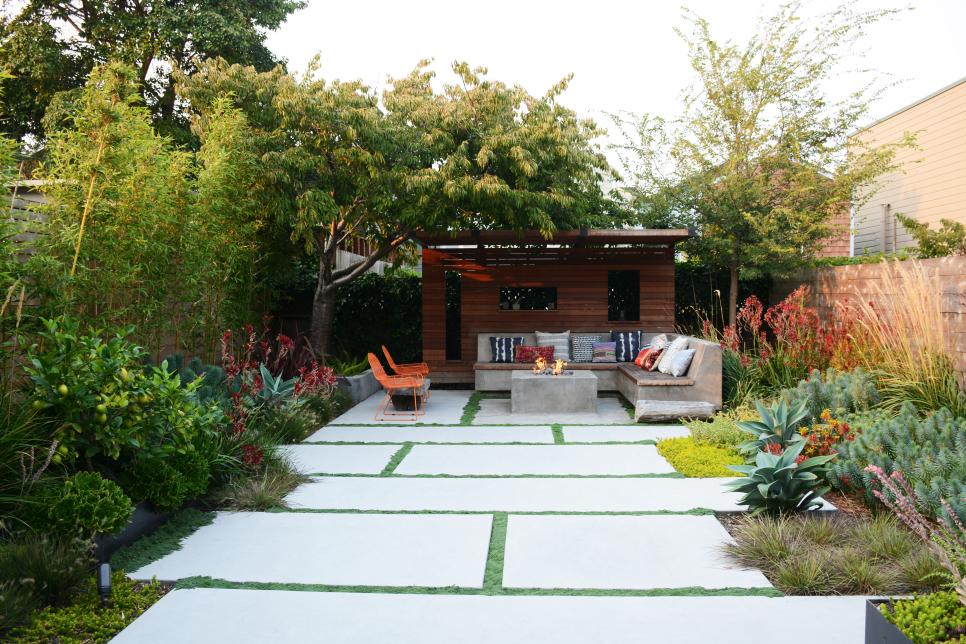
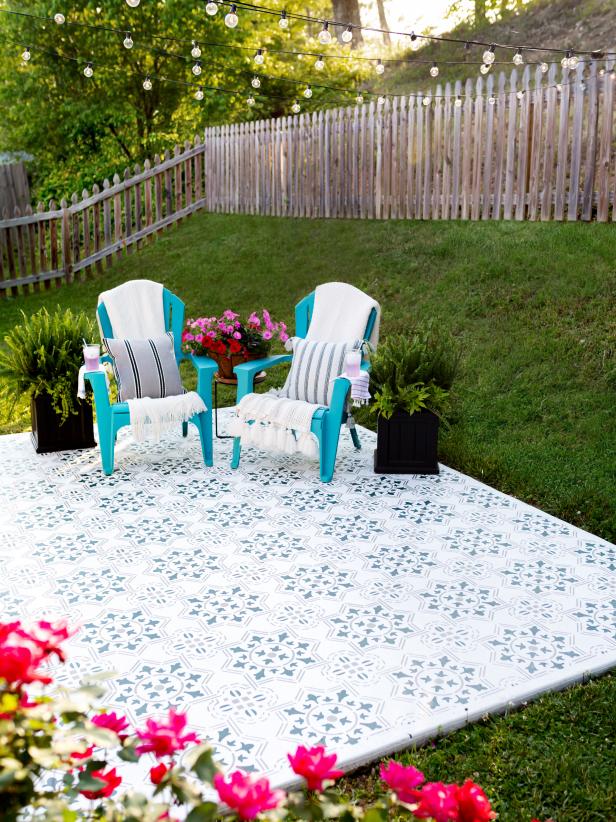
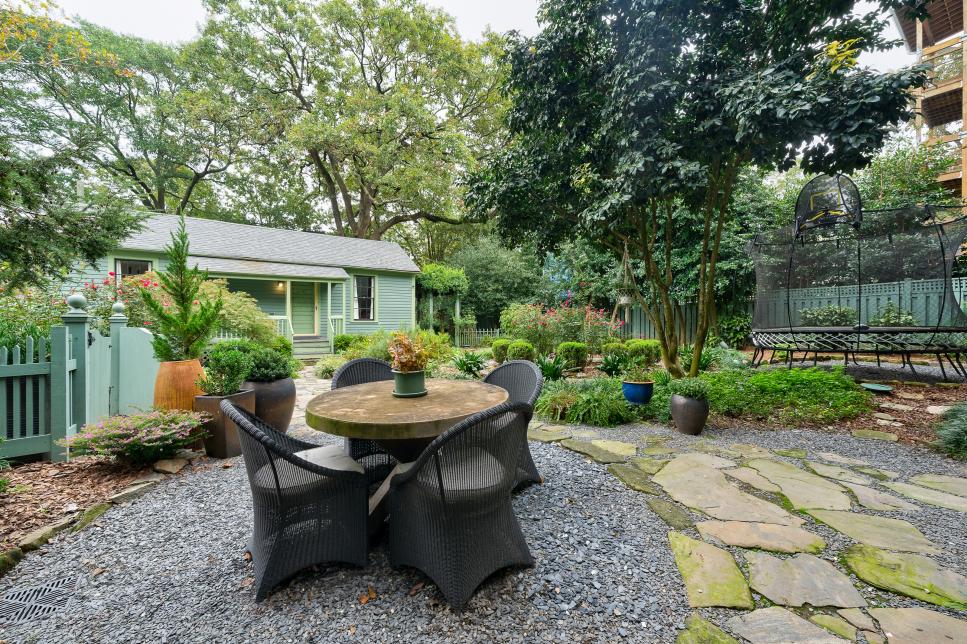
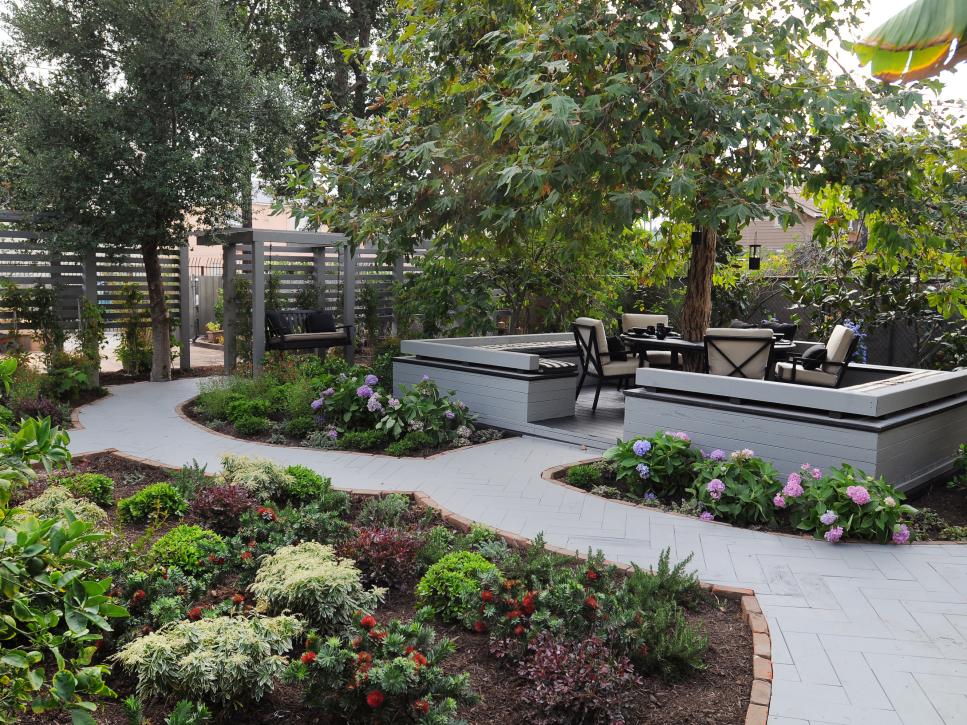
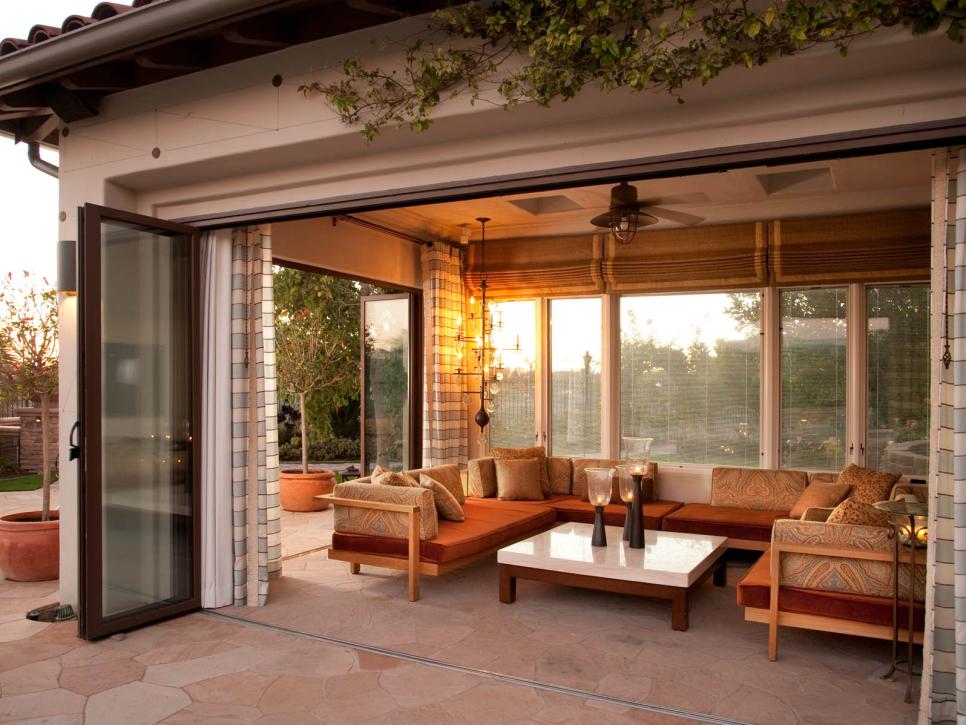
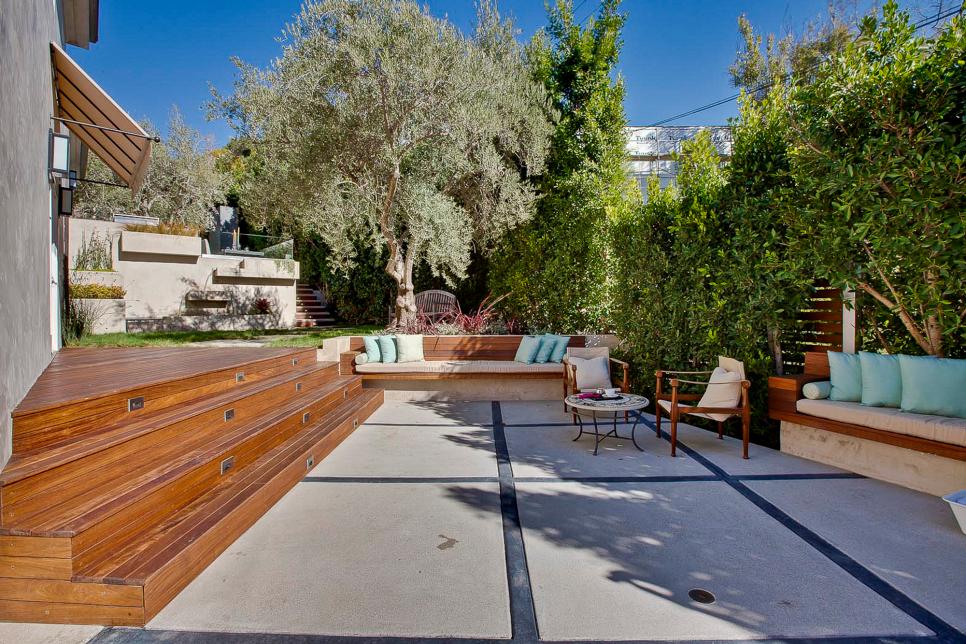
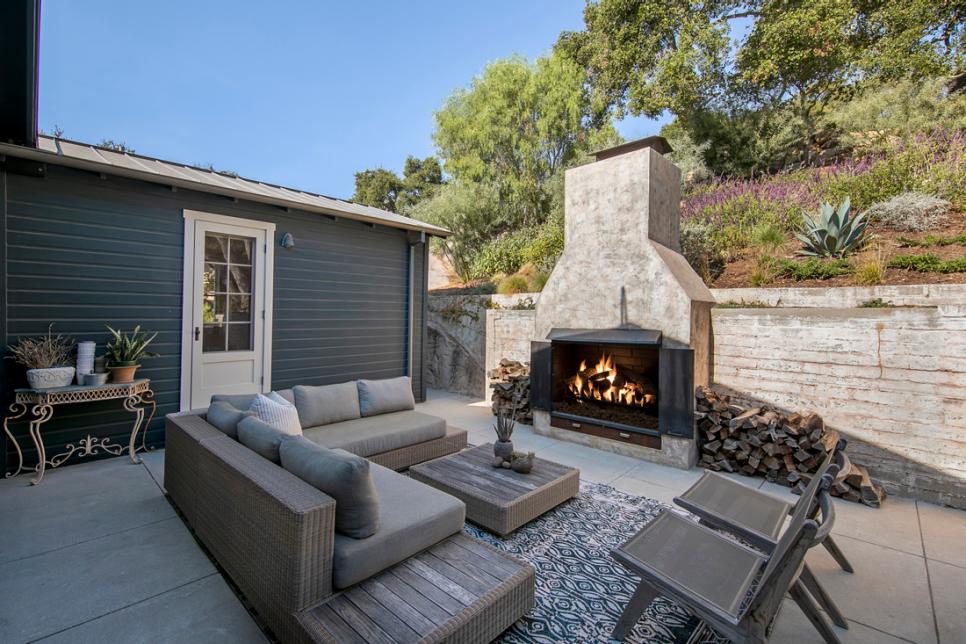
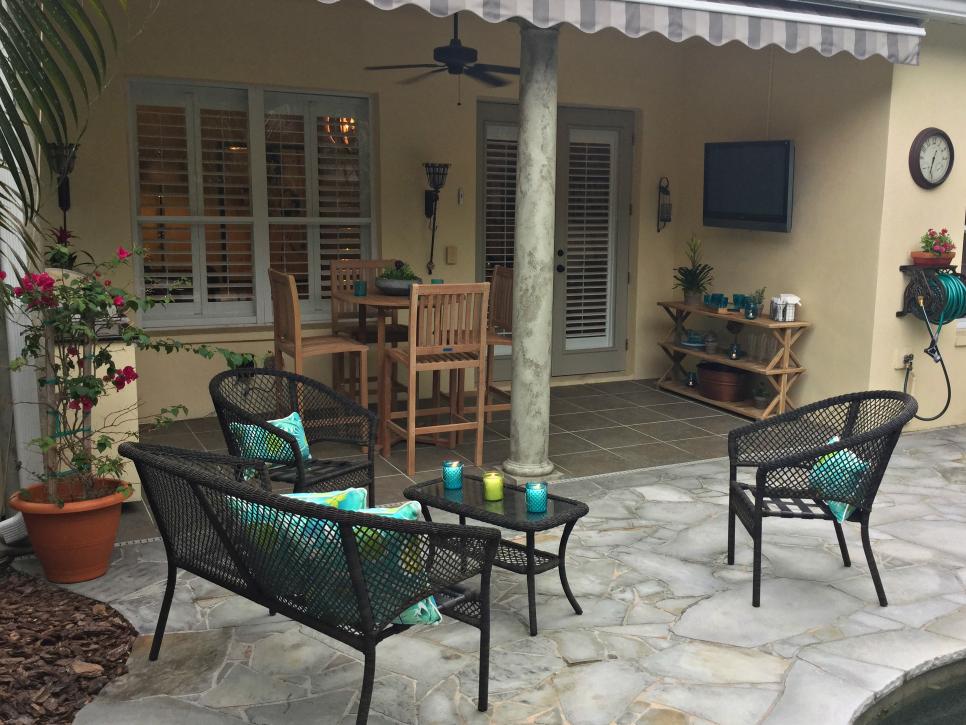
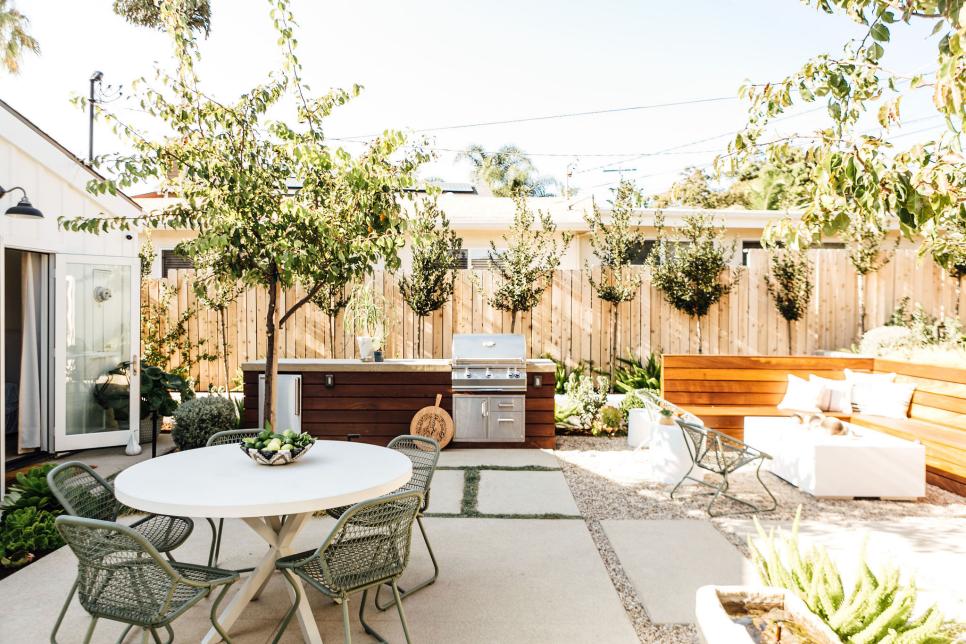
9 Patio Design Ideas
See All Photos

The first decision to make when considering a brick paver patio is location. Identify and mark off the area of your outdoor living space you'll be working with—you can mark it off with landscape flags, landscape marking paint or measuring tape. The latter will be especially helpful in determining the amount of brick pavers you'll ultimately need for your patio.
Once you have a general idea of the space you'll be working with, you need to decide which kind of brick pavers are right for your design. You'll have lots of styles from which to choose, including non-tumbled (or smooth), tumbled (weathered), embossed/dimpled, tumbled and embossed/dimpled, or an approximation of slate or flagstone.
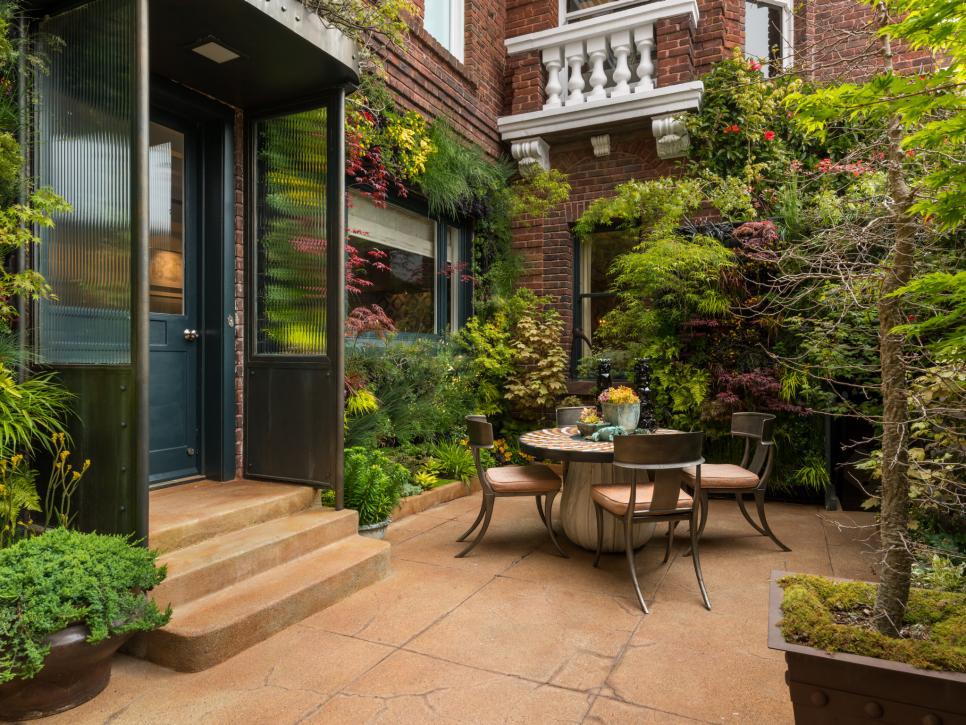
Next up, you'll need to decide on color for your brick pavers. Earth tones are popular, but you may want to look first to the tones of your house, particularly the roof color and trim, and try to stay in the same family as these. You can also consider a contrasting color palette or a bold, vibrant statement color like red.
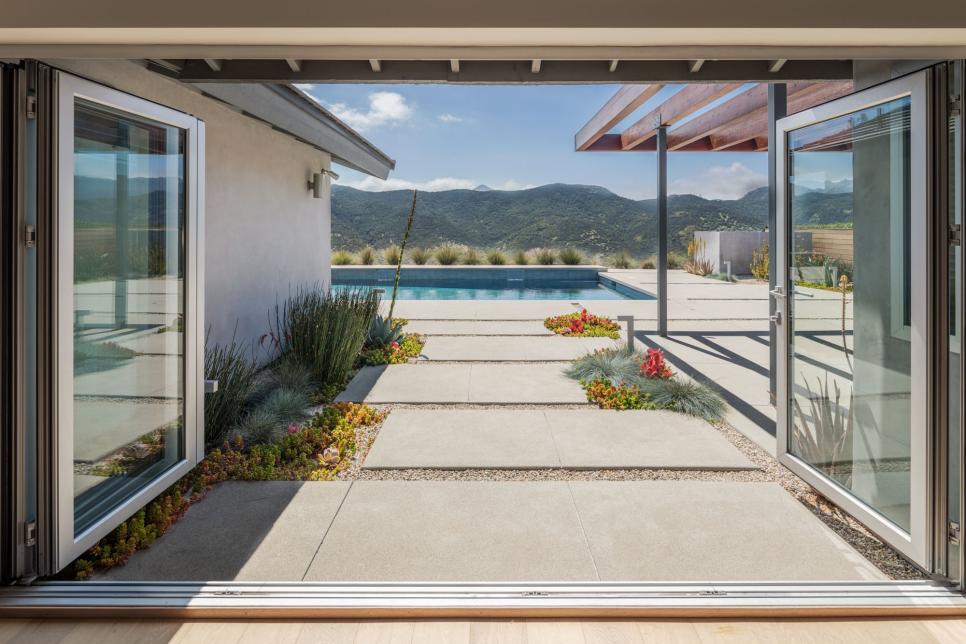
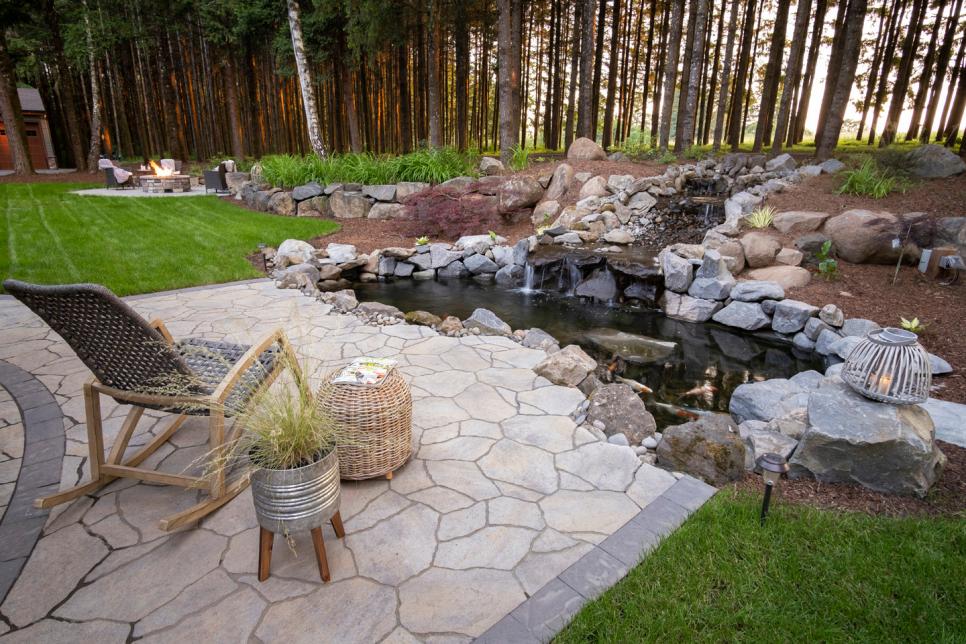
Finally, you'll need to decide how your brick pavers are laid on the patio. There are many options, ranging from straightforward staggered rectangular patterns to intricate geometric shapes that take on an almost modern art twist. Some popular styles you may hear mentioned are Random I, Random Ashlar, Runner and Herringbone.
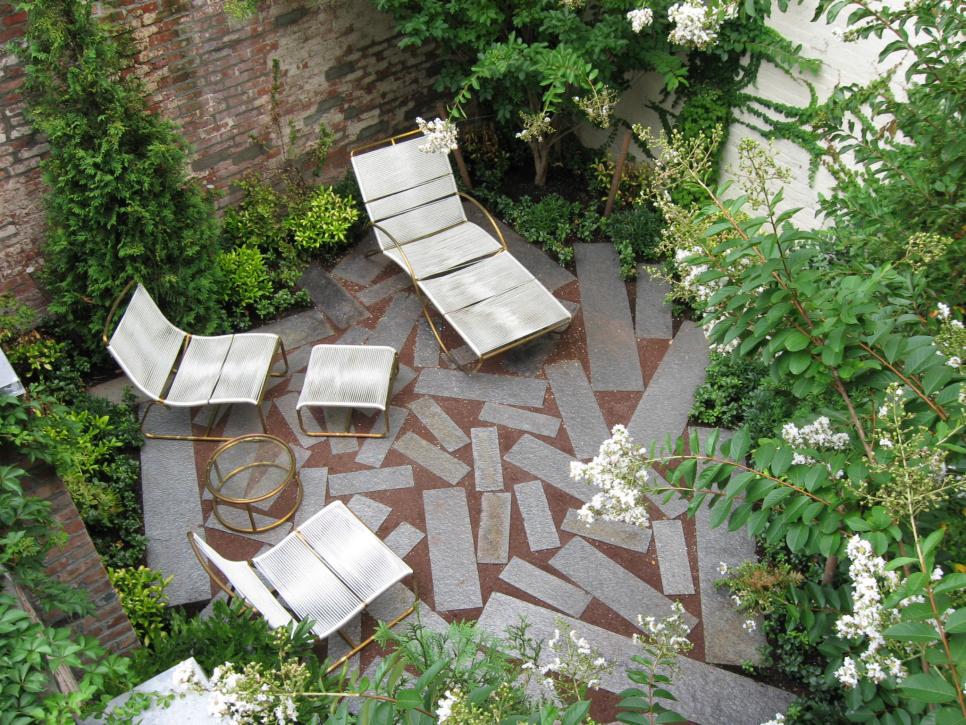
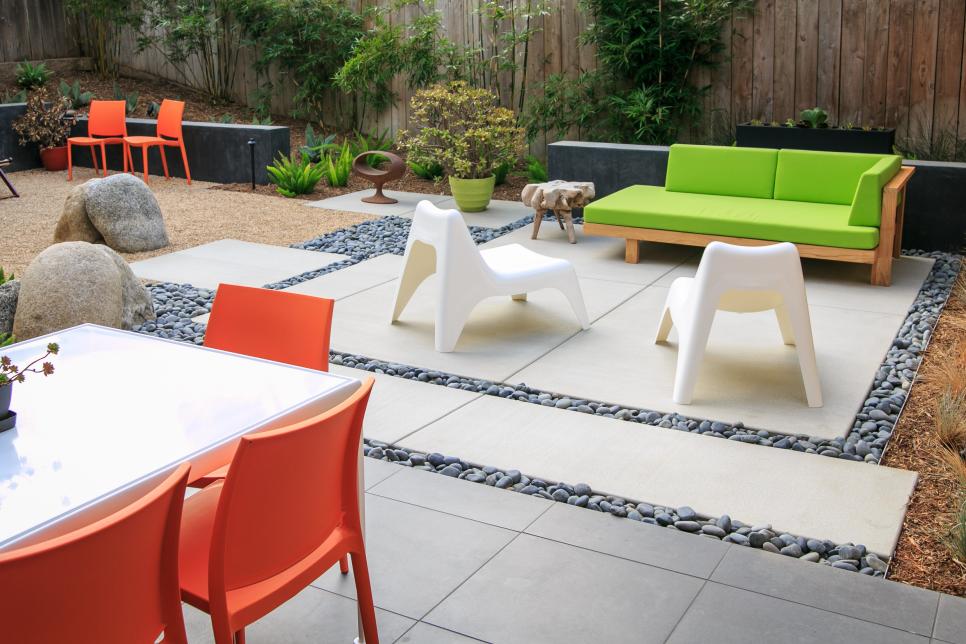
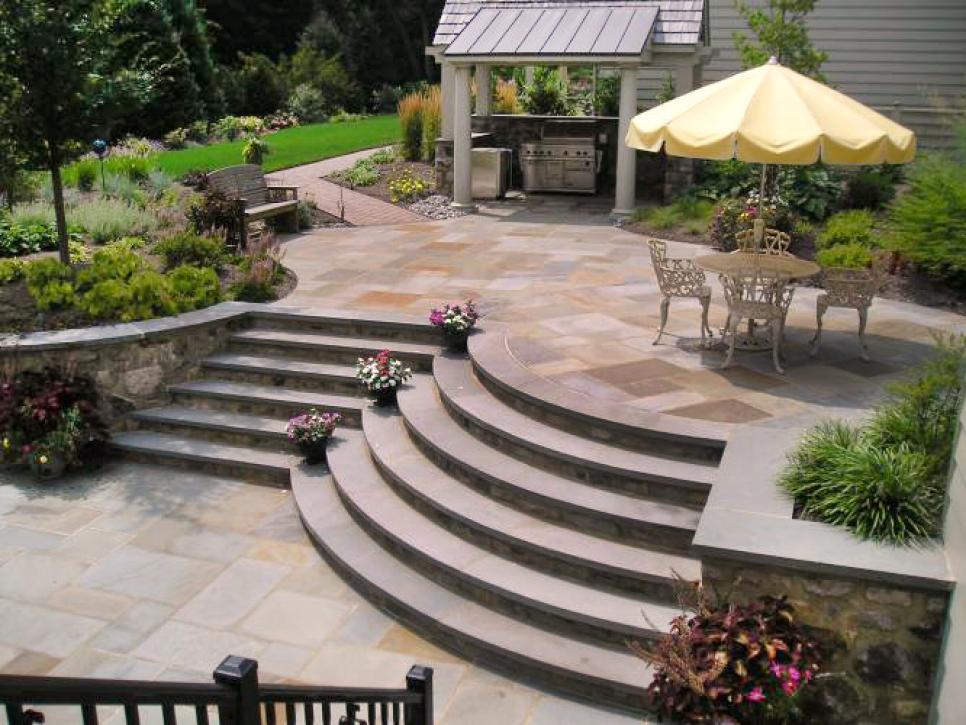
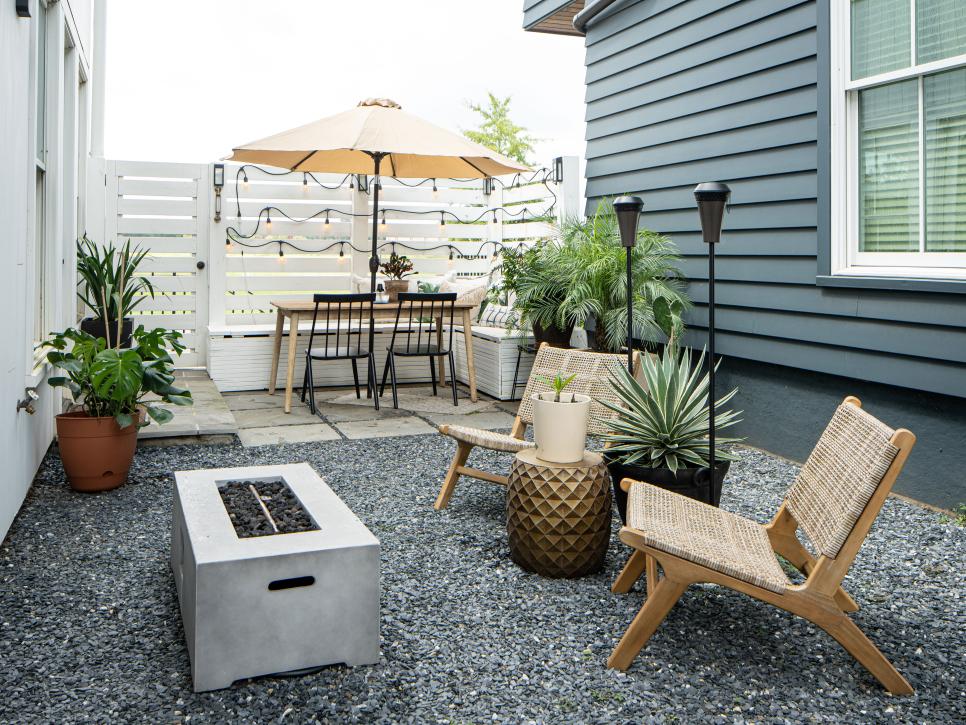
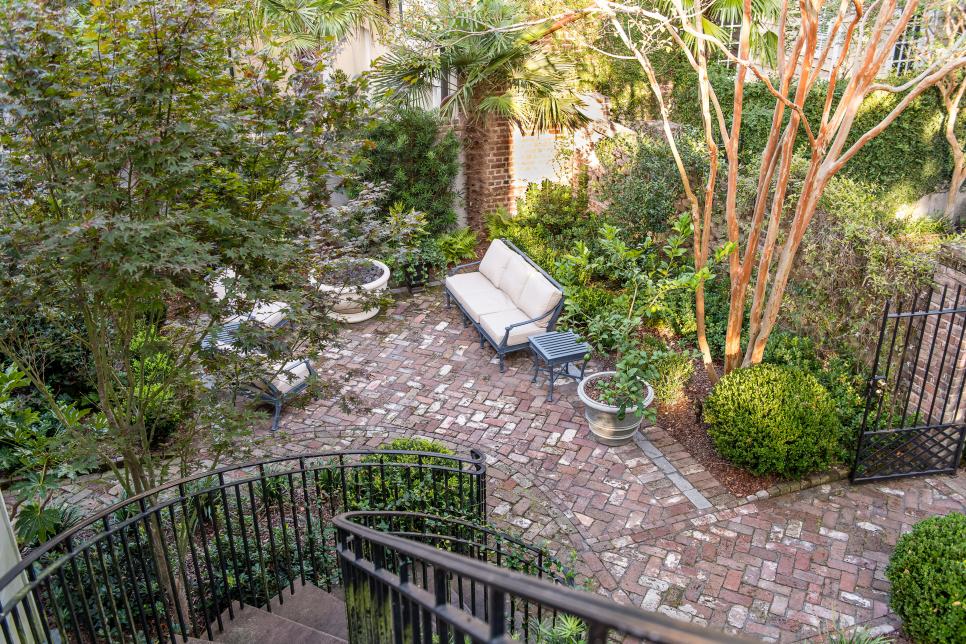
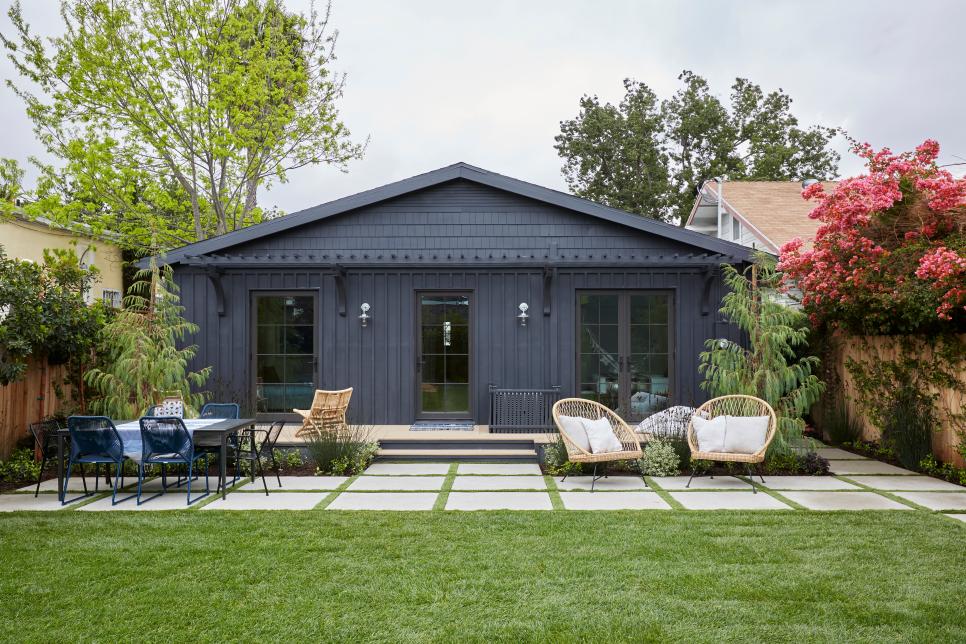
One of the most popular design trends for patio landscaping is to emphasize visual diversity. So for example, if your patio pavers are a uniform geometric shape, you may want to consider curvy, flowing designs for your furniture or other patio installations, to add some eye-catching contrast. You might also think about using an array of planters for flowers or plants, as opposed to trying to match all of your patio landscaping.
Finally, let nature in. Consider planting shrubs or arranging potted flowers or plants directly adjacent to your patio, so the natural landscape feels like it's always within reach of your outdoor living space.
See also: Deck and Patio Design Ideas


