


Air Sealing and Insulation for Maximum Efficiency
Techniques to tighten Jeff Wilson's home more than doubled the walls' energy efficiency rating.

Deep Energy Retrofit: The Problem Areas
Looking at key areas like windows and walls will help focus problem solving.
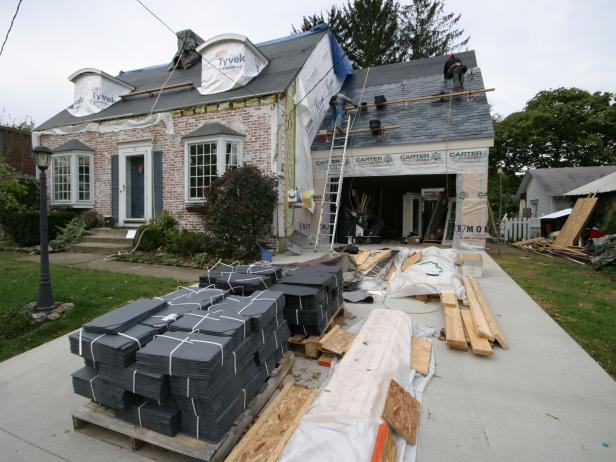
Raising a Green Roof
Retrofitting an existing roof and boosting insulation can reduce one family's cooling costs.


