35 Screened Porches We Wanna Chill On 40 Photos
Protected from the elements and biting bugs, these pretty porches offer indoor-outdoor living at its finest.
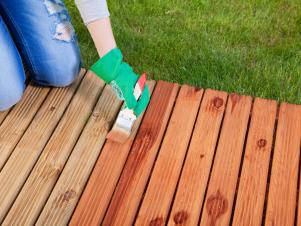
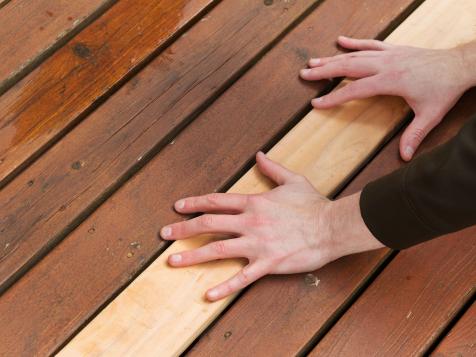
Deck Tips and Photos
More in Decks


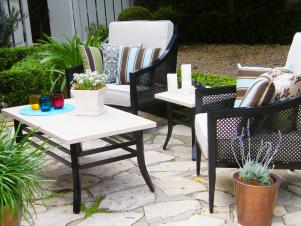
Patio Ideas
More in Patios


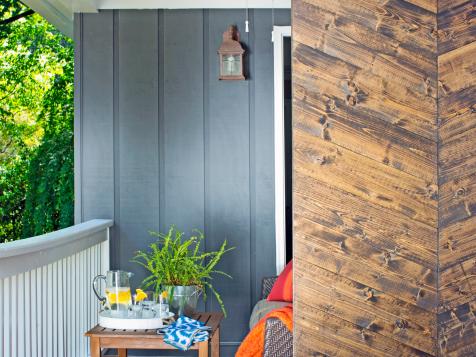
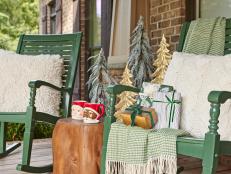
Porch Inspiration
More in Porches


Watch: Easy Outdoor Design Ideas

Shop Patio Furniture
105 Best Patio Furniture Buys for Every Style and Budget Apr 12, 2024
From Adirondack chairs to benches to gliders, refresh your space with our top picks for patio furniture seating so you can kick ba …
Spruce Up Your Outdoor Space With These Bestselling Patio Buys on Amazon Apr 4, 2024
Discover which outdoor furniture sets, patio accessories and porch essentials Amazon customers are raving about this season.
The Best Wicker Patio Sets for Every Budget Mar 25, 2024
Shop the summer mainstay to bring timeless style to your porch, deck or patio.
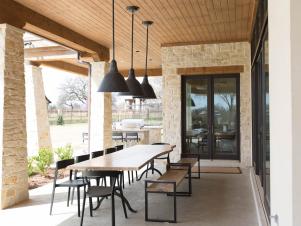
11 Best Outdoor Dining Sets Under $600 Mar 20, 2024
Snag one of these stylish outdoor dining sets without breaking your budget.
52 Best Pots and Planters for Every Style and Budget Feb 26, 2024
Perk up your patio or indoor space no matter your budget with these stylish planters and pots.
45+ Stylish Outdoor Rugs on Sale Right Now Apr 26, 2023
Put the finishing touches on your patio, just in time for summer, with an outdoor rug that's affordable and on-trend.
11 Patio Misters That Will Keep You Cool This Summer Apr 25, 2023
Beat the heat this summer with these top-rated patio misters.
The Best Patio Chairs for Every Style and Budget Oct 6, 2023
These weather-resistant chairs are just what you need to transform your outdoor space into a summer oasis.
40+ Stylish Outdoor Chaise Lounges for Every Budget Oct 6, 2023
Turn your outdoor space into a resort-style oasis with one iconic chair.
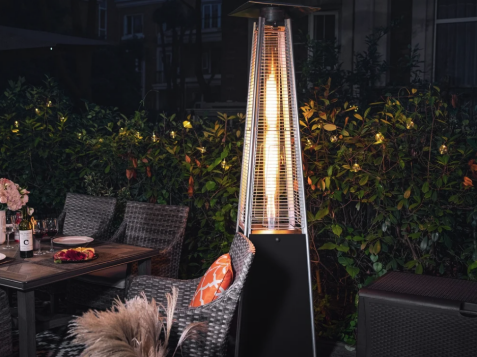
The Best Outdoor Patio Heaters for Every Budget Mar 30, 2023
Extend the seasons with our favorite outdoor heaters for your deck, patio, porch and more.

15 Best Outdoor Storage Solutions for Your Backyard Apr 18, 2022
Curb the clutter around your patio, deck or pool with these clever outdoor organization ideas.

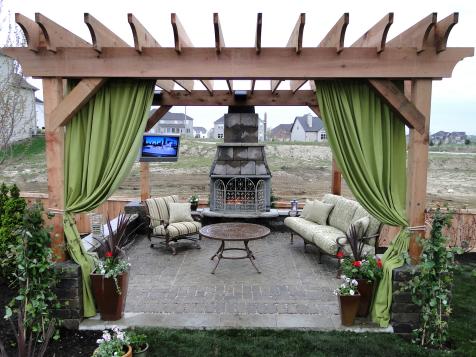
The Best Pergolas and Gazebos for Every Backyard Feb 13, 2023
Create a shady outdoor oasis with these stylish pergolas and gazebos.

35 Outdoor Buys From Grandin Road for Every Backyard Apr 6, 2022
Find backyard bliss with these stylish patio sets, outdoor rugs, planters and more.

The Best Patio Covers in Every Shape and Size Sep 28, 2021
Prolong the life of your patio furniture and protect your grill with these top-rated weather-resistant covers.

The Best Patio Furniture Sales to Shop for Summer May 6, 2021
Kick off summer in style with brand new outdoor seating and tables over 30 percent off.

Create the Ultimate Outdoor Homegate With These Walmart Essentials Jan 4, 2021
With help from Walmart+ and inspiration from Dave and Jenny Marrs, stars of Fixer to Fabulous, here's an easy way to set up a fant …

12 Brilliant Products That Will Ensure Your Patio & Yard Look Great All Summer Long Jul 16, 2020
These Walmart products will keep your backyard space looking like new all season long.

Patio, Perfected: 11 Amazing Amazon Finds for a Shady Outdoor Oasis Jun 11, 2020
Baby, it's hot outside! Learn how I beat the heat with outdoor essentials that turned my too-sunny patio into an inviting oasis th …

Patio Updates Under $200 That Only Look Expensive Apr 18, 2022
These beautiful patio upgrades are an easy way to refresh your space. The best part? They're all under $200 and available at Walma …

Turn Your Patio Into an Oasis With World Market's Outdoor Sale on Rugs, Furniture + More Apr 16, 2020
Because sometimes you need a little change of scenery.

Room of the Week: The Peaceful Patio Sep 20, 2018
Shop our product picks to recreate this serene scene in your own backyard.

Room of the Week: Easy-Breezy Living Sep 14, 2018
Shop our picks and soak up the sun ... from the comfort of your sofa and central AC.

Room of the Week: Celebrating Spring Jan 22, 2020
Sip, sip, soirée! Shop our fresh finds to prep your patio for pitchers of Pimm's and ice-cold rosé.