


Bedroom Color Ideas: Which Paint to Pick 50 Photos
Whether you prefer barely there hues or are ready to amp up the drama in your bedroom, we have paint suggestions for all the colors of the rainbow.
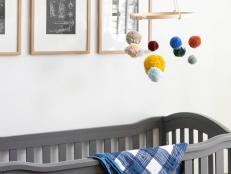
Our Latest Bedroom Design Ideas
Browse our freshest ideas for your main bedroom, guest bedroom or kids’ rooms.


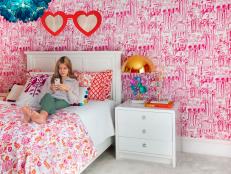


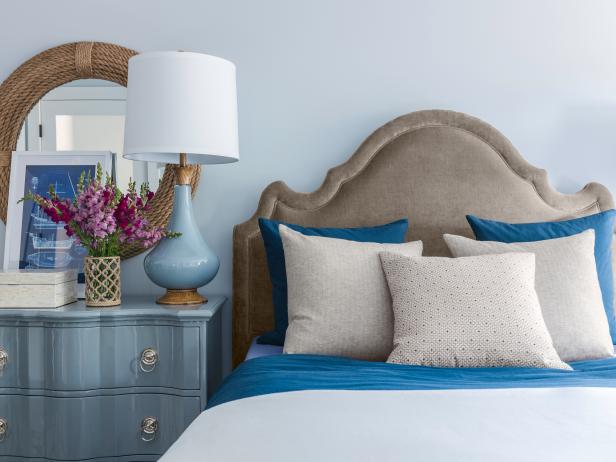
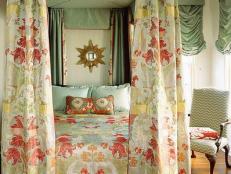
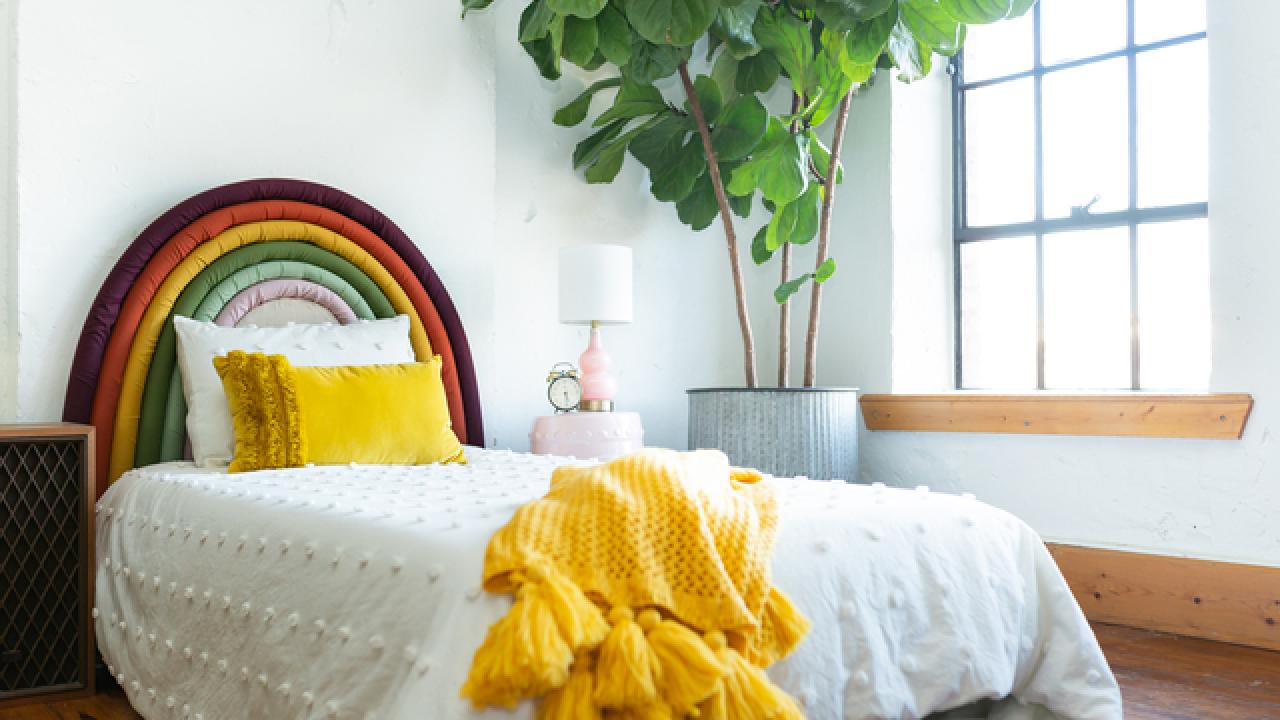
Bedroom Color Ideas
Whether you like calming neutrals or bright, energizing hues, get inspired by these bedroom color palettes.


Take Our Quiz

What's Your Bedroom Personality?
Are you a nature lover or a tech-savvy genius? Take our quiz to find out what your perfect bedroom color match is.
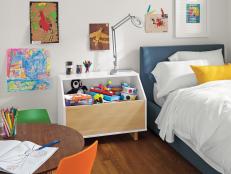
Small Bedroom Ideas
Don't let a lack of space keep you from designing a dreamy bedroom. Steal ideas from these tiny-yet-stylish retreats.


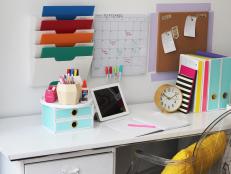
Bedroom Organization Tips
Too much clutter can take a bedroom from soothing to stressful. Organize clothing, shoes, kids’ toys and more with these pointers.


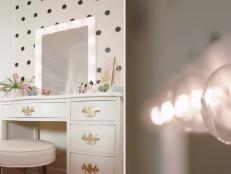
Watch: DIY Headboard Ideas
More DIY Bedroom Decor Videos


Shop Our Favorite Bedroom Finds
We’ve scoured the web for the best pillows, mattresses, decor and more.

The Best Brooklinen Sheets for Every Type of Sleeper in 2024, Tested and Reviewed May 15, 2024
If you aren't sure which Brooklinen sheet set is right for you, read on to learn how the popular bedding brand's sheets compare an …

The Best Memorial Day Mattress Sales to Shop Now May 15, 2024
Treat yourself to a plush new bed without breaking the bank.

16 Breathable Bedding Sets for Summer May 13, 2024
Give your bedroom a summer refresh with lightweight, cooling bedding that's perfect for warm nights and hot sleepers.

The Best Furniture to Buy on Amazon for Every Room May 1, 2024
Style your space without spending a pretty penny.

The Best Products for Better Sleep, According to Sleep Doctors Mar 8, 2024
Two sleep experts reveal their top product picks for mattresses, pillows, bedding, and more.
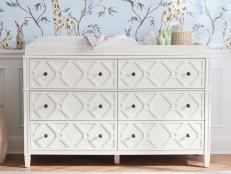
The Best Changing Table Dressers for Your Nursery Mar 8, 2024
Make the most of your nursery's square footage with a multipurpose dresser that also doubles as your changing table.
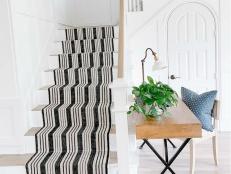
The Best Rugs for Every Room in 2024 Mar 1, 2024
Ground your space in style and function. Bring our know-how underfoot to discover which rugs to put where in your home.

What HGTV Editors Are Buying for a Better Night's Sleep Mar 1, 2024
In honor of Sleep Week, browse our top-rated sleep saviors that will actually help you catch some Z's.

Cure Boredom With These 8 Best Indoor Play Gyms for Kids Feb 29, 2024
Seasoned parents tell us that even rainy days can be fun when you have these energy-burning playsets and jungle gyms in your home.
The Best Futons for Every Budget and Style Feb 29, 2024
Make any room guest-ready with a versatile futon that transforms from seating to a bed in mere seconds.
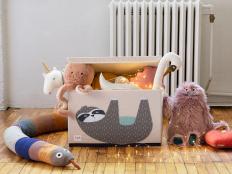
15 Best Stuffed Animal Storage Solution Ideas Feb 26, 2024
Put those cuddly companions in their place, once and for all, with our favorite toy bins, baskets, bookshelves and hammocks.
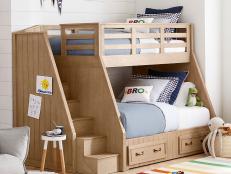
25 Best Bunk Beds for Kids and Teens Feb 16, 2024
Double (or triple!) the sleeping capacity of your room with these stylish and uber-functional bunk beds.
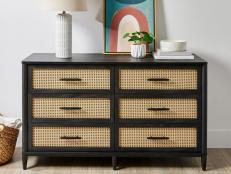
The Best Dressers Under $500 Feb 14, 2024
Get the storage you need (without breaking the bank) with these beautiful and budget-friendly dressers.

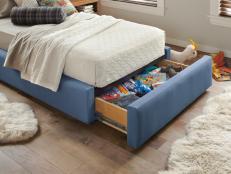
10 Best Beds With Storage for Every Style Jan 31, 2024
Sleep easy knowing your bedroom is clean and organized with these dreamy storage bed designs.

Guide to Buying Sheets Jan 19, 2024
Discover how to choose sheets that are soft, comfortable and long-lasting. Plus, learn the best thread count and the difference be …

Celebrate Hello Kitty's 50th Anniversary With Pottery Barn's New Heritage Line Jan 17, 2024
Your favorite girl-cat never looked better with these adorable home accessories.

9 Best Cooling Sheets of 2024, Tested and Reviewed Jan 17, 2024
No more waking up drenched in sweat — beat the heat with one of these lightweight, breathable sheet sets, tested and approved by H …

14 Best Sheets of 2024, Tested and Reviewed Apr 24, 2024
Find the perfect sheets for your sleep style from our editor-approved selection of top-rated bedding.
5 Best Bamboo Sheets of 2024, Tested and Reviewed Jan 16, 2024
Bamboo sheets are durable, pest-resistant and a popular alternative to cotton sheets. Our editors tested a variety of bamboo sheet …

20 Things That Will Help You Get Better Sleep Dec 14, 2023
Tossing and turning at night? These handy products can help you get a better night's rest.
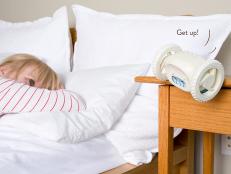
The 12 Best Alarm Clocks of 2024 for Chronic Snoozers Jan 16, 2024
Waking up just got way more pleasant. Take a look at our top picks, and update your nightstand with an alarm clock that's stylish …

Inside Christina Hall's Most Personal Makeover from 'Christina on the Coast' Season 4 Sep 21, 2023
Christina's longtime BFF Cassie Schienle is ready to be a mom of two — thanks to this adorable nursery design by Christina. Take a …
20 Best Under-Bed Storage Organizers in 2023 Jul 27, 2023
Amplify bedroom storage with clever clutter control solutions that sit out of sight below the mattress.
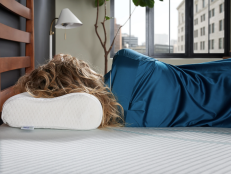
6 Best Pillows for Side Sleepers of 2024, Tested and Reviewed Jan 17, 2024
Sleeping on your side has a lot of noteworthy benefits, like improving joint pain and helping with digestion. You'll need that ext …
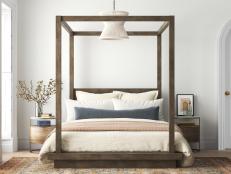
The Best Canopy Beds of 2023 Oct 6, 2023
Sleep like royalty with these top-rated canopy beds for every style and budget.

The 10 Best Platform Beds of 2023 Oct 6, 2023
Perk up your bedroom with these top-rated platform beds for every style and budget.

The Best Daybeds of 2023 Jun 22, 2023
Outfit your guest room, studio living room or home office with one of these top-rated daybeds.

7 Best Silk Pillowcases of 2024, Tested and Reviewed Feb 23, 2024
Silk pillowcases come with a lot of touted benefits like hydrated skin and fewer face creases, but are they really worth the money …
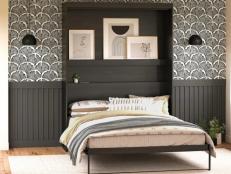
The 7 Best Murphy Bed Kits of 2023 Sep 20, 2023
Make the most of your space without sacrificing a place to sleep.

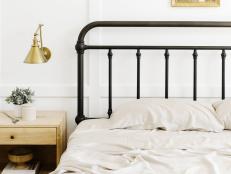
The Best Bed Frames of 2023 May 31, 2023
Get your beauty sleep and take your bedroom design to the next level with one of these top-rated, customer-approved bed frames.


