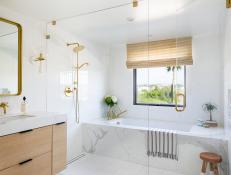
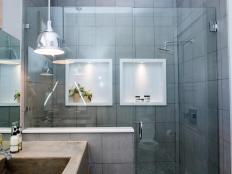
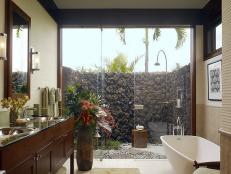
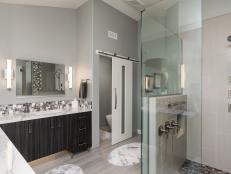
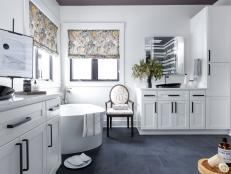
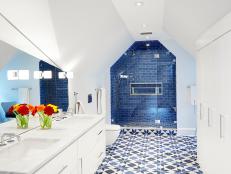
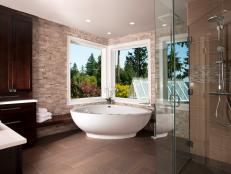
75 Walk-In Shower Designs 76 Photos
These curbless, frameless and doorless walk-in showers bring a whole new level of luxury to your bathroom design.

More Ideas
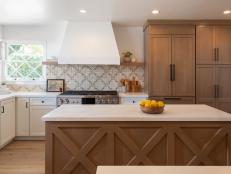
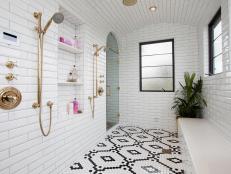
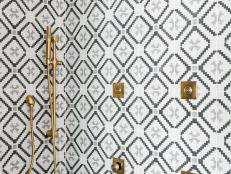
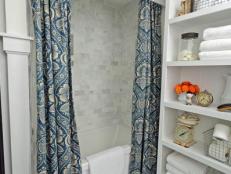
20 Bathroom Shower Tile Ideas 21 Photos
Whether you want an utterly modern vibe or a rustic farmhouse effect, tile transforms a plain box into the highlight of your bathroom.
Our Best Shower Ideas
Browse stunning shower designs to get ideas for your own bathroom.


Shower Tips and How-Tos
Get advice on choosing and installing the right shower for your space.
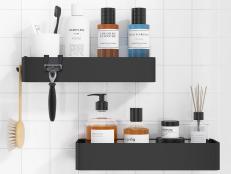
- 28 Best Shower Caddies for Organized Showers
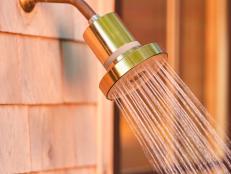
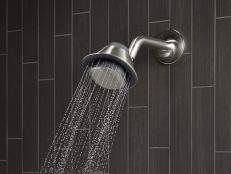
- The Jolie Filtered Showerhead Transforms Everyday Showers Into Luxurious Spa-Like Ones
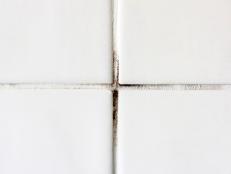
- How to Clean a Shower
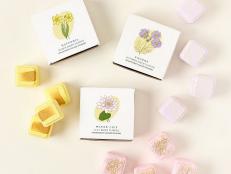
- The Best Shower Steamers of 2024 for the Ultimate Home Spa Experience
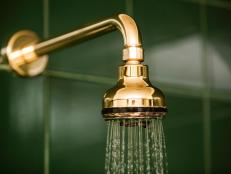
- The Best Showerheads to Update Your Bathroom
- How to Deep Clean Your Showerhead (And Why It's Important)