


How to Replace a Toilet
Most plumbing projects are not for the faint of heart. Installing a toilet, though, is deceptively simple and can be accomplished in about an hour. Follow these steps to tackle this DIY project yourself.

Jalynn Baker
Materials Needed
- new toilet
- wax ring (purchase an extra just in case)
- measuring tape
- utility knife
- pry bar
- bucket
- large sponge
- water solidifier
- putty knife
- hacksaw
- screwdriver
- adjustable wrench
- old rag
- garbage bag
- plumber’s tape
- silicone caulk
- gloves
- flange reinforcement kit (optional)
- flange height adjustment kit (optional)
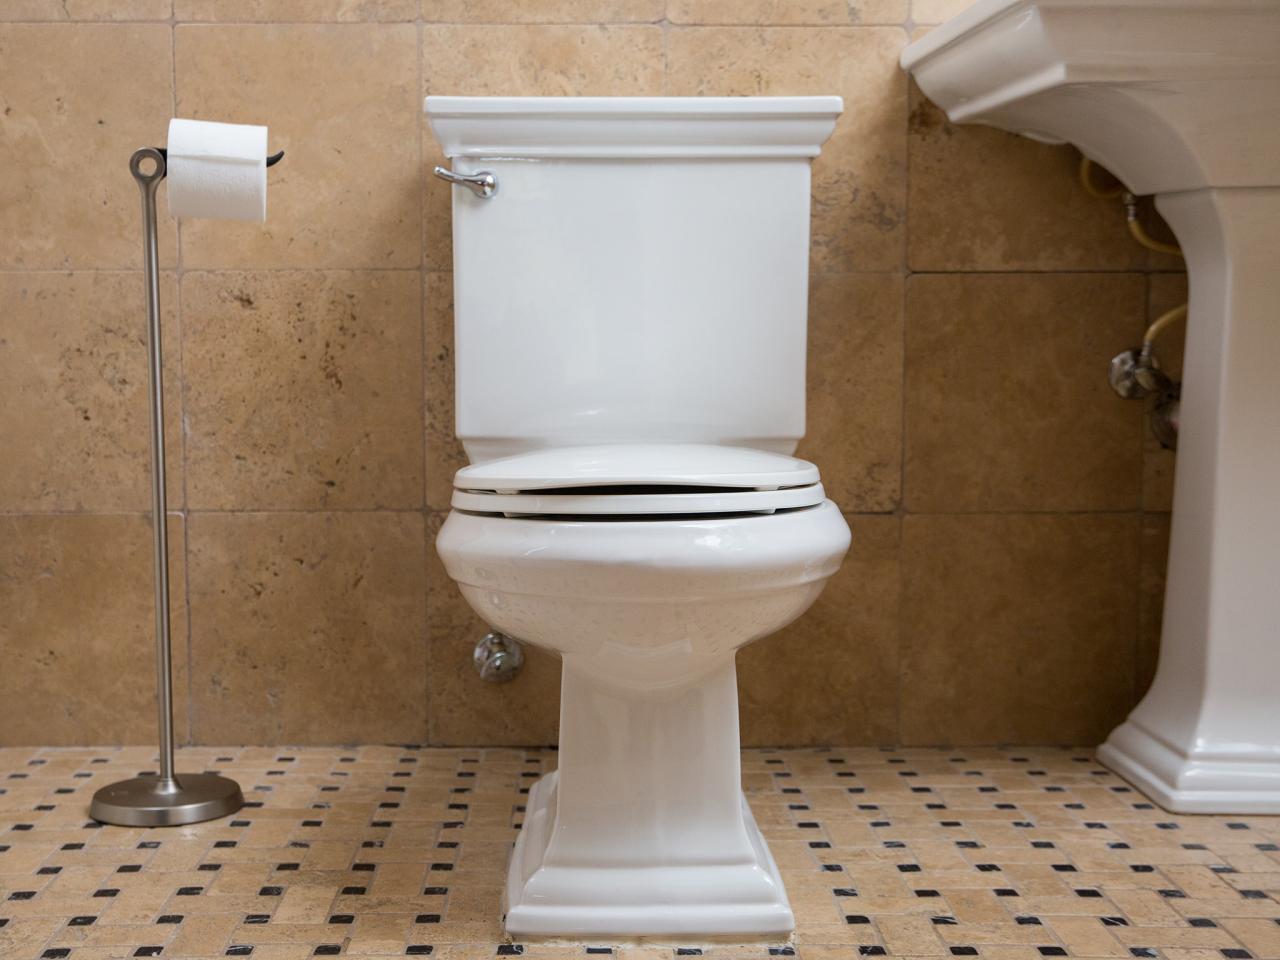
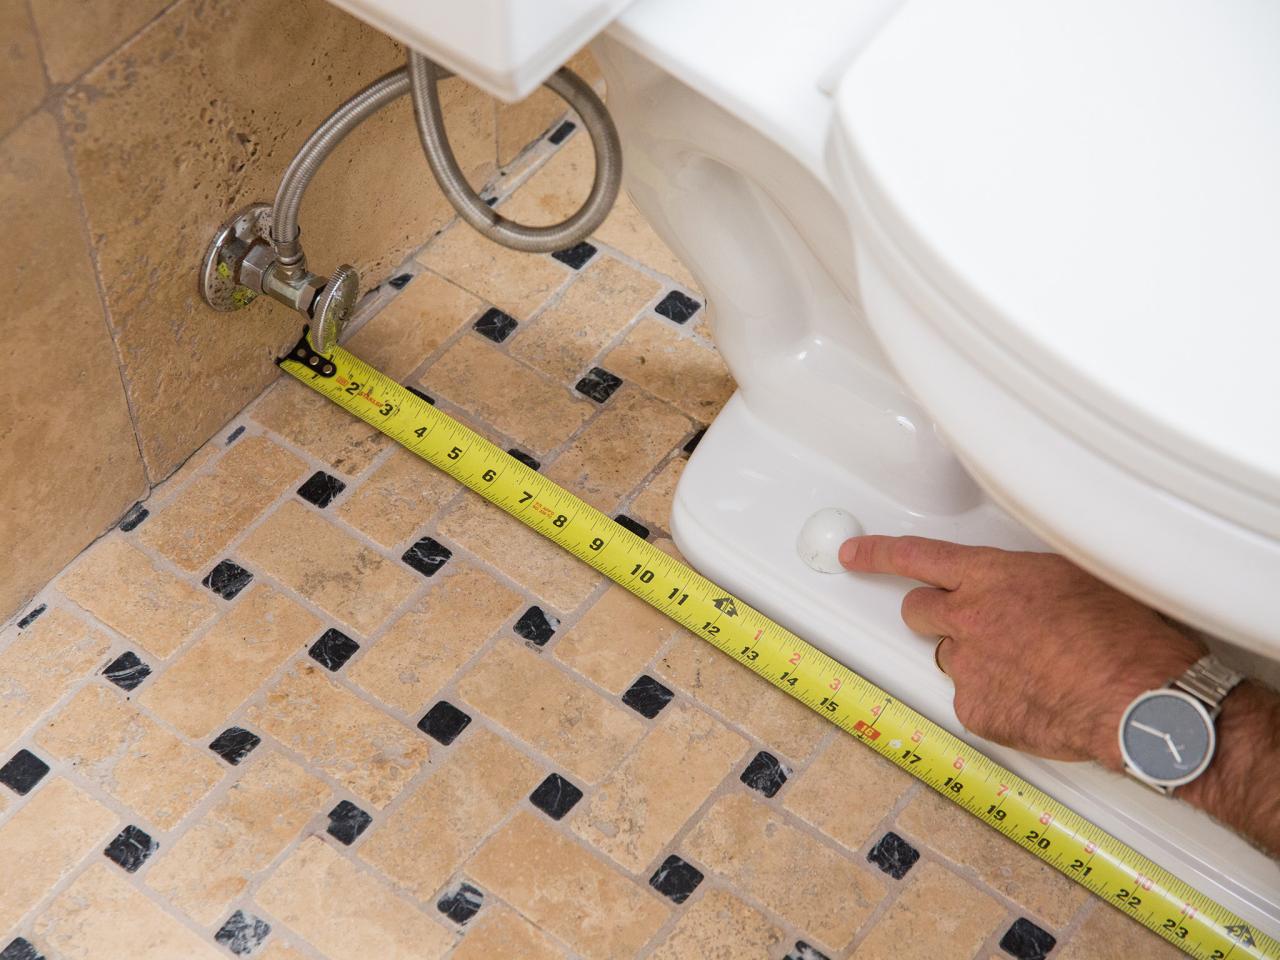
Select a Toilet
The first thing you’ll need to do is to find a new toilet. There are two things you should consider. Toilet seats come in two sizes: regular and long. Conventional wisdom states that long toilet seats are more comfortable. If you have a small bathroom, though, you may want to select a standard toilet seat/bowl length. Traditional toilet seats are 15 inches high. These days, many people are selecting “comfort height” toilets that are 17 to 19 inches high. Comfort height toilets can be a better choice for the elderly and tall folks. Next, you’ll want to make sure your toilet will fit into place by measuring the distance from the wall to the closet bolts holding your toilet to the floor. Select a toilet with the matching dimensions.

Jalynn Baker
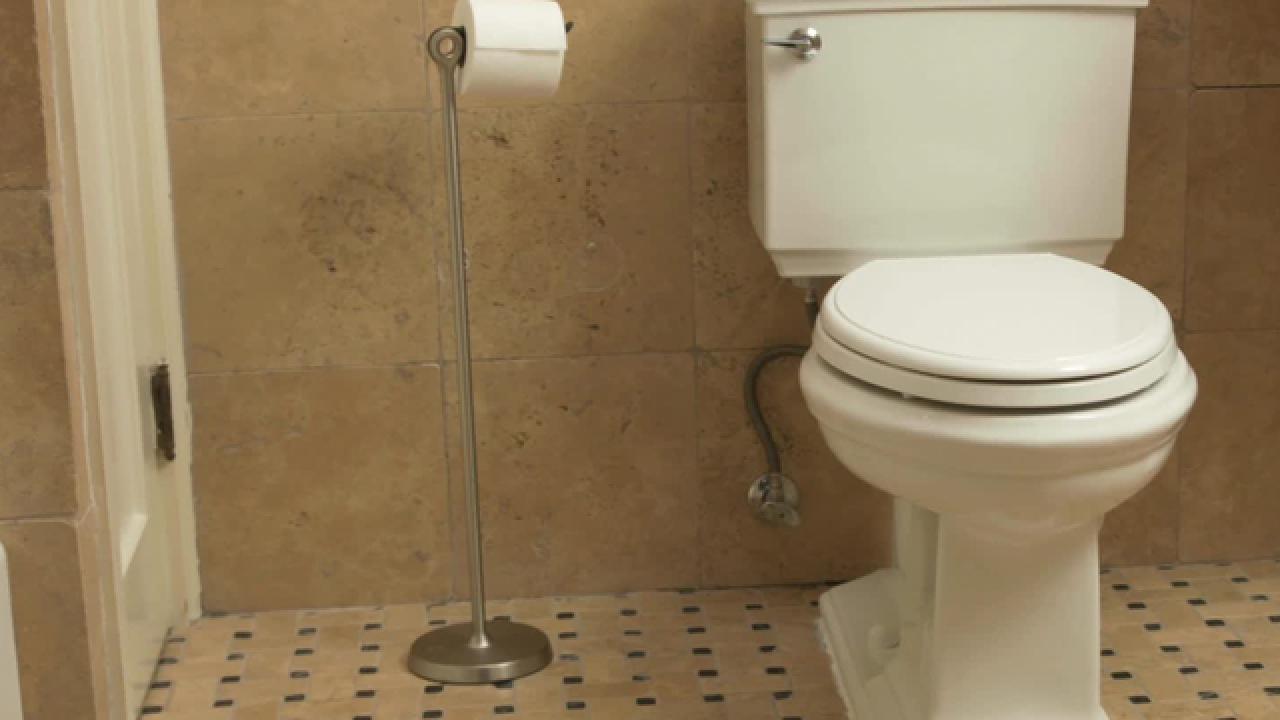
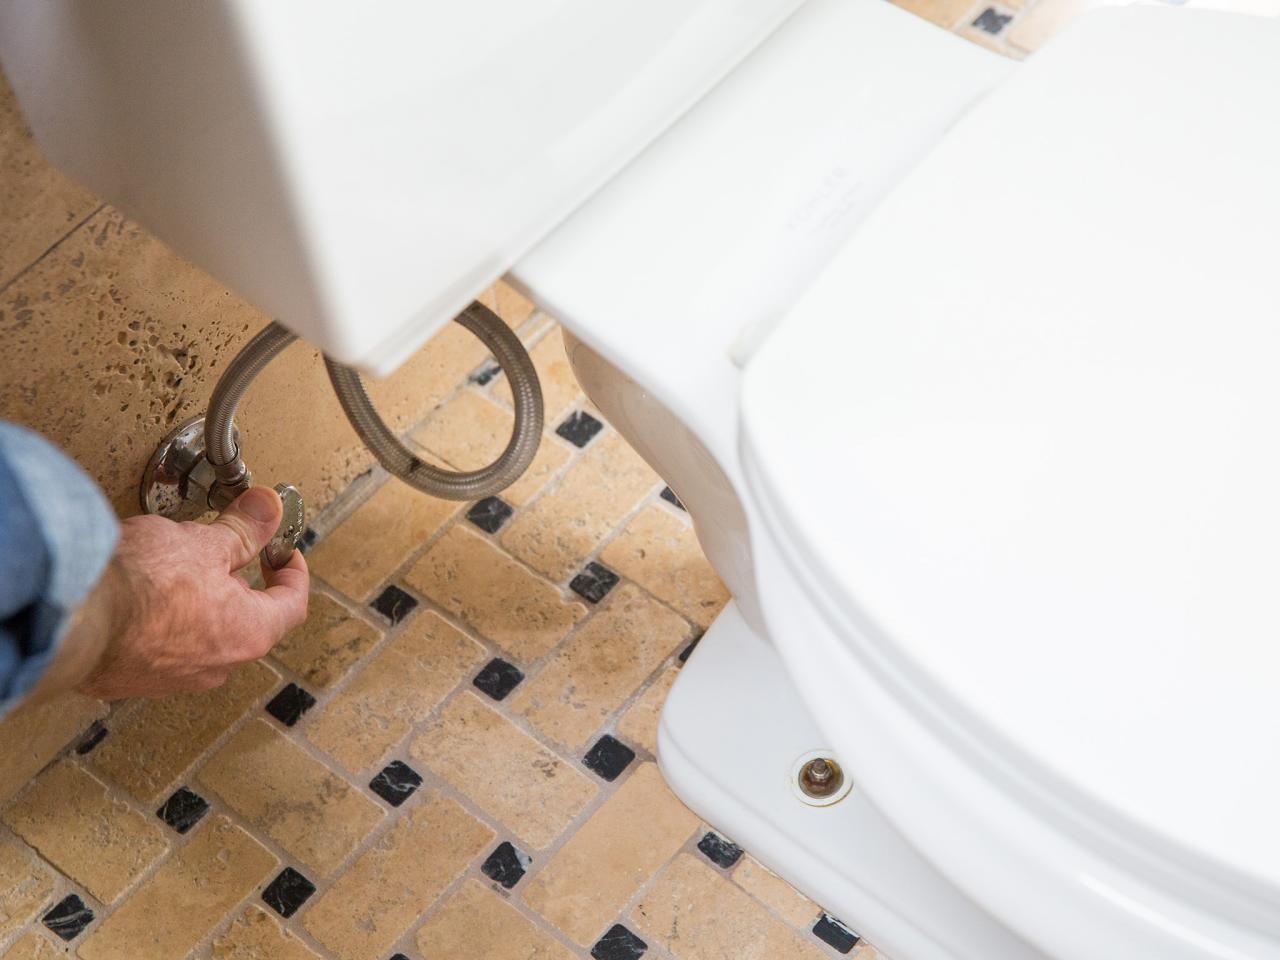
Remove the Water
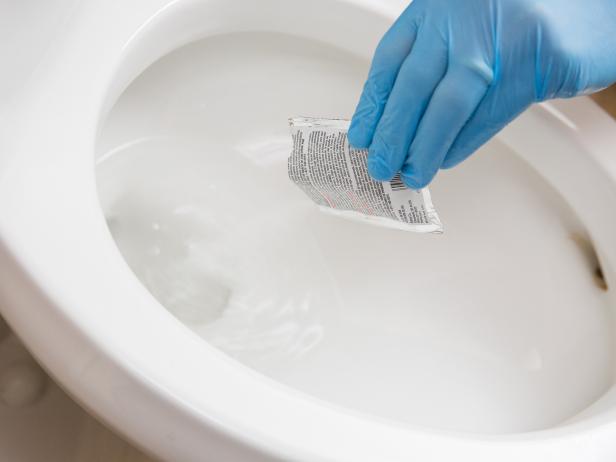
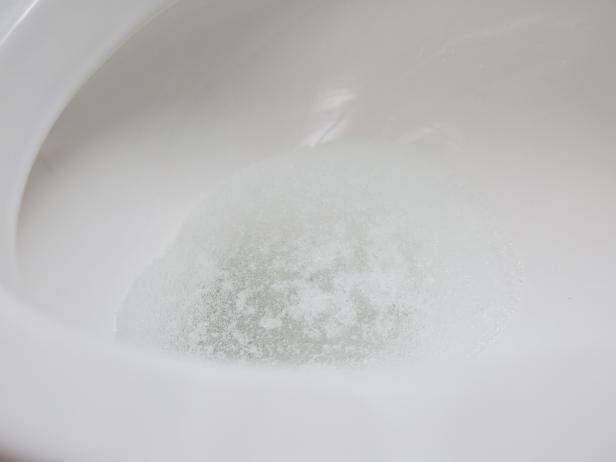
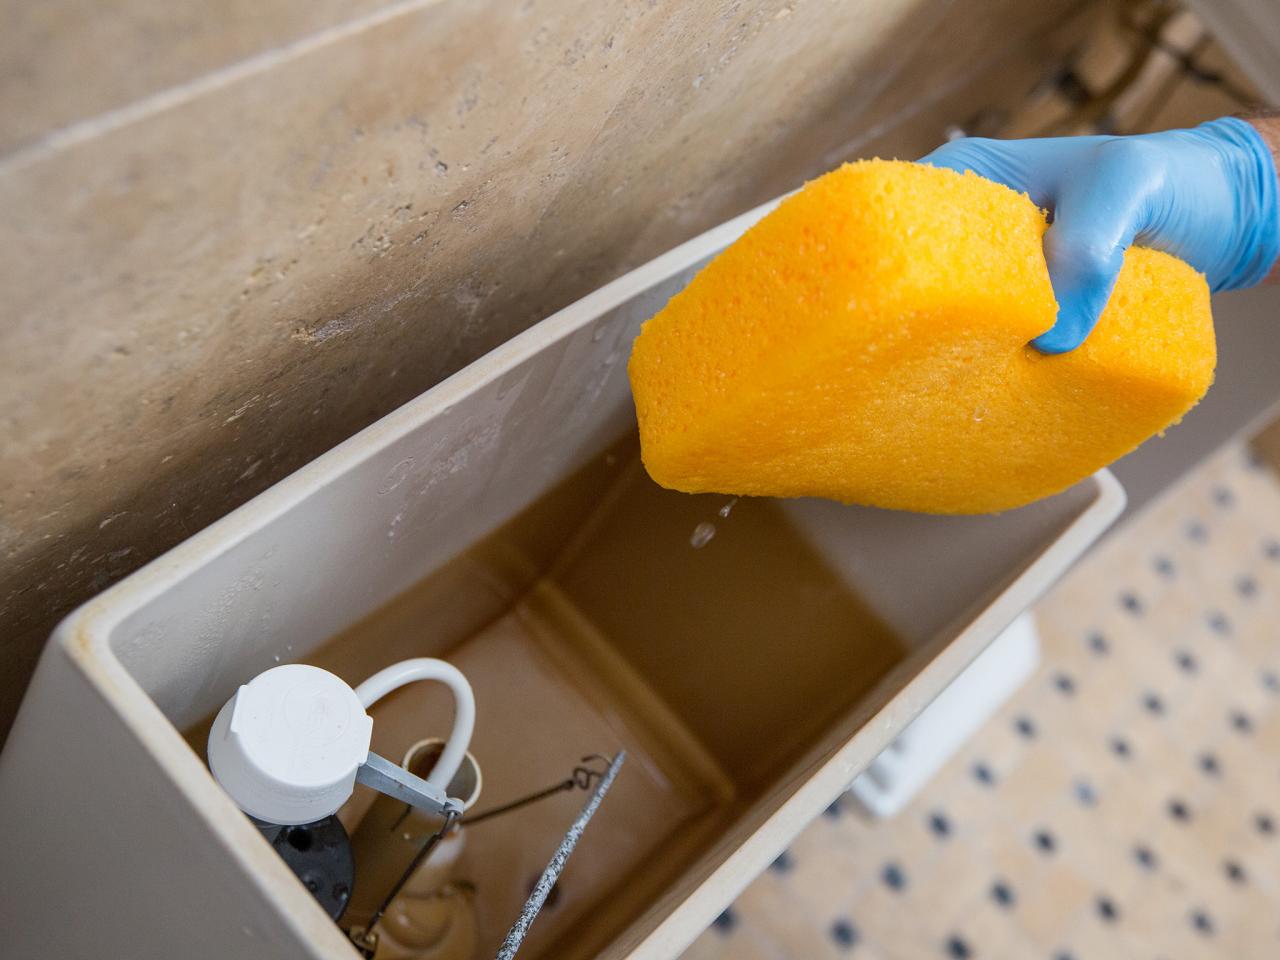
Before working on any plumbing project, be sure to turn off the water. The water supply line to your toilet is connected to the wall or floor; simply turn the valve to stem the flow of water (Image 1). Flush your toilet and keep the handle down to empty the toilet of water. You’ll be left with some water in the tank and some in the bowl. Use a large sponge and bucket to remove the remaining water in the tank (Image 2). You can use the same method to remove the excess water in the bowl, but you don’t have to. For under $4, you can purchase a water solidifier. Simply pour the packet of water solidifier into the toilet bowl and wait five minutes (Image 3). The solidifier crystals will soak up the water and turn solid (Image 4). Don’t worry, though. You haven’t ruined this toilet. The solidified water can simply be flushed through the pipes by adding enough water to “overpower” the crystals.

Jalynn Baker

Jalynn Baker
Jalynn Baker
Jalynn Baker
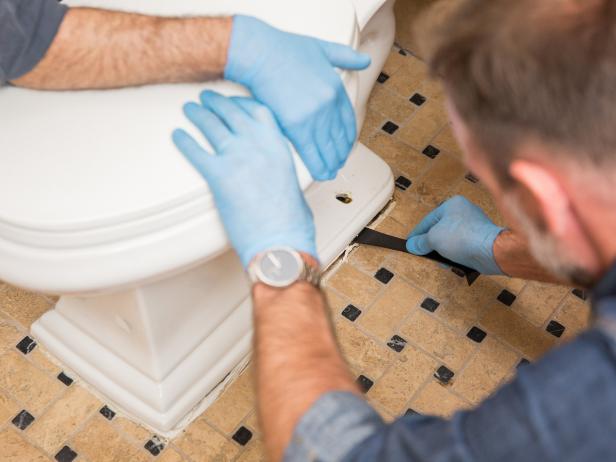
Remove the Old Toilet
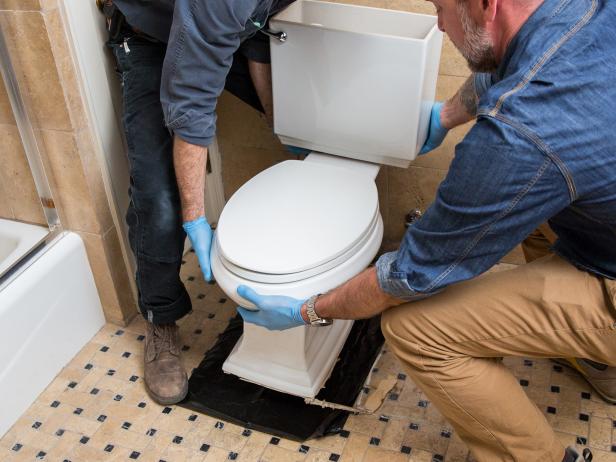
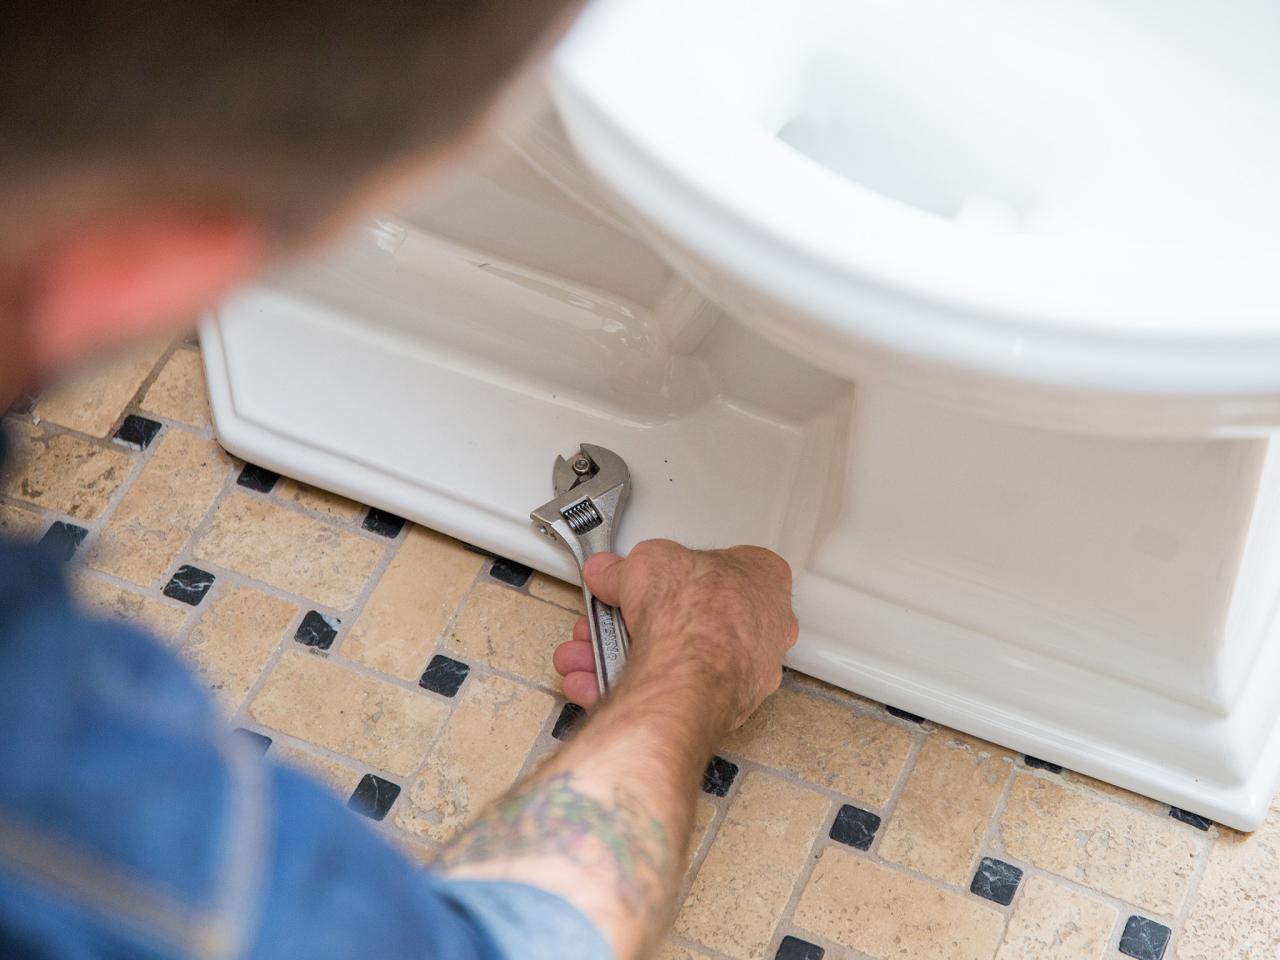
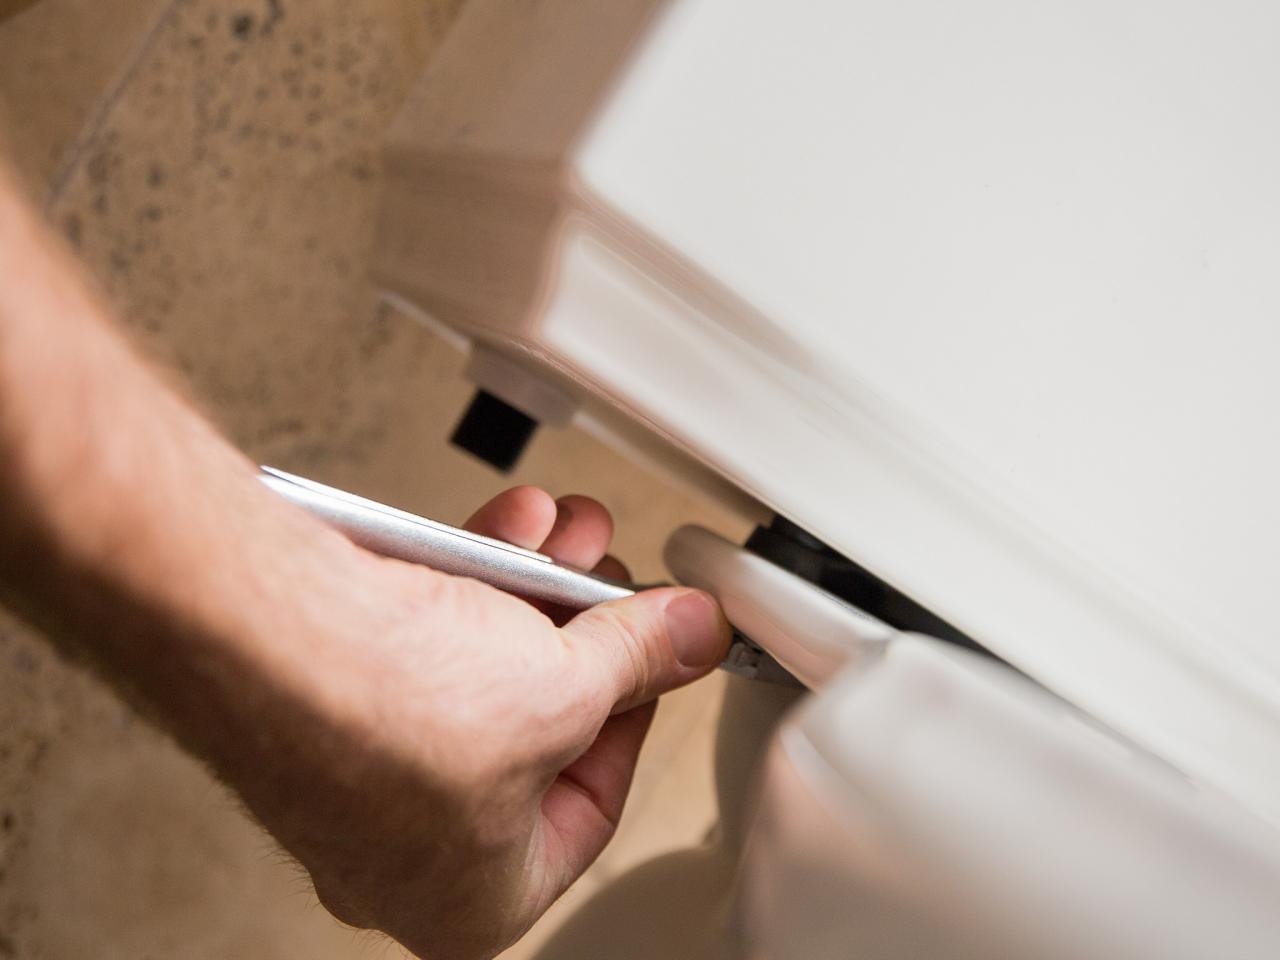
The toilet is attached to the floor using two closet bolts and nuts. Use an adjustable wrench to loosen the two nuts at the floor level. You may need to pry off a plastic cap covering the nuts. Disconnect the water supply from the wall. Once the nuts and washers are removed, you’ll be able to lift your toilet off the ground. It may offer some resistance because of the wax ring and/or caulk sealing the connection. Use a utility knife and a pry bar to separate the caulk connection (Image 1). If you’re worried about lifting the weight of the entire toilet, it’s possible to remove the tank and then the bowl. The tank is held onto the bowl with two bolts under the tank. Use an adjustable wrench to loosen and remove the nuts and detach the tank from the bowl. Place your old toilet on a garbage bag or old towel to protect your floor (Image 2).
Jalynn Baker
Jalynn Baker
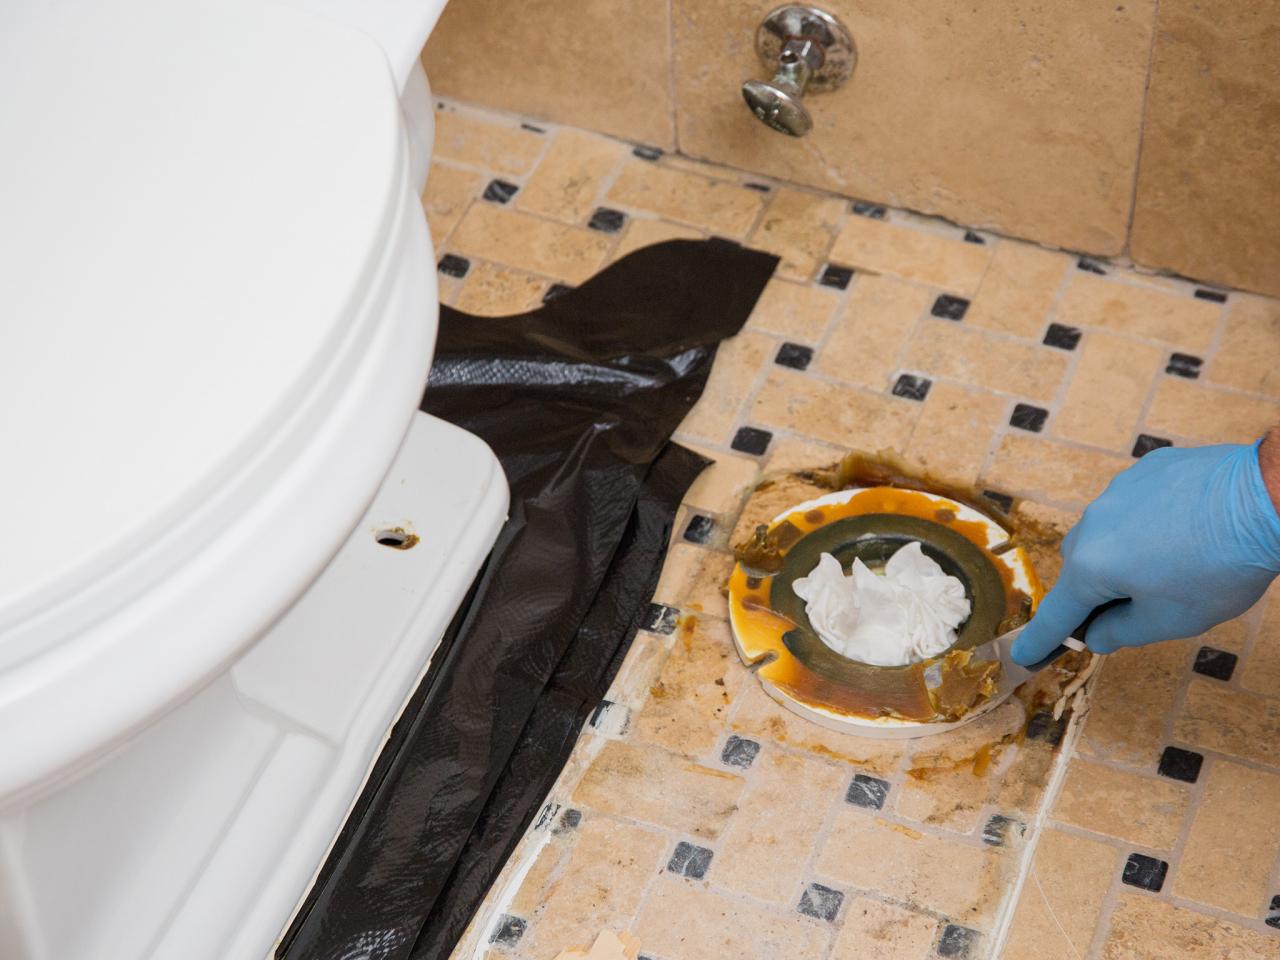
Prep the Floor
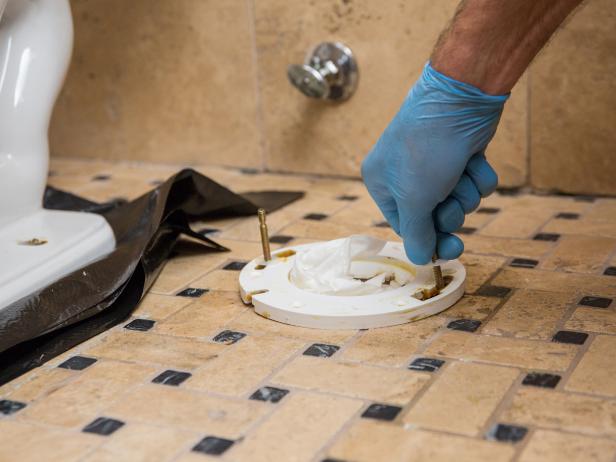
Stuff an old rag into the top of the exposed sewer drain pipe. This will keep the smell from filling your bathroom and protect you from dropping anything down the pipe and having to go fetch it. Use a putty knife to remove all the old wax and any accumulated gunk from the flange on the floor. Remove the old closet bolts as well. If your flange is in good shape, you’re ready to move on to the next phase. If your flange is damaged, there are products you can buy to reinforce it. If you’re adding a layer of flooring to your bathroom before installing a new toilet, you may need to address the height of the flange. There are products you can purchase to make sure your flange connection is at the proper height. We’re keeping the flange and the floor, so we’re ready to move on to the next phase.

Jalynn Baker
Attach the Toilet
You’re almost ready to attach the toilet. Slide your new closet bolts onto the flange and tighten them into place (Image 1). Place your new toilet upside down on a towel. Don’t scratch your floors or your new toilet. Heat up your new wax ring under warm water and place the ring firmly onto the bottom of the toilet bowl connection (Image 2). Make sure the wax ring stays in place, but don’t press too hard or you’ll damage it. Remove the rag from the sewer drain pipe and lower your new toilet over the flange and closet bolts. Do this slowly, making sure everything is lined up properly. Remember that the wax ring is fragile, and if it cracks or is crushed, you’ll have a leak. Once the bowl has slid onto the flange and over the closet bolts, you can secure it with the nuts provided. Place the washer over the bolt first and then the nut. Using your hand, alternate tightening each side, back and forth, to make sure the bowl is secured to the floor. Once both of the nuts are fully hand tightened, use an adjustable wrench to give each one more full turn (Image 3). Don’t overtighten the nut or your toilet bowl base may crack.
Jalynn Baker

Jalynn Baker

Jalynn Baker
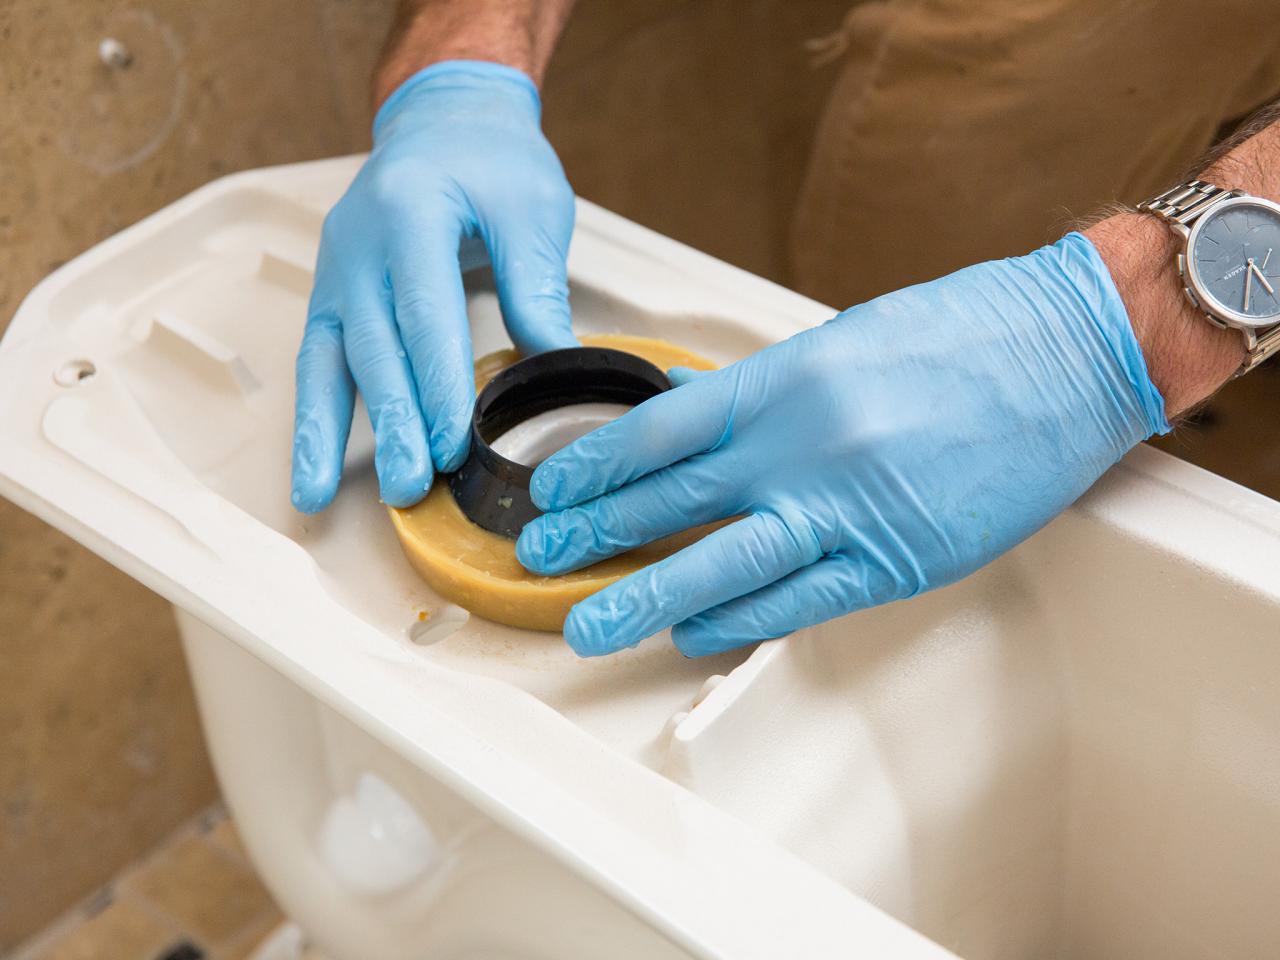
Attach the Tank
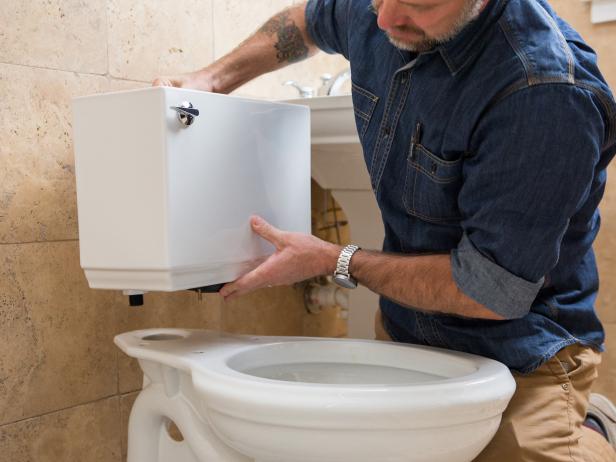
If you need to attach your new tank to your new toilet bowl, there are two simple steps to follow. Place the rubber gasket between the tank and the bowl and then attach the bowl using the two bolts provided (Image 1). Hand tighten the bolts in the same way that you tightened the closet bolts on the floor. Alternate from one side to the other until both are impossible to turn by hand. Then, use an adjustable wrench to give each bolt another full turn and a half (Image 2). Again, don’t overtighten the bolts or you could crack your toilet tank.
Jalynn Baker

Jalynn Baker
Reconnect the Water
Reattach the water supply, using a wrench to make sure the connection is fastened tight. Slowly turn your water on and check for leaks in three places: where the water supply attaches to the tank, where the tank attaches to the bowl and underneath the toilet after the tank and bowl fill up. If there are no leaks, you've successfully installed your first toilet. You can return the extra wax ring you purchased just in case.

Jalynn Baker
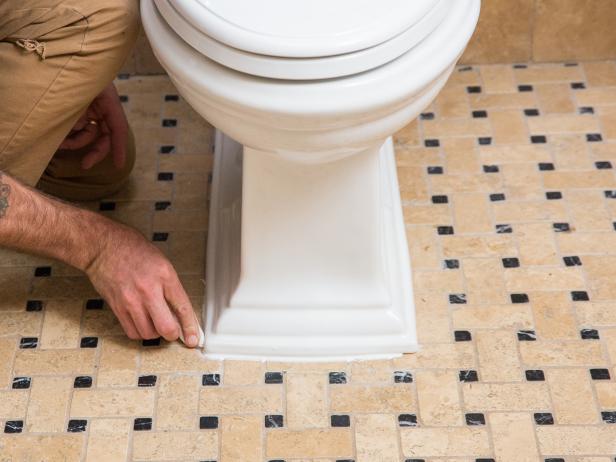
Seal Base With Caulk
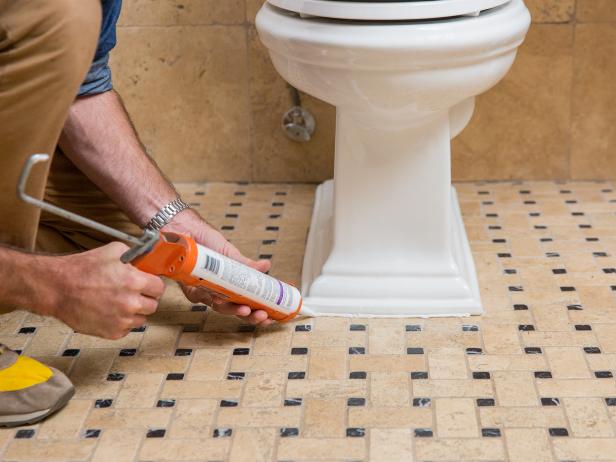
The final step is to seal around the base of the toilet with silicone caulk. It’s wise to use your toilet for a day or two before applying the silicone. You want to be extra sure there are no leaks from the base. Once you’re certain everything is installed correctly, run a bead of silicone caulk around the base of the toilet (Image 1). You can use your finger as a trowel to create a smooth seam (Image 2).
Jalynn Baker
Jalynn Baker
Troubleshooting
If water is leaking from the water supply, it may need to be tightened more. If this doesn’t work, wrap the positive end of the connection with some plumber’s tape. This should do the trick.
If there’s a leak between the tank and the toilet, it’s coming from the rubber gasket. First, try tightening the bolts attaching the tank to the toilet. This should do the trick. If not, you may need to adjust the rubber gasket. Shut off and disconnect the water. Drain the tank and remove it. Adjust the rubber gasket, making sure it fits snugly. Reattach the tank and the water supply and make sure the bolts are tightened enough to create a leak-free connection.
If water is leaking from below your toilet, there’s a problem with the wax seal. First, try tightening the closet bolts slightly. DO NOT OVERTIGHTEN. You can easily crack your toilet bowl and ruin it. Flush the toilet once or twice and then look for leaks. If there’s still some water leaking, you’ll need to replace the wax seal with the extra seal you purchased per the above materials list.


