
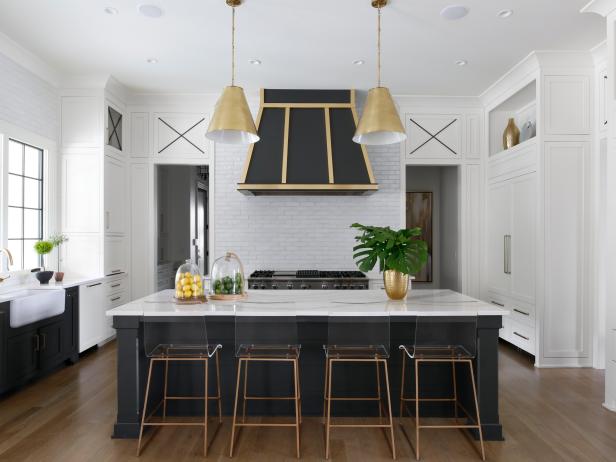
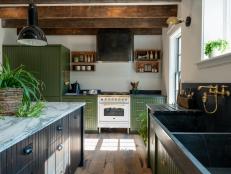
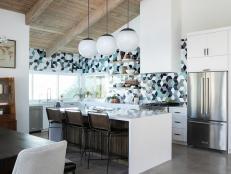
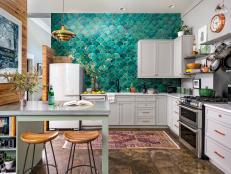
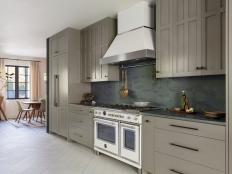
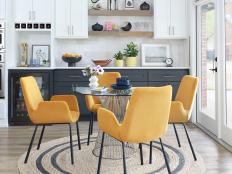
55 Black Kitchens We Love 60 Photos
Bright, white kitchens are as popular as they are timeless, but have you ever considered black? Browse these trendsetting kitchens and get inspired to try a darker hue.
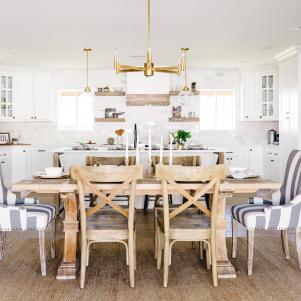
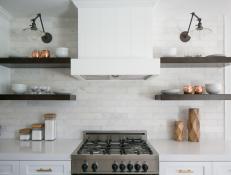
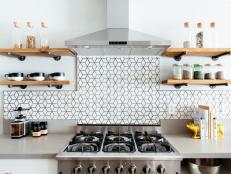
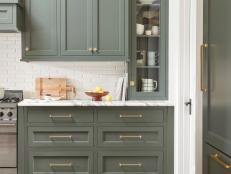
See the Latest in Kitchen Design
Planning a kitchen renovation or just dreaming? Check out these beautiful spaces.


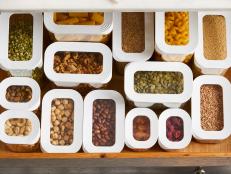
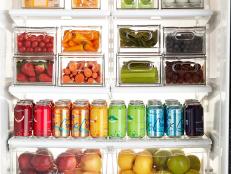
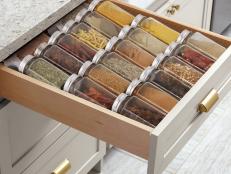
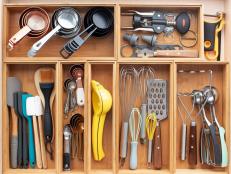
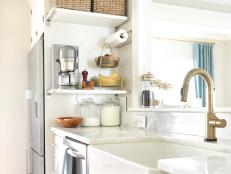
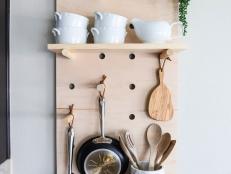
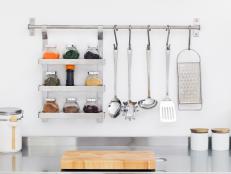
Organize Your Kitchen Storage
Corral the clutter on your countertops and in your cabinets and pantry.

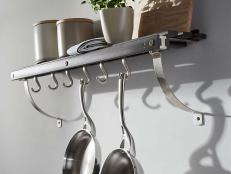


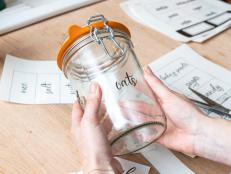


Shop These Top Kitchen Products
Discover products that will make your kitchen more stylish and functional.


What's New in Kitchens

A Glam Kitchen Makeover in New Orleans Apr 24, 2024
A metallic backsplash and striking wallpaper set the stage in this dramatic, Mardi Gras-ready kitchen.
The Best Furniture to Buy on Amazon for Every Room May 1, 2024
Style your space without spending a pretty penny.

Our Honest Review of Caraway’s Best-Selling Cookware Set Apr 12, 2024
Caraway cookware promises excellent nonstick performance without the toxic chemicals, but does it work? Read on for our full revie …
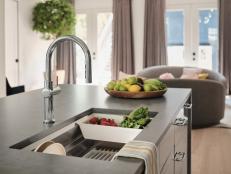
The Best Kitchen Faucets for Every Style and Budget Mar 27, 2024
Make a splash in your kitchen design with our favorite faucet finds.
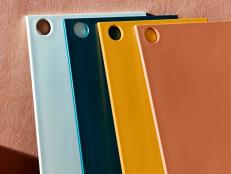
The Best Kitchen Cabinet Hardware Finds in Every Finish Mar 25, 2024
Give your dated kitchen drawers and cabinet doors a refresh with our designer-worthy hardware picks in every finish.

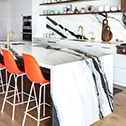
Step Inside a Cali-Cool Kitchen with the Most Stunning Island Apr 2, 2024
Everything in this California kitchen centers around the luxe marble island.
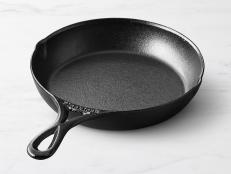
5 Best Cast Iron Skillets, Tested and Reviewed Mar 8, 2024
We put 11 cast iron skillets through their paces, baking, searing, and frying our way to determine which ones are the worthiest wo …
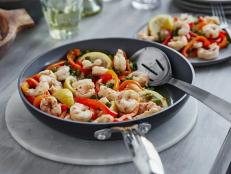
6 Tools You Need in Your Kitchen, According to a Chef Mar 1, 2024
If you’re looking to elevate your culinary game, Chef Cris Ravarré shares six kitchen tool essentials that she believes home cooki …
5 Best Nonstick Pans of 2024, Tested and Reviewed Feb 21, 2024
We flipped, fried and seared in 16 nonstick pans to find the slickest, most durable options to make cooking a breeze.
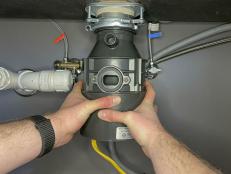
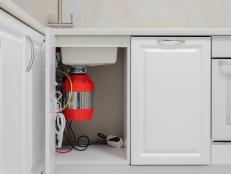
How to Install a Garbage Disposal Mar 6, 2024
Say goodbye to smelly food scraps and hello to a new garbage disposal.

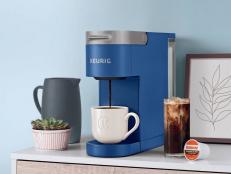
5 Best Automatic Drip Coffeemakers of 2024, Tested and Reviewed Feb 14, 2024
We tried top-rated coffee machines to see which ones are worth buying.
The Best Kitchen Rugs for Style and Function Jan 29, 2024
Get the best of both worlds with our favorite kitchen rugs that are comfortable, practical and good-looking.
Amazon Shoppers Are Obsessed With These 25 Kitchen Products Jan 22, 2024
With 4+ stars and glowing reviews, these Amazon kitchen products are the ones shoppers swear by.
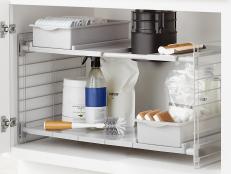
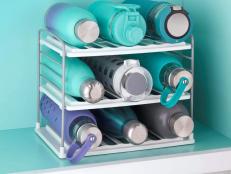
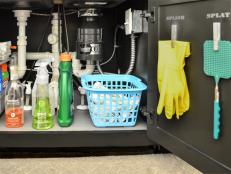
The Best Under-Sink Organizers for Bathrooms and Kitchens Jan 19, 2024
Streamline your kitchen and bathroom under-sink storage with our favorite space-saving organizers.
Before and After: A Light, Bright Kitchen Makeover Apr 2, 2024
A dated kitchen in Edmond, OK, gets a stunning update. HGTV Magazine takes you inside.
How to Make DIY Dishwasher Detergent Jan 9, 2024
A homemade solution that'll leave your dinnerware shining! Learn how to make your own loose powder or dishwasher tabs.
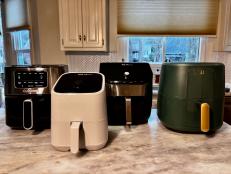
6 Best Air Fryers of 2024, Tested and Reviewed Jan 17, 2024
After many pounds of fries, dozens of chicken breasts, and 11 cakes, we’ve found the best air fryers on the market.
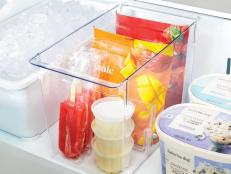
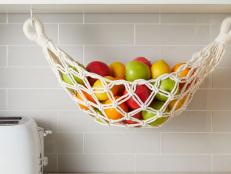
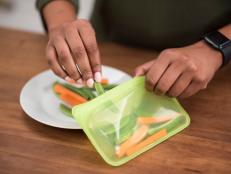
These Clever Organizers Will Completely Change the Way You Use Your Freezer Dec 20, 2023
Prepare to save space and prevent food waste with these clear bins, reusable bags, stackable ice trays and other clever freezer or …
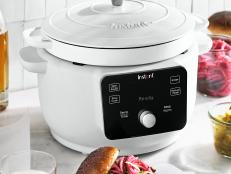
6 Best Slow Cookers of 2024, Tested and Reviewed Jan 17, 2024
We slow-cooked multiple batches of beef paprikash to find the best slow cookers for your kitchen.
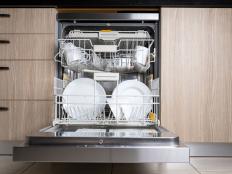
How to Use a Dishwasher Dec 13, 2023
Get tips for loading dishes and flatware, choosing the right detergent and selecting the best wash cycle.
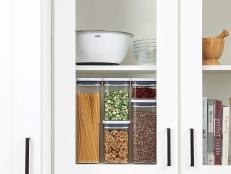
40+ Best Kitchen Cabinet Organizers and Clever Storage Solutions Dec 12, 2023
Maximize every nook and cranny with these clever products.
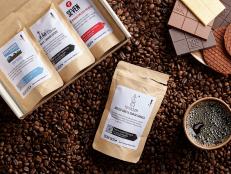
The Best Gifts for Coffee Lovers in 2023 Nov 27, 2023
Help the coffee lover in your life be their own barista with these coffeemakers, accessories, mugs and more so they can start each …
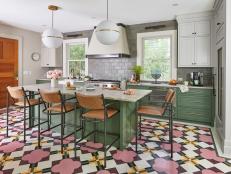
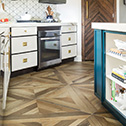
This Kitchen Has the Most Unique Floor Oct 26, 2023
We're seeing a pattern! An eye-catching painted floor is the star of this Glen Ridge, NJ, kitchen.
56 Best Gifts for People Who Love to Cook Nov 21, 2023
Cater to the home chef in your life with these thoughtful gift ideas, from pantry staples to cookbooks to cookware.
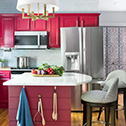
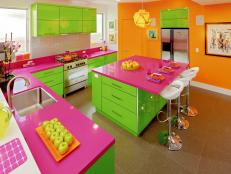
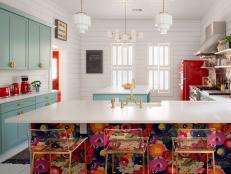
The True Story Behind That Neon Pink and Green Kitchen Oct 12, 2023
This eye-popping LA kitchen sizzled across social media like design lightning (in both an electrifying and hair-raising sense) — a …
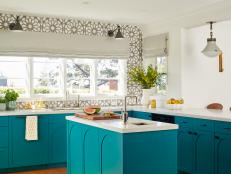
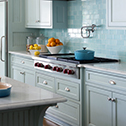
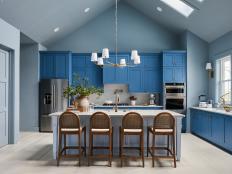
Not Another Blue Kitchen Sep 1, 2023
Striking teal cabinets add to the fun in this San Francisco Bay Area cookspace. Take the tour with HGTV Magazine.
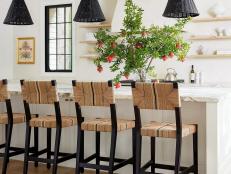
The Best Barstools for Every Style and Budget Oct 6, 2023
If you're on the hunt for the just-right barstool, look no further. We've narrowed the search to the best seats on the market.
Tour a Kitchen With an Eclectic Mix of Styles Jul 31, 2023
The recipe for this San Marcos, TX, kitchen: farmhouse charm, retro kitsch and a fun modern twist.
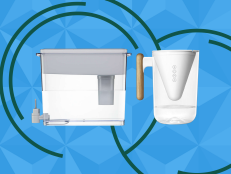
4 Best Water Filter Pitchers and Dispensers of 2024, Tested and Reviewed Jan 17, 2024
From pitchers perfect for small kitchens to larger 18-cup dispensers, keep your family hydrated with clean drinking water with one …
Garbage Disposal Not Working? Try These Fixes Jul 25, 2023
Learn how to diagnose and troubleshoot a garbage disposal that's not working and learn how to prevent issues in the future.