13 High-End Home Theater Designs
Add star quality to your screening room with these audio and visual ideas.

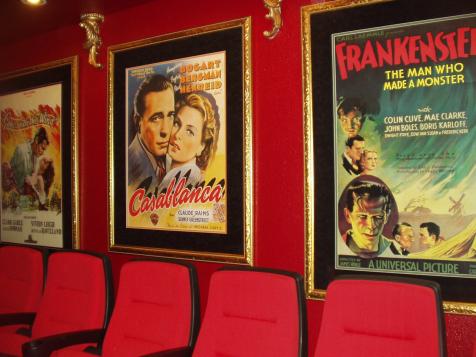
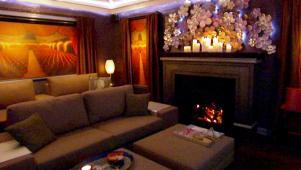
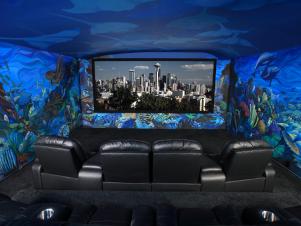
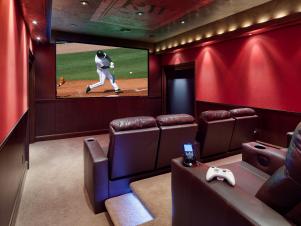
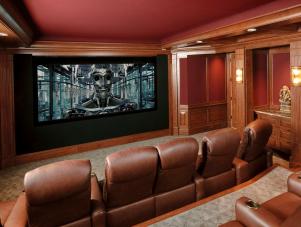
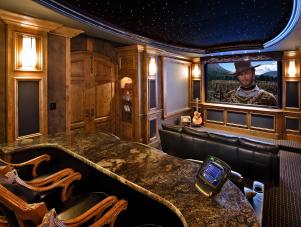
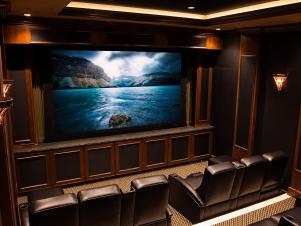
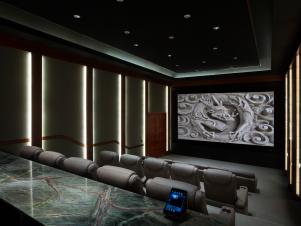
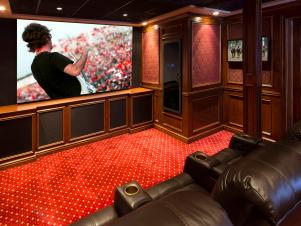
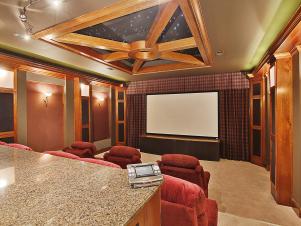
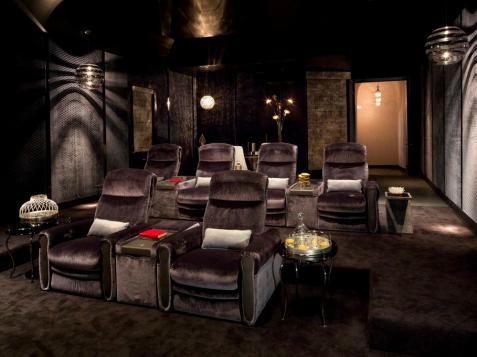
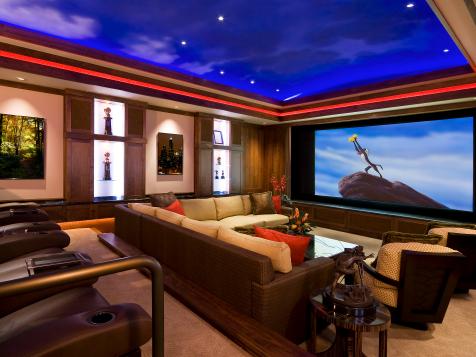
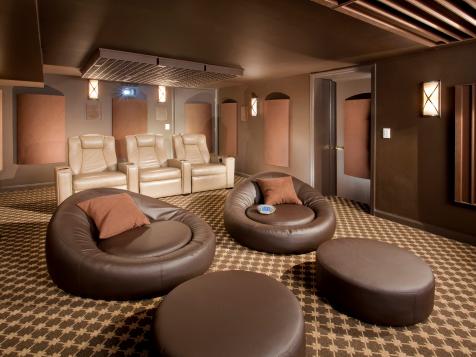
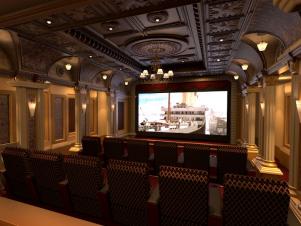
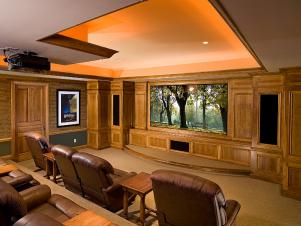
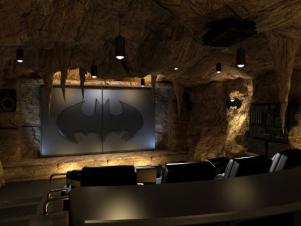
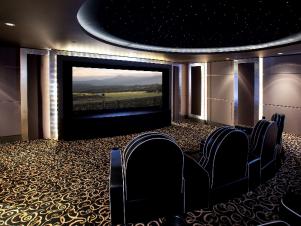
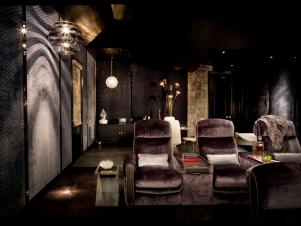
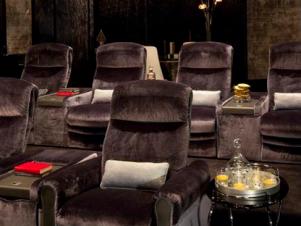
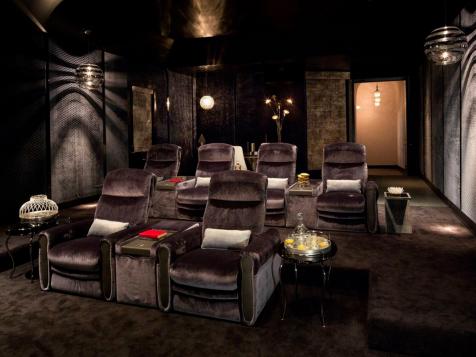
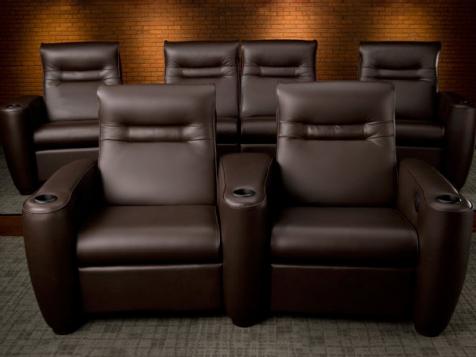
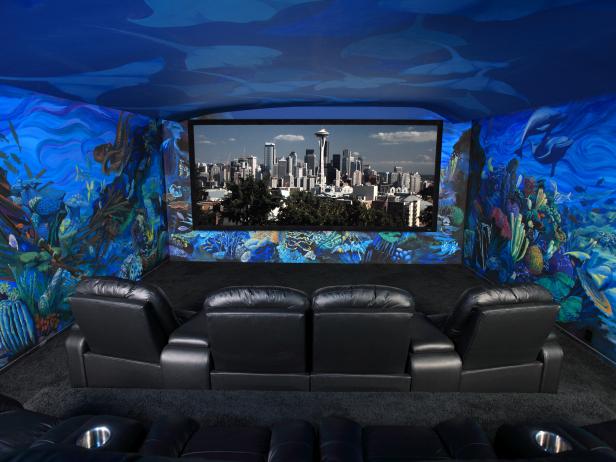
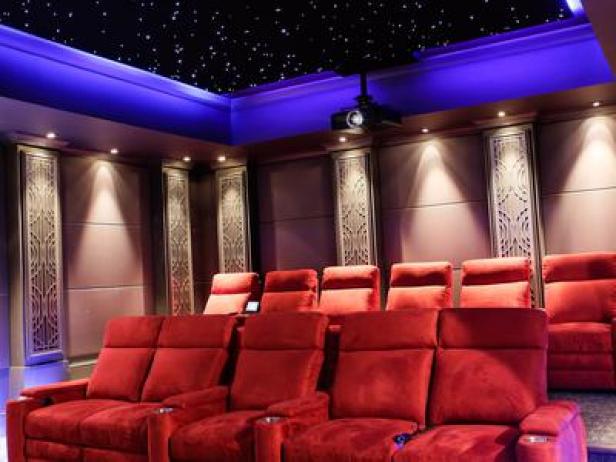
Amazing Home Theater Designs
When designing a home theater, you can hand-pick everything from seating to lighting to equipment to create your ideal movie-watching environment. Here are some incredible home theaters to inspire your own project.
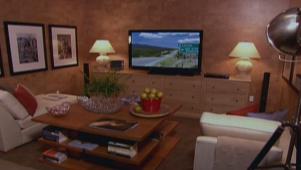
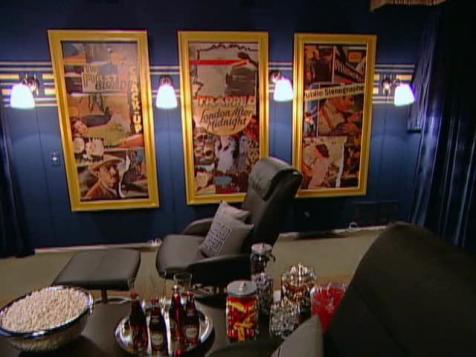
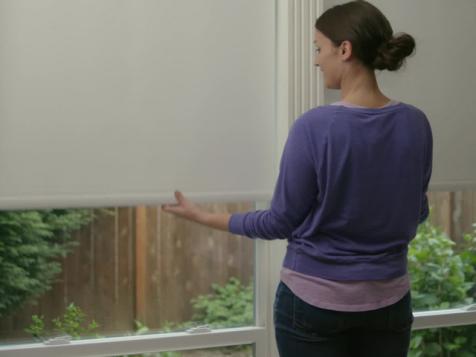
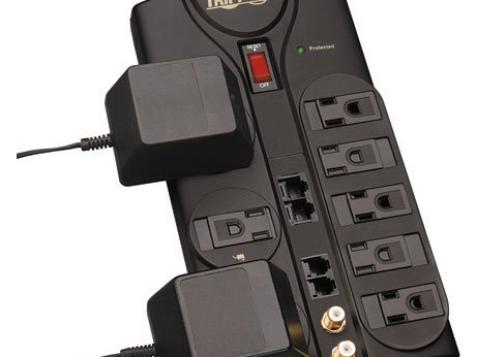
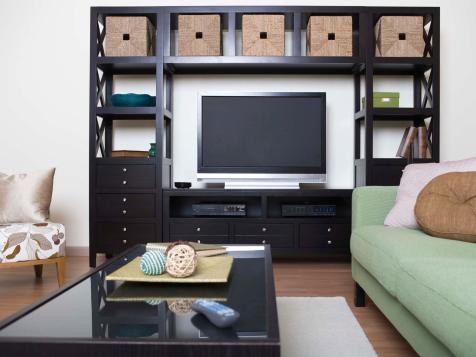
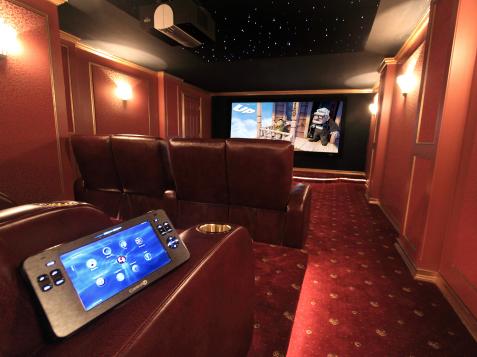
Home Theater Design Tips
If you're thinking about adding a home theater, check out these tips and ideas for maximizing cinema fun.