30+ Cheap Ways to Freshen Up Your Bathroom This Weekend
Low cost and high style? Yes, please.

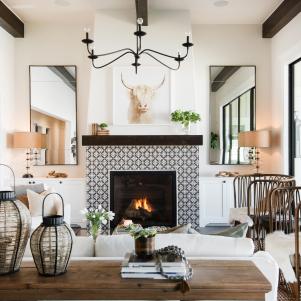
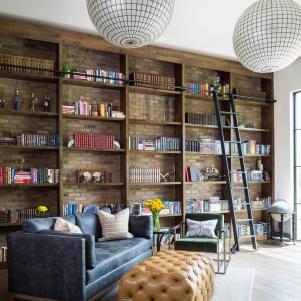
French Country Home Makeover That Doubles the Size
A small but cute house is transformed into a family-friendly, two-story French Country home. The designers walk the line between cozy and elegant by using natural colors with warm furnishings in every room.
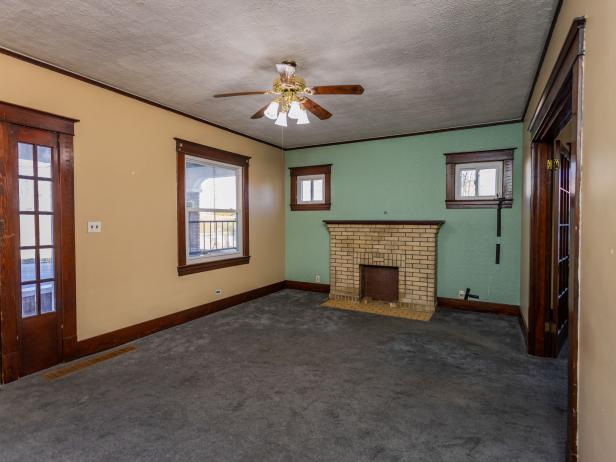
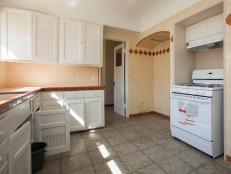
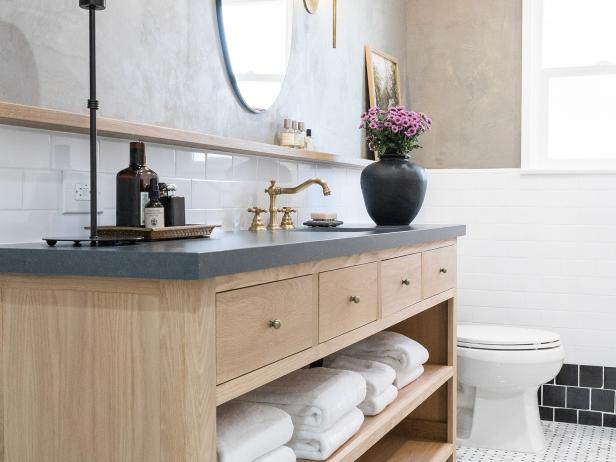
Before and After: HGTV Urban Oasis 2023
Browse jaw-dropping photos of the HGTV Urban Oasis 2023 transformation from start to finish.