


.jpg.rend.hgtvcom.196.196.suffix/1738870169237.jpeg)


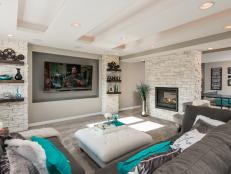
17 Wood-Paneled Walls That Are Anything But Dated 17 Photos
Wood paneling is stepping out of the ’70s and into the modern world. See how designers are bringing this wall treatment into the 21st century.
Fix It the Right Way


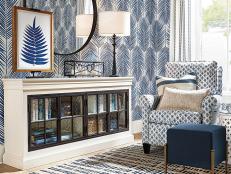
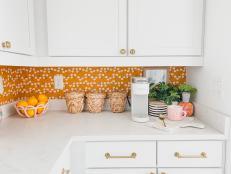
Inspired Wall Treatments
Explore these statement-making decorative wall DIYs from HGTV contributor Jennie Andrews.


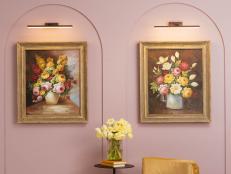

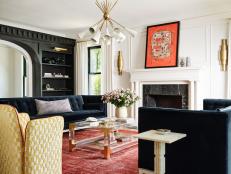
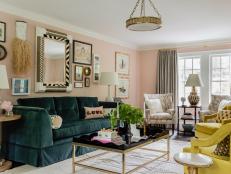
21 Gallery Wall Ideas to Transform Your Space 22 Photos
There's no right way to create a gallery wall — or is there?
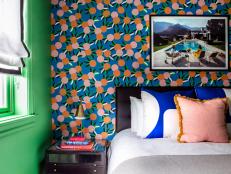
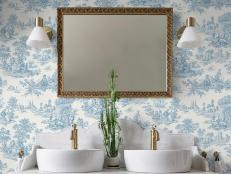
We Love Wallpaper
Whether you go bold or go subtle, get inspired to update your space with wallpaper.


The Latest on Walls
How to Create a Wood Slat Wall Feb 24, 2025
Installing a stylish wood slat accent wall is easier than you think. Follow this step-by-step guide from the DIY pros at HGTV.

6 Best Stud Finders of 2025, Tested and Reviewed Feb 19, 2025
Adding a stud finder to your toolbox will help protect your walls and wall decor.
How to Paint Stripes on a Wall Feb 18, 2025
Make a bold statement with painted stripes. Follow this step-by-step guide from editors at HGTV to create clean lines every time.
How to Cover Walls With Fabric Feb 12, 2025
No, that's not wallpaper. It's fabric! Turn a textile into a chic (and removable) wallcovering with this easy tutorial from HGTV's …
How to Make a Pole Wrap Accent Wall Feb 3, 2025
The DIY experts at HGTV show you how to dress up any wall using MDF pole wrap.
How to Paint With Wall Stencils Jan 16, 2024
For an inexpensive alternative to wallpaper — and a creative wall-treatment that adds visual interest and a touch of whimsy — chec …
How To Install Picture Frame Molding Jan 11, 2024
As a wall treatment, picture-frame molding is a simple way to give an elegant, classic look to an ordinary space — as well an idea …
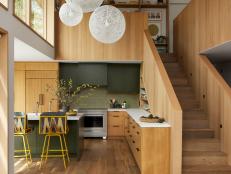
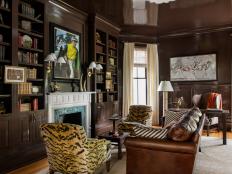
17 Wood-Paneled Walls That Are Anything But Dated 17 Photos
Wood paneling is stepping out of the ’70s and into the modern world. See how designers are bringing this wall treatment into the 2 …
How to Install a Wood-Slat Feature Wall Dec 22, 2023
Transform an ordinary wall into a distinctive design feature using this simple and inexpensive slat-wall technique that adds depth …
How to Limewash Walls Dec 21, 2023
Learn how to create elegantly textured walls using a limewash paint technique for a look that's suited for many interior design st …
How to German Schmear Faux-Brick Walls Dec 21, 2023
Learn how to install faux brick walls then apply a mortar-wash known as a German schmear finish.
How to Install a Board and Batten Accent Wall Dec 18, 2023
This simple tutorial will teach you how to install traditional board and batten wood paneling, plus tips for installing wallpaper …
How to Install Decorative Arches on a Wall Dec 18, 2023
Bring style and elegance to a bland space by creating accent wall arches that add dimension, visual interest and a classic touch.
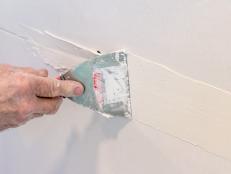
Spackle vs. Joint Compound: What's the Difference? Nov 2, 2023
Wait a second — spackle and joint compound aren't the same thing? Though they seem similar, spackle and joint compound serve compl …
Porcelain vs. Ceramic Tile: What's the Difference? Jan 11, 2024
Ceramic and porcelain tiles share many similarities, but they also have noteworthy differences. Learn the pros and cons of each ma …
You'll Wonder How You Ever Lived Without These Handy Touch-Up Tools Jan 26, 2023
Retouching paint on walls and refreshing wood furniture and flooring is much easier with these clever touch-up products for your h …
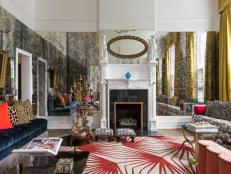
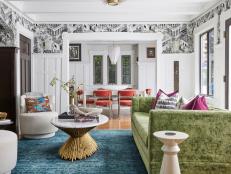
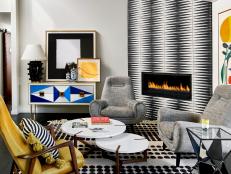
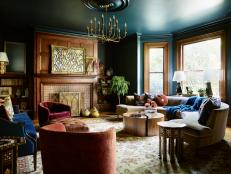
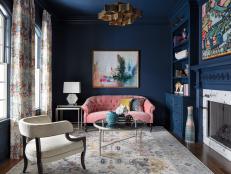
Exuberant 1875 Maximalist Mansion Juxtaposes Old and New Design Styles 17 Photos
This historic Italianate-style mansion features mirrored walls, crushed velvet sofas, matte black home bar, gold drapes, an all-wh …
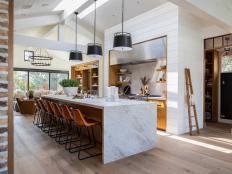
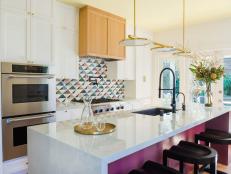
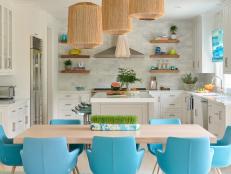
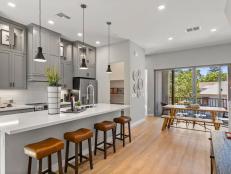
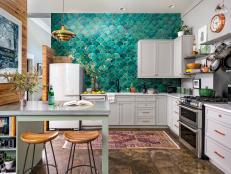
Rustic Meets Contemporary Eat-In Kitchen 6 Photos
This warm and welcoming kitchen is filled with contemporary and rustic elements like the shiplapped ceiling, barn door cabinets an …

How to Remove Drywall Anchors Mar 13, 2023
Wall anchors can be tricky to get out of a wall. Follow these tips to reduce damage and repair unsightly holes.
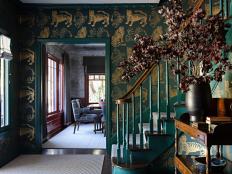
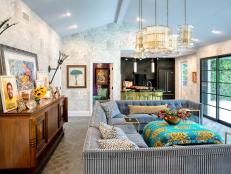
House Party: Tour This Brooklyn Creator's Pop Culture-Curated Loft 21 Photos
Loft living doesn't have to be basic or boring. Every square inch of New York publicist and creator Julian Thomas's bachelor pad i …

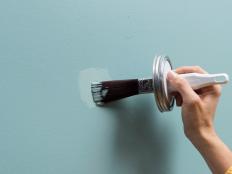
The Right Type of Paint for Every Type of Project (Plus, How to Prep for That Paint) Apr 8, 2024
You can’t use the same paint on all surfaces. Learn the best type of paint for common household materials such as brick, tile, por …

How to Paint Over Wood Wall Paneling Oct 26, 2021
No need to tear down that dingy 1970s paneling. Learn how to fill in the grooves and cover with a fresh coat of paint.

How to Find Studs in a Wall Without Using a Stud Finder Mar 6, 2024
Finding wall studs without a stud finder doesn't have to be a guessing game. If you're hanging something heavy on the wall, follow …

Spruce Up Your Dorm Room Walls With These Affordable Decor Ideas Jul 26, 2021
Add a little personality and inspiration to your dorm room (or home office!) walls with prints, peel-and-stick wallpaper, tapestri …

Top 10 Ways to Paint Like a Pro Nov 26, 2024
For a professional-looking paint job, do what the experts do.

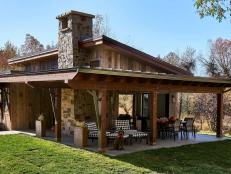
Serene Georgetown Courtyard Garden 18 Photos
Framed with boxwood hedges and stately retaining walls, this hidden-away outdoor space is an escape in the middle of bustling Wash …
Make Faux Boxwood Wall Art Jan 25, 2021
Need help transforming a blank wall? Just head to the garden center.
20 Decorative Wall Paneling Ideas to Try in Every Room 20 Photos
No hate on traditional wainscoting, but there’s so much more in the world of wall paneling. Check out our favorite designs, from 3 …
How to Build Finished Walls in a Basement Feb 1, 2024
Looking to finish your basement and turn it into extra living space? Learn the steps and costs needed to turn cinderblock walls in …

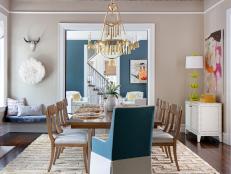
20 Dining Room Wall Decor Ideas 20 Photos
Sure, the table and chairs are most important. But don’t forget the walls when styling a dining room. If you’re looking to refresh …


.jpg.rend.hgtvcom.231.174.85.suffix/1738870169237.webp)