


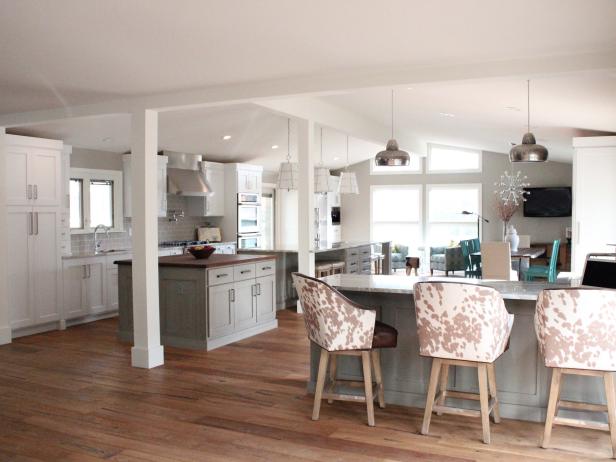
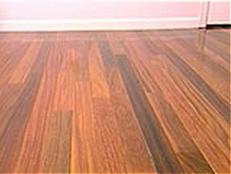
Your Guide to the Different Types of Hardwood Flooring
The enduring good looks of hardwood flooring come in many types and styles to fit different needs and budgets.
Shop Flooring & Floor Care

8 Best Dyson Vacuums of 2024, Tested and Reviewed Jan 17, 2024
With so many models on the market, it can be difficult to know which Dyson vacuum is best for your home. We've combed through the …

Say Hello to the Cutest Wet Mop You've Ever Seen: Clorox x Staff The Mop May 3, 2023
Clorox and functional home goods brand, Staff, teamed up to create a beautiful, effective mop that you might actually want to leav …
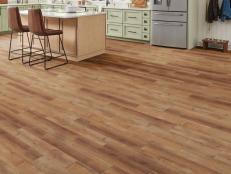
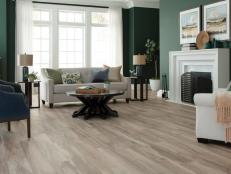
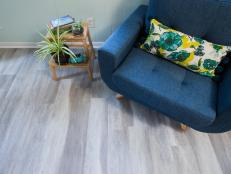
The Best Vinyl Plank Flooring for Your Home Nov 30, 2023
Vinyl plank flooring is a modern miracle that gives homeowners the luxurious look and longevity of hardwood floors without the war …
5 Ways to Save on New Flooring Before the Holidays Nov 10, 2022
Plan ahead and prepare your home for the festivities to come with these top-tier hybrid resilient, luxury vinyl plank, hardwood an …

Prep for Holiday Guests With Fresh Floors From LL Flooring Aug 12, 2022
Gear up for holiday hosting with floors that can rise to the occasion. Shop the hardwood, waterproof vinyl plank and hybrid resili …
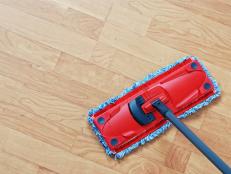
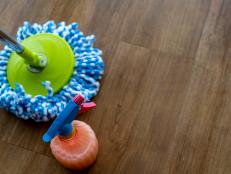
How to Clean Hardwood Floors Apr 23, 2024
Learn how to care for hardwood floors by using these natural cleaners and following these simple tips.

Fun and Function Define This Interior Design Student’s Eclectic, Black-and-White Manhattan Studio 22 Photos
Carrie Carrollo is committed to contradictory decor in her playful New York City studio. And it all started with a set of black-an …
Flooring How-Tos
How to Paint a Faux Rug on a Hardwood Floor Jan 14, 2022
Learn how to stencil a patterned faux rug to add personality to a room or disguise a worn-out floor.
How to Clean Hardwood Floors Apr 23, 2024
Learn how to care for hardwood floors by using these natural cleaners and following these simple tips.
How to Clean Concrete Floors Oct 21, 2021
Cleaning outdoor concrete flooring is different from indoor concrete flooring. Here's how to remove dirt and mildew from both surf …

How to Remove a Tile Floor Oct 20, 2021
Follow these step-by-step instructions to remove an old bathroom tile floor.
Installing a Tile Floor Dec 9, 2021
Learn how to lay a stone or ceramic tile floor in a kitchen or bathroom.
How to Clean Vinyl Floors May 7, 2024
Remove dirt, scuffs and stains from vinyl floors with these easy cleaning and maintenance tips.
How to Install Snap-Together Laminate Flooring Jul 1, 2020
If you’re looking for budget-friendly flooring that stands up to kids and pets, laminate is a great option. Learn how to easily in …
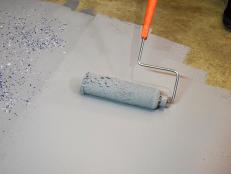
How to Paint a Garage Floor With Epoxy Dec 15, 2021
Using epoxy paint with terrazzo flakes on your garage floor will help prevent stains and deterioration, and the polished finish wi …
How to Paint a Gingham-Pattern Floor Sep 18, 2018
Follow these steps from HGTV Magazine to create this fun DIY painting project.
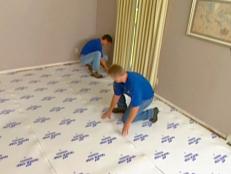
How to Install Underlayment and Laminate Flooring Sep 9, 2014
These step-by-step instructions will show you how to install underlayment and flooring to get beautiful laminate flooring in any r …
How to Install a Hardwood Floor Sep 9, 2014
DIY experts give step-by-step instructions on how to install hardwood floors in any room.

How to Install Tile Flooring Oct 9, 2018
The experts show how to remove old carpet and replace it with a tile floor.

How to Paint a Diamond Pattern on a Wood Floor Sep 9, 2014
Add a stylish touch to a room by painting a diamond pattern onto a wood floor.
Install Laminate Flooring Aug 31, 2014
Learn how to install durable and inexpensive laminate flooring — it's a snap.

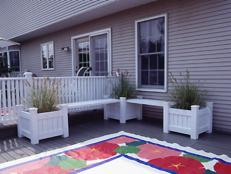
Create an Outdoor Faux Rug Sep 7, 2014
A painted faux rug is easy to create and a simple way to brighten a patio.
Paint Hardwood Floors With a Pattern Sep 23, 2018
Breathe new life into old hardwood floors with a fresh coat of paint in an eye-catching pattern.
Make Your Own Floorcloth Nov 6, 2018
Learn how to "decorate" your floor by adding a floorcloth.
Install Tongue-and-Groove Wood-Veneer Flooring Nov 6, 2018
No need for staples or glue with this "floating" floor. Just follow these step-by-step instructions.

Spice Up Concrete Floors With Painted Stripes Sep 23, 2018
Use garage floor paint to give tired concrete floors a bold, fresh, tri-colored update.
Add Pizzazz to Plain Hardwood Floors With Paint Sep 23, 2018
Personalize basic hardwood floors with pattern, using proper preparation and simple painting steps.
How to Install Laminate Flooring Oct 12, 2015
Completely change the look of a room with new laminate flooring.

How to Remove Burn Marks on a Hardwood Floor Sep 14, 2014
Rub 'em out with these step-by-step instructions.

How to Refinish Hardwood Floors
It takes some elbow grease to refinish hardwood floors, but it's worth it. Hardwood floors add value to your home and provide a classic look that goes with any style.

How to Clean Ceramic Tile Floors
Make your ceramic tile look like new with these easy DIY cleaning tips.
Flooring Inspiration


The Latest on Flooring

Spanish-Style Home Has a Cozy, Contemporary Charm 31 Photos
When it came time for this 1930s Spanish-style home to undergo an extensive renovation, architectural details and historic element …
Timeless + Transitional Transformation in Old Brookville, NY 79 Photos
To bring this outdated home in Old Brookville, NY, back to life, a whole-home renovation was in order. On the agenda: Create a tim …

Beautifully Designed 1905 Brooklyn Mansion 21 Photos
The Gale Mansion in Prospect Park South features five outdoor porches, stunning contemporary bedrooms, a formal dining room and ch …

Refined Rhode Island Mansion With Gilded Era Details 16 Photos
Every room in this stunning Newport Manor House features calming harbor views, contemporary details, walnut wood panels and elegan …
20 Bathroom Tile Designs With a Twist 20 Photos
There's nothing wrong with sticking with classic subway tiles and never-goes-out-of-style penny rounds. But if you're ready to bre …
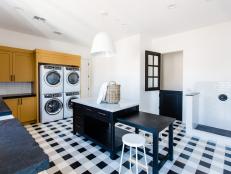
10 Statement-Making Laundry Room Flooring Ideas 10 Photos
Every space in your home deserves to be beautiful, including the one covered in dirty clothes. Throw those piles in a hamper, and …
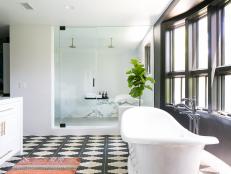
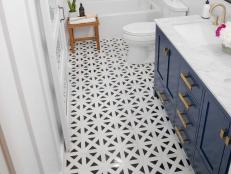
Our Fave Bathroom Tile Design Ideas 40 Photos
Tile is often the most used material in the bathroom, so choosing the right one is an easy way to kick up your bathroom's style. S …
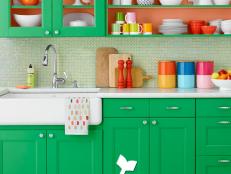
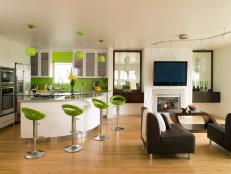
Laminate Kitchen Floors 13 Photos
Durable laminate flooring is an inexpensive option available in styles that mimic hardwood and stone.
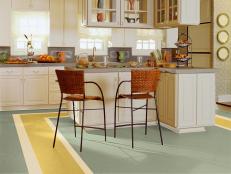
Linoleum Kitchen Floors 15 Photos
Enhance your kitchen's design with suddenly fashionable again linoleum flooring, an affordable, eco-friendly and durable option av …
Vinyl Kitchen Floors 20 Photos
A popular type of resilient flooring, vinyl is durable, low maintenance and easy on the budget. Vinyl floors are available in many …

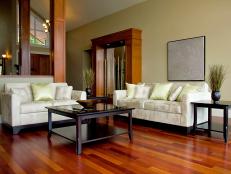
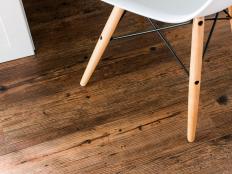
Hardwood Kitchen Floors 25 Photos
Add warmth and timeless beauty to your kitchen with classic hardwood flooring which comes in a variety of wood species, designs an …
Bamboo Kitchen Floors 14 Photos
Harder than many types of wood, eco-friendly bamboo kitchen flooring come in tiles and planks and in a variety of styles and finis …
Tile Kitchen Floor Ideas 21 Photos
Available in many styles and finishes, durable tile flooring can complement any kitchen design from traditional to contemporary. T …
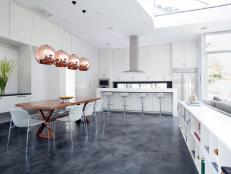
Must-See Kitchen Flooring Design and Material Ideas 30 Photos
There's no doubt the kitchen floor is the hardest working flooring in the house. Is yours up for the challenge? Discover material …
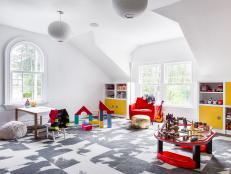
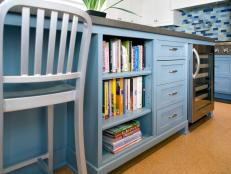
15 Kid-Friendly Flooring Ideas 15 Photos
Don't underestimate the importance of flooring in a house with kids. Here are 15 ideas for kid-friendly flooring, from activity ru …
Fun and Function Define This Interior Design Student’s Eclectic, Black-and-White Manhattan Studio 22 Photos
Carrie Carrollo is committed to contradictory decor in her playful New York City studio. And it all started with a set of black-an …
20 Hexagon Tile Designs 20 Photos
Hexagon tiles work across many design styles and they bring a unique, geometric look to your design. Shape-up your space with thes …
Cork Flooring for Every Room 20 Photos
Eco-friendly cork flooring is a comfortable, noise-reducing option available in many styles just right for any space.

Easy, Cheap and Green Cleaning Tips for Floors 10 Photos
Show your floors some love. Extend the life and improve the appearance of the floors in your home with these simple efforts.

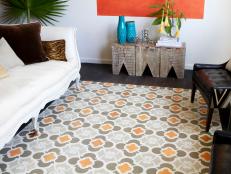
20 Head-Turning Tile Rug Ideas for Your Home 20 Photos
CAUTION: These high-style, tile rug designs may inspire your next weekend project... that may or may not involve ripping up your c …
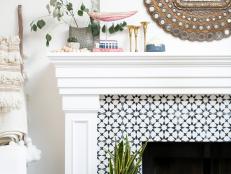
Everything You Need to Know About Trendy Cement Tile 20 Photos
Cement tile is definitely having a moment. But, we're not going to lie: There are some pros/cons to using these trendy tiles in yo …

White Modern Cottage Master Bedroom With Built-in Fireplace 9 Photos
This crisp, white bedroom provides a modern take on cottage style. The space features wide-plank wood floors, a soaring white bead …

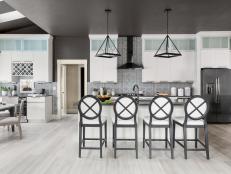
Tranquil California Home Designed for Style, Comfort 30 Photos
Designed for a client with two young boys and three dogs in Newport Beach, Calif., this tranquil, transitional home from Brooke Wa …
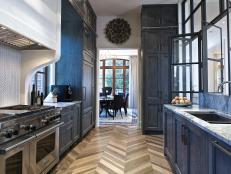
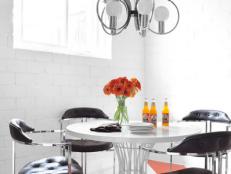
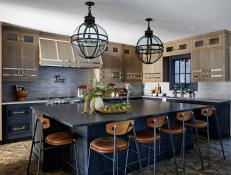
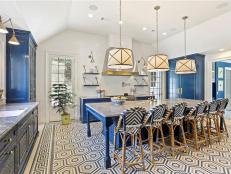
Chevron Floor in Small Kitchen 8 Photos
A stunning chevron-patterned hardwood floor is just one of this transitional kitchen's many standout features. Joel Kelly maximize …
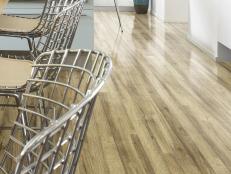
10 Stunning Hardwood Flooring Options 10 Photos
You have many options when choosing a hardwood floor for your home. Get inspired by our top choices.

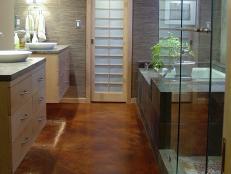
Unique Outdoor Flooring Ideas 7 Photos
Outdoor floors need love, too! Give them the custom treatment with paints, stains and overlays created specifically for exterior u …
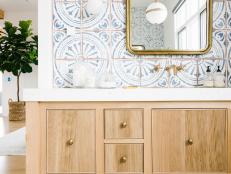
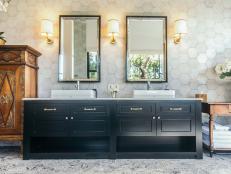
Flooring Ideas for Bathrooms 10 Photos
You can be as creative or traditional as you want when choosing your bathroom flooring. From ceramic tiles to cement flooring and …

8 Flooring Trends to Try 8 Photos
Don't forget about the floors when designing a room. Experts share different flooring trends that bring style and function to any …
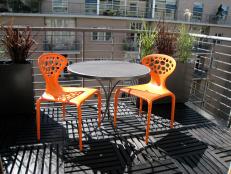
12 Outdoor Flooring Ideas 12 Photos
Who says flooring is just for indoors? With stone, wood, concrete and more, your outdoor space can be just as fashionable as the i …

Basement Rec Room Pictures From HGTV Smart Home 2014 24 Photos
The basement rec room is a perfect escape to let loose, with a projector screen for movie nights, a stage to jam out, and a workou …


