


Packed-With-Fun Game Room Ideas for All Ages
Score big in these high-style rec rooms that are ready for a little friendly competition. From card game nooks to classic billiard rooms, these interactive spaces are sure to inspire.

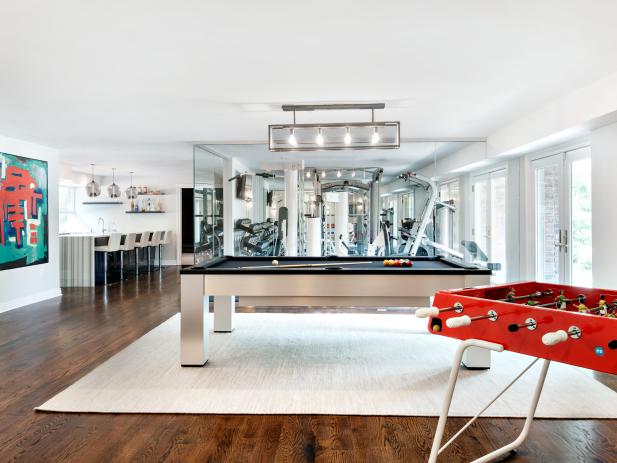
Ultimate Sports Lounge Design Ideas
No gaudy sports rooms here. We’re watching The Big Game in sleek, stylish spaces made for hanging out with your best buds or entertaining the whole neighborhood.

Video Game and VR Room Design Ideas
Press pause on boring design and immerse yourself in our favorite gaming and VR room ideas.


