


How to Drain a Water Heater
Extend your water heater's life span by draining the tank annually to remove any sediment that may have built up.
Most water heaters employ a large, insulated holding tank to ensure there's plenty of hot water on hand at all times for different purposes throughout the home. Over time, naturally occurring minerals in the water, as well as sand and grit flushed from municipal water lines, can settle in the bottom of the tank. This sediment buildup can potentially reduce the efficiency and capacity of your water heater. It can also plug the drain and interfere with ongoing maintenance, leading to early failure. Draining a water heater to remove sediments is an easy DIY that takes very little time and just a few basic tools.

Sherri James
Over time, naturally occurring minerals in water, as well as sand and grit flushed from municipal water lines, can settle in the bottom of your home water heater tank. Sediment buildup can potentially reduce the efficiency and capacity of your water heater.
How Often Should You Drain a Water Heater?
Sediment can interfere with burner efficiency in a gas water heater and can cause cracking and popping noises during heating cycles. Depending on your water source and the mineral content, both gas and electric water heaters should be flushed of sediment every one to two years to ensure optimal performance.
Dave Moody, a plumbing pro with Service Experts, suggests, "You may need to drain your water heater more frequently if your water source is a well or if your municipal water has higher-than-normal sediment content."
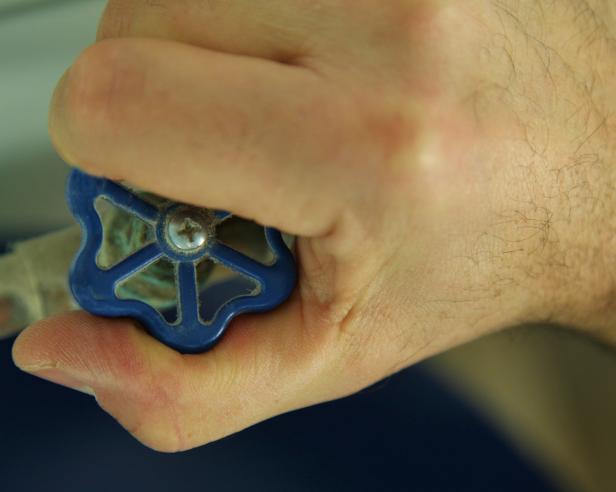
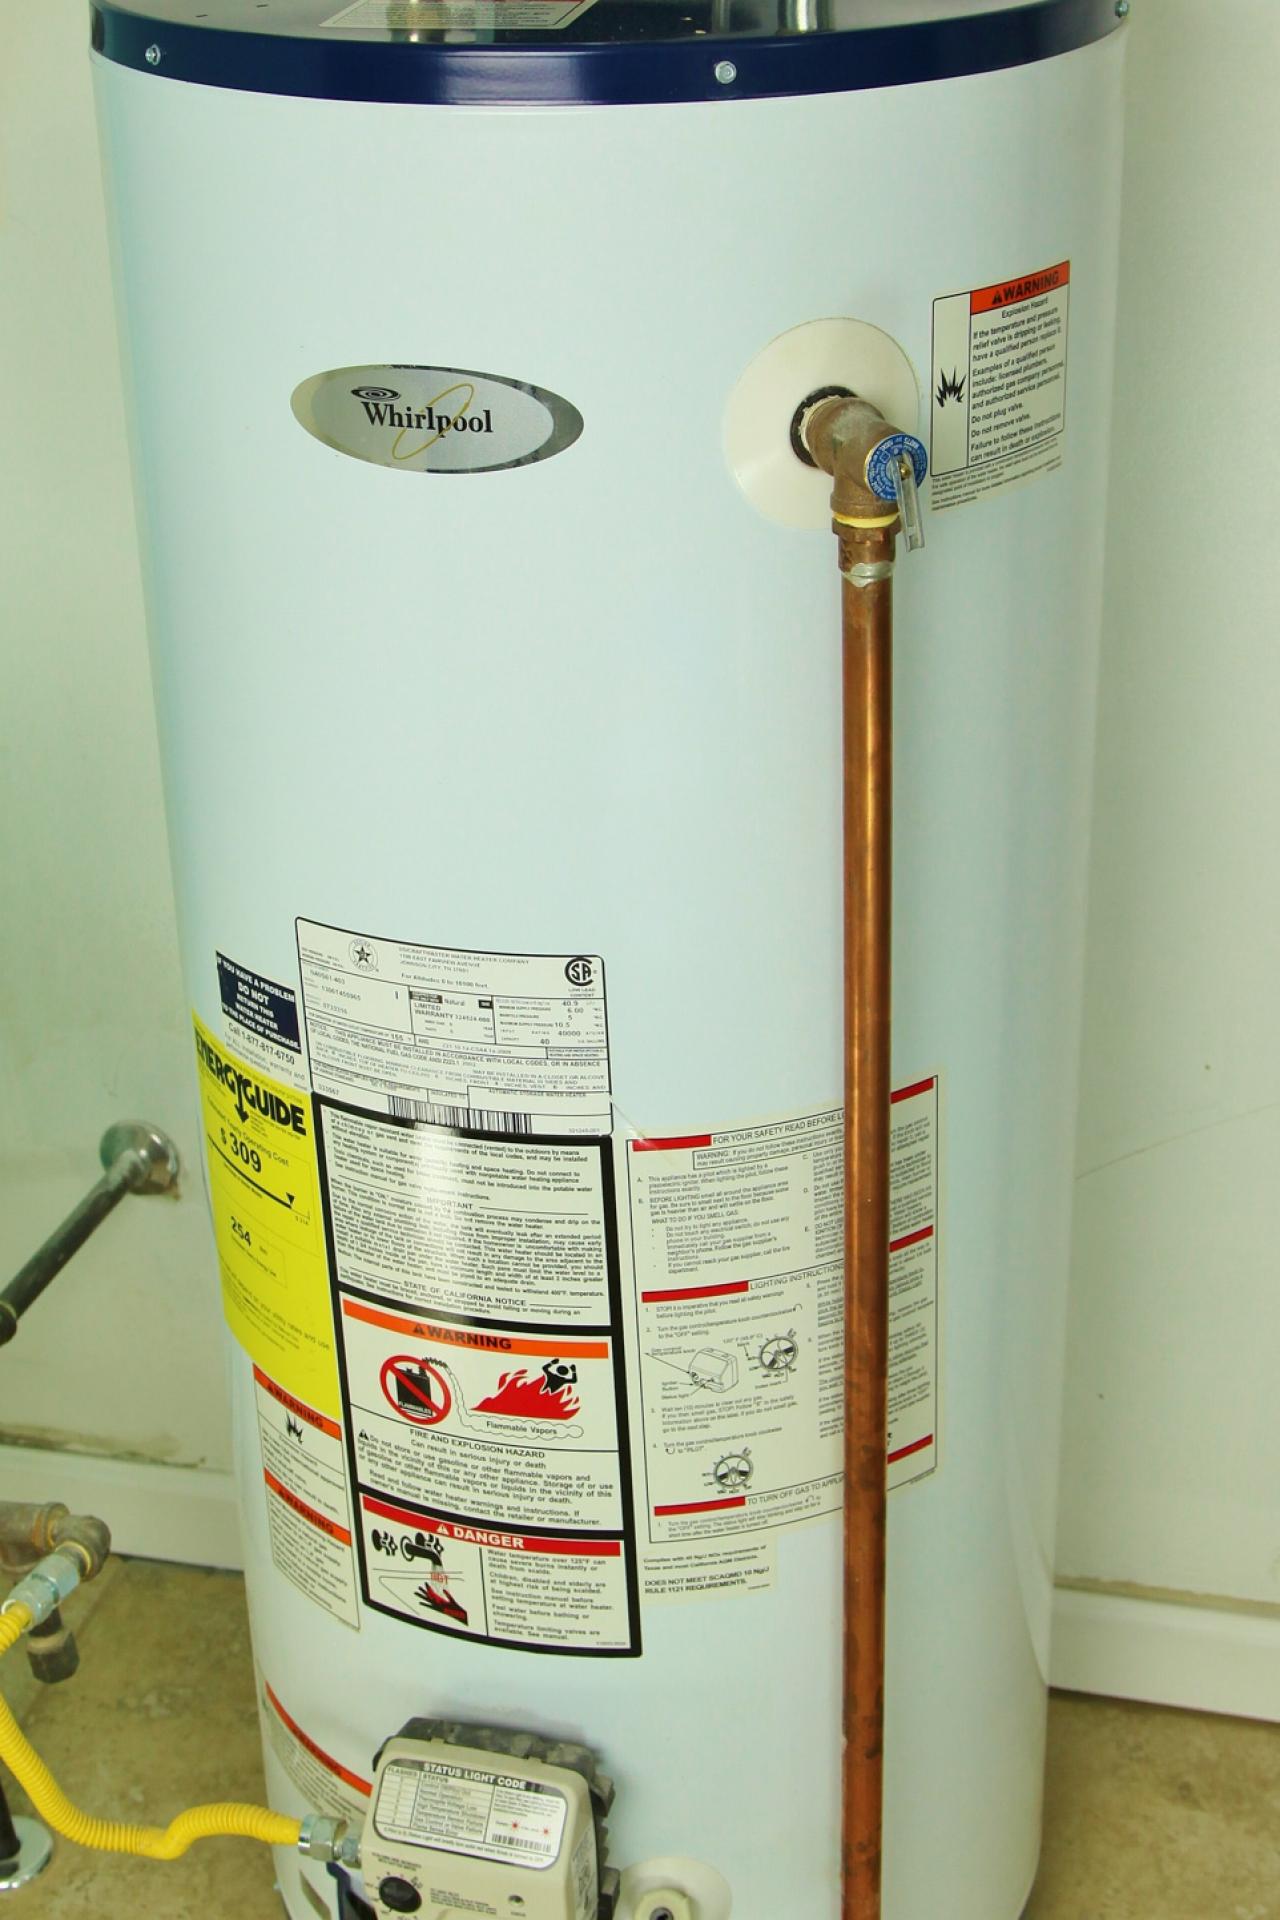
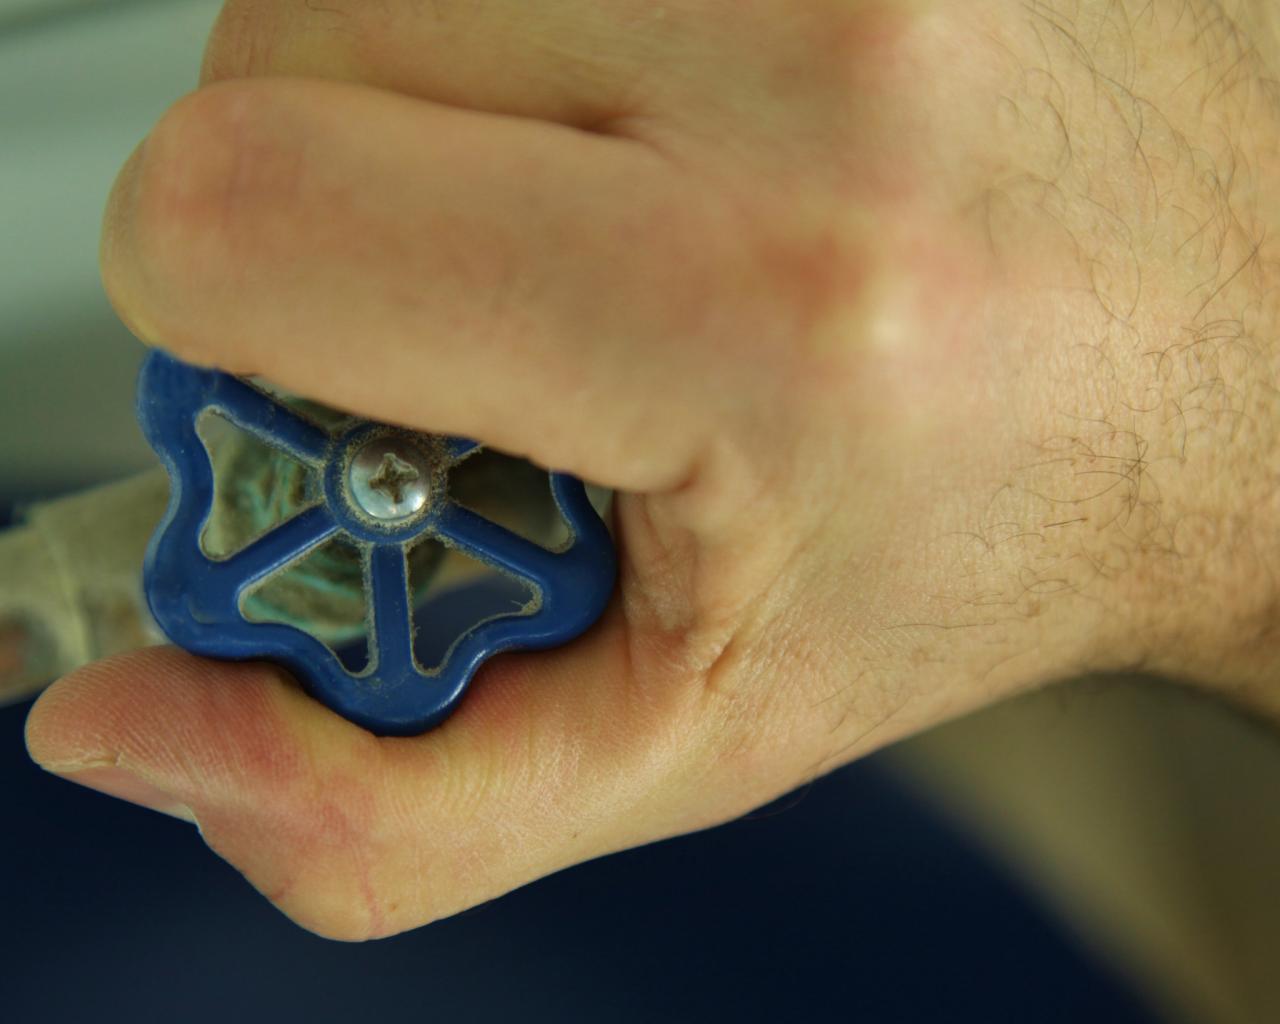
1. Turn Off Water Supply
Turn off the cold water supply valve at the top of the water heater.
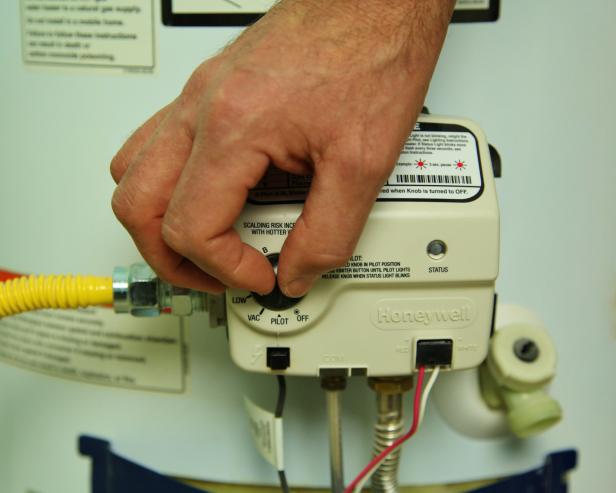
2. Turn Off the Water Heater
Turn the thermostat to the "pilot" setting (gas) or shut off the power at the breaker box (electric).
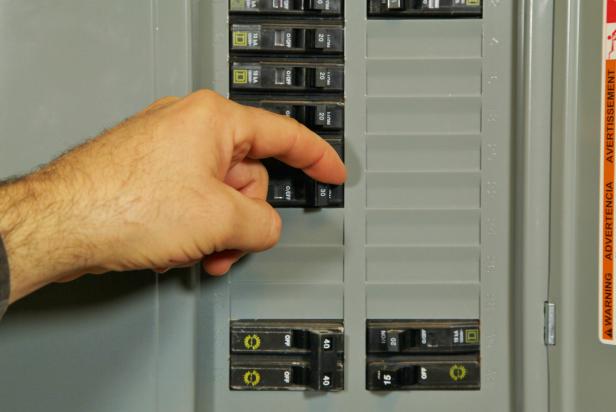
Note: Electric water heaters must be turned off completely during flushing. Exposed heating elements can burn out quickly if the water level in the tank drops below the level of the hot elements.
Most electric water heaters are wired directly to their own circuit breaker. Find the water heater's breaker switch in the main electrical panel.
Sherri James
"Even with the gas burner or electric heating elements turned off, water in a water heater tank may remain scalding hot for hours," Moody warns. "Either wait overnight for the water to cool before proceeding, or take extreme caution to drain the scalding hot water away from where it may cause harm."
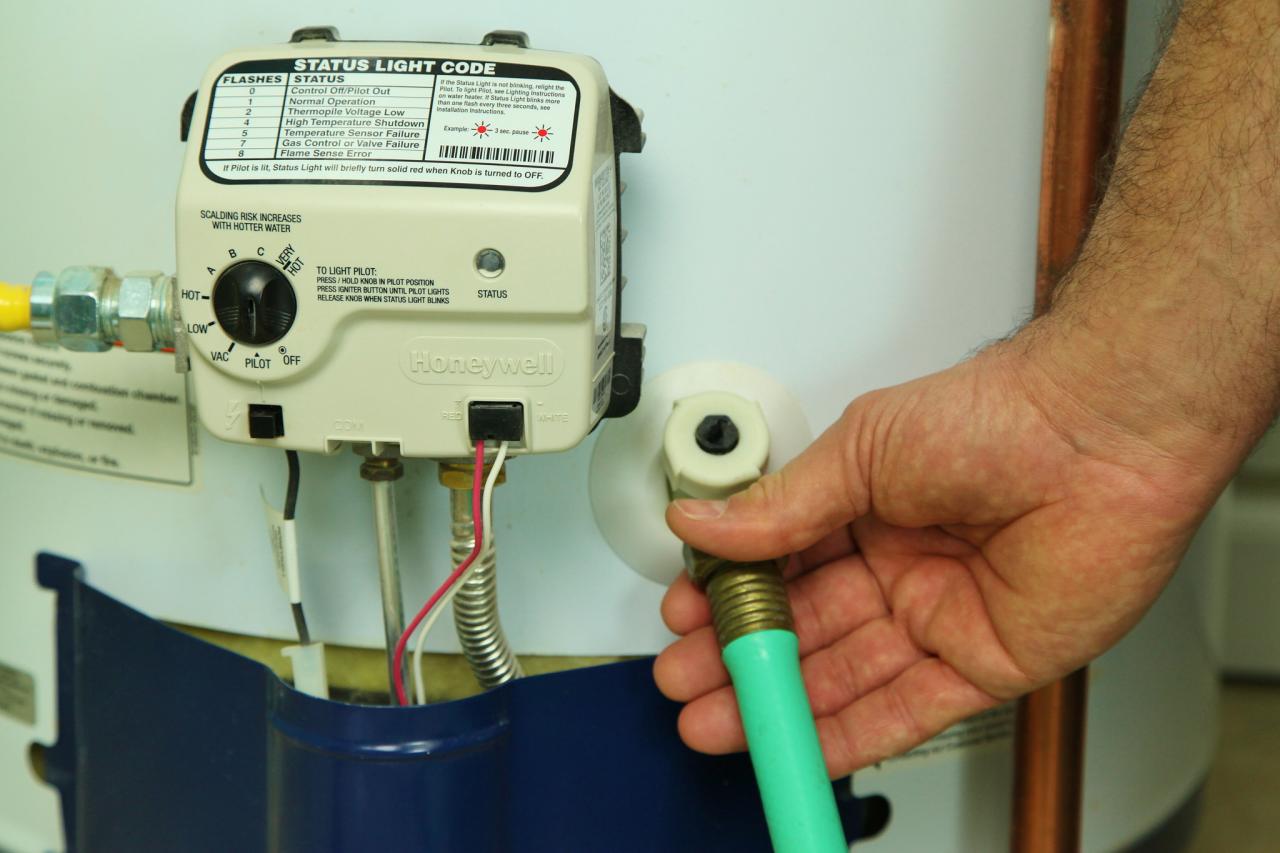
3. Attach Hose to Drain Valve
Near the bottom of the tank, locate the tank's drain valve and attach a standard garden hose to the valve. Be aware that some models may have a cover over the valve opening. Place the other end of the hose in a floor drain or on a driveway where it can drain safely. If necessary, buckets can be used, but be careful not to be burned by the hot water as you work.

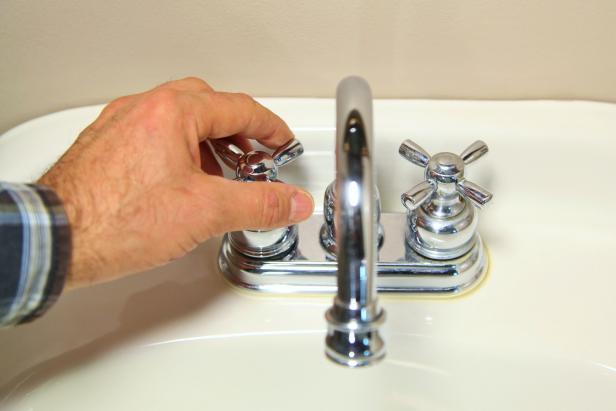
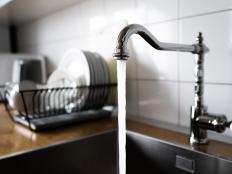
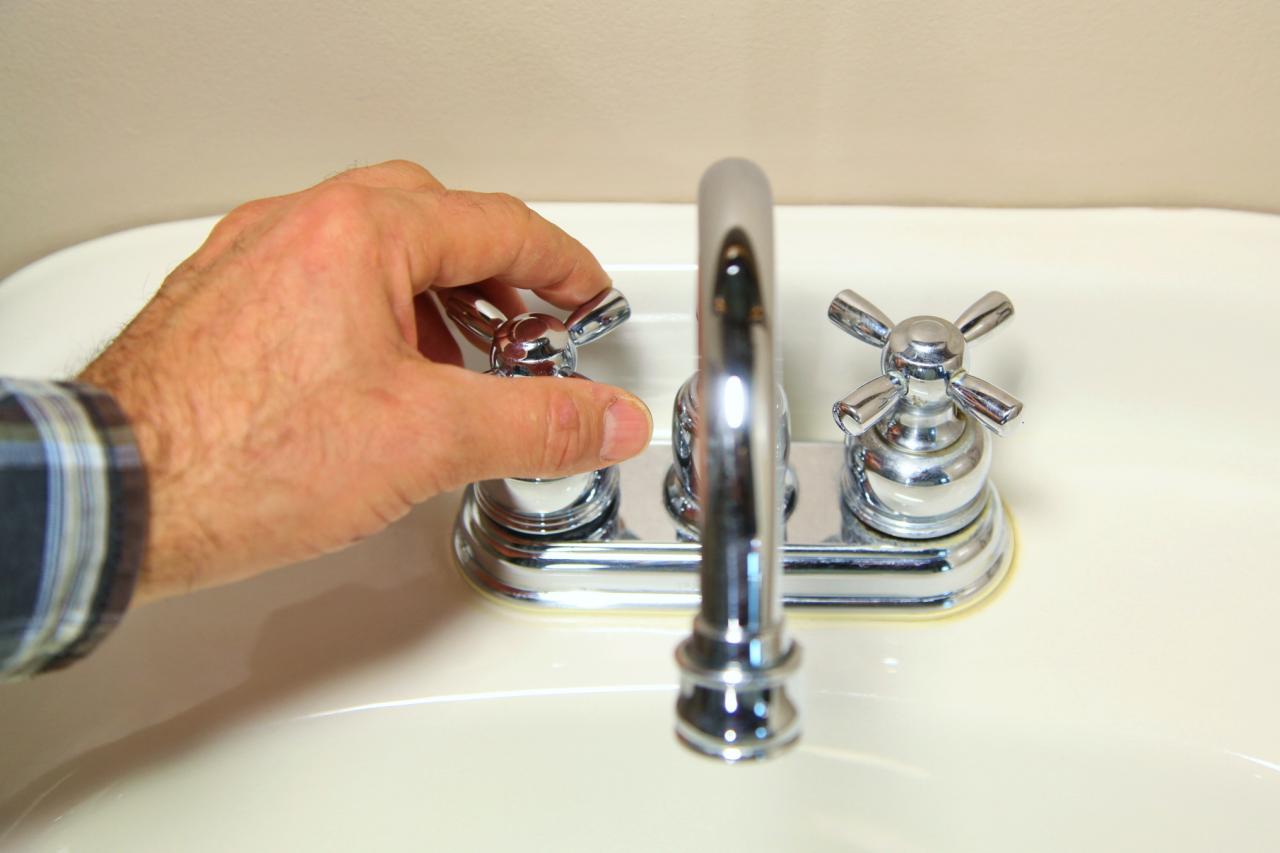
4. Open Hot Water Tap
Open a hot water tap nearest to the water heater, preferably on the floor above. This alleviates pressure in the system, allowing the water to drain quickly from the tank, much like removing your finger from the top of a drinking straw filled with liquid.
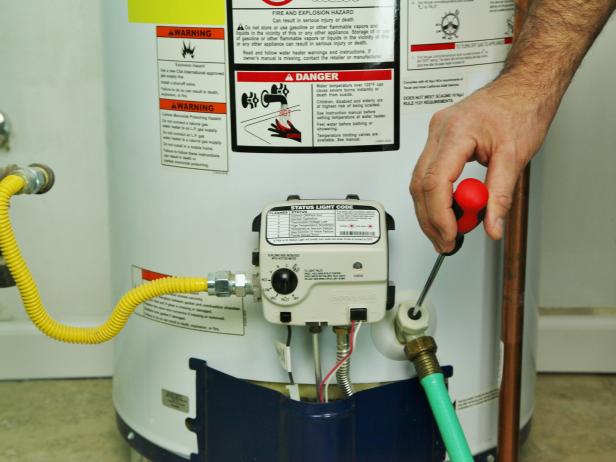
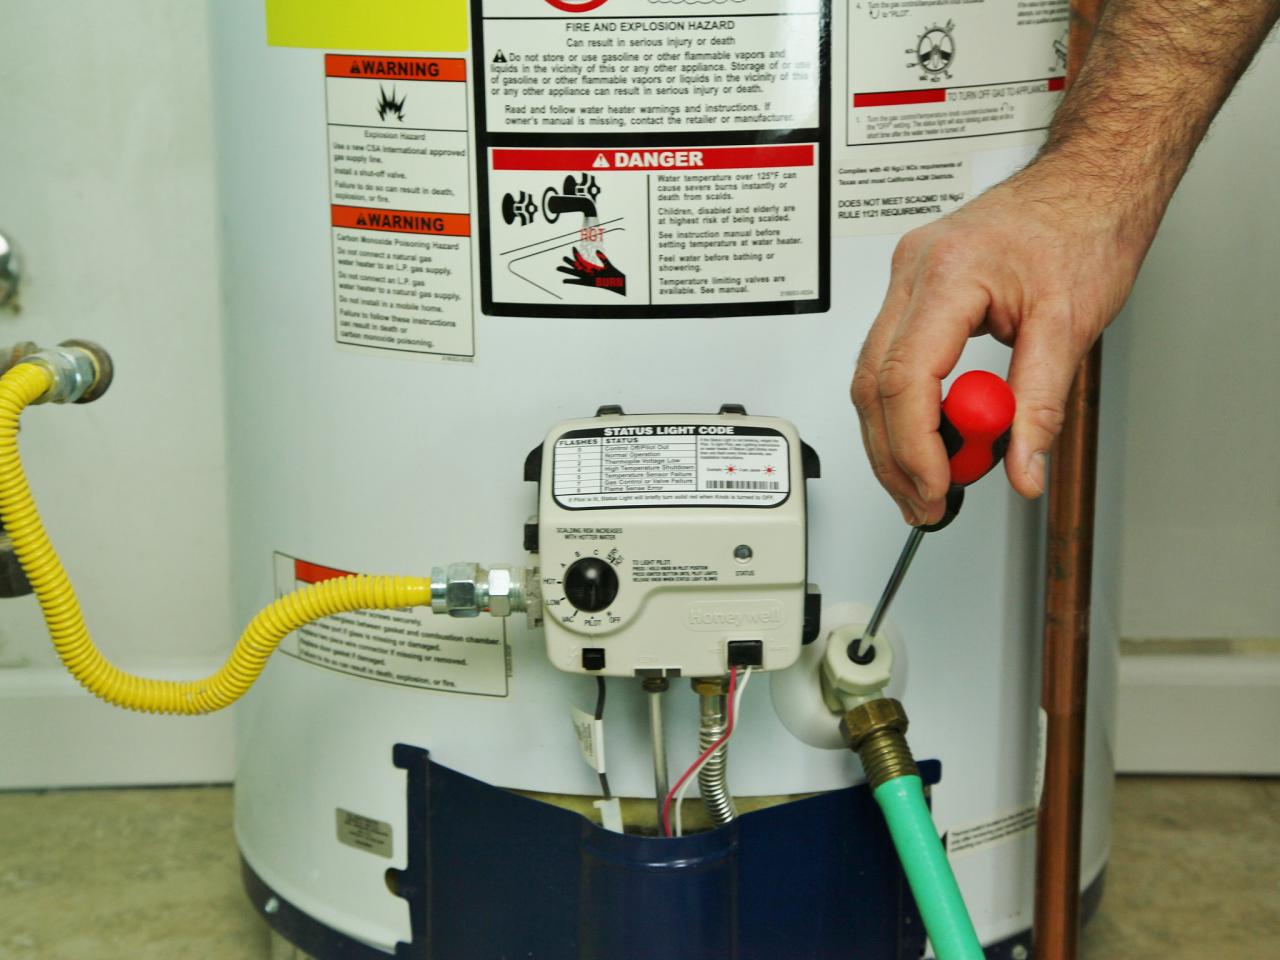
5. Open Drain Valve
Open the drain valve and allow the water to drain from the tank. On many models, you can do this with a flathead screwdriver. Again, the water will be hot, so use caution. Once all water has drained from the tank, briefly turn on the cold water supply to the tank. This will stir up any remaining sediment.
Repeat this process until the water runs clear. Dave Moody has seen some severe cases of sediment buildup: "In some cases, sediment may block the opening of the drain valve, limiting the flow of water. If this happens it's best to call in an expert for assistance."
6. Close Valve, Refill Tank, Restart Water Heater
Close the drain valve, remove the hose and turn on the cold water supply. The tank will begin to fill. Go back to the hot water tap opened earlier. Once cold water begins to flow from the tap, turn it off. Turn the gas valve back on from the pilot position or turn the electricity back on to the tank. Be sure to check the valve opening once it's closed to ensure there are no water leaks.
Caution: Some tanks must be completely full to avoid damage to the gas burner or heating elements. Always read and follow all manufacturer's directions and warnings for your particular water heater.

Hot-Water Heater Buying Guide
Learn about the different types of hot-water heaters, which are the most energy efficient and how to get money back in federal tax credit.


