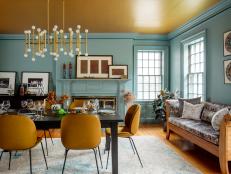
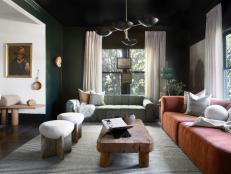
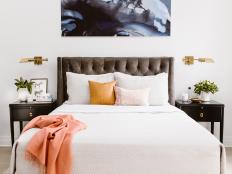
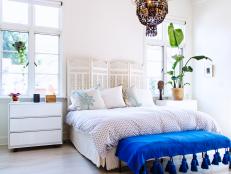
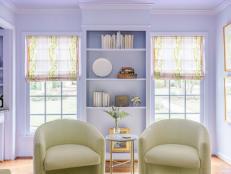
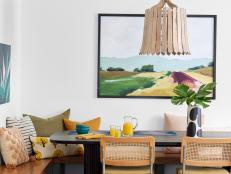
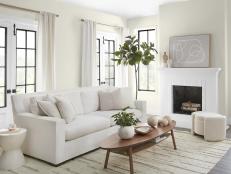
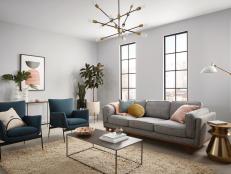
Design Styles Defined 45 Photos
Learn about the most popular styles in interior design — and use these pro pointers to bring them to life in your home.
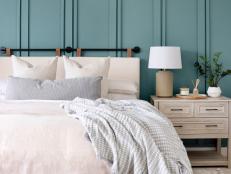
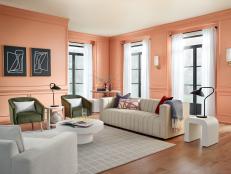
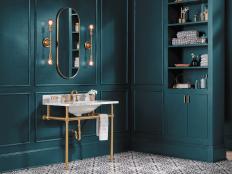
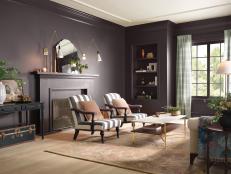
All About Color
50+ Paint Shades We Love and How You Can Use Them 135 Photos
HGTV Magazine shares tips on how to use even the most vibrant colors around your house.

Color Wheel Primer
Learn the basics of the color wheel, types of color schemes and color dimensions.
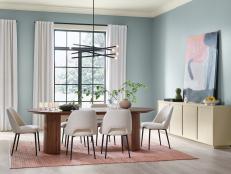
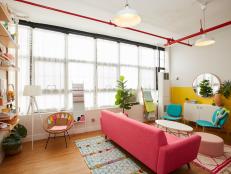
Our Latest Decorating Ideas
Stay up to date on the hottest design trends and decorating must-knows.
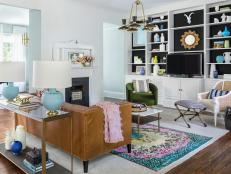


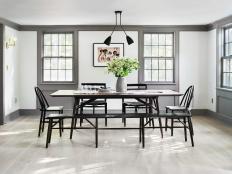
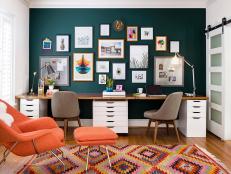
Decorating 101
Start your design journey by finding your style and mastering decorating basics.


More Color Tips and Tricks
More in ColorSpice up your space with these on-trend color palettes and paint shades.


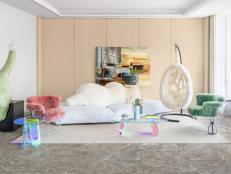

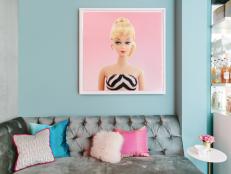

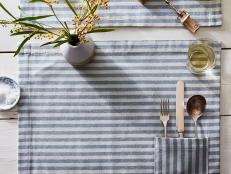
Shop Our Fave Decor
More in Furniture and AccessoriesAdd these HGTV-approved furniture and accessory picks to your shopping cart.


Watch: DIY Decorating Ideas
More DIY Decorating Videos


Design Ideas From HGTV Magazine

2024's Best Eco-Friendly Furniture and Decor Mar 19, 2024
The HGTV Magazine 2024 Green List is here! Check out the editors' favorite new eco-friendly finds for every room (and your patio, …
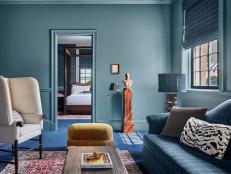
Decorating Ideas to Steal From Boutique Hotels Jan 17, 2024
Steal the look of these cozy hotels: Every room is full of ideas!
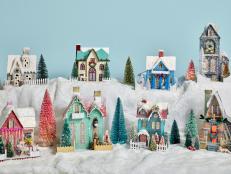
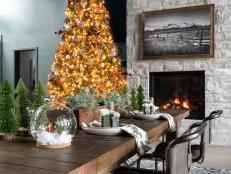
Create a Christmas Village of Glittering Mini Houses Nov 2, 2023
Vintage-inspired miniature houses are making a comeback. See what’s on the market.

10 Stylish Pet Beds That Look Like Sofas Sep 15, 2023
Your pup will happily sit (and stay!) on these adorable pet sofas.
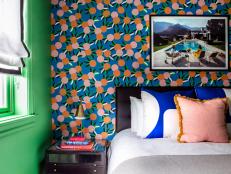
Would You Try These Wild Wallpapers? Sep 1, 2023
Not sure if a daring pattern is for you? These homeowners say, 'No regrets!'
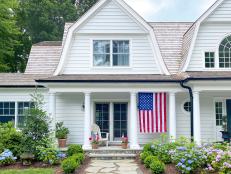
Flag-Flying Etiquette You Need to Know Jun 30, 2023
Learn the proper way to display the stars and stripes. You'll want to flag these tips for later.
No-Fail Color Combos From the HGTV Stars Apr 27, 2023
Sometimes two colors are better than one. The HGTV stars share their favorite duos.
The Best Eco-Friendly Home and Decor Products Feb 27, 2023
How green can you go? Shop our favorite new sustainable finds.
20 Specialty Bulbs and Statement Lights to Brighten Any Space Jan 12, 2023
These cool bulbs should be exposed! Shop the HGTV Magazine editors' top picks — plus light fixtures that let them shine.
2023's Coolest Home Decor Trends to Try Right Now Jan 9, 2023
Here’s what’s in (and what’s back) for home decor, according to the editors at HGTV Magazine.
Flea Market Flips: Nightstand Edition Dec 21, 2022
HGTV Magazine turned these unloved nightstands into dreamy pieces for your bedroom — and we have all the amazing how-tos.
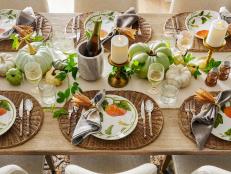
Table Setting Ideas From the HGTV Stars Nov 1, 2022
Places, everyone! See how the HGTV stars set a stellar table for Thanksgiving.
Playful Design Ideas All Around the House Oct 12, 2022
Check out these fun ideas from HGTV Magazine that are sure to liven up any spot. It's game time!
The HGTV Stars’ Favorite DIY Halloween Decor Crafts Sep 19, 2022
No tricks here — just easy Halloween decorating ideas from the HGTV stars. DIY, if you dare ...
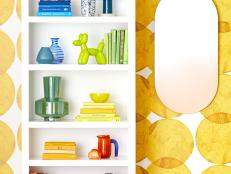
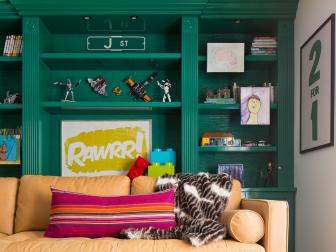
4 Bookshelf Decorating Ideas For Every Style Nov 3, 2021
These no-fail decorating concepts from HGTV Magazine will give you major shelfie confidence.

80+ Colorful Home Accessories HGTV Magazine Editors Love Apr 20, 2021
Pick your pop of color! Decisions, decisions … are actually a treat when you’re scrolling through super-fab finds in the hottest c …

Holiday Front Door Decorating Ideas Anyone Can Pull Off Nov 12, 2021
Make an entrance with these festive ideas from HGTV Magazine. This door decor will bring you (and your neighbors!) all the cheer.

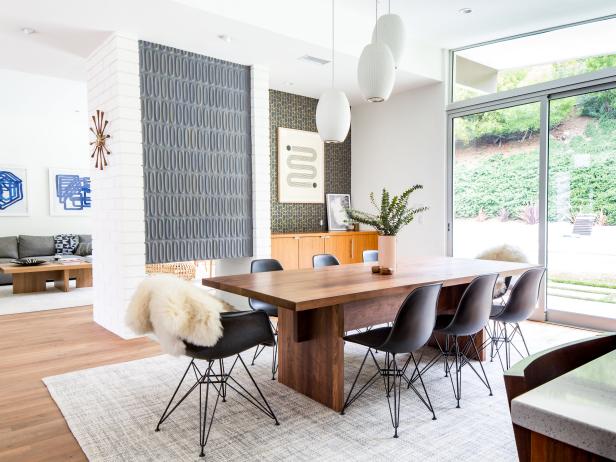
Super-Cool Ways to Perk Up Your Dining Room Oct 22, 2020
You know that room you only use during the holidays?! These fun ideas from HGTV Magazine will lure you there all year.

10 Cute Fruit Accessories HGTV Magazine Editors Love Jul 1, 2020
These juicy summer staples will brighten any space. HGTV Magazine editors dish their top picks.
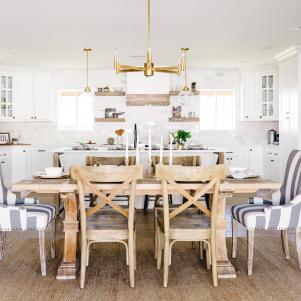
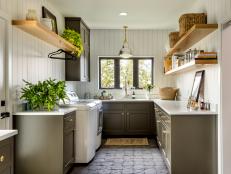
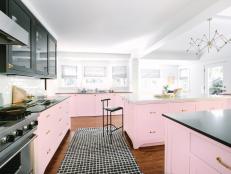
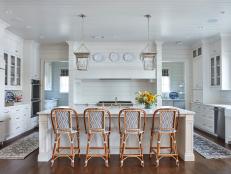
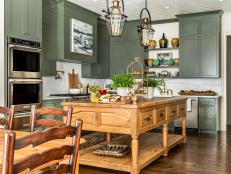
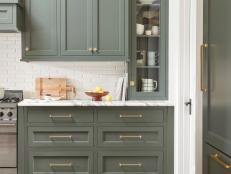
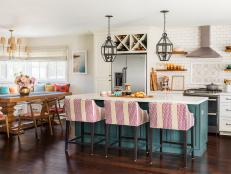
This Coastal Kitchen Has Total Farmhouse Vibes May 27, 2020
A Florida couple gets the light and bright kitchen they craved. HGTV Magazine shows you all the coolness.
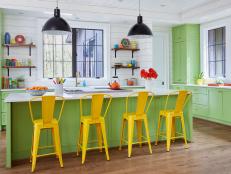
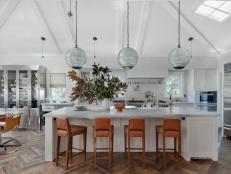
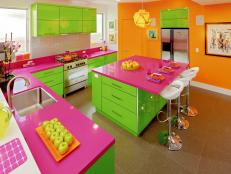
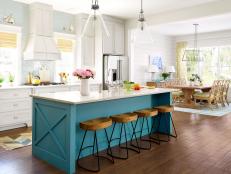
Take a Spin Around This Bright and Sunny Kitchen May 19, 2020
Grassy greens, sunny yellows, sky blues — this space from HGTV Magazine is a force of nature.
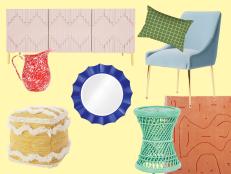
A Rainbow of Home Accessories HGTV Magazine Editors Are Obsessed With Right Now Apr 21, 2020
Cobalt, blush, ruby, ocher and more! Add a pop of color to any space with these super-cool home accessories in the trendiest color …
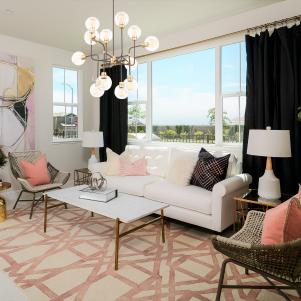
How to Style Your Pillows Like an HGTV Star Apr 2, 2020
Their formulas are the next best thing to having a pro right there with you in your living room. HGTV Magazine has all the details …
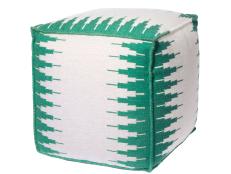
14 Poufs HGTV Magazine Editors Love Right Now Mar 9, 2020
Poof! Your room's cute. These little guys have the power to perk up an entire space.
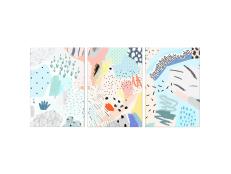
Start With Art: How to Use Wall Art to Decorate Any Space Mar 6, 2020
Choose a piece of art and run with it! HGTV Magazine is here to help you redecorate any room.
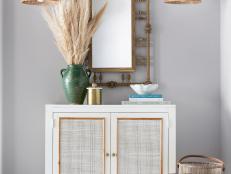
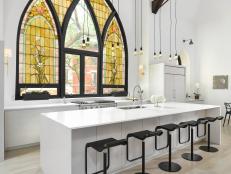
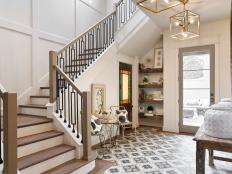
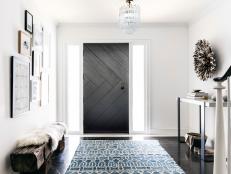
4 Fun Entryway Designs and How to Steal the Looks Jan 31, 2020
HGTV Magazine has some ideas for styling up that small-but-big-deal spot: paint colors, mirrors, lamps, rugs and more!
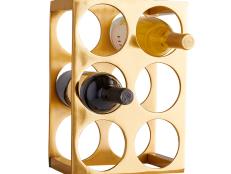
Gold Accessories That'll Make Any Space Shine Jan 28, 2020
These glam, yet simple accessories from HGTV Magazine (we've got flatware, planters, wallpaper and more!) are calling your name.

The Top 12 Home Trends HGTV Magazine Editors Are Loving Right Now Nov 20, 2019
It only takes one trendy piece to totally change a room — and yes, these picks from HGTV Magazine are that good.
How This Homeowner's Best Friend Designed Her Cozy Kitchen Aug 29, 2019
Two decades of BFF-ing make for one great space. Take a tour with HGTV Magazine, plus find out what paint colors and products they …
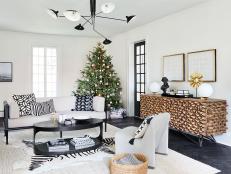
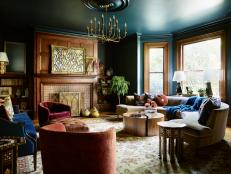
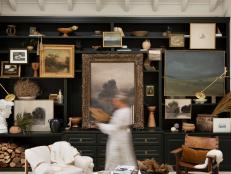
A Unique, Neutral-Chic Home Ready for the Holidays Nov 19, 2021
HGTV Magazine takes you through a Minneapolis home decked out in black and white.