DIY Decoupage Crafts 7 Photos
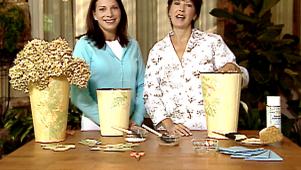
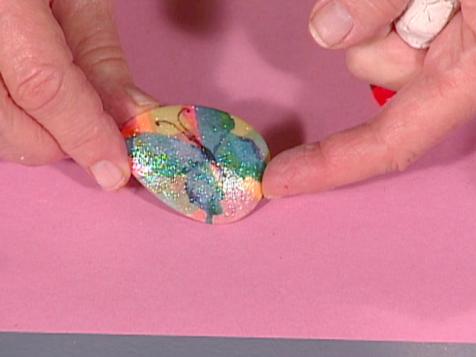
Break out the Mod Podge and a brush to create these awesome decoupage projects.
By entering your email address, you agree to our Terms of Use and acknowledge the Privacy Policy. HGTV and its affiliates may use your email address to provide updates, ads, and offers.
Want even more inspiration?
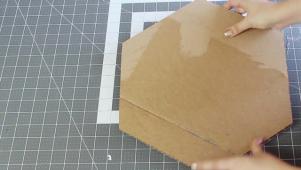
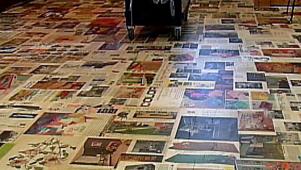
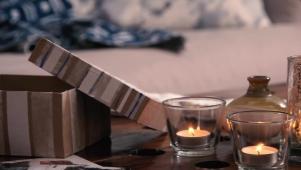
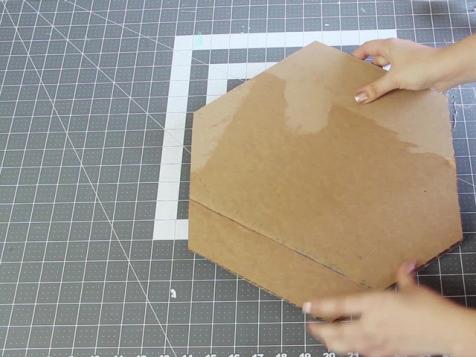
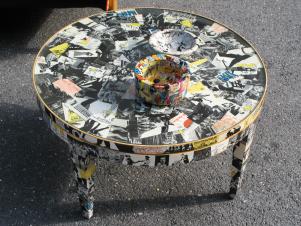
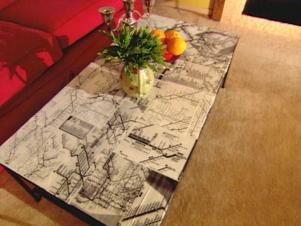
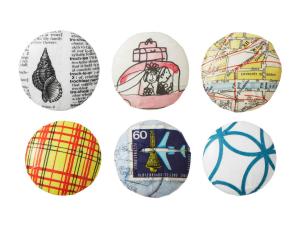
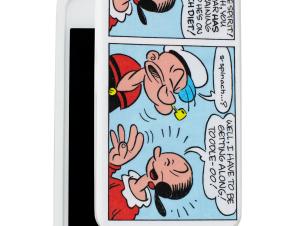
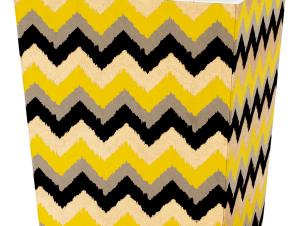
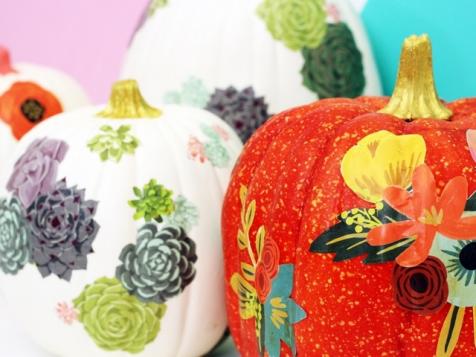
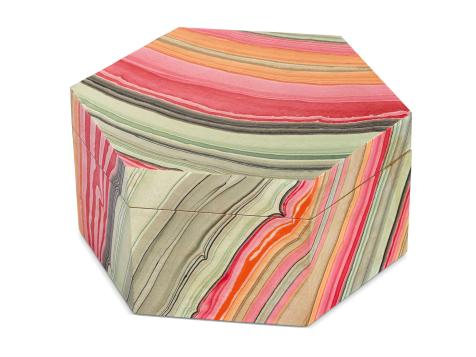
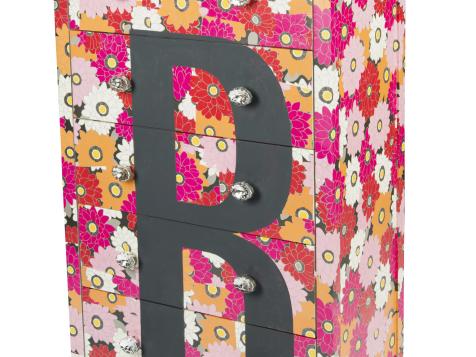
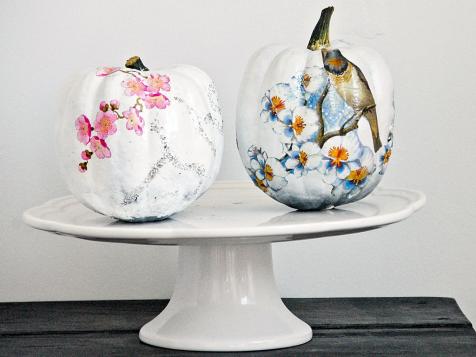
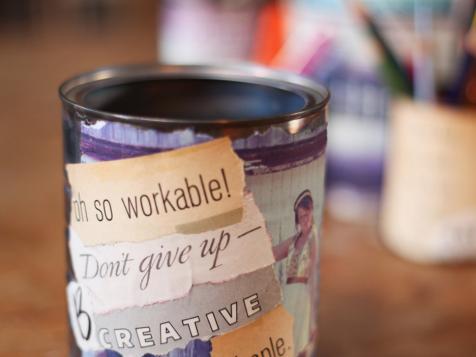
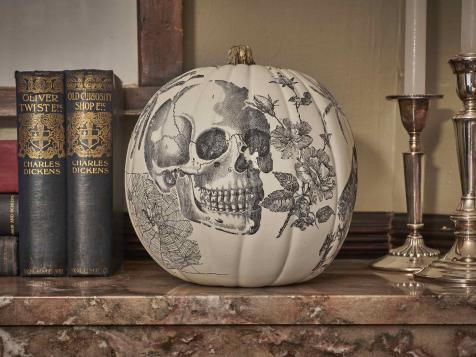
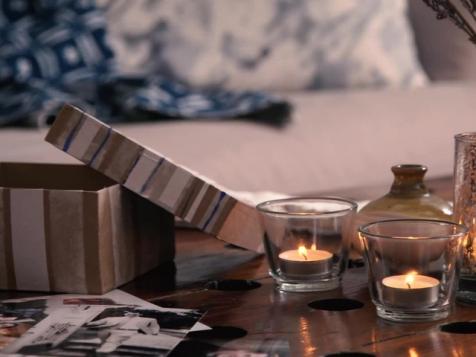
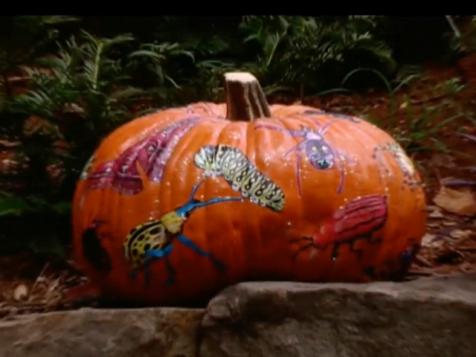
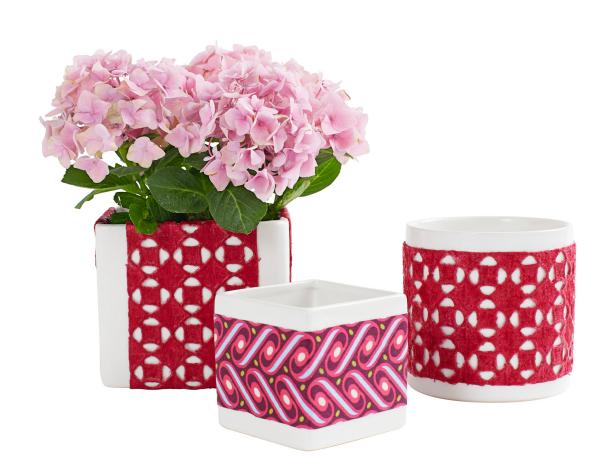
Decoupage is an easy DIY technique that uses glue and decorative paper or fabric to transform anything from furniture to trays and boxes into custom, one-of-a-kind pieces.
Break out the Mod Podge and a brush to create these awesome decoupage projects.
Get product recommendations from HGTV editors, plus can’t-miss sales and deals.