


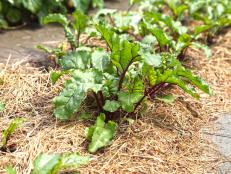
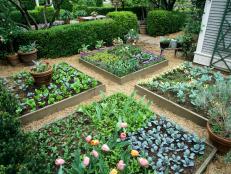
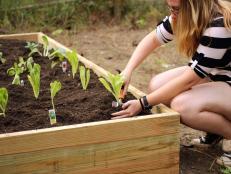
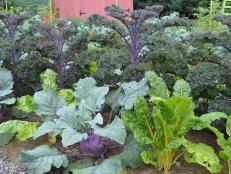
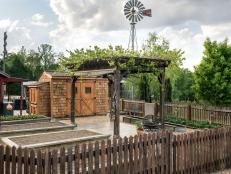
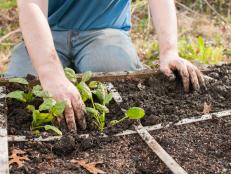
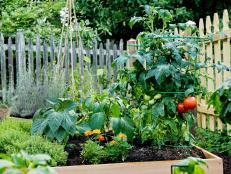
20 Raised Garden Bed Ideas 26 Photos
Discover different types of raised garden bed styles and flower bed styles that will inspire you to create your own orderly garden space.
What's New in Gardens
Browse our latest gardening tips, design ideas and product picks.


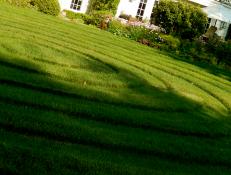
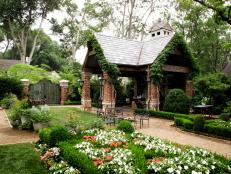
Garden Tours
Need design inspiration? Explore these incredible gardens from around the world.


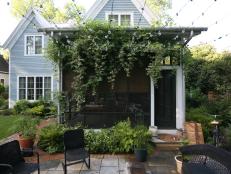

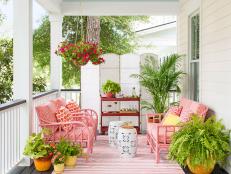
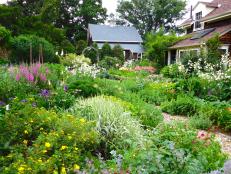
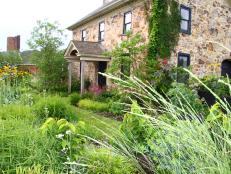
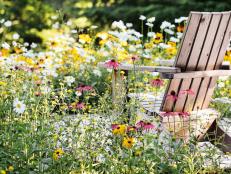
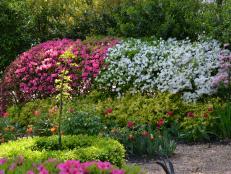
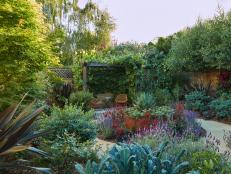
Cozy Cottage Gardens
More in Garden Styles and TypesThis charming garden style is known for its colorful, carefree plantings.


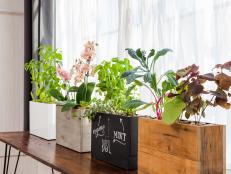
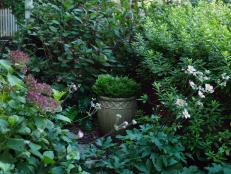
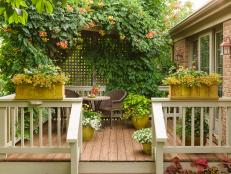
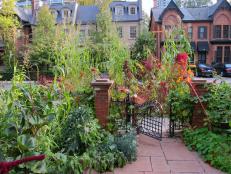
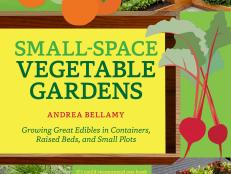
Small-Space Gardens
No backyard? No problem! Learn how to start a garden on a small deck or patio.
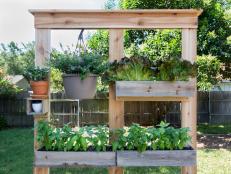
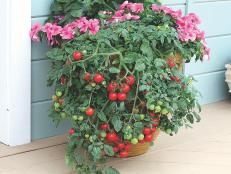


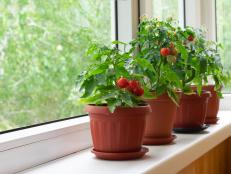
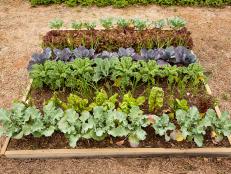
Vegetable Garden Ideas
More in Vegetable GardeningWe've got the advice you need to start growing your own veggies, herbs and fruit.


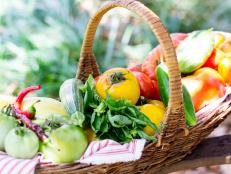


Use What You Grow
More in Garden to TableFind out how to cook, can, dry or freeze your bountiful harvest.


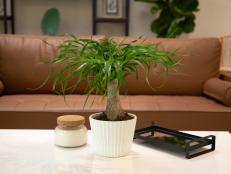
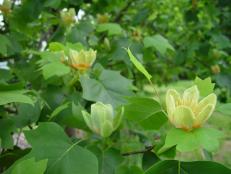
Plant Care Tips
More in Planting and MaintenanceLearn how to plant and maintain variety of flowers, shrubs, trees and more.


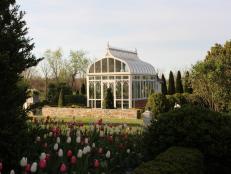
Watch: Formal Garden Tours
More Garden Videos


Shop Gardening Products

The 10 Best Indoor Herb Garden Kits, According to a Master Gardener Apr 4, 2024
Snip fresh herbs right when you need them with one of these indoor herb garden kits to grow thyme, cilantro, basil, parsley and mo …
25 Budget-Friendly Buys You Didn't Know You Needed for Your Garden Apr 1, 2024
Add a special touch to your outdoor space with these beautiful and functional finds under $50.
Shop Spring Gardening Essentials From Hilton Carter's New Plant Care Line at Target Apr 4, 2024
Hilton Carter is back with a new line at Target, launching a stylish collection of planters, garden tools, home decor, live housep …
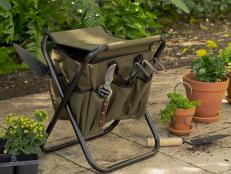
8 Best Gardening Seats and Kneelers of 2024, Tested and Reviewed Mar 29, 2024
Get a little extra support in the garden with these comfortable seats, stools and kneelers, making it easier to plant, weed and do …
26 Best Gardening Gifts for Mother's Day Apr 10, 2024
From lavish to low-cost, surprise Mom with one of these garden-inspired gift picks.
28 Garden Tools and Essentials for Year-Round Care Mar 22, 2024
When you're ready to grow, use our green-thumb shopping list to find great garden tools, gear and more, with top picks from HGTV e …
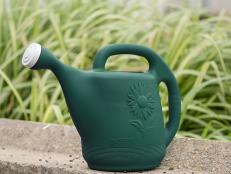
The Best Watering Cans of 2024, Picked by HGTV Editors Mar 21, 2024
Hydrate your plant babies and keep them blooming with a top-rated watering can perfect for your home and needs.
Top-Rated Gardening Buys You Need Now, According to Amazon Shoppers Mar 29, 2024
These tried-and-true lawn and garden products are backed by thousands of positive customer reviews.
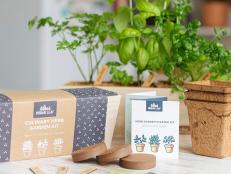
10 Best Garden Starter Kits on Amazon Mar 12, 2024
Get your grow on with these easy-to-follow gardening kits for beginners.
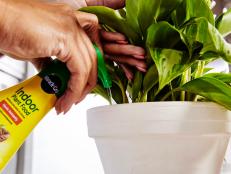
The 10 Best Fertilizers for Indoor Plants, According to a Master Gardener Mar 5, 2024
Keep houseplants healthy and strong with the right fertilizer.
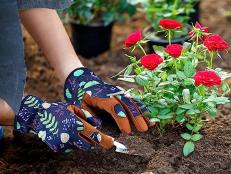
8 Best Gardening Gloves of 2024, Tested and Reviewed Mar 29, 2024
We put top-rated gloves to the test in order to find the best options for planting, weeding and daily garden chores.
52 Best Pots and Planters for Every Style and Budget Feb 26, 2024
Perk up your patio or indoor space no matter your budget with these stylish planters and pots.
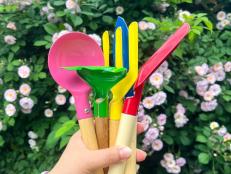
The Best Tools to Get Kids Hooked on Gardening Apr 16, 2024
Foster an interest in being outside and outdoor gardening with these kid-sized tools.

63 Gift Ideas for Gardeners Oct 19, 2023
For those on your gift list with green thumbs, we've rounded up ideas that are sure to inspire some nature-loving activities.
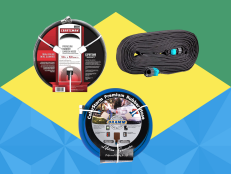
7 Best Garden Hoses of 2024, Tested and Reviewed Jan 16, 2024
Learn the basics of garden hoses, and choose the right one for your yard and garden with HGTV editors' top recommendations, from l …
The Best Gardening Gifts Under $40 on Amazon Jun 27, 2023
These gardening gifts are affordable while being creative, useful and perfect for your favorite green thumb.
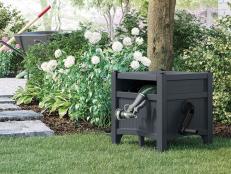
The 10 Best Hose Reels in 2023 May 18, 2023
Store your hose in style with these top-rated hose pots, hideaways and stands.
30 Gifts for Garden-Loving, Outdoorsy Dads May 16, 2023
Dad doesn't need another tie. Find the perfect garden-centric gift that he'll want to use year-round.
11 Great Garden Trellises for Climbing Vines, Blooms and Vegetables Apr 18, 2023
Add support and style to your landscape design with these beautiful garden trellises.
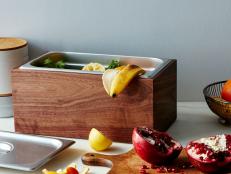
13 Best Countertop Compost Bins for Your Kitchen Apr 12, 2023
Composting food scraps in your home is a great way to cut down on landfill waste and upcycle peels, cores and seeds into nutrients …
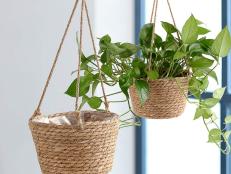
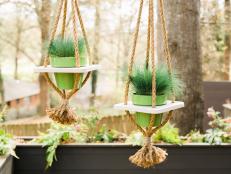
15 Best Indoor and Outdoor Hanging Planters Apr 10, 2023
Level up your gardening game with a beautiful hanging planter or basket.
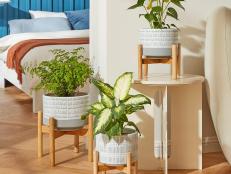
The Best Plant Stands for Every Style and Space Mar 27, 2023
Elevate your botanical display with these fresh-picked plant stands.

10 Best Window Box Planters for Every Style Mar 28, 2023
Grow your curb appeal with these best-selling window box planters.

The Best Sun Hats to Protect Your Face Mar 23, 2023
Keep your hair, eyes and skin protected from the sun's harmful UV rays with a chic, hard-working sun hat.
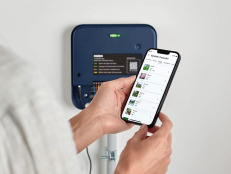
The 10 Best Smart Sprinkler Controllers of 2023 Mar 6, 2023
The grass is greener where you water it.

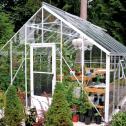
10 Backyard Greenhouses You Can Buy Online Feb 22, 2023
Keep your green thumb occupied and protect your plants from the elements with these greenhouse finds.
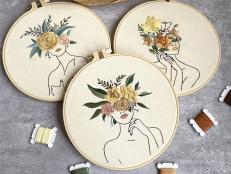
The Best Gifts for Plant Lovers Nov 14, 2023
Looking to find the perfect present for the plant lover on your list? Our hand-picked gift ideas are sure to knock their stalks of …
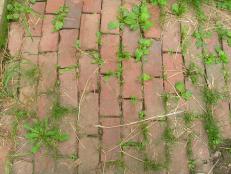
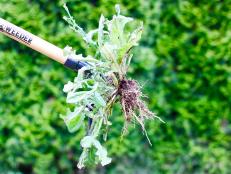
Make Your Own Natural Weed Killer Apr 18, 2024
Tackle troublesome garden weeds the sustainable way with this easy-to-make homemade weed killer.
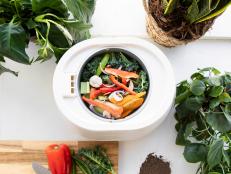
This Countertop Home Composter Is a Game Changer Sep 2, 2022
The innovative technology in Lomi lets you create garden compost almost overnight. Find out what one HGTV editor thought of the de …

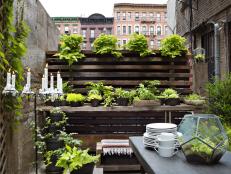
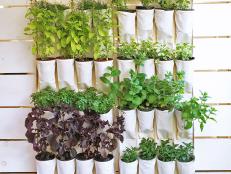
12 Pretty + Practical Vertical Garden Planters Apr 12, 2022
Take your gardening to new heights — literally — with these vertical garden planters and boxes.


