


How to Install a Door Knob
Get simple instructions on how to install a door knob the right way.
What You'll Need
- screwdriver
- safety glasses
- doorknob kit with hardware
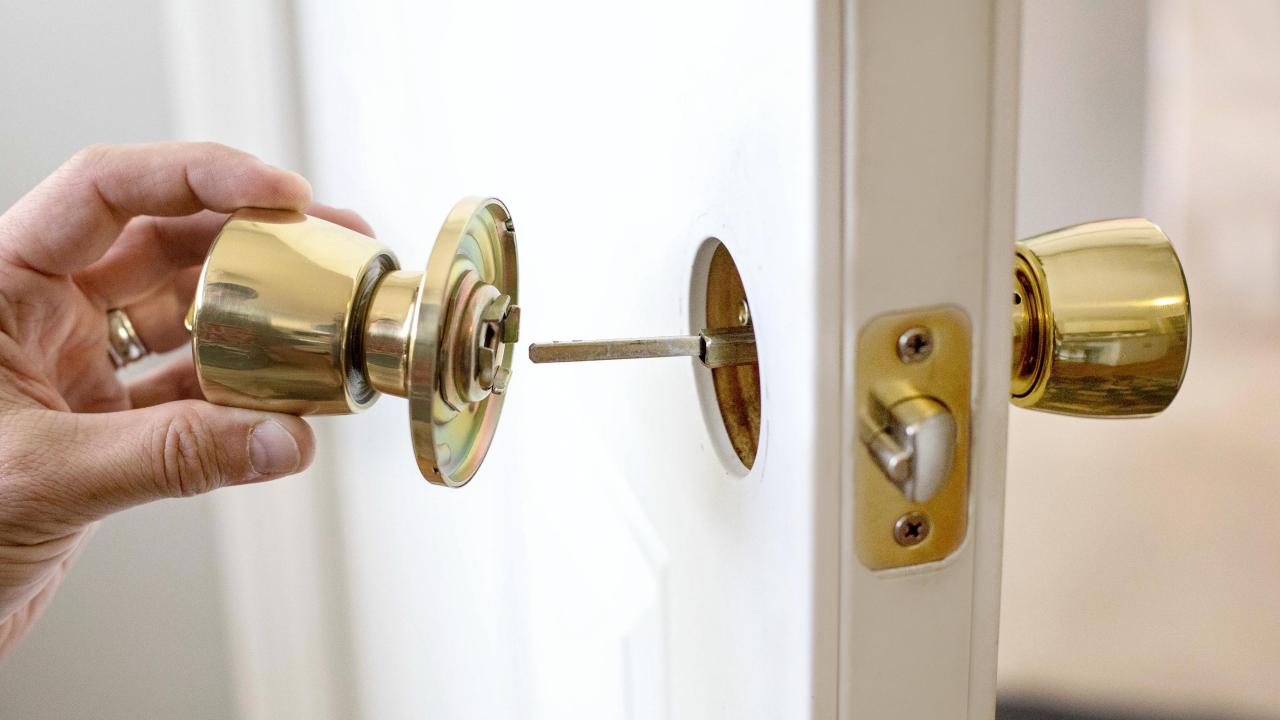
Before you install your new door knob, make sure you remove your old one correctly.
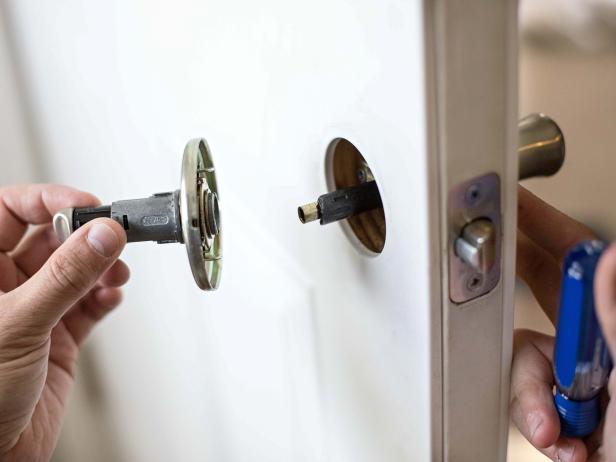
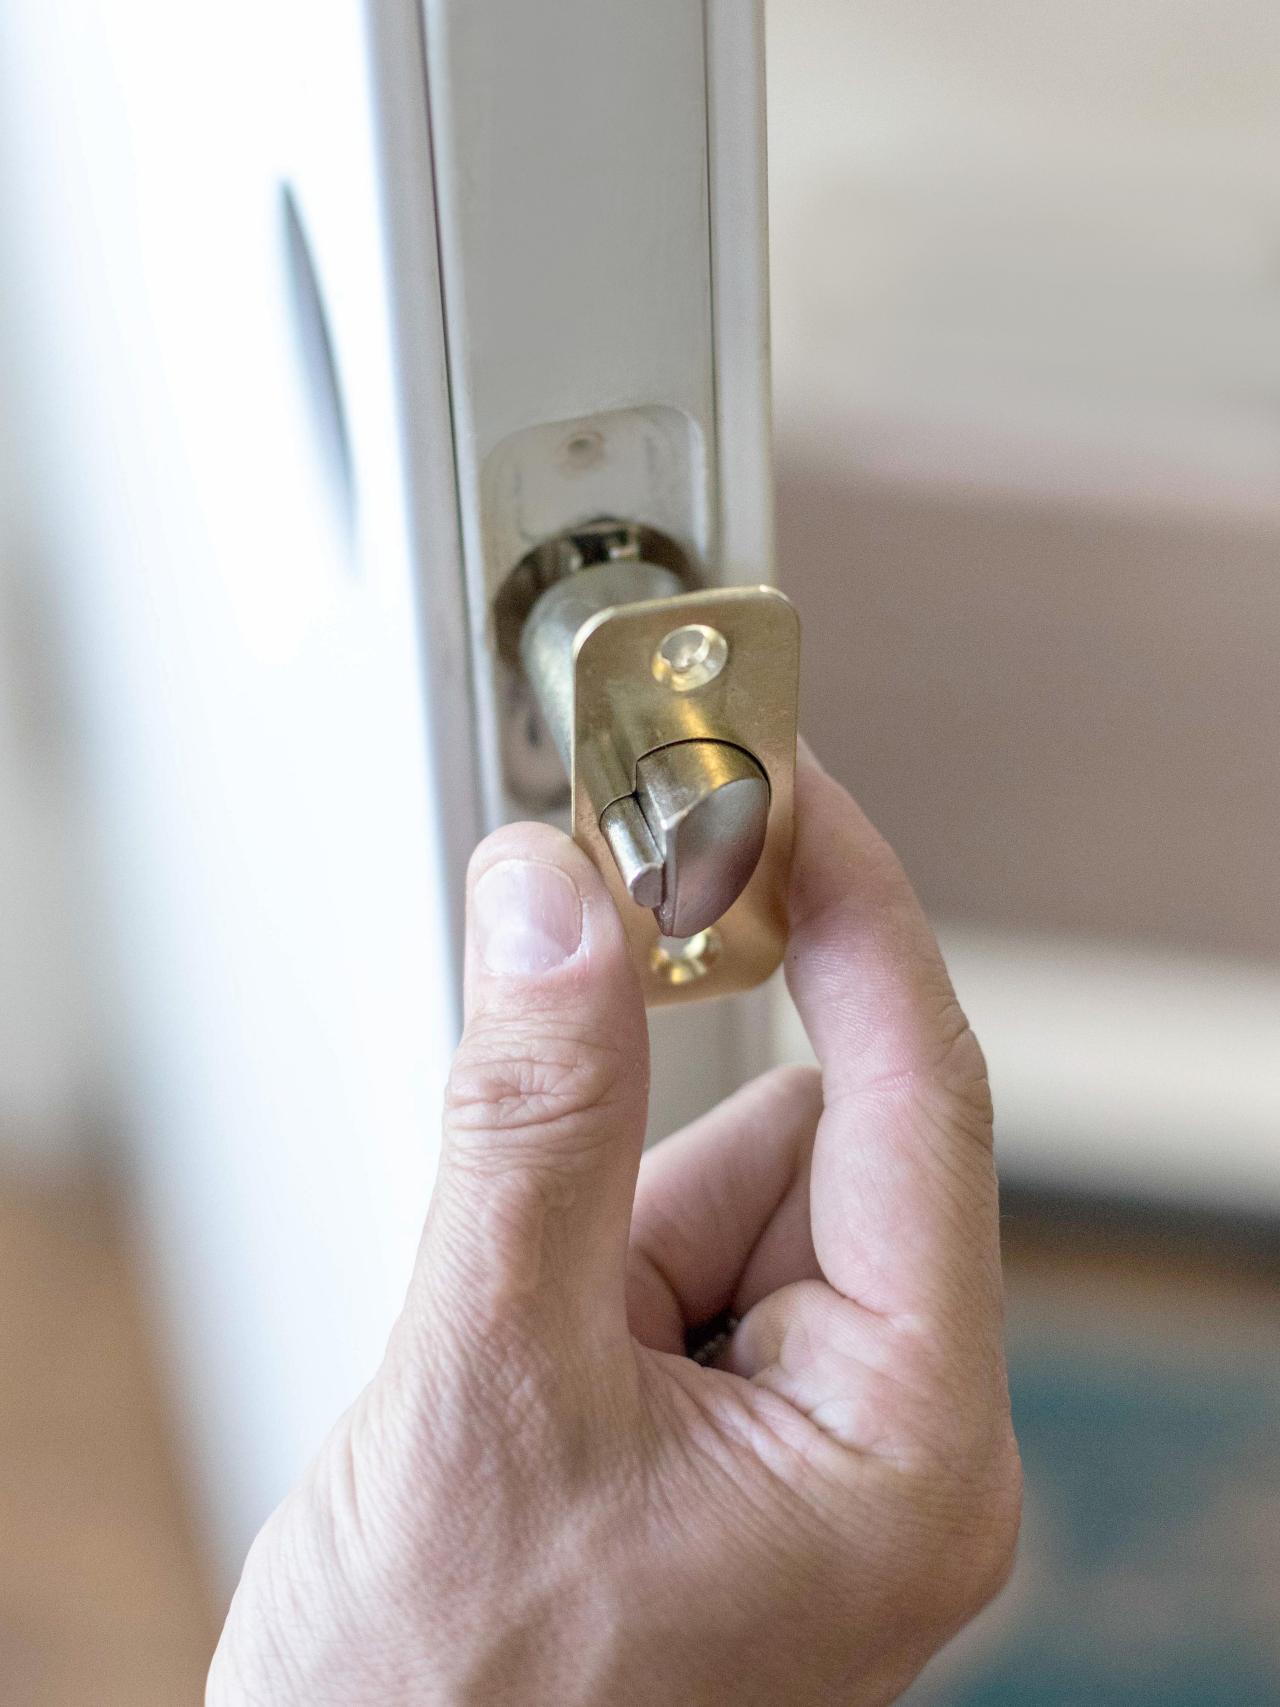
Install New Latch Plate

Shain Rievley
Insert the new door knob latch on the inside edge of the door. The tapered side of the turning lock should be facing the strike plate on the door frame. Secure the new latch plate with the screws provided.
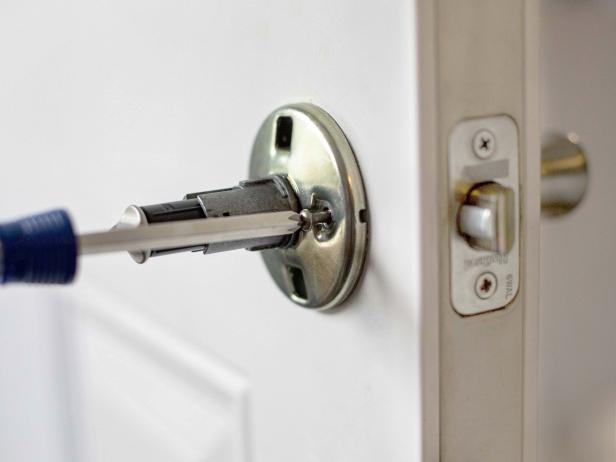
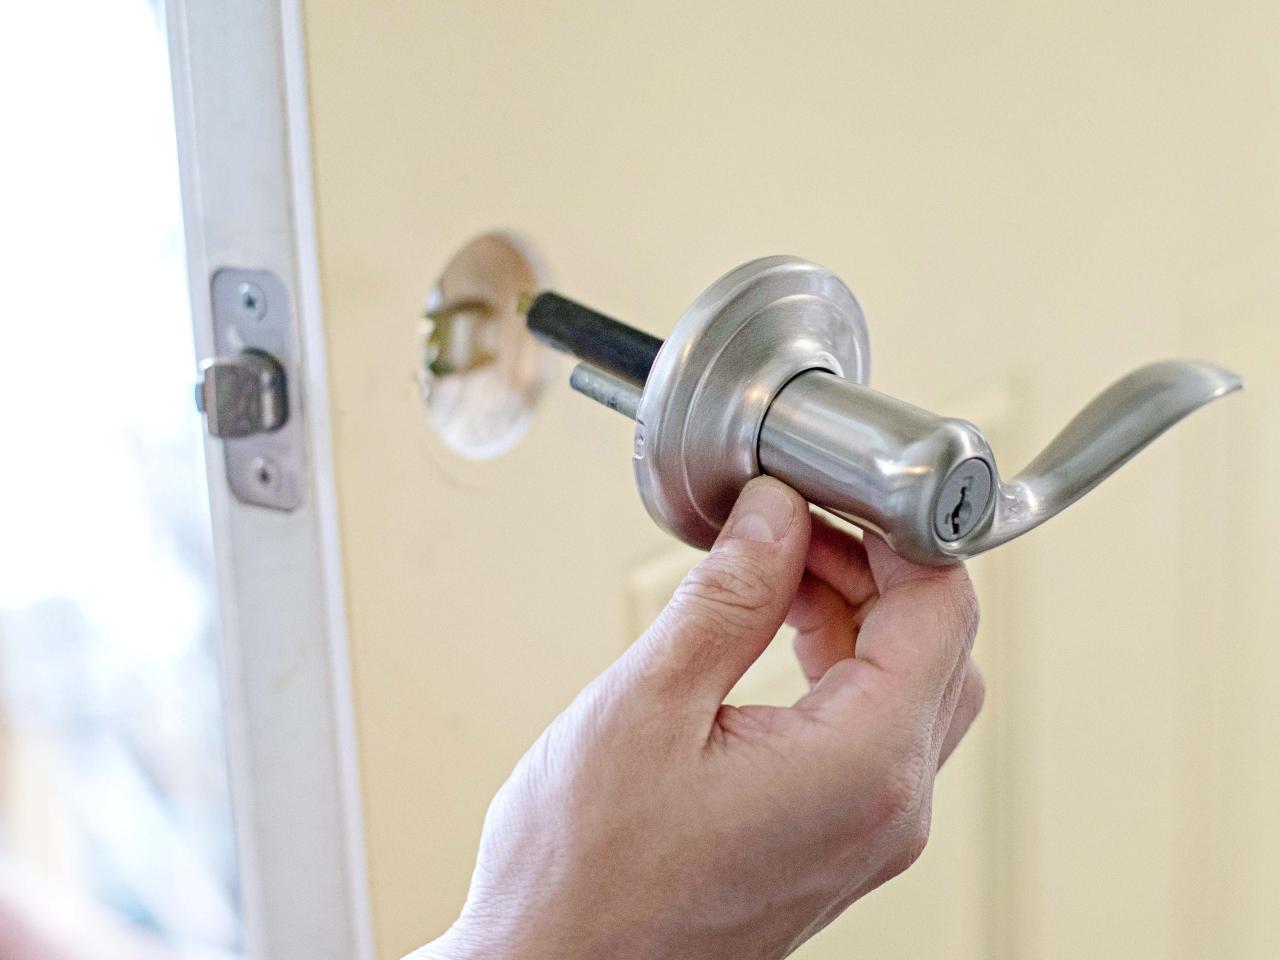
Install New Knob and Spindle

Shain Rievley
Shain Rievley
Shain Rievley

Shain Rievley
The exterior part of the knob will have a long spindle attached to it. Put this piece through the latch you just installed. The spindle will now show through to the other side of the door. Secure with plate and provided hardware on the interior side of the door.
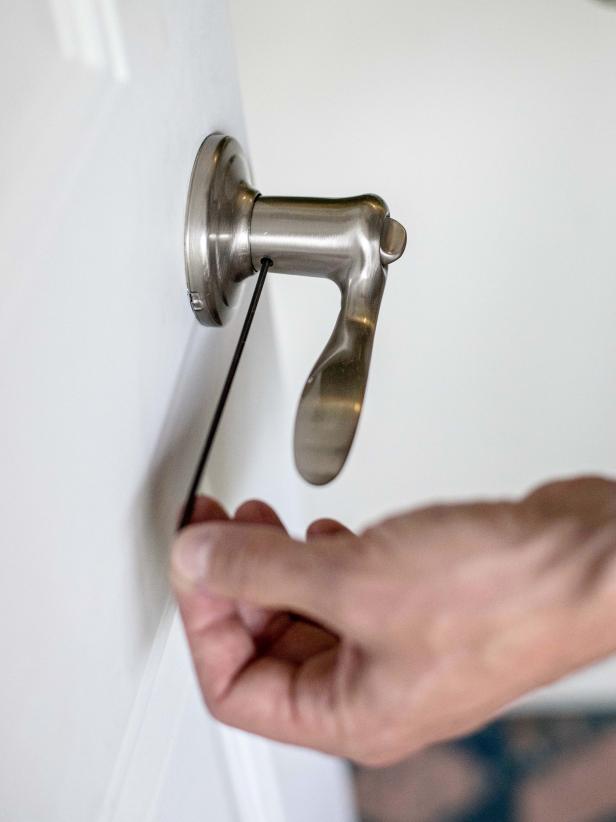
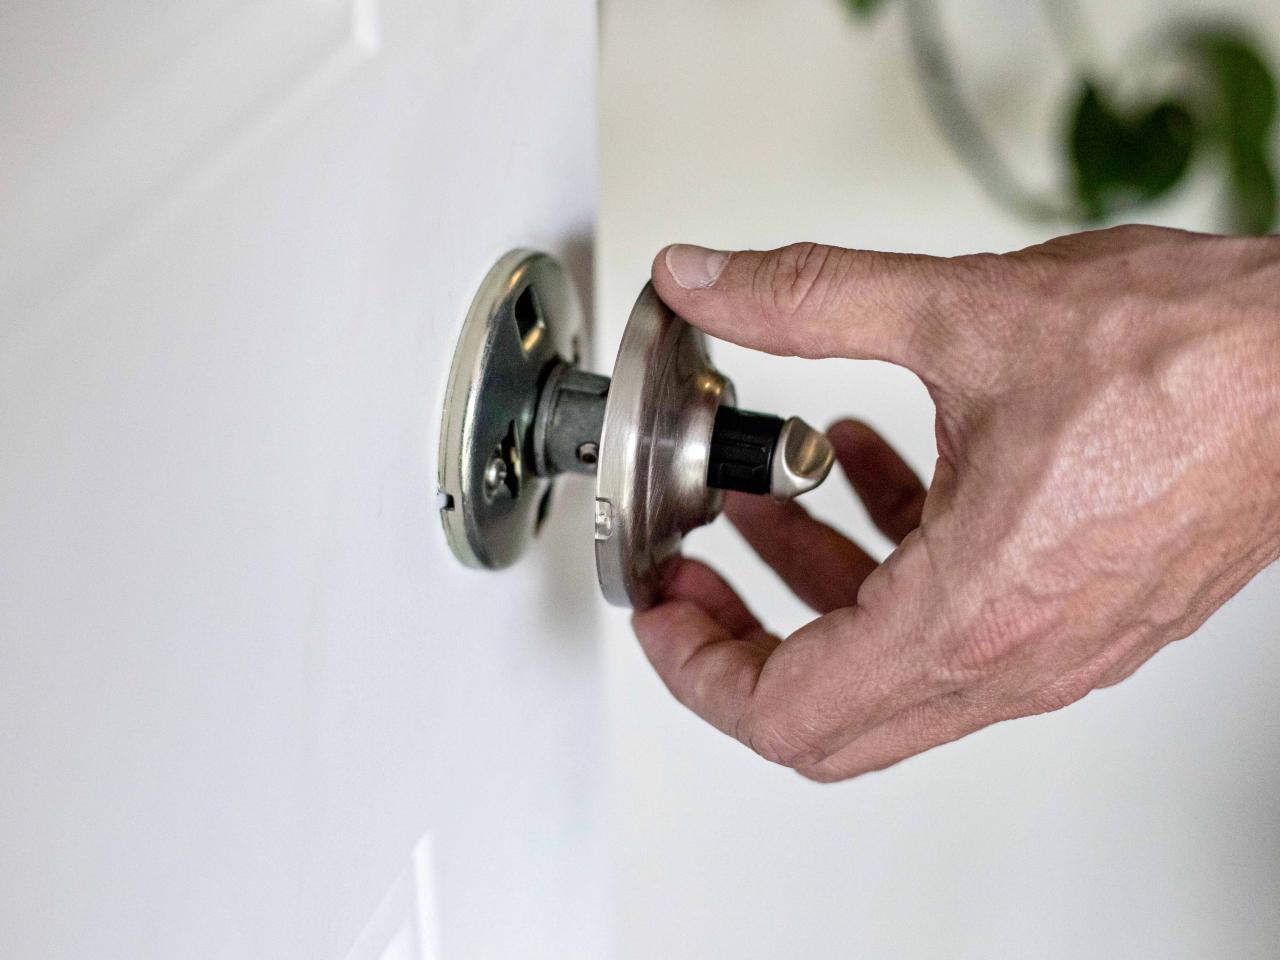
Attach Interior Knob and Complete
Shain Rievley
The interior handle should easily slide over the spindle. Align the parts and secure in place. Our new knob had a hidden set screw which required a long Allen wrench, provided with the door knob, to tighten in place. Test the new doorknob to make sure everything is installed correctly.


