


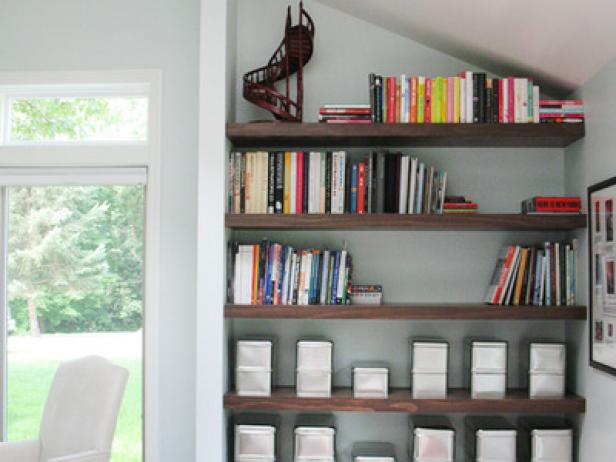
Utilize Spaces With Creative Shelves 11 Photos
Maximize every inch of space with unique and creative shelving tips, and increase storage and enhance your entire design scheme.
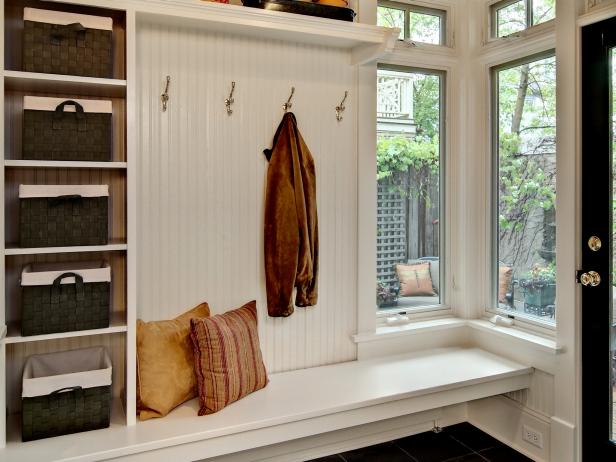
Mudroom Shelves
Explore your options for mudroom shelves, a mudroom storage must-have.
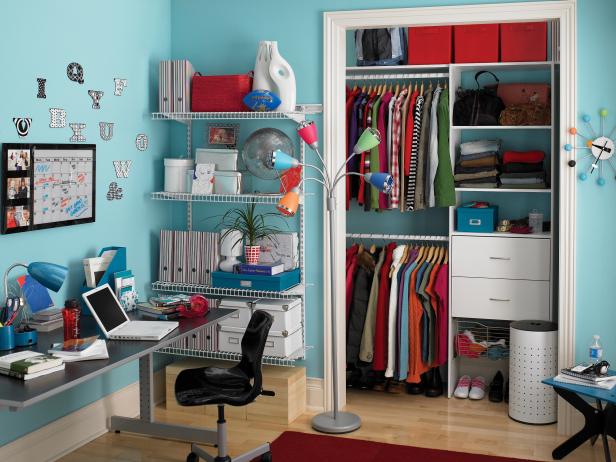
Closet Storage Shelves and Cubes
Organize clothes, shoes and more with storage shelves and cubes.


