


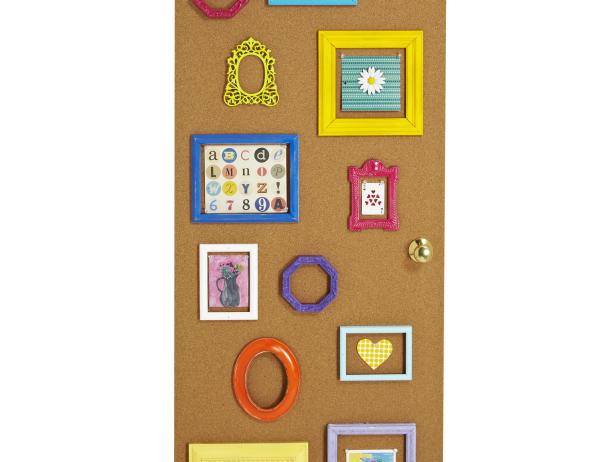
4 Ways to Decorate a Door for a Kid's Room
In the first ever HGTV Magazine for Kids, the DIY experts created door designs that work with kids’ fun personalities. Find what works best for your child and create one together.
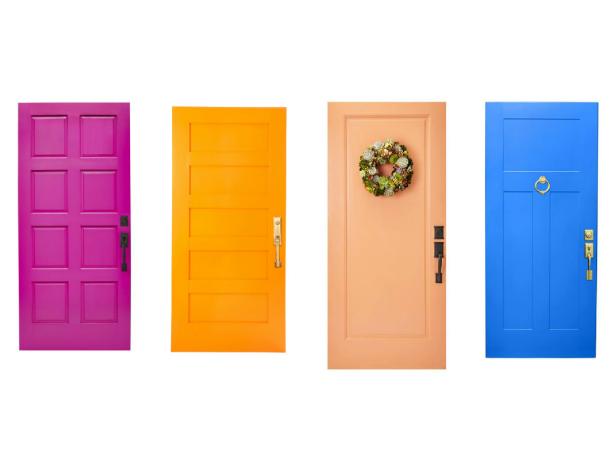
20+ Front Door Looks We're Obsessed With
Come on in! HGTV Magazine has all the front porch inspo you need.

13 Great Front Door and Plant Color Combos
These eye-catching entryways are charming, cheerful and even a bit quirky.

Home Gym Pictures From HGTV Dream Home 2017 16 Photos
Check out this sliding barn door plus all the other stylish details of HGTV's Dream Home 2017.


