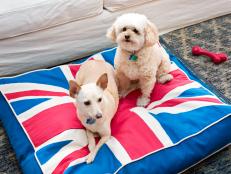
The 15 Best Dog Breeds for Apartment Dwellers 15 Photos
Not all dogs are well-suited to apartment living. These adorable pups have what it takes to make the most of small spaces.
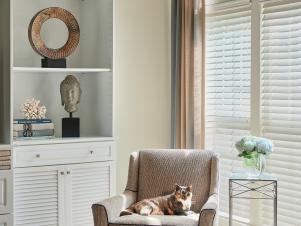
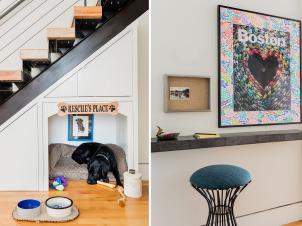
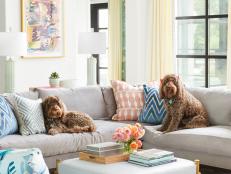
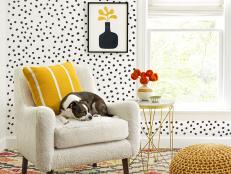
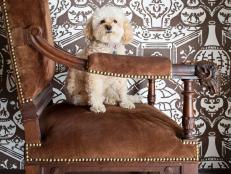
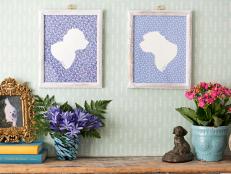
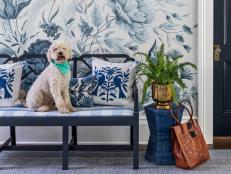
Pet-Friendly Decorating Ideas
More in Decorating

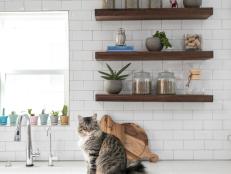


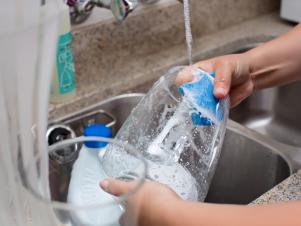
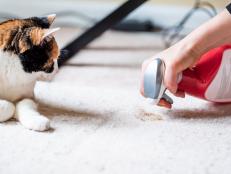
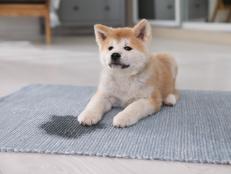
Cleaning Tips for Pet Owners
More in Cleaning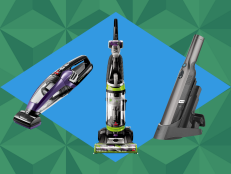


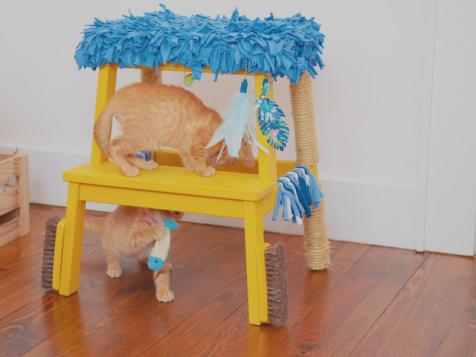
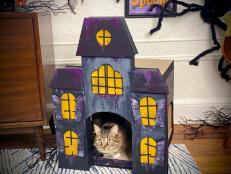
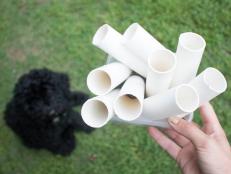
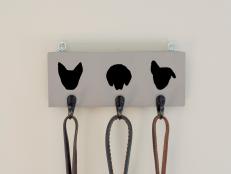
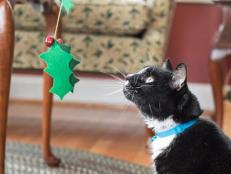
Pet-Inspired Craft Projects
More in Crafts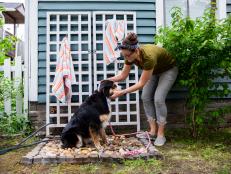


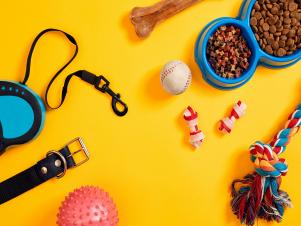
Pet Essentials

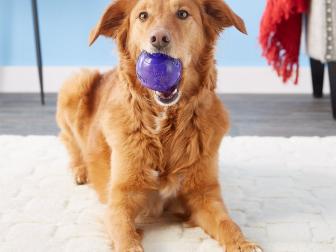


Shop Our Favorite Pet Products

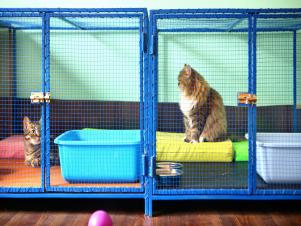
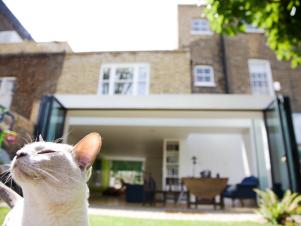
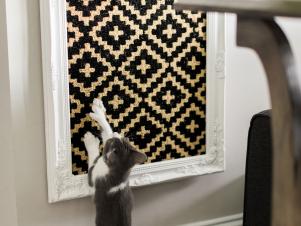
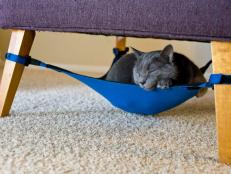
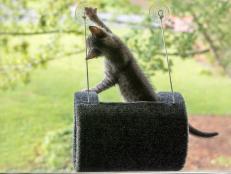
8 Cool Catios for Every Feline, Style and Budget Apr 15, 2024
Give your cat a safe place to explore, lounge and play outdoors with these catios and enclosures.

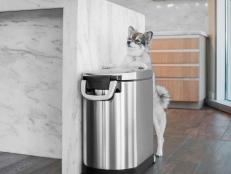
I Finally Made the Switch to the Automated Litter-Robot 4, and I'll Never Go Back Feb 21, 2024
Wondering if the highly rated, self-cleaning Litter-Robot 4 by Whisker could be right for your home? Here's the scoop.

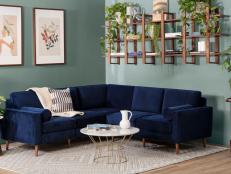
The Best Pet-Friendly Couches of 2024 for Every Budget and Style Feb 12, 2024
Having pets doesn't mean you have to let your sofa go to the dogs (and cats). Discover the best fabric for a pet-friendly couch, a …

10 Pretty Plaid Accessories for Your Pet Apr 2, 2024
Give your furry friend the gift of plaid this holiday season.

The Best Dog Harness for Every Type of Dog in 2024 Jan 16, 2024
Outfit your pup in one of these top-rated, vet-approved and paw-parent beloved harnesses.

73 Best Gifts for Dog Lovers Oct 19, 2023
Delight the dog lover on your list with these funny stocking stuffers, cute home accessories, essential travel gear and clever tec …
10 Stylish Pet Beds That Look Like Sofas Sep 15, 2023
Your pup will happily sit (and stay!) on these adorable pet sofas.
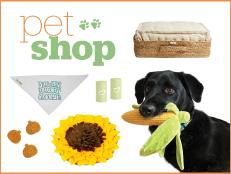
Farmers Market-Inspired Finds for Your Pet Apr 2, 2024
Celebrate peak farmers market season with your best pal. Shop the HGTV Magazine editors' favorite pet toys, accessories and treats …
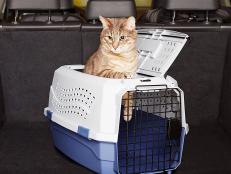
12 Best Cat Carriers of 2023 Aug 9, 2023
Traveling with your cat just got so much easier.

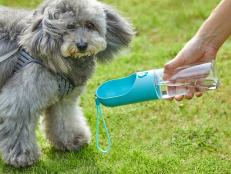
Doggy Hiking Gear We Love Apr 2, 2024
Hit the trails with your four-legged friend — and some new gear! Shop the HGTV Magazine editors' favorite finds.
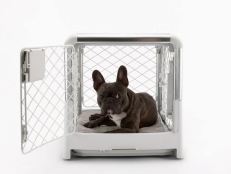
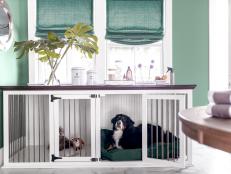
The Best Dog Crates of 2023 Nov 7, 2023
Veterinarians say that size matters most, but ventilation and portability come into play, too, when choosing the best crate for yo …
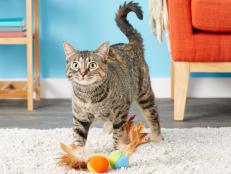
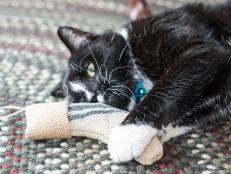
The Best Cat Toys for Kittens, Adults and Seniors May 24, 2023
Keep your favorite feline healthy and happy with these top-rated cat toys.

The 10 Best Dog Collars for Every Pup in 2023 May 18, 2023
We did the research and found the best collars for every size and situation.

15 Best Father's Day Gifts for Pet Dads May 15, 2023
Pet dads deserve a round of applause, too. This Father's Day, gift him something that celebrates his proud pet parental status.
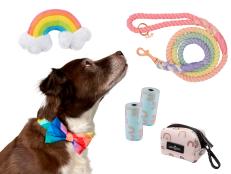
Shop Rainbow Finds for Your Pet Apr 2, 2024
Brighten your pup’s day with these rainbow-themed toys, treats and accessories from HGTV Magazine.

The Best Dog and Cat Deals From Amazon's Pet Day Sale May 2, 2023
Treat your furbaby and your wallet with these major discounts.
Shop These Floral Finds for Your Pet Apr 2, 2024
The editors at HGTV Magazine share their favorite flowery picks to keep your best furry friend looking fresh for spring.
I Tried This Couch With My Cat Who Scratches Everything, and It Is Actually Cat-Proof Apr 10, 2024
Find out how I went from not believing a cat-proof couch exists to resting easy with a pet-friendly Burrow sofa. Kitty claws don't …
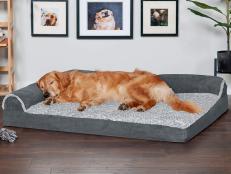
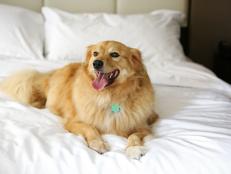
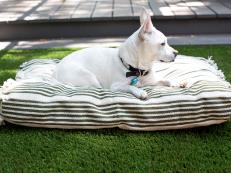
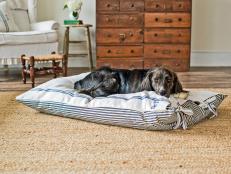
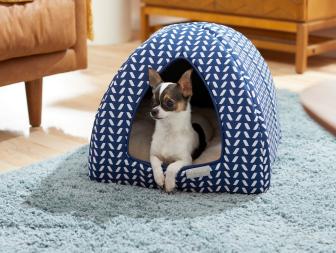
12 Best Dog Beds for Every Pup's Needs Mar 3, 2023
For pups who sleep belly up, curled up, sprawled out or on their side, these top-rated dog beds will ensure they get the best rest …
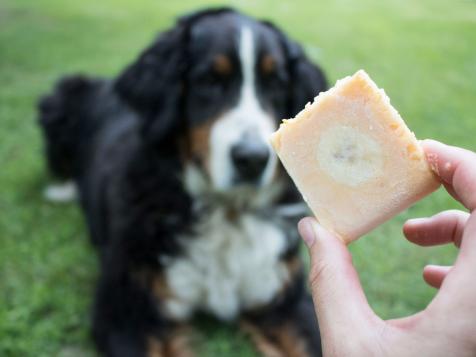
The Best Dog Food Containers Jan 6, 2023
Keep your pet's food fresh and free from pests with a high-quality dog food storage container.
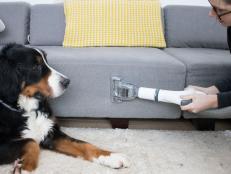
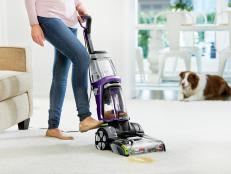
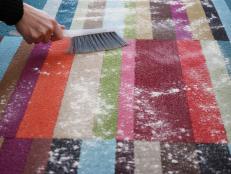
8 Best Vacuums for Pet Hair in 2024, Tested and Reviewed Feb 1, 2024
We love our pets. But cleaning up pet hair? Not so much. Shop our top list of vacuum cleaners, from handhelds to uprights, that wi …

The Best Gifts for Cat Lovers Nov 13, 2023
Treat the cat lover in your life to a very meowy Christmas with one of these feline-inspired buys.

20 Best Personalized Gifts for Pets and Pet Lovers Nov 15, 2023
There's nothing quite like the unconditional love of a pet. Shop our favorite personalized gift ideas for pets and pet lovers — in …
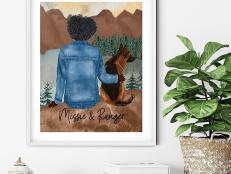
The Best Places to Order Custom Pet Portraits to Gift or to Keep Dec 19, 2022
These paintings, prints and other kinds of pet portraits make great art for your walls and heartfelt gifts for loved ones.

The Best Gifts for Cats Oct 17, 2022
Don't forget about your best feline friend or your favorite cat person this holiday season.
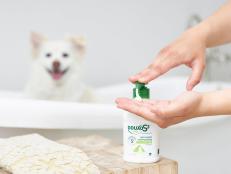
The Best Dog Shampoos of 2024 for Every Pup Jan 16, 2024
Tackle odors, coat health and more with these vet-approved and paw-parent beloved brands.

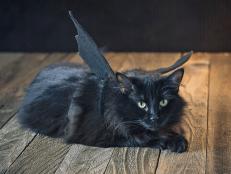
15 Hilarious Halloween Costume Ideas for Cats Sep 30, 2022
Dress your favorite feline for a night of fun with these purr-fectly punny Halloween costumes.

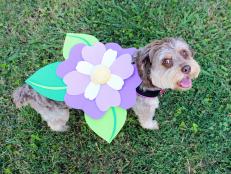
25 Adorable Halloween Costumes for Dogs, Cats and More Sep 19, 2022
Celebrate Halloween with these too-cute costumes for dogs, cats, rabbits and more that we found on Amazon and Etsy.
10 Top-Rated Dog Grooming Essentials Under $40 Sep 9, 2022
Wrangling pets for bath time and the constant cleanup of muddy paws can get old. From nail trimmers to de-shedding tools, these ga …
14 Clever Products That Make Road Trips With Your Pet a Breeze Sep 7, 2022
Keep your furbaby comfortable and your car in good shape with these paw-some accessories.