


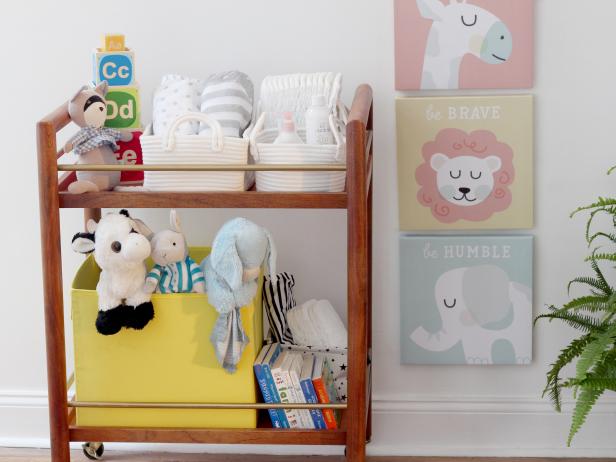
10 Creative Ways to Use a Bar Cart in Any Room
They’re not just for entertaining! A bar cart is a super-versatile piece of furniture that can add extra storage space virtually anywhere in the home. Here are 10 smart and stylish ideas to try.
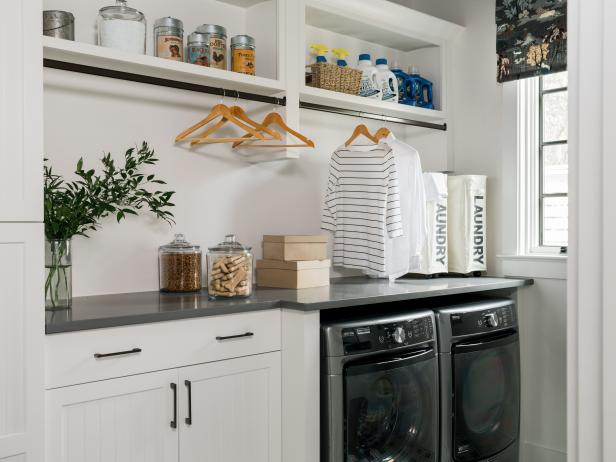
Storage and Organization From HGTV Smart Home 2018
From open shelves in the kitchen to custom cabinetry in the master closet, HGTV Smart Home 2018 makes staying organized practically effortless. See how these different storage solutions clear up space and maximize functionality.
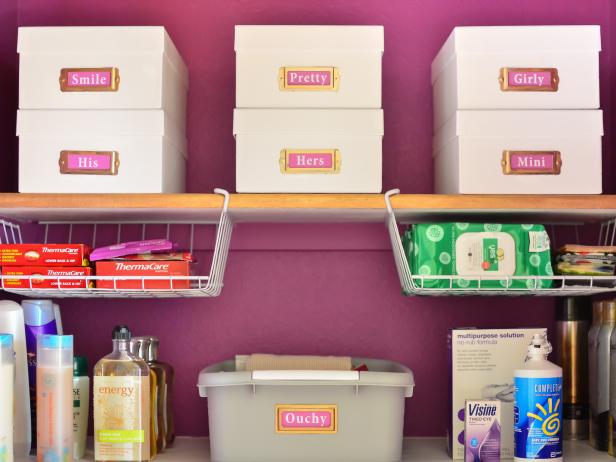
14 Storage Secrets From an Organization Blogger
Melissa George of Polished Habitat shares her best storage hacks and must-have products for staying organized. You'll want to try them all!


